Within a single experience, you can combine multiple actions in many ways. Actions can run in a specific order or target one another in combinations to create interactive user experiences.
One of the most common use cases for using multiple actions in an experience is pairing Monetate-inserted banners or HTML with a click-to-open lightbox action. This use case changes a single banner from static content to an interactive experience.
For example, you plan to run a promotional banner but want to include details about the offer without compromising your creative design. Adding a Details link to trigger an HTML lightbox allows you to serve up the appropriate content to customers without sacrificing your design. This example is even more relevant on mobile devices where screen real estate is scarce and extraneous text details can become difficult to read or clutter the design aesthetic.
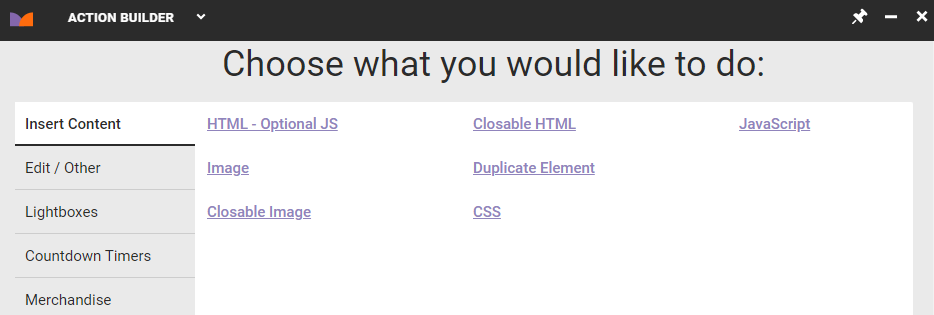
To begin, insert a trigger with a Monetate action. Create an Image action in Action Builder.
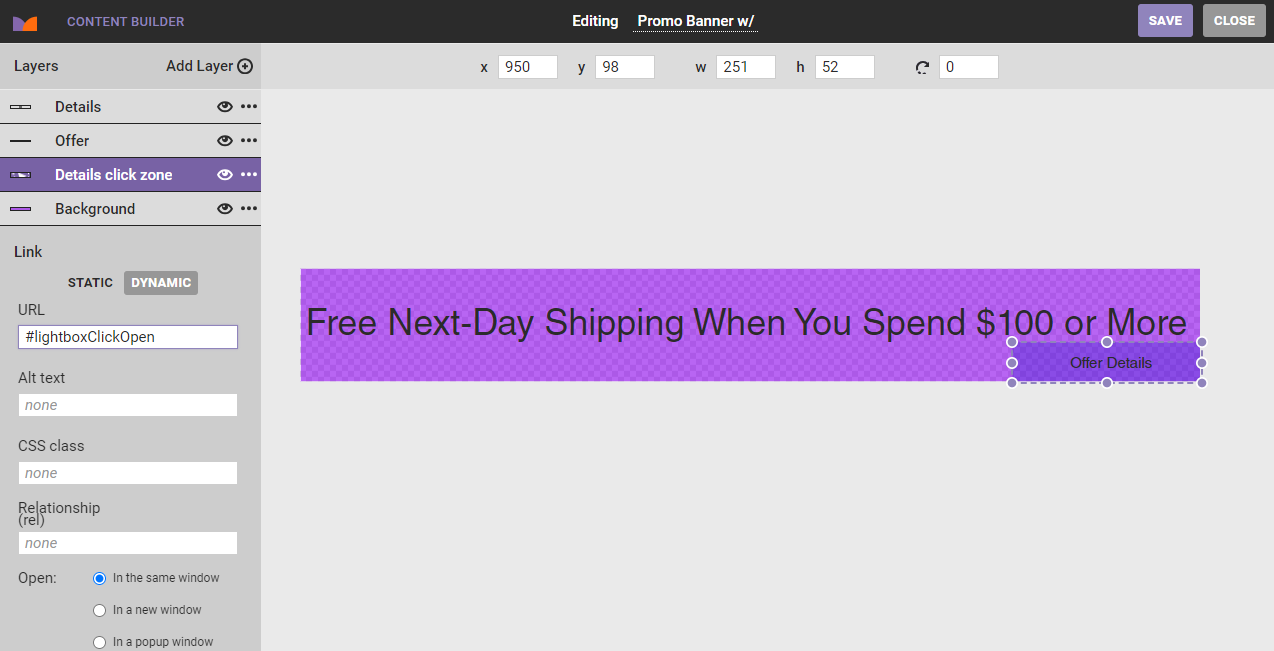
Then, within Content Builder, include a click zone on the image banner itself. This click zone eventually connects to the on-click lightbox. For this example, set the click zone HREF to #lightboxClickOpen.
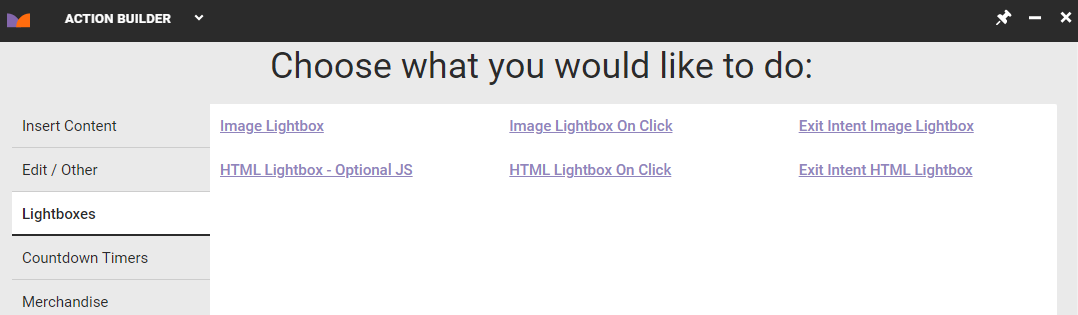
Once you've built this action, create an Image Lightbox on Click action.
Then, target the click zone URL you used in the previous Insert Image action. Use this text for your lightbox selector: [href='#lightboxClickOpen']
![An Image Lightbox On Click action template, with '[href='#lightboxClickOpen']' in the Relative Element Selector field](https://dyzz9obi78pm5.cloudfront.net/app/image/id/64f8ce99939ad97bfc63a273/n/experiences-what-image-lightbox-on-click-linked-to-banner-click-zone.png)
You now have a basic image lightbox that a visitor will trigger when they interact with your banner's click zone. You can utilize an HTML Lightbox from Click Event action in the same way.
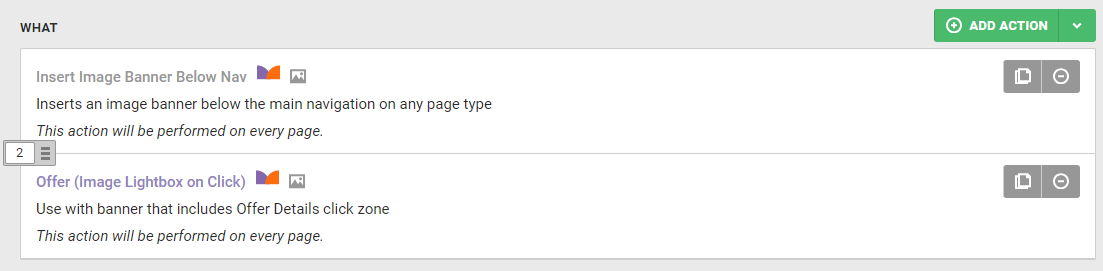
Actions within the same experience render on your site in priority order in a manner similar to experience priority. The first action in the experience runs first and the second action runs subsequently.
In the example below, the lightbox action runs second to ensure the banner's click zone has loaded before we attempt to bind to it.
Actions that have polling (or Re-check for elements) enabled when they are configured are more resilient to common timing issues. Generally, it is a good practice to enable this option for any action which may interact with content that is dynamic or prone to delays while loading.
It's important to understand how polling interacts with multiple actions. Actions are called in the same order as experience priority. If you have two experiences with two actions in each, the first action from the highest priority experience will render on the page first followed by the second action from the first priority experience. This is followed by the first action from the second priority experience and subsequently followed by the second action within the second priority experience.
If you enable polling for these actions, Monetate triggers a failsafe step to guarantee actions that cannot immediately locate there their necessary selector(s) are not forgotten. If an action with polling fires but the selector is not found, Monetate puts it into a queue. Actions in the queue continue to look for their relevant selectors every 50 milliseconds until they find them. The action queue persists until all of the actions locate their selector and the action has properly fired or until three seconds has elapsed.