Using either the Exit Intent Image Lightbox action or the Exit Intent HTML Lightbox action on your site's cart page can help you increase overall conversion rate. Ultimately, if you minimize the number of people who leave your site on the cart page, then you're more likely to get them to convert (or complete their purchase) of the items already in the cart.
For the purpose of this example, the experience targets new visitors with a promotional code, but your target may change based on what message you present in the lightbox you build.
Building the Exit Intent Lightbox Action
Follow these steps to build the action.
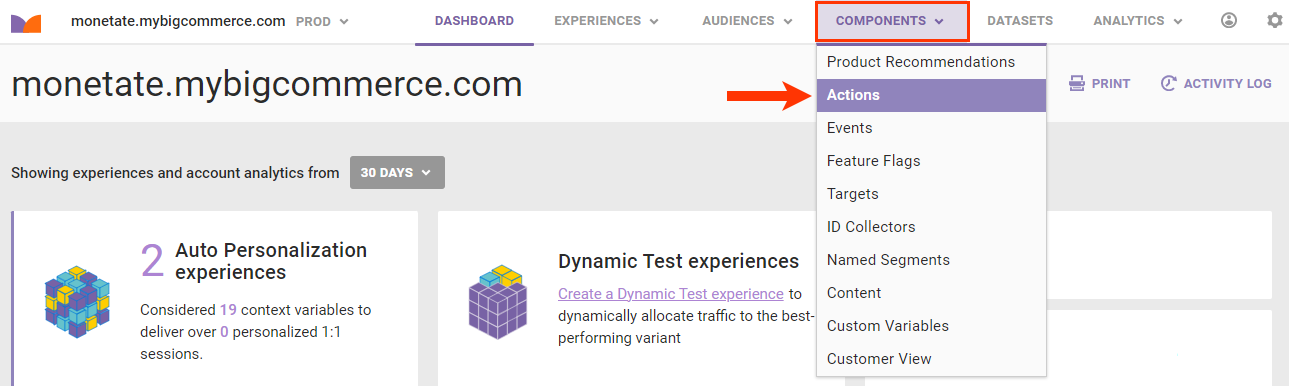
- Click COMPONENTS and then select Actions.
- Click CREATE ACTION.

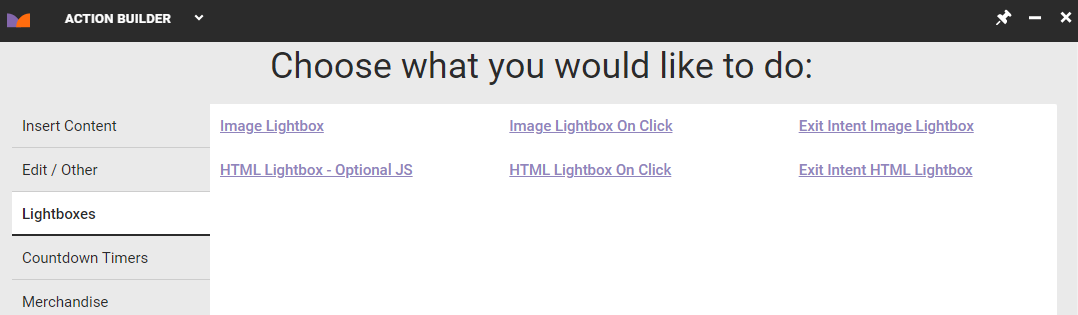
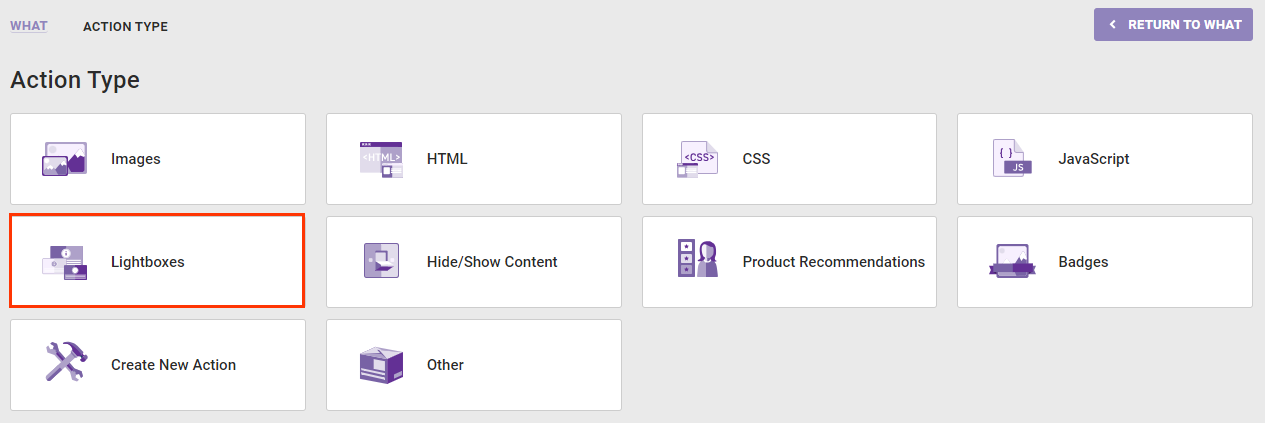
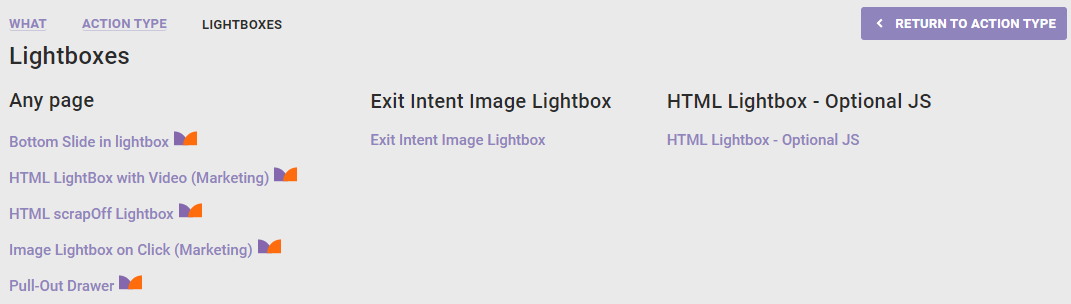
- After Action Builder loads on your site, navigate to its cart page. In Action Builder click the Lightboxes tab and then click Exit Intent Image Lightbox.
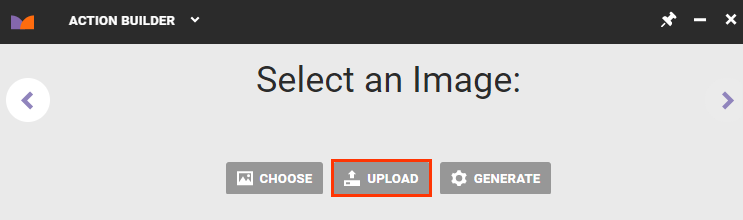
- Click UPLOAD.
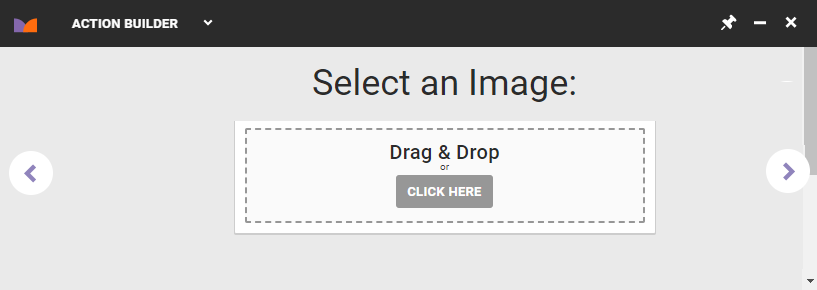
- Drag and drop an image file, or click CLICK HERE to navigate to a location on your computer or connected storage device and then select an image file that you want to use.
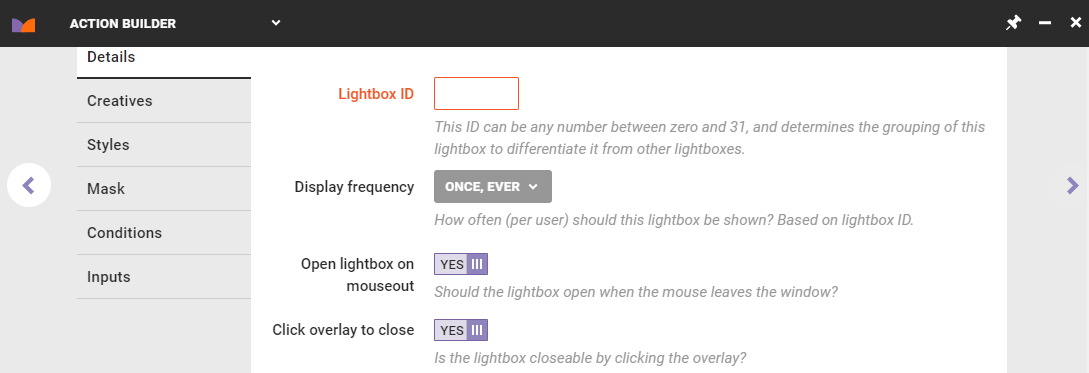
- On the Details tab, input into Lightbox ID a unique ID to differentiate the lightbox you're creating from other lightboxes. Select an option from Display frequency to determine if a customer sees the lightbox more than once. For this use case, Display frequency should be set to Once per session.
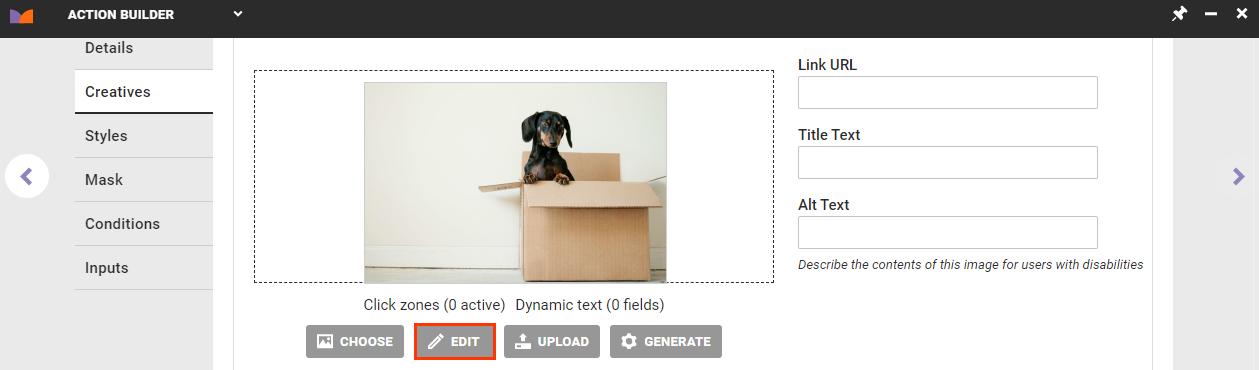
- Add the click zone for the button on the lightbox that returns customers to the cart page when they click it. Click the Creatives tab, and then click EDIT to launch Content Builder.
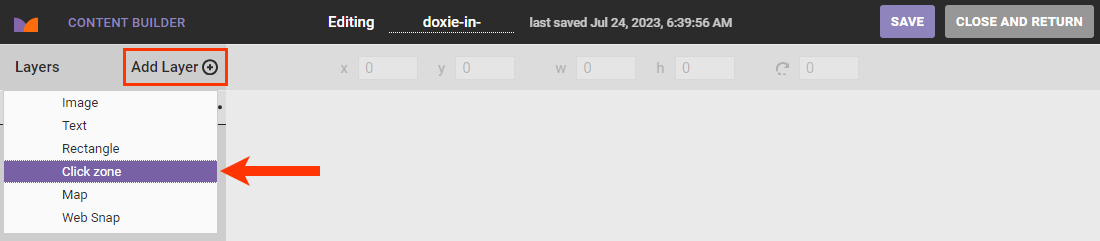
- Click Add Layer, select Click zone, and then position and resize the click zone as necessary.
- In the Link section of the properties panel, input
#closeinto URL so that the lightbox closes and returns the visitor to the cart page when they click the image's click zone.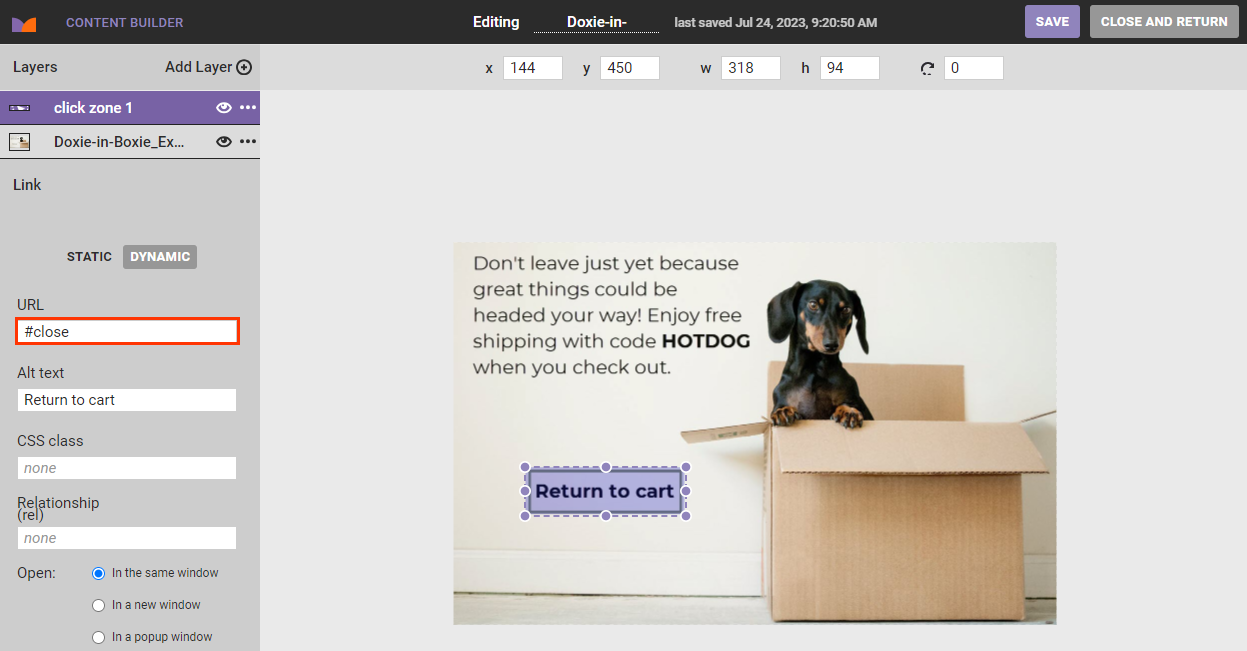
- Click SAVE and then click CLOSE AND RETURN.

-
Click the Conditions tab in Action Builder to create the action condition. Click ADD CONDITION, expand Page type, and then select Page type=. For the value of the condition, input
cartor whatever is the page type value for your site's cart page.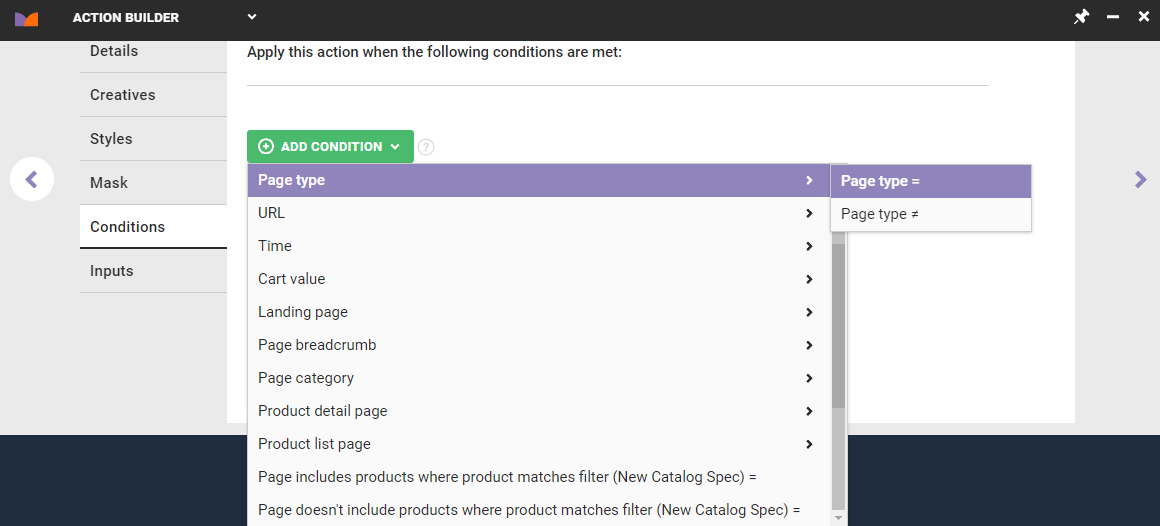
- The action shouldn't fire when the cart is empty, so you must create a second action condition. Click ADD CONDITION, expand Cart value, and then select Cart value ≥. Type
0.01as the value.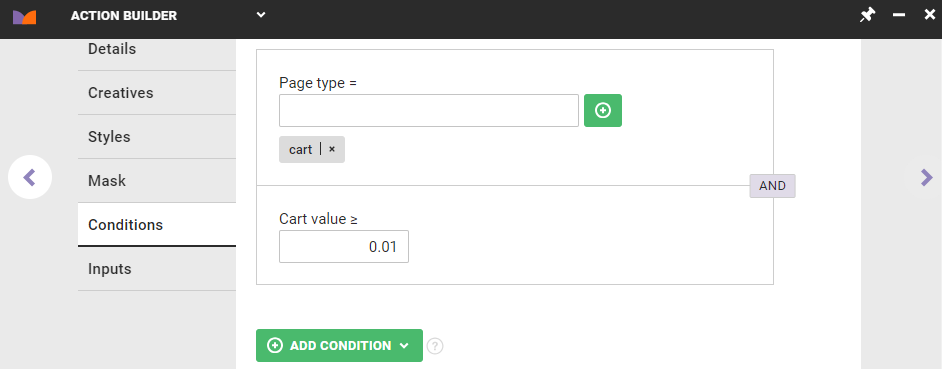
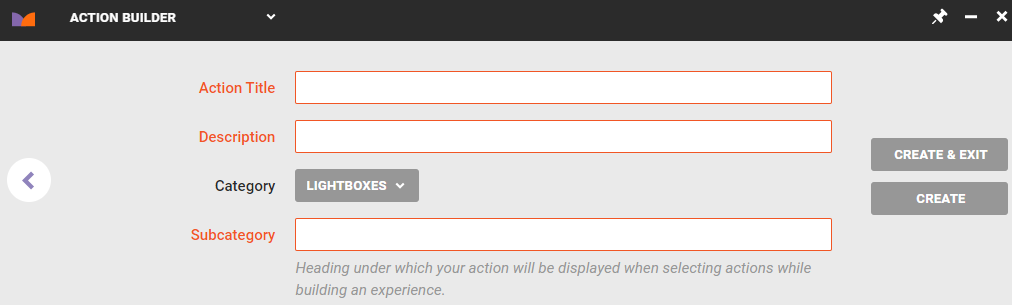
- Click the Inputs tab to define which of the action's fields and settings can be configured at the experience level. See Action Inputs for more information.
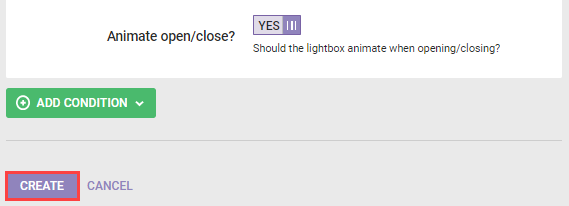
- Give the action a title, description, and subcategory. Click CREATE & EXIT.
Refer to the Exit Intent Image Lightbox Action section of Lightbox Actions for more information about building this type of action in Action Builder.
Creating the Experience
Follow these steps to create the experience that uses the action that you built.
- Click EXPERIENCES in the top navigation bar, and then select Web.

- Click CREATE EXPERIENCE.

- Give the experience a descriptive title. Click the pencil icon, enter the title, and then click the green checkmark.
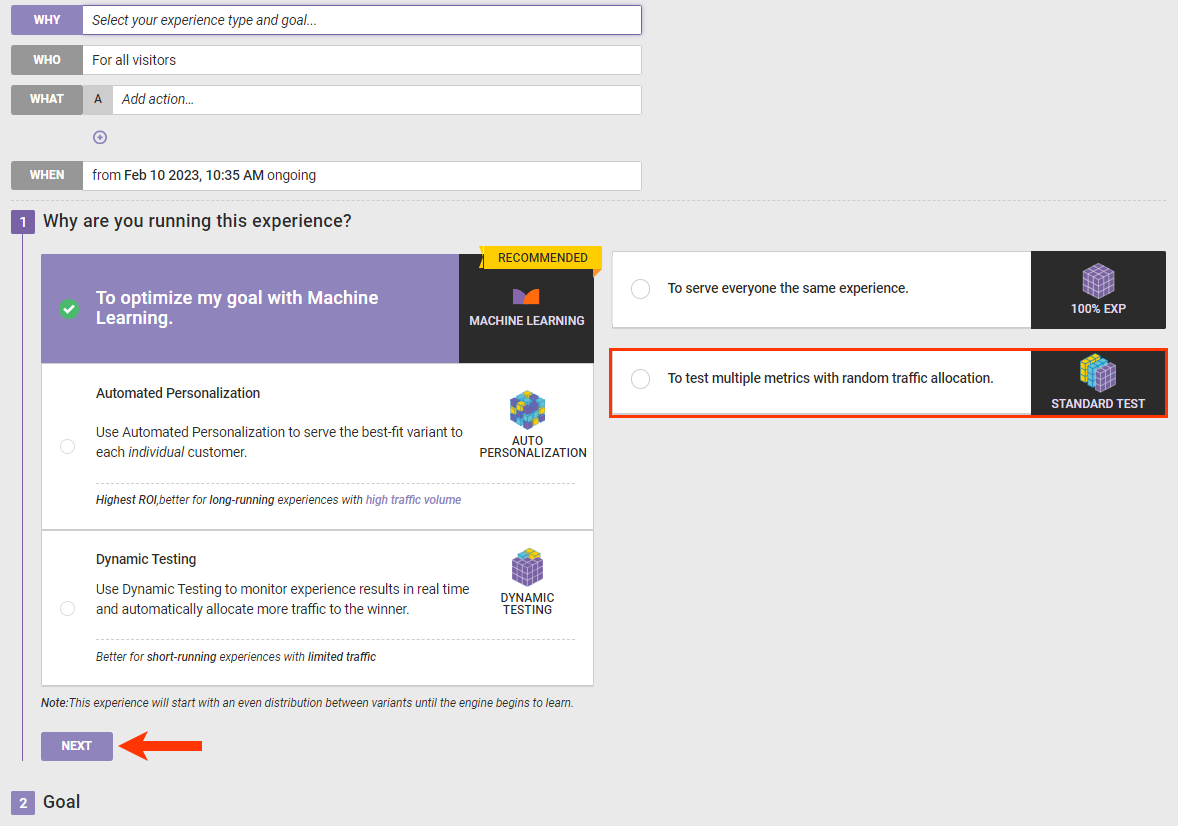
- For this use case, the experience should test if the lightbox has a positive impact on the lift for the conversion rate. Click WHY, select To test multiple metrics with random traffic allocation, and then click NEXT.
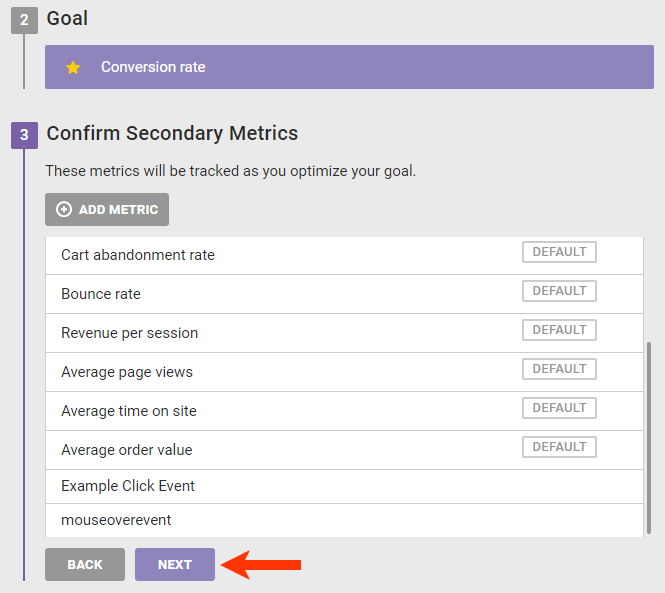
- Select Conversion Rate for the goal metric and then click NEXT.
- Adjust the secondary metrics as needed. As a best practice, collecting more data is better than collecting less data. Avoid removing secondary metrics unless there's a specific reason you don't need them. Add any custom metrics that are important to your business as well. Click NEXT.
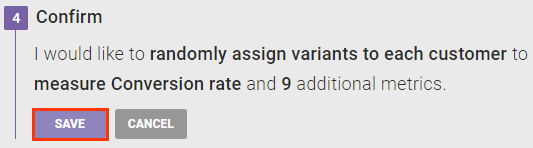
- Confirm that you have configured the WHY settings as you need, and then click SAVE.
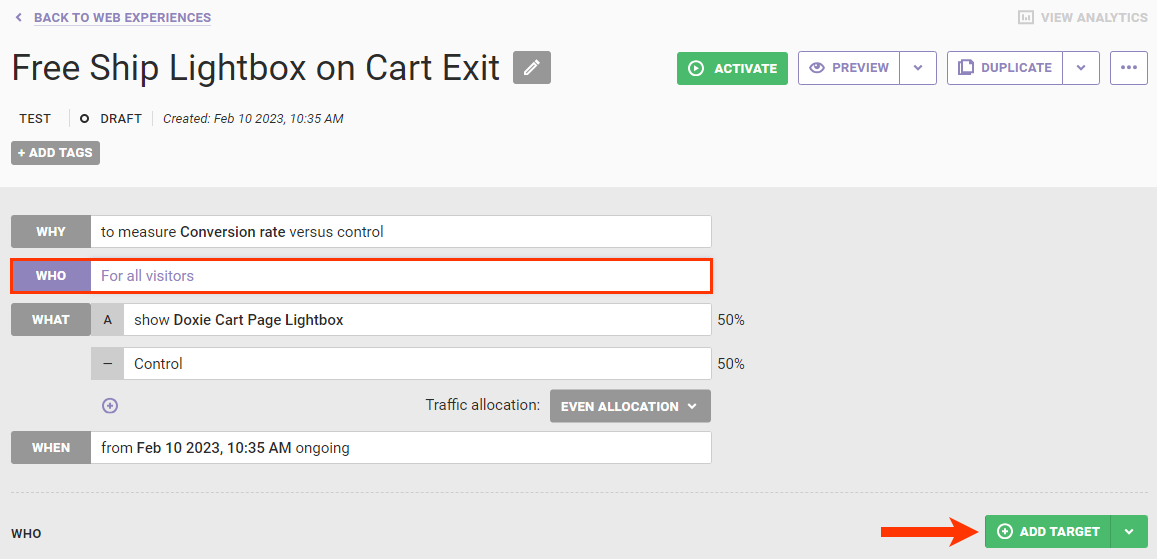
- If you want the lighbox to appear only to certain customers, then click WHO and configure the target audience as necessary. See Types of WHO Targets for more information.
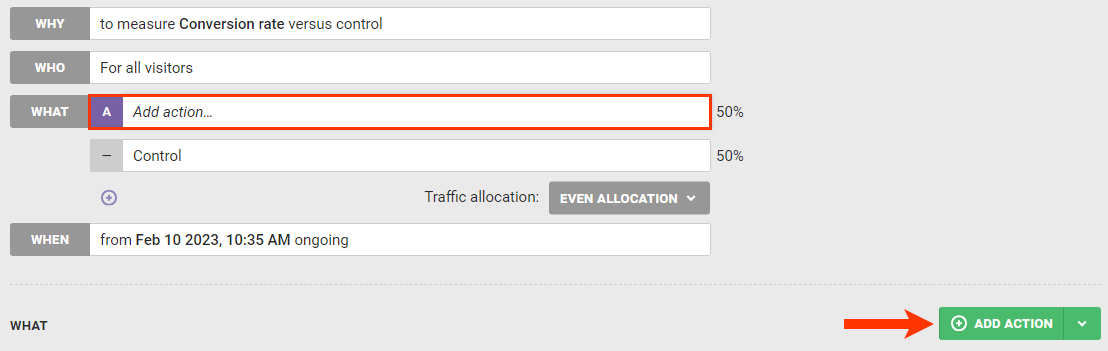
- Add the Exit Intent Image Lightbox action built for this experience.
- Click A of the WHAT settings and then click ADD ACTION.
- Click Lightboxes.
- Click the Exit Intent Image Lightbox action that you created.
- If you configured all the action settings in Action Builder specifically for the experience, then you don't need to make any experience-level changes or add any additional action conditions. Scroll to the bottom and then click CREATE.
- Click A of the WHAT settings and then click ADD ACTION.
Testing the Experience
Before scheduling when the experience runs by configuring the WHEN settings, you should perform a quality assurance check to ensure the action works as expected. Certain action conditions don't work as expected in Preview Mode, including the Cart value options. Therefore, you can't use the experience preview and instead must use the IP address target option and then temporarily activate the experience to test it.
- Click WHO and then click ADD TARGET.
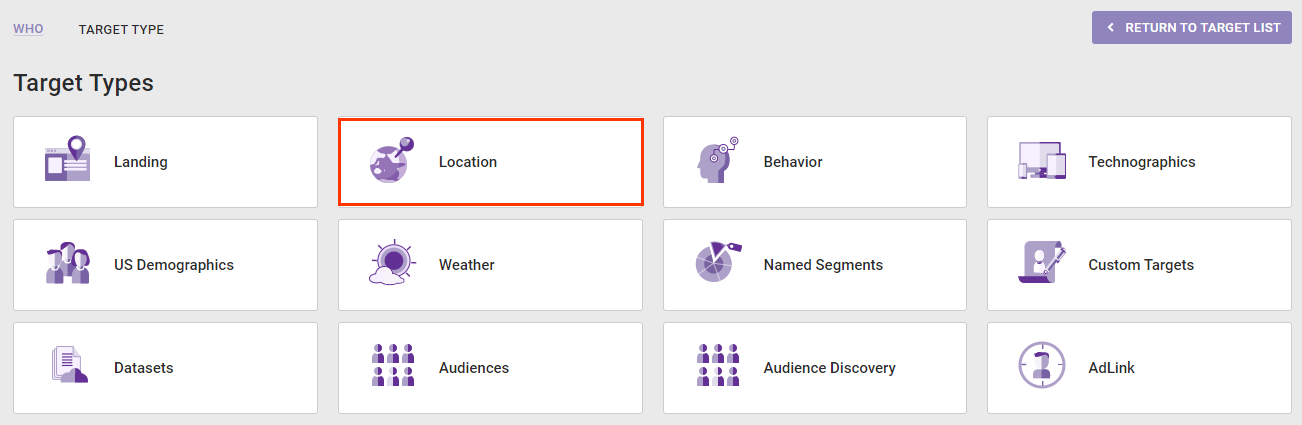
- Click Location.
- Click IP address.
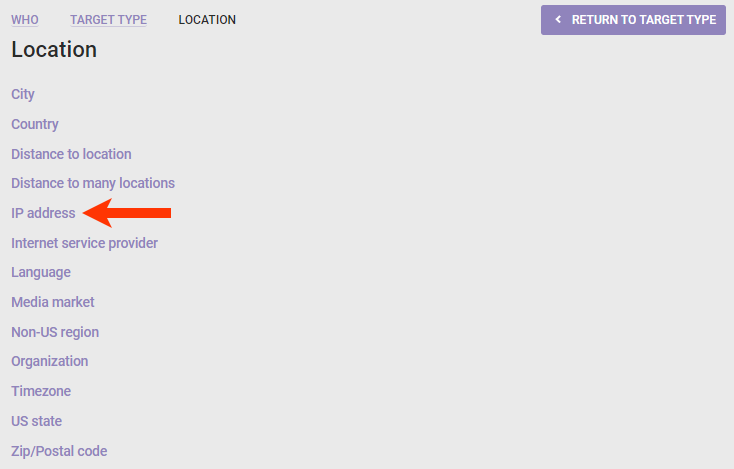
- Input your IP address into the IP Address field, leave visitors matching this target set to INCLUDE, and then click SAVE.

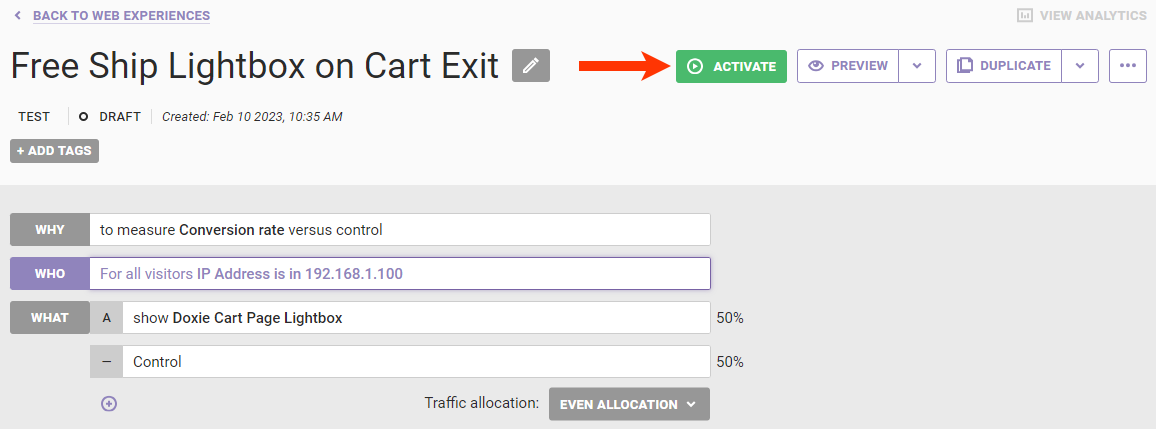
- Click ACTIVATE.
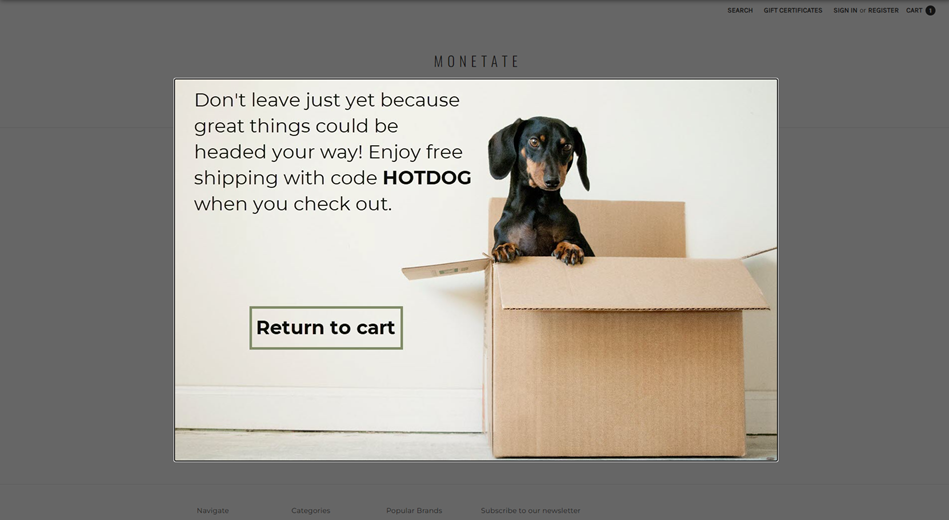
- Open a private browser window, navigate to your site, add one or more products to the cart, navigate to the cart page, and then navigate out of the viewport. If you configured the lightbox action and the experience correctly, then the lightbox should appear on the screen.
After you confirm that the action and experience fired as expected, return to the Experience Editor page in the Monetate platform, and then click PAUSE for the experience. Remove from the WHO settings the IP address target and restore the New visitors target. Configure the WHEN settings and then activate the experience.
Building an Advanced Exit Intent HTML Lightbox Action
The Exit Intent Image Lightbox action built for this use case doesn't take the customer directly to your site's checkout flow when they click the lightbox's click zone. To accomplish this type of interactivity, you can build an Exit Intent HTML Lightbox action that includes buttons, interactive components, and the JavaScript required to control those components.
- Click COMPONENTS and then select Actions.
- Click CREATE ACTION.
- After Action Builder loads on your site, navigate to its cart page. In Action Builder click the Lightboxes tab and then click Exit Intent HTML Lightbox.
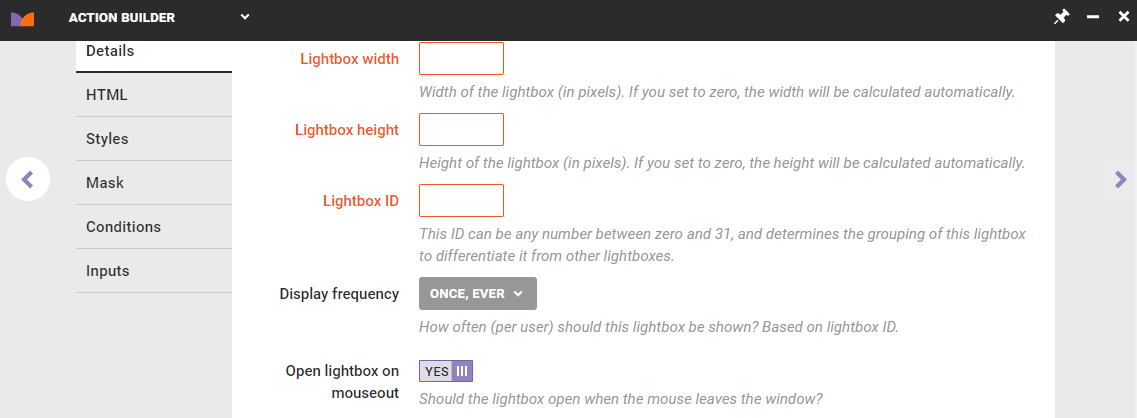
- Configure the height and width of the lightbox container, and then input into Lightbox ID a unique ID to differentiate the lightbox you're creating from other lightboxes. For this use case, Display Frequency should be Once per session. Finally, toggle Open lightbox on mouseout to YES.
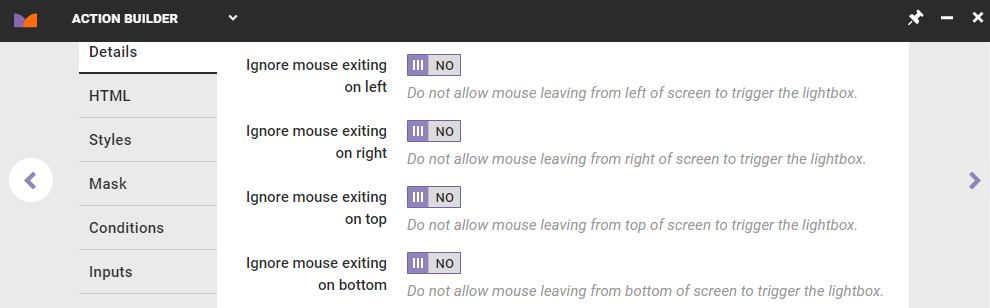
- To restrict or limit when the lightbox fires, optionally configure the Ignore mouse exiting... settings to disregard specific parts of the viewport. Doing so is useful if you want the lightbox to fire only if a customer moves out of the viewport at a specific place, such as near a close or exit button, instead of when they navigate to another window that may be adjacent to it.
- Click the HTML tab, and then click Source in the code editor.

- Copy and paste the HTML code for the lightbox into the editor. This sample code adds text content, a Complete My Order checkout button, a Continue Shopping button that you can link to any relevant page on your site, and a generic close button. The checkout button uses an
onclickattribute that triggers a function when this element detects a click event, which you configure in the JavaScript editor.<section class="mt_lightbox"> <button class="monetate_lightbox_close" type="button">×</button> <div class="mt_lightbox__copy"> <h3>You're leaving so soon?</h3> <p>Don't leave just yet because great things could be headed your way! Enjoy free shipping when you use the promo code <span class="promoCode">HOTDOG</span> in the next 24 hours when you check out.</p> <a class="btn btn--secondary" href="https://monetate.mybigcommerce.com/">Continue Shopping</a> <button class="btn" id="lightboxCheckout" onclick="clickCheckout()">Complete My Order</button> </div> </section> - Click the Styles tab and input the CSS required so that the elements of the lightbox match the theme of your site for a seamless customer experience.
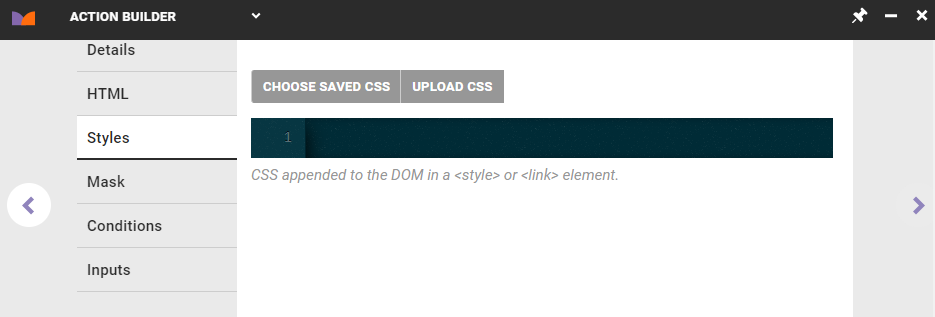
- Optionally, you can set a background image for the lightbox using CSS. Upload an image to or select an existing one in Content Manager, and then add the path to the image. This sample CSS code specifies the location of the background image and configures its dimensions and other styles on the parent container.
#monetate_lightbox_content_container { max-width: 100%; background-image: url('//sb.monetate.net/img/1/1094/4732154.jpg'); background-repeat: no-repeat; background-size: contain; position: relative; text-align: center; } - Add as needed CSS code to adjust the layout of individual components in the lightbox HTML content, such as the text and buttons, to match the overall theme of your site. This sample code styles control the layout of the buttons, links, and text content added by the HTML.
#mt-ltbx-content { width: 100% !important; height: 100% !important; } .mt_lightbox { display: block; position: relative; width: 100%; height: 100%; } .mt_lightbox__copy { display: block; text-align: center; position: absolute; top: 25%; left: 50%; transform: translate(-50%, -50%); width: 95%; } .mt_lightbox__copy h3, .mt_lightbox__copy p { margin-bottom: 10px; } .mt_lightbox .promoCode { font-weight: 700; } .monetate_lightbox_close { display: block; position: absolute; top: 0; right: 0; width: 32px; height: 32px; font-size: 32px; line-height: 28px; text-align: center; background: none; border: none; color: #000; transition: all 0.3s ease; } .monetate_lightbox_close:hover, .monetate_lightbox_close:active, .monetate_lightbox_close:focus { background: #c04f1d; color: #fff; } - If you included the
onclickattribute in the action's HTML code, then you must write the JavaScript function activated by it. Click the Details tab, and then scroll down to the JavaScript editor.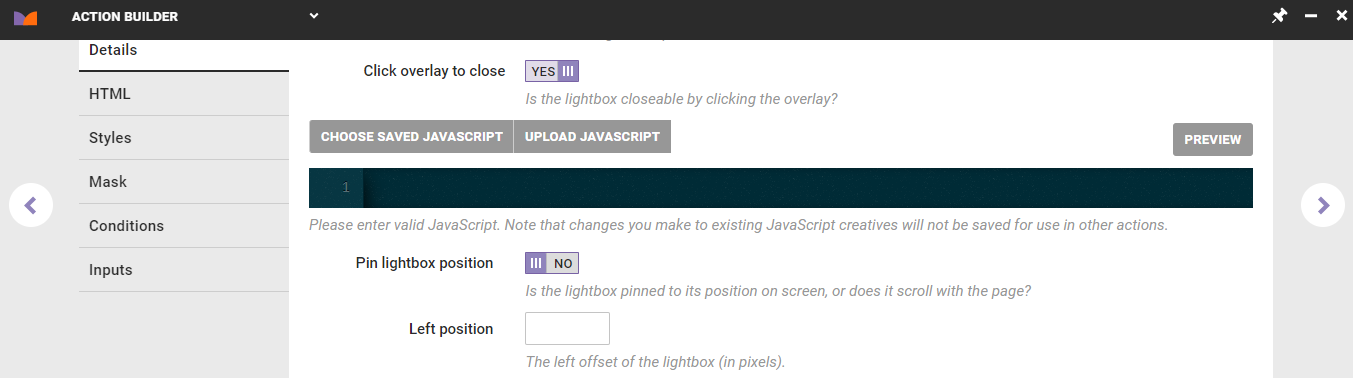
- Input the JavaScript code into the code editor. This sample code includes a function that uses JavaScript to find an element selector, which in this example is the form submit button. After it locates the selector, it triggers a click event on that selector that submits the cart page form.
function clickCheckout() { document.querySelector('form.cart button.btn[name=checkout]').click(); } - Click the Conditions tab and configure the action conditions as described in steps 11 and 12 of Building the Exit Intent Lightbox Action.
- Click the Inputs tab to define which of the action's fields and settings can be configured at the experience level. See Action Inputs for more information.
- Give the action a title, description, and subcategory. Click CREATE & EXIT.