In addition to displaying social influence messages to shoppers based on either aggregated customer behavior or inventory levels, you can display messages based on a recommendation strategy. This type of Social Proof action allows you to deploy messaging influenced by the customer's viewing and purchasing history on products they're more likely to buy.
You can use a recommendation strategy–based Social Proof action on product detail pages and on pages that display multiple product IDs. Furthermore, you can select a local or a global recommendation strategy for the action.
The Trending type typically works well when the recommendation strategy that you want to use for the Social Proof action includes a noncollaborative recommendation algorithm, such as Most Viewed (Product Detail Page) or Top Selling by Purchase Count. If the recommendation strategy that you want to use includes a collaborative recommendation algorithm, such as Purchased and Also Purchased or Viewed and Later Purchased, then consider using the Recommended for you type.
Follow these steps to build a Web experience with a Social Proof action that displays messages based on a recommendation strategy.
- Create a new Web experience, and then configure the WHY and WHO settings.
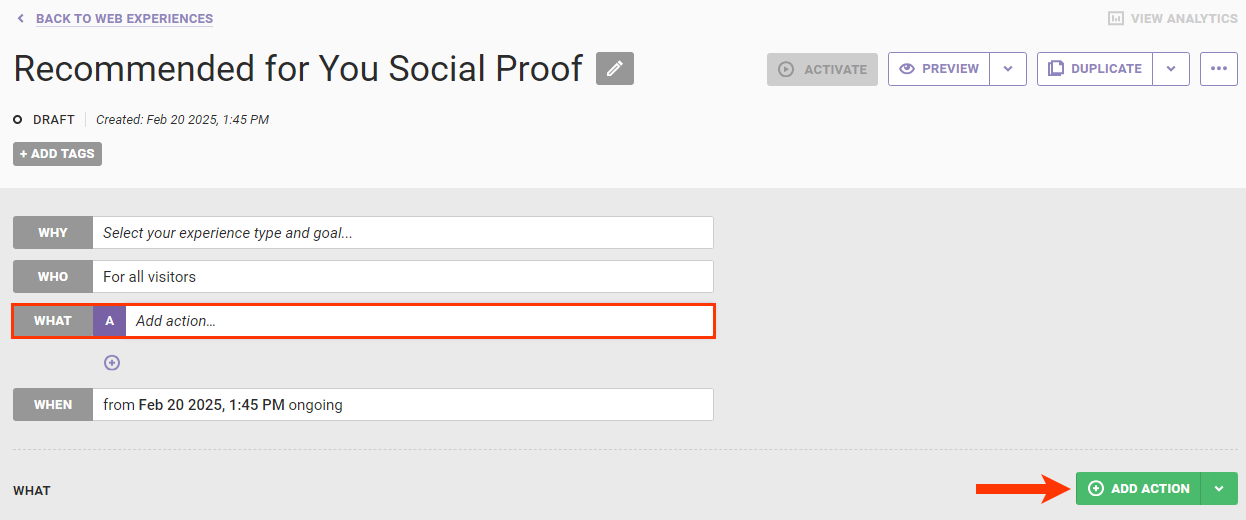
- Click WHAT and then click ADD ACTION.
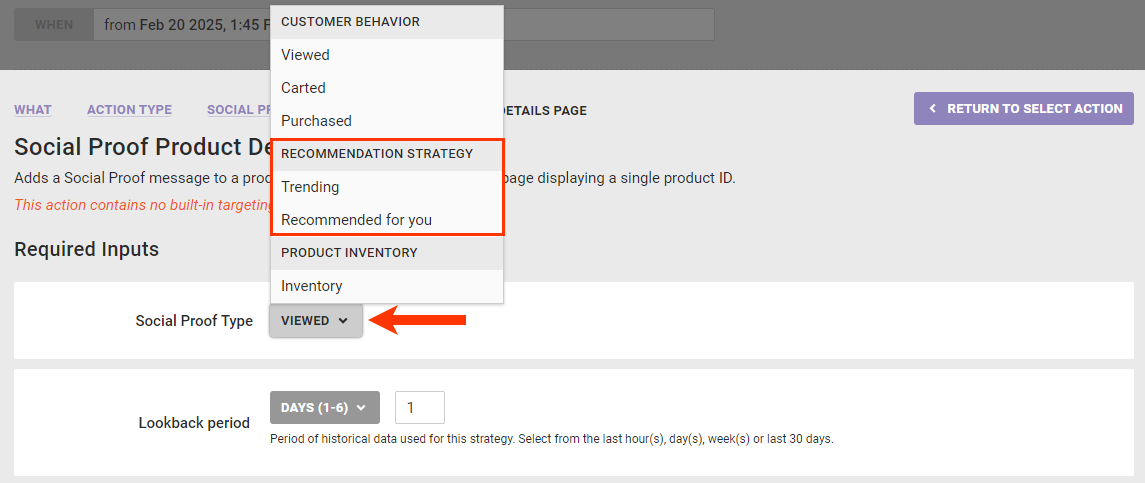
- Click Social Proof on the Action Type panel, and then click an action template.

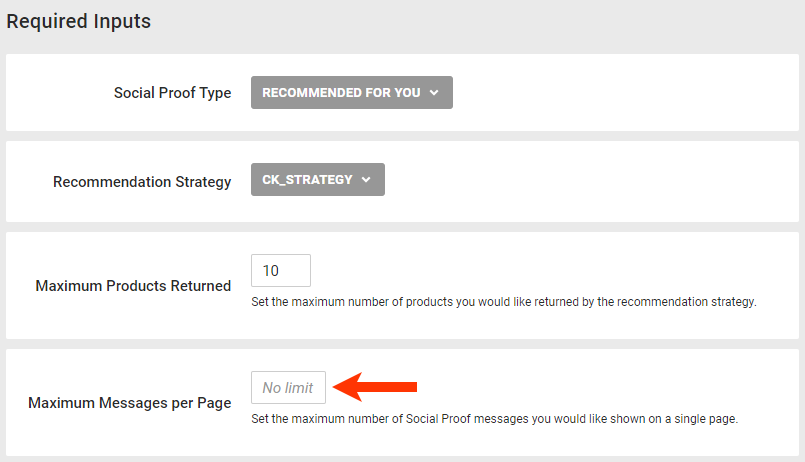
- Select an option from the RECOMMENDATION STRATEGY category in Social Proof Type.
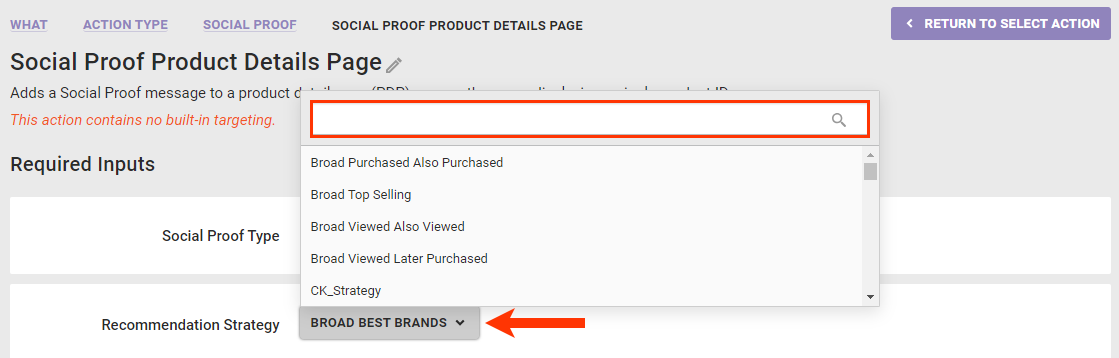
- Select from Recommendation Strategy an option that's configured in a way that best supports the message type that you selected in the previous step. You can use the search field to find and select a strategy by name, or scroll through the options to select one.
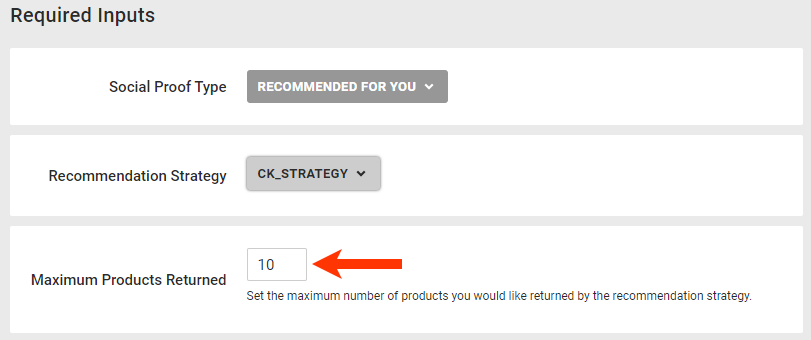
- Type into Maximum Products Returned the total number of recommended products on which the Social Proof message should appear.
- If you selected an action template configured for use on pages that show multiple product IDs or configured for use on the cart page in step 3, then optionally type into Maximum Messages per Page the total number of messages that can appear on one page. The default setting is No limit.
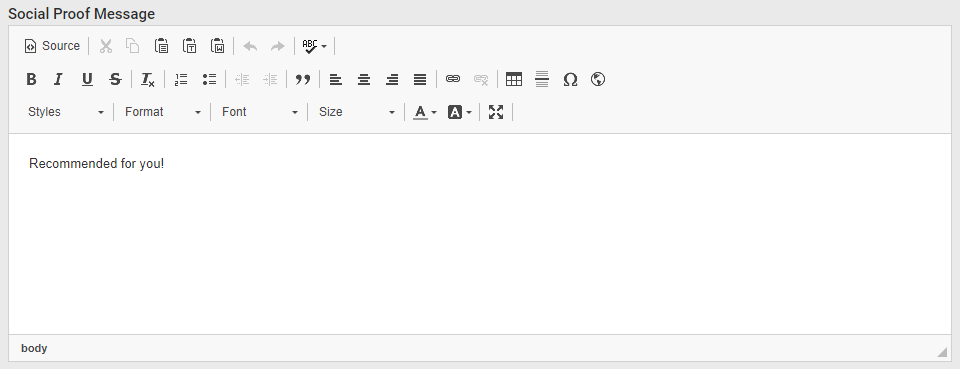
- Optionally, customize the default message that appears in Social Proof Message, or replace the default message with a different one.
- If you selected Trending in step 4, then the default message that appears when the action fires is "Trending!"
- If you selected Recommended for you in that step, then the default message is "Recommended for you!"
- Input the element selector in Relative Element Selector. See Element Selectors for more information about how to use this field.

- Select from Insert Method where the message should appear in relation to the selector you input in the previous step.

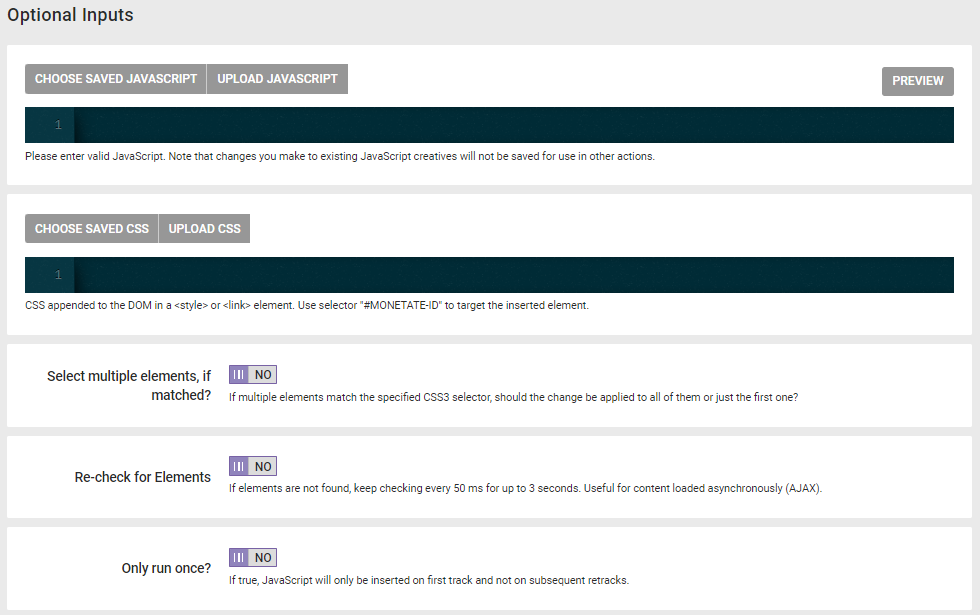
- Optionally, add any of the following settings to the action:
- In the appropriate editor, input, upload, or select JavaScript code that already exists in the account for any JavaScript creative you want to appear as part of the social proof message.
- In the appropriate editor, input, upload, or select CSS code that already exists in the account that you want appended to the DOM in a
<style>or<link>element. - Toggle Select multiple elements, if matched? to YES if you want the social proof message to appear in multiple places if multiple elements match the specified relative element selector.
- Toggle Re-check for Elements toggle to YES if you want the platform to recheck every 50 milliseconds for up to 3 seconds if the specified element is not immediately found.
- Toggle Only run once? to YES if you want the platform to insert the JavaScript only on the first track.
- If you want to specify additional criteria that must be met for the action to fire, select one of the options from ADD CONDITION, and then type into the respective input field the necessary information to complete the action condition.
- Click CREATE.