You can add location-based dynamic text and click zones to an image using Content Builder while creating a Web experience. The location-based dynamic text tokens use information from the locations list that you've uploaded to Content Manager.
Follow these steps to create a Web experience with an image-based action that includes location-based dynamic text and a click zone with a location-based URL.
- Create a new Web experience.
- Configure the WHY settings.
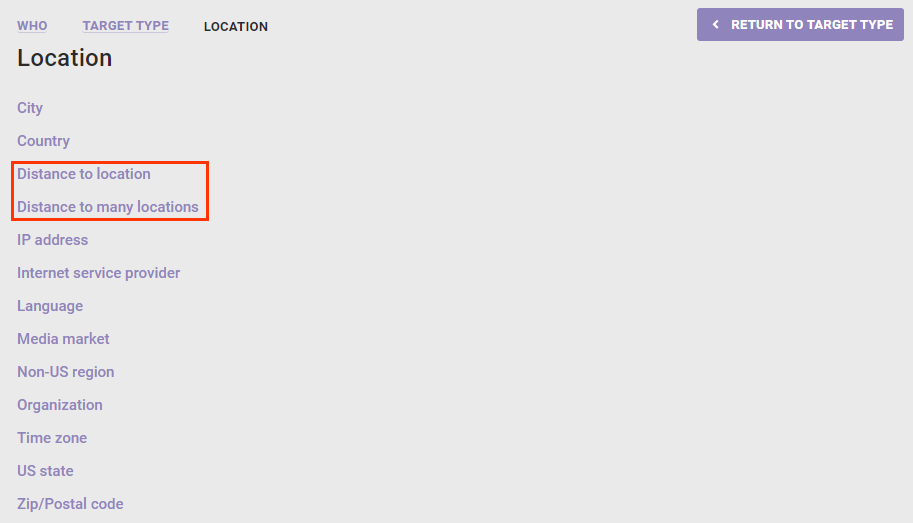
- Configure the WHO settings using either the Distance to location or Distance to many locations target from the Location target type.
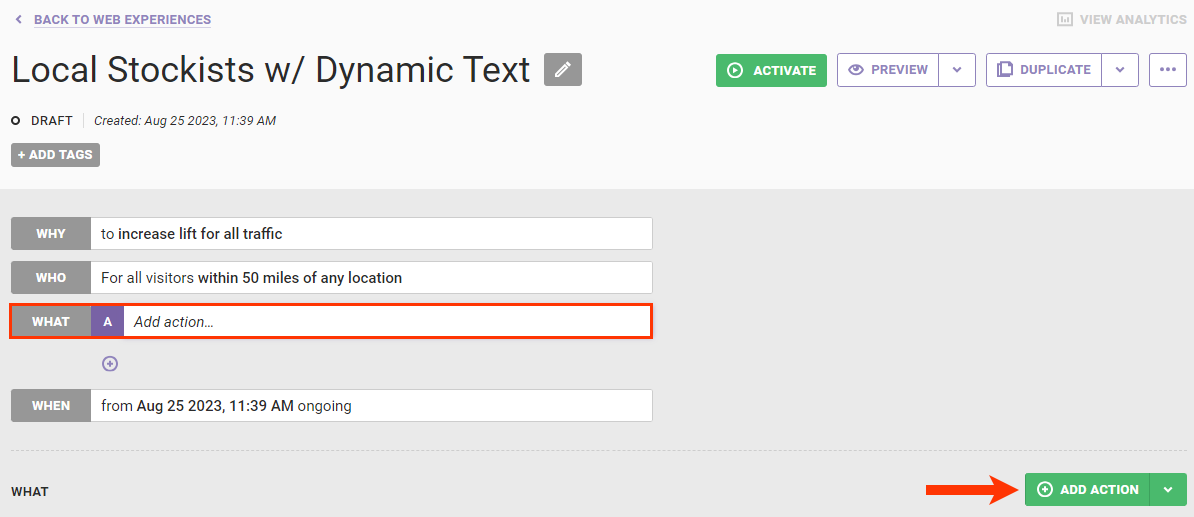
- Click WHAT and then click ADD ACTION.
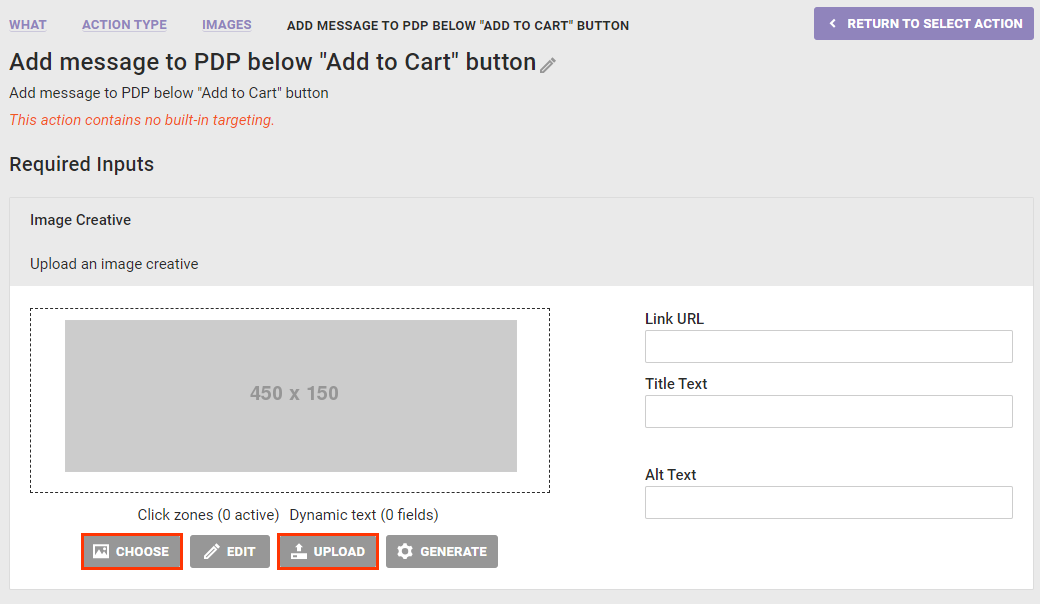
- Select an action type category and then an action template that displays an image to customers who qualify for the experience.
- Click CHOOSE to select an image already uploaded to the account, or click UPLOAD to upload an image to the account.
- If you clicked UPLOAD in the previous step, click EDIT to open the image in Content Builder.
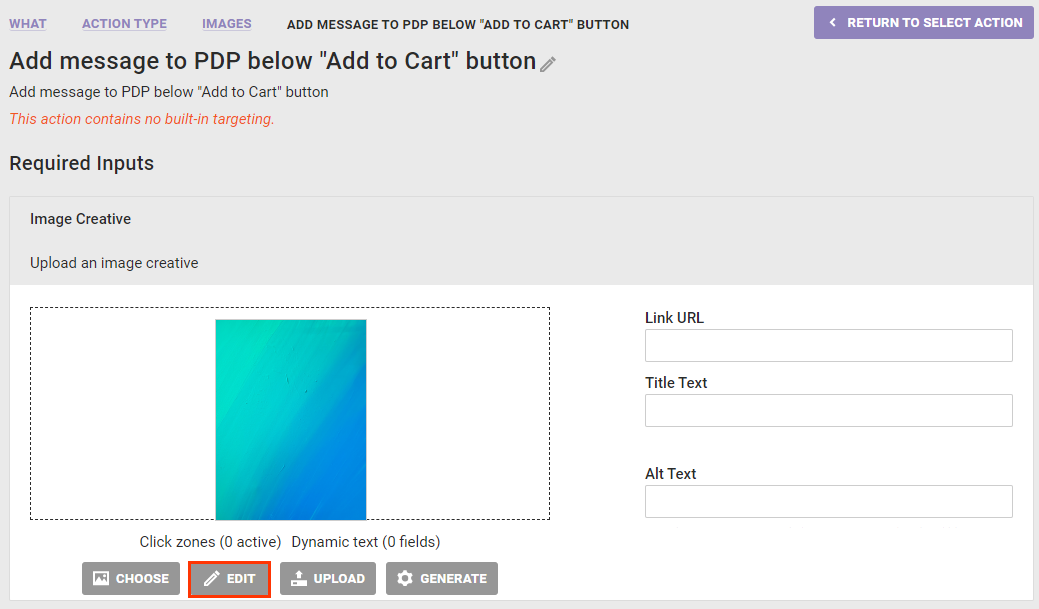
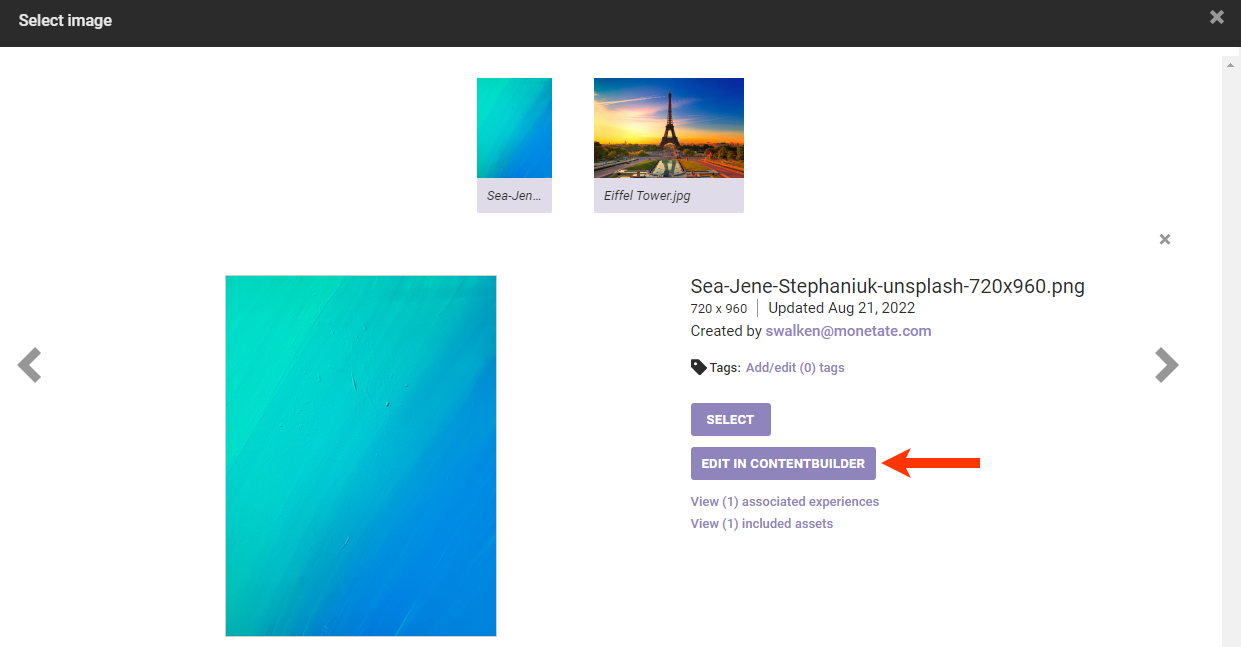
- If you clicked CHOOSE in step 6, then click EDIT IN CONTENT BUILDER in the Select Image modal.
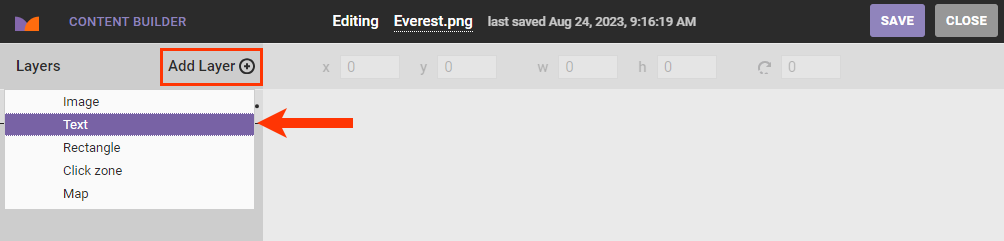
- Add a text layer to contain any lead-in or framing text that doesn't include any dynamic text values or potential click zones. Click Add Layer, select Text, and then compose the text. Apply font styling as necessary.
- Add the location-based dynamic text in one or more text layers.
- Click Add Layer, select Text, and then double-click the new text field to bring up the text toolbar. Click Add dynamic content, select a location-based option from Property, and then click OK.
- If necessary, select from Property each additional dynamic text option that you want to add to the image.
- Add fallback text for the dynamic text layer. Start at step 8 of Adding Dynamic Text in Add Dynamic Text to Creatives.
- Click Add Layer, select Text, and then double-click the new text field to bring up the text toolbar. Click Add dynamic content, select a location-based option from Property, and then click OK.
- Add the dynamic click zone for a URL that corresponds to your retail location that is closest to the customer.
- Click Add Layer and then select Click zone.

- Click DYNAMIC in the Link properties, and then select an option from Dynamic link to determine if the click zone's link comes from the
URL1field or theURL2field of the account's locations list.
- Complete the remaining fields in the Link section:
- Fallback URL: The URL used if the customer's closest location doesn't have a URL in the locations list
- Alt text: The text displayed on mouse hover over the image or in lieu of the image if the customer has disabled image display in their browser
- CSS class: Defines the CSS class for the link
- Relationship: Defines the relationship between the current image and the linked image
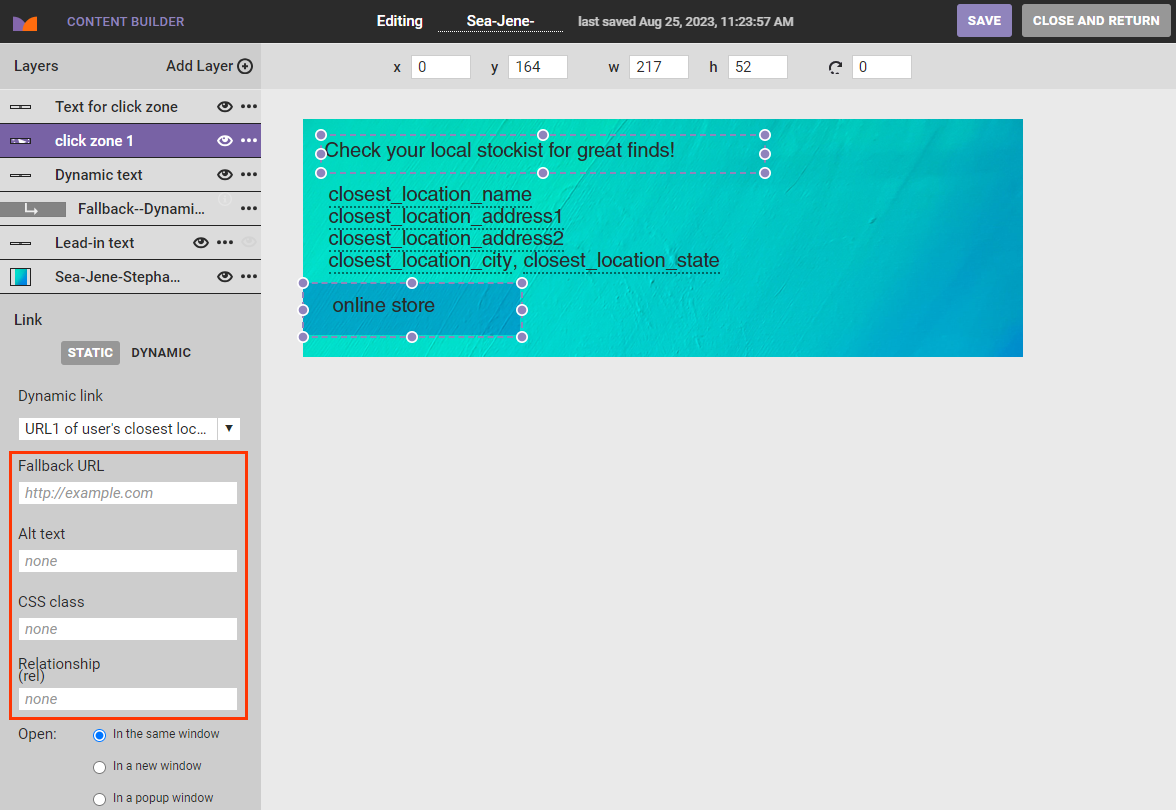
- Select an option to define how the click zone's link launches:
- In the same browser window in which the customer is viewing the Web experience or email
- In a new browser window or tab, depending on the customer's browser settings
- In a pop-up window, the dimensions and appearance of which you must also configure

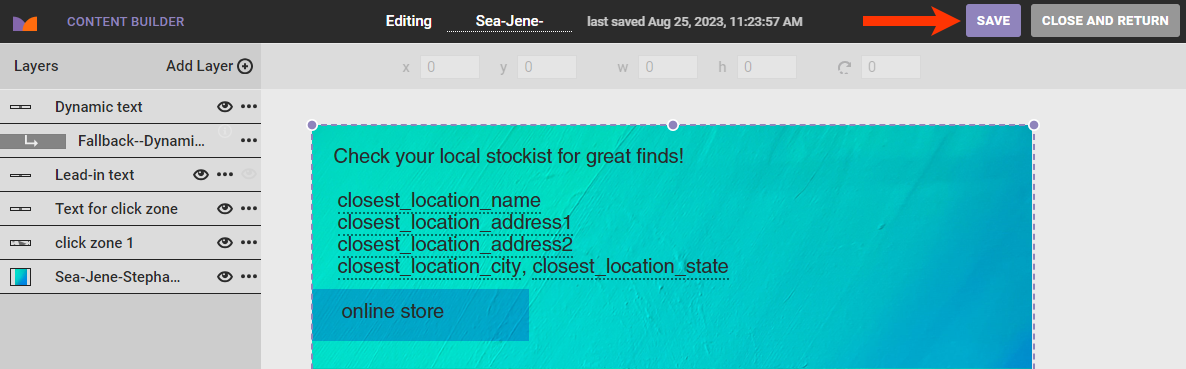
- Click SAVE.
- Following the steps in Previewing a Creative with Dynamic Text in Add Dynamic Text to Creatives to ensure that you configured all the layers appropriately for all customers who qualify for the experience.
- If necessary, click SAVE if you made any changes after previewing the image, and then click CLOSE AND RETURN.
- Click Add Layer and then select Click zone.
- Configure the action template's other required inputs as necessary.
- Configure the action template's optional inputs. See Creating a Responsive Click Zone for CSS you may need to include in the action.
- Click CREATE.
- If necessary, configure the WHEN settings for the experience.
Creating a Responsive Click Zone
To create a responsive click zone for an image, you must include a few CSS styles when configuring the WHAT action template for the experience.
Image Container Styles
Set the max-width value to the width of the included content creative in pixels.
max-width: ###px;Image Styles
Set the max-width value to 100% to allow an image's click zones to scale with the image.
max-width: 100%;