You can use Multivariate Test (MVT) experiences to test all the possible permutations of multiple elements on your page. For example, a standard A/B test may contain three actions, but a site visitor only ever sees a version of the page with all the actions turned on or all the actions turned off.
An MVT test, on the other hand, will test all possible combinations of those three actions to help you determine the best combination. With that said, multivariate experiences require a longer period of time to run before they provide usable insights because they require more traffic to declare significance than a standard A/B/n test.
Multivariate Test experiences should not be viewed as a standalone element, but more like the first step in the experimentation process that should be followed up with additional A/B/n testing.
Follow these steps to build an MVT experience.
- Click Experiences in the left-hand navigation, and then, if necessary, select Web.

- Click the arrow to the right of CREATE EXPERIENCE, and then select Multivariate Test (MVT).

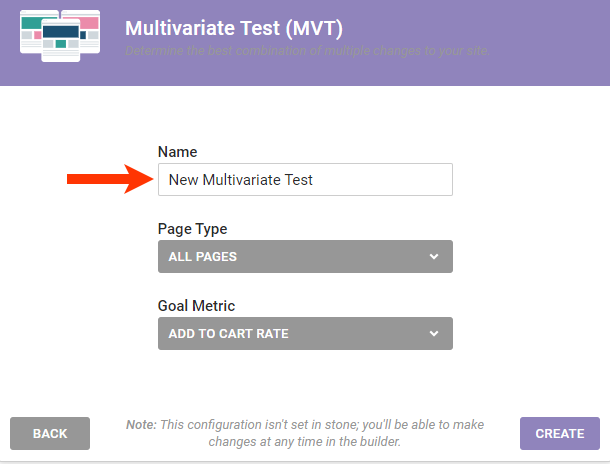
- Name the experience.
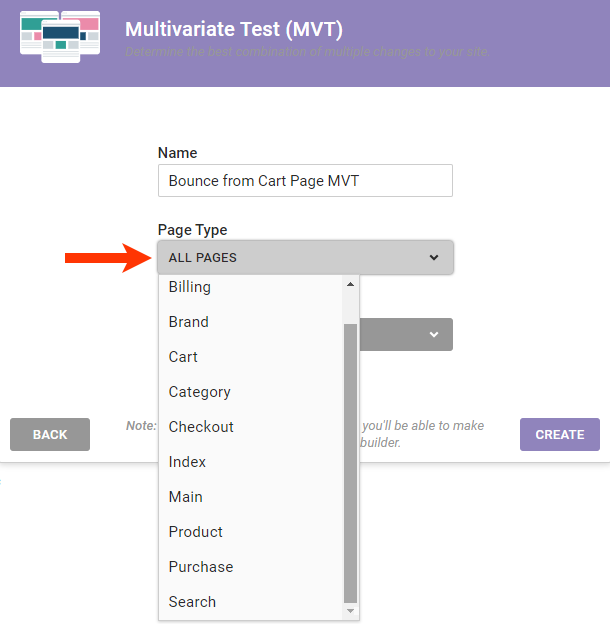
- Select the page type on which the experience should run.
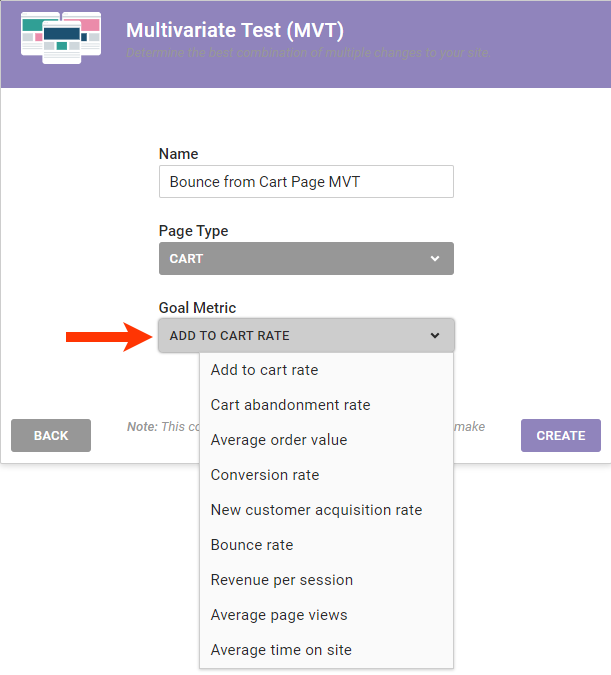
- Select the goal metric.
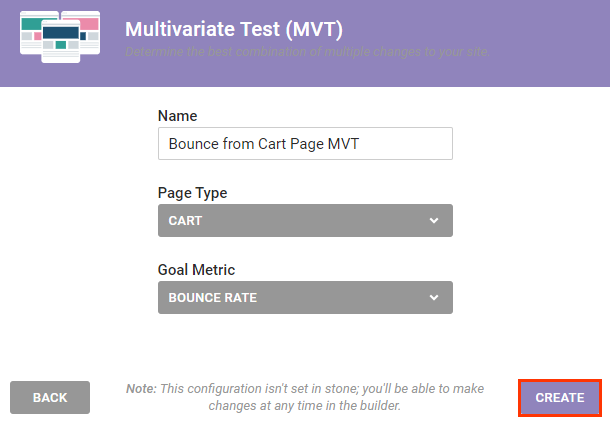
- Click CREATE.
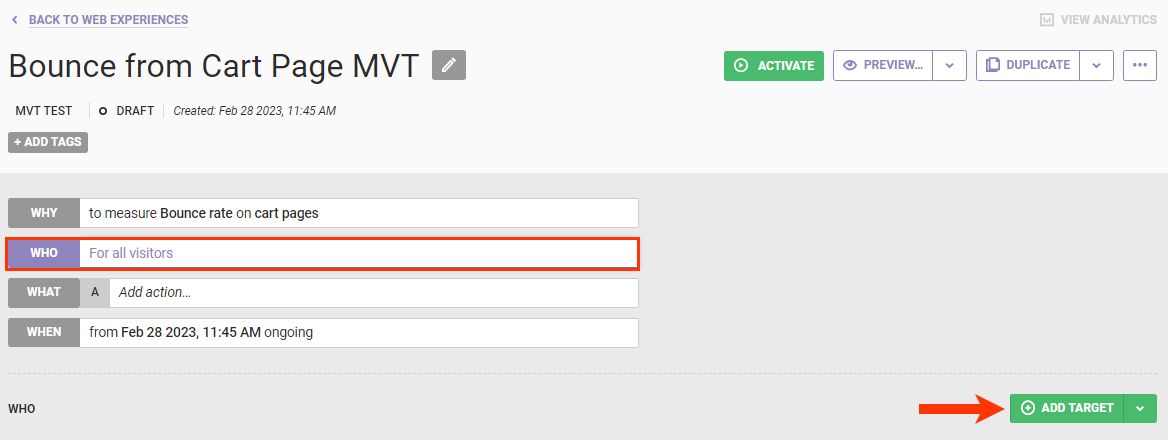
- Optionally, narrow the target audience for the experience. Click WHO, then click ADD TARGET, select a target type, and then select and configure an option. See the Targeting Customers category of the knowledge base for more information about the types of targets and configuring them.
- Configure the WHAT settings.
- Click WHAT then click ADD ACTION.
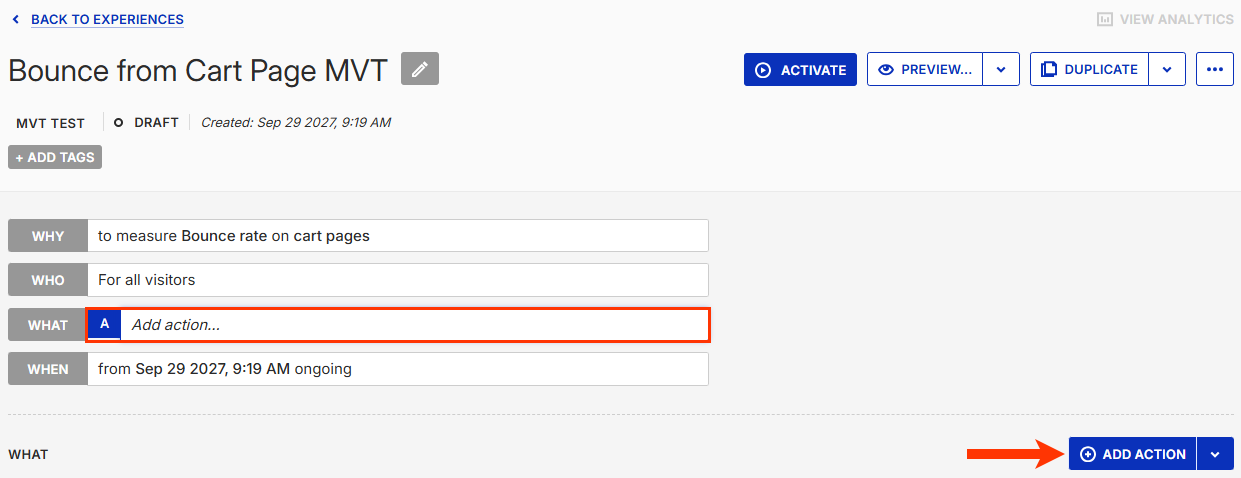
- Select an action type.

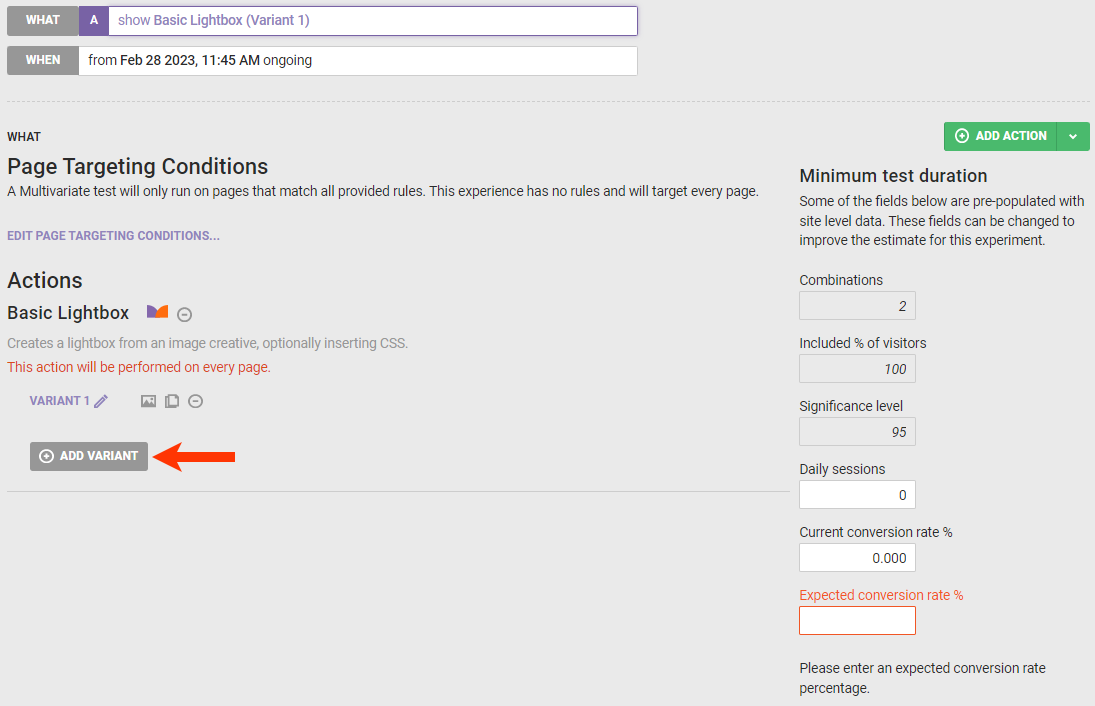
- Select and configure an action template.
- Optionally, click ADD VARIANT and then configure a variant of the action you configured in step 8c. Repeat this step as many times as necessary to configure the variants of the first action that you want to test.
- The original version of a site element is included and tested as a variant for any action that you add to the experience. Therefore, an experience with two sets of variants for a single action actually has three when the original is considered. To determine the total variants in an MVT experience, multiply the number of variants including the original for each action.
- The more permutations that are present in your experience, the higher the risk of getting false positives. As a best practice, remain agile: Complete a multivariate experience with the fewest number of variants, review the results, and then create an A/B/n experience that focuses on the highest or the lowest performing segment. As a rule of thumb, you should limit the number of permutations to 25 or less.
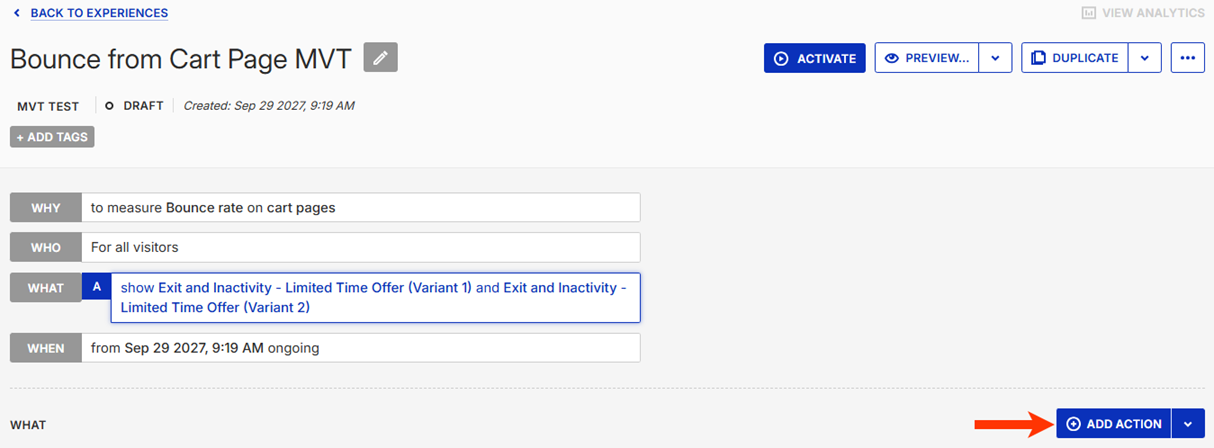
- Click WHAT then click ADD ACTION.
- Optionally, repeat steps 8a through 8e to add an additional action and multiple variants of that action to the experience.
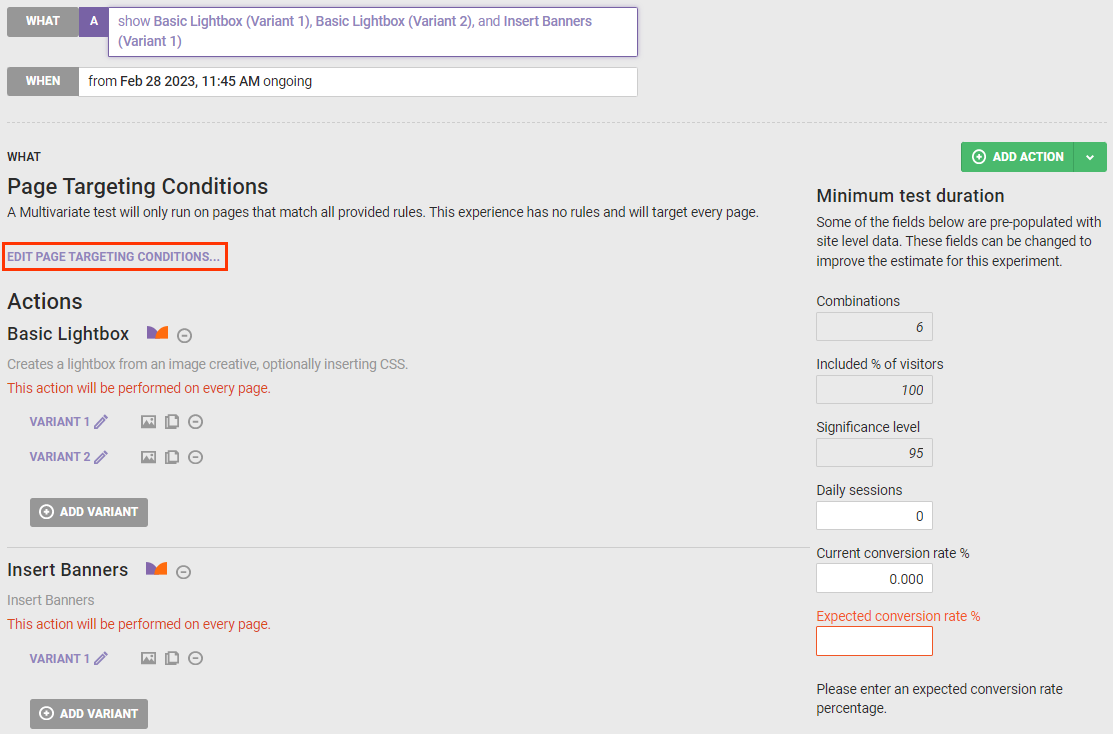
- If the experience doesn't target all pages or if you want to add any conditions, then configure the page-targeting conditions.
- Click EDIT PAGE TARGETING CONDITIONS.
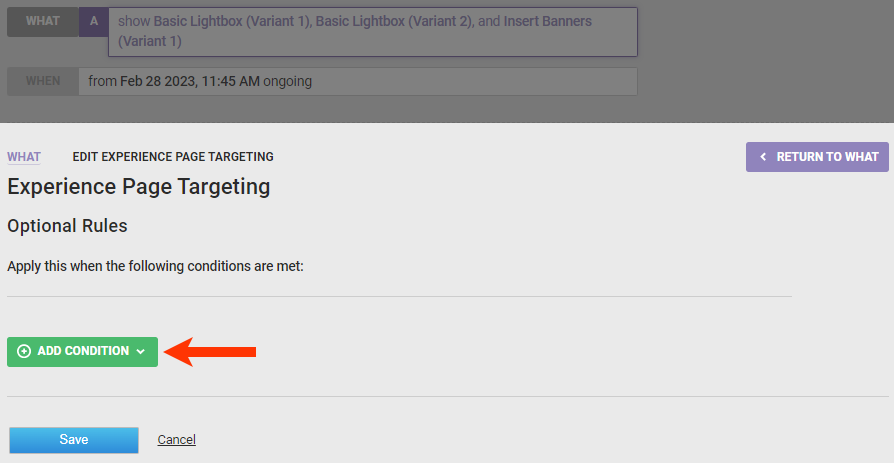
- Click ADD CONDITION.
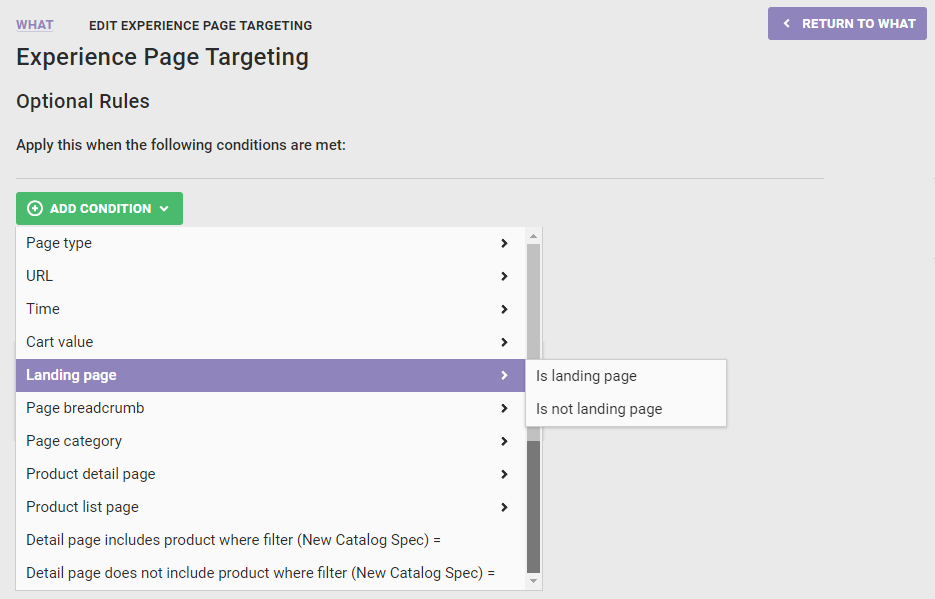
- Select an action condition category and then an option from that category.
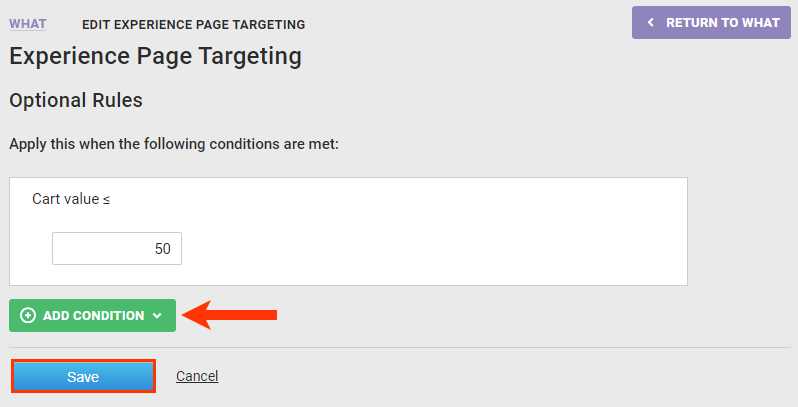
- Complete the action condition equation, and then either click ADD CONDITION to create another page-targeting condition or click Save.
- Click EDIT PAGE TARGETING CONDITIONS.
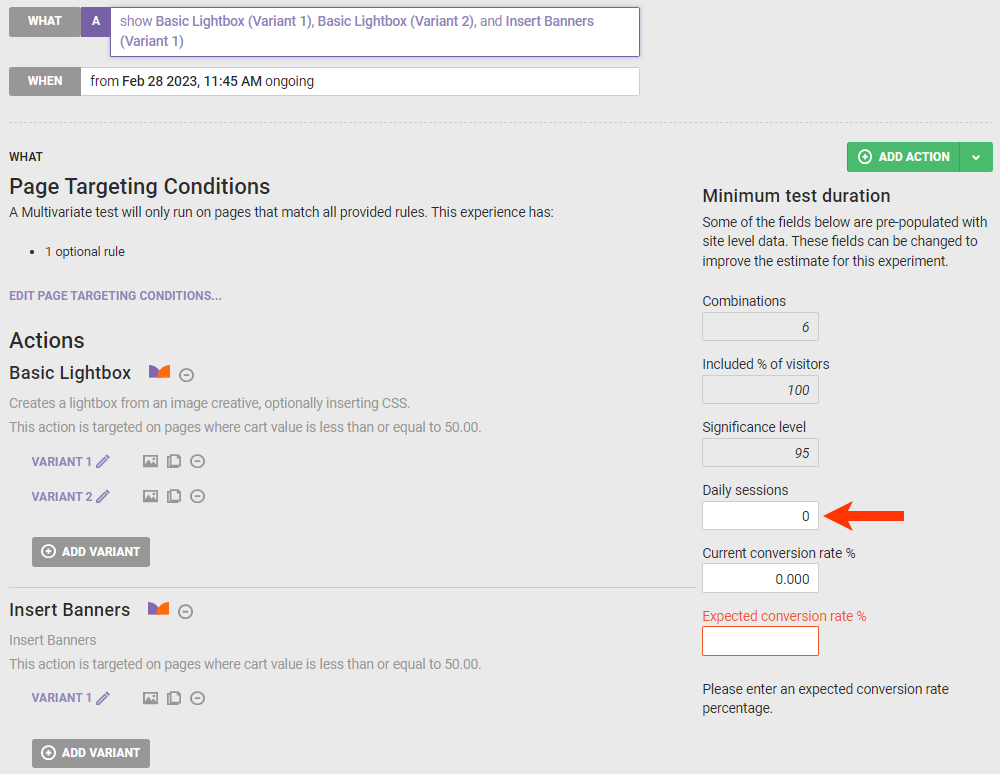
- Optionally, calculate the experience's minimum duration.
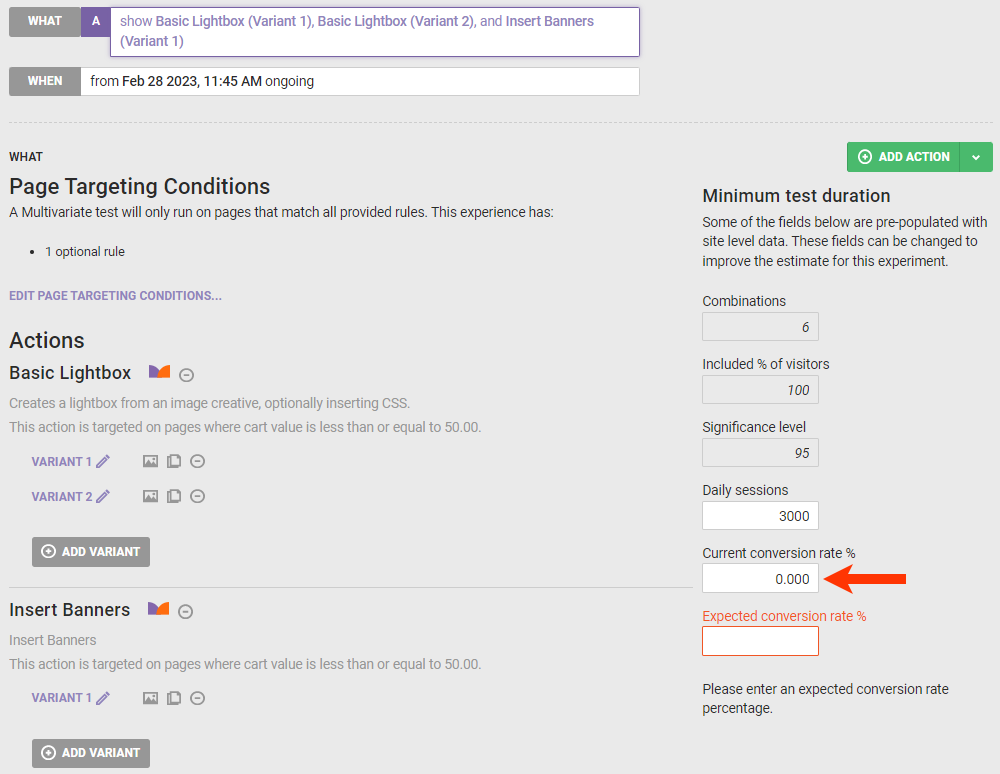
- Input an estimate of your site's average number of sessions in a day.
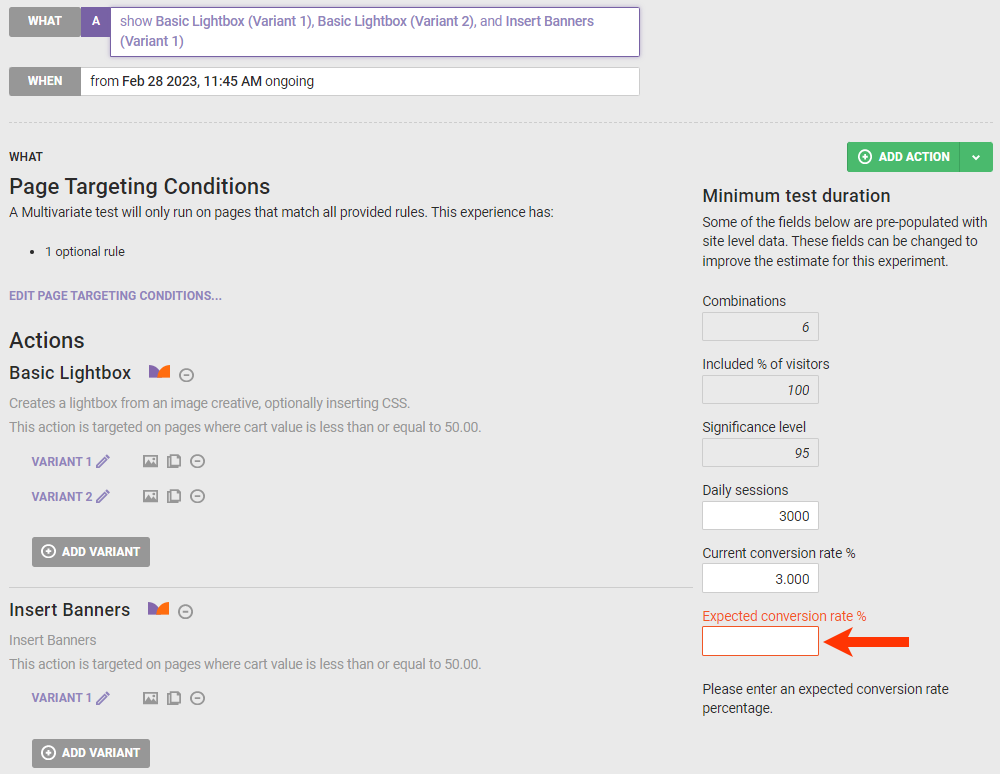
- Input an estimate of your site's current conversion rate percentage.
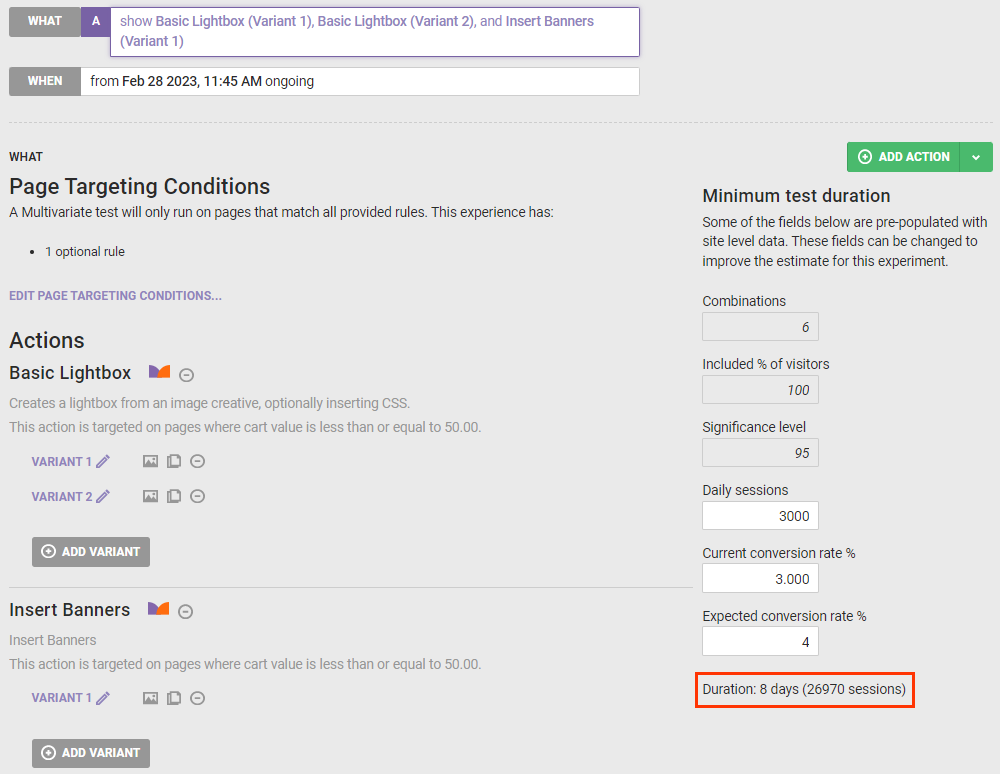
- Input an estimate of the conversion rate percentage you anticipate as a result of the experience.
- Optionally, adjust any of the estimates you input in the previous steps to recalculate the estimated minimum experience duration.
- Input an estimate of your site's average number of sessions in a day.
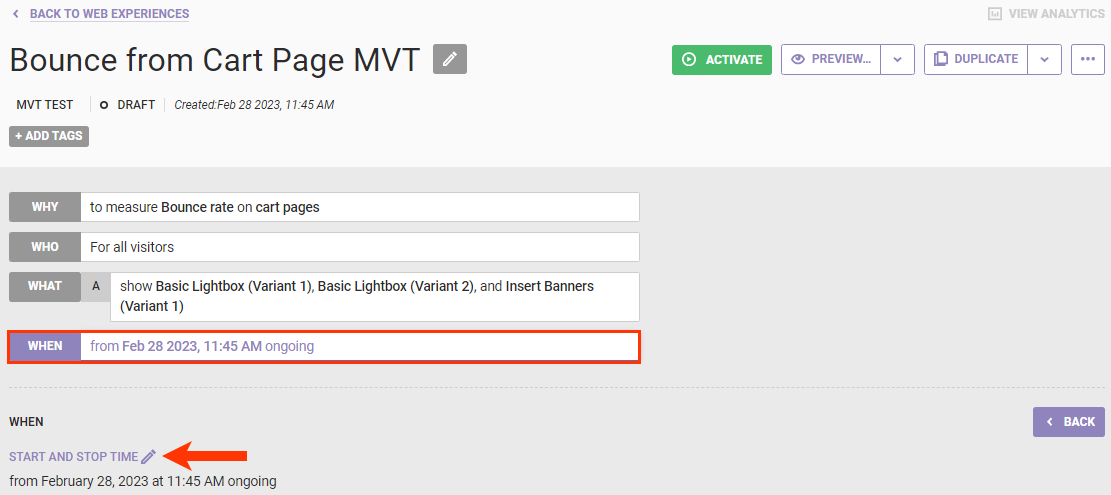
- Optionally, configure the start and stop times for the experience. Click WHEN and then click START AND STOP TIME. See Configure the WHEN of a Web Experience for more information.
Ensure that you preview the experience before you activate it. When you click PREVIEW and then select Preview, you can select which variant of each action that you want to preview.
See Activate an Experience for Preview and Testing for more information.