You must configure certain settings before using the Product Recommendations for Email feature, including selecting your email service provider (ESP), inputting your subscriber ID merge token, and adding the domain alias you've created to appear in certain email content instead of Monetate's own content delivery network (CDN).
To access the Email Settings page, click the settings cog in the top-right corner of the Monetate platform, and then click Email.
Managing Your ESP
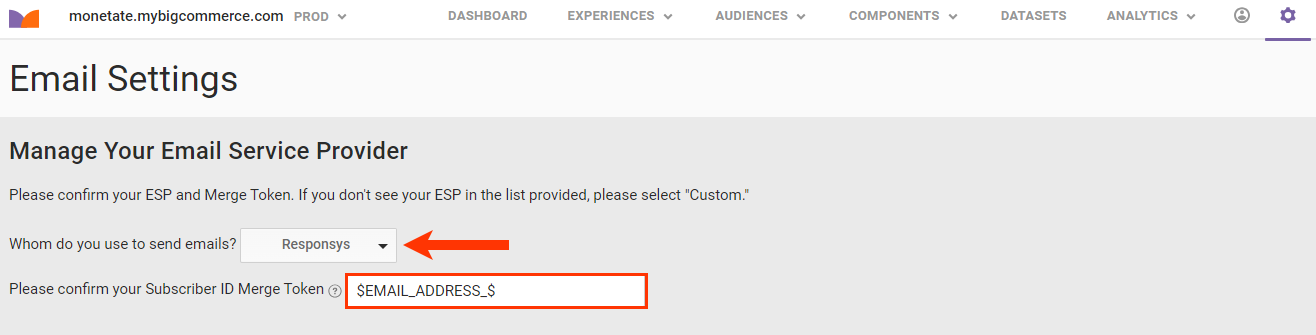
Select from Whom do you use to send emails? the name of the ESP that you use to send emails to clients. After you select one, Subscriber ID Merge Token autopopulates with the default merge token for you. However, if you have custom subscriber IDs set up with your ESP, then input that information into the field instead.
If your ESP isn't an option in Whom do you use to send emails?, then select Custom instead.
Configuring Your Domain Alias
Monetate serves your images from a global CDN, but you can use the Monetate Email Domain Alias setting to rename the image URLs to match your brand.
First, you must create a domain or subdomain and configure it as a domain alias for sd.monetate.net by adding a CNAME record.
Follow these steps to add a CNAME to your domain.
- Sign into your domain's account on your Web host.
- Find the page on which you can update your domain's DNS records. Often this page is titled "DNS Tools," "DNS Management," or "Edit Name Servers."
- Find the CNAME records for your domain. These records include a domain alias name (for example,
alias.yourdomain.com) and a destination (for example,yourdomain.com). - Add a CNAME record with the destination
sd.monetate.net. - Save the changes.
The changes often go into effect within an hour but may take up to 72 hours.
After you have added your domain alias, you must verify that it works. First, return to the Email Settings page in the Monetate platform. Enter your domain alias name in the Monetate Email Domain Alias text field, and then click TEST.
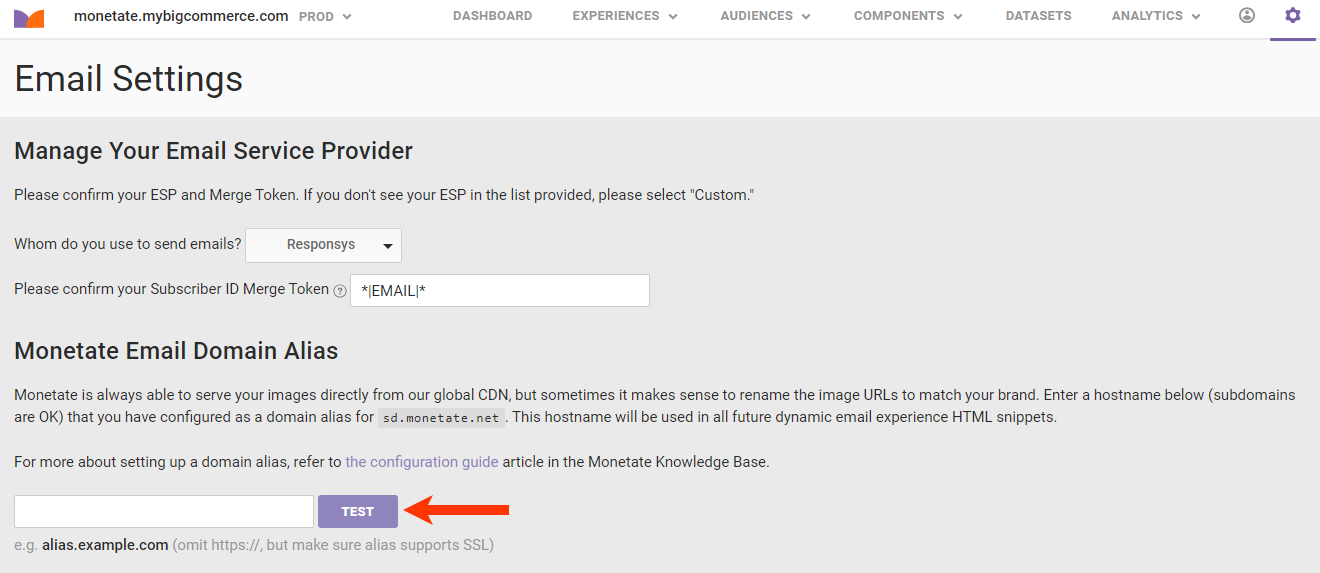
If your domain alias is properly configured, then a success message appears next to TEST.
Submit a support ticket using the Monetate Technical Support portal (support.monetate.com) if you have questions or need assistance.