You can create an experience with actions that only fire on specific page types for specific products in a product catalog. This option is valuable if you want to display a banner or some other visual change on those specific pages to encourage customers to take a particular action or to present relevant promotions and sales. Action conditions are key to targeting the actions.
Creating the Experience
Follow these steps to create a Web experience that displays a banner on a product detail page.
- Create a new Web experience and give it a name.
- Configure the WHY settings.
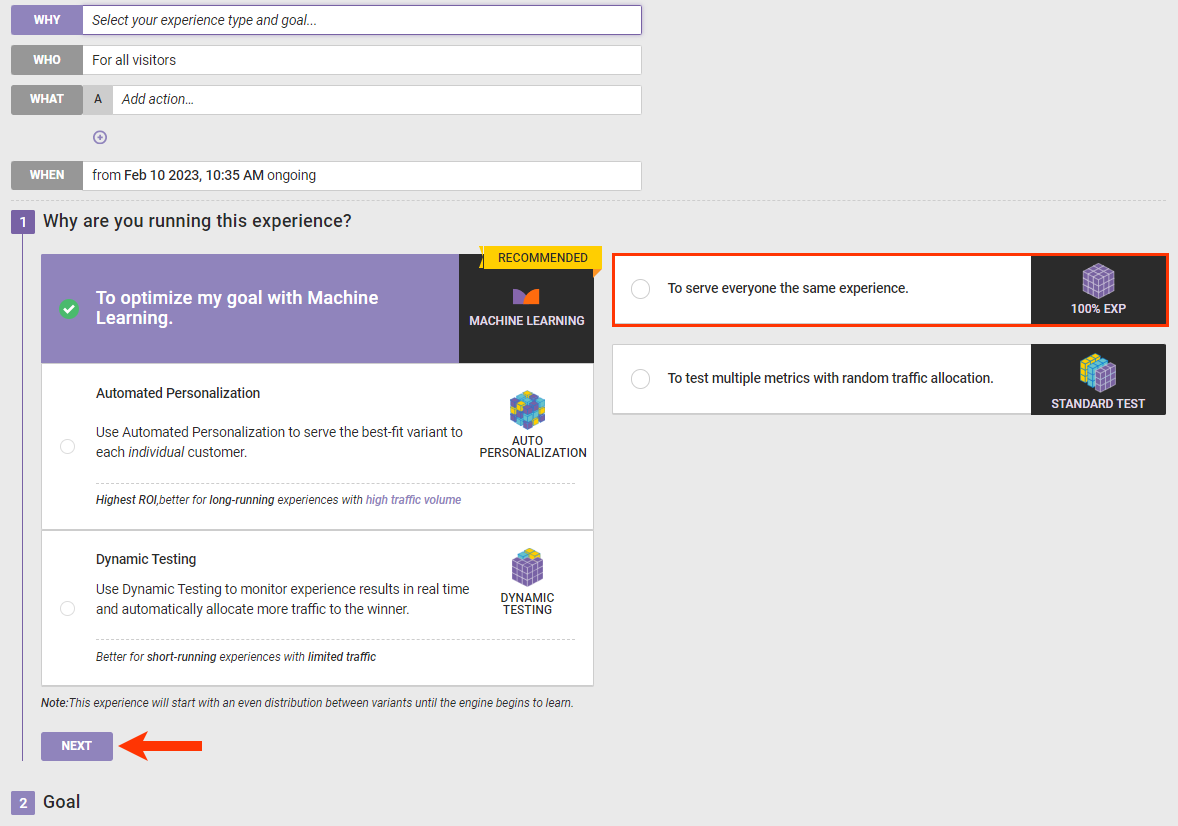
- Click WHY, select To serve everyone the same experience, and then click NEXT.
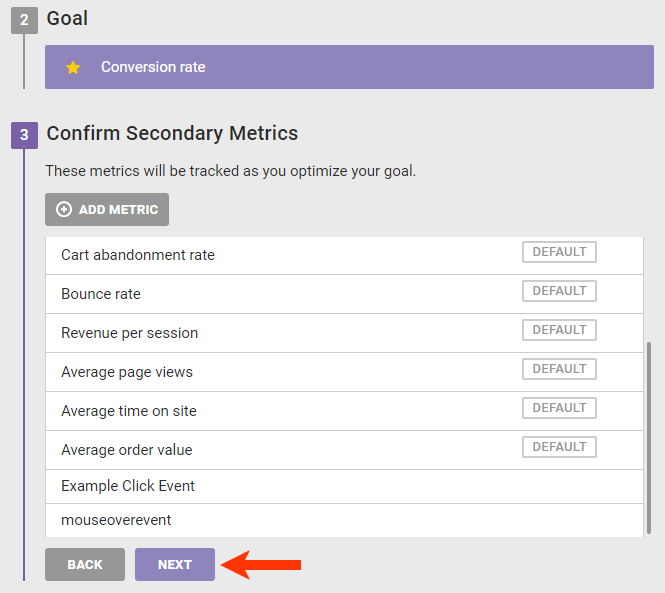
- Select the goal metric and then click NEXT.

- Adjust the secondary metrics as needed, and then click NEXT.
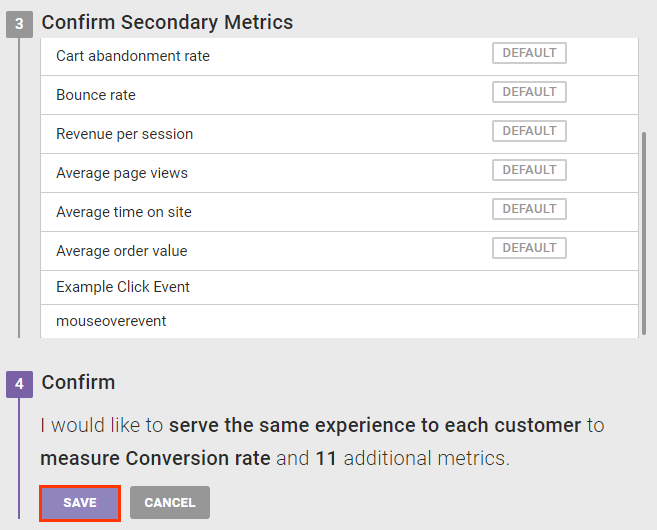
- Confirm that the WHY settings are configured as you want, and the click SAVE.
- Click WHY, select To serve everyone the same experience, and then click NEXT.
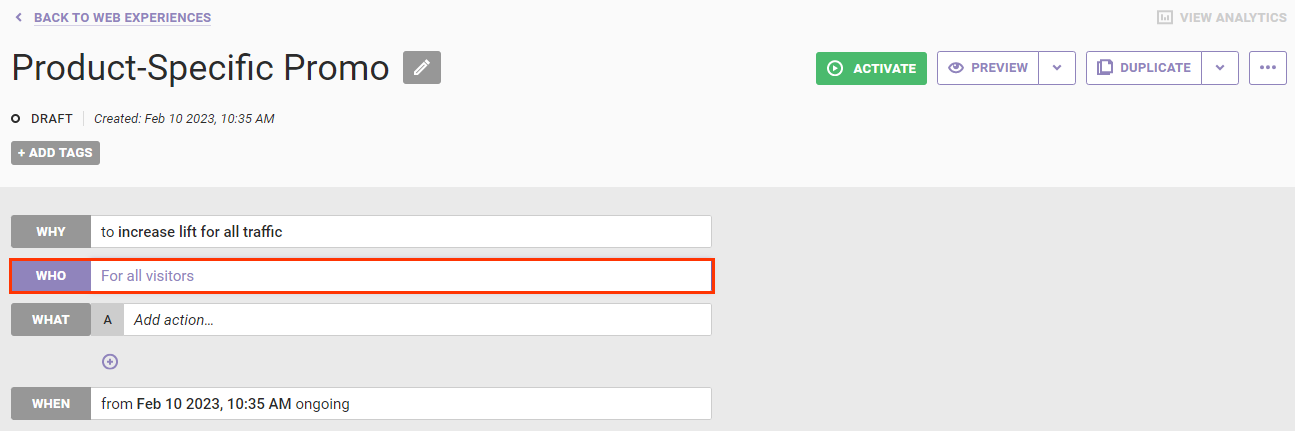
- Leave the WHO settings configured to target all site visitors.
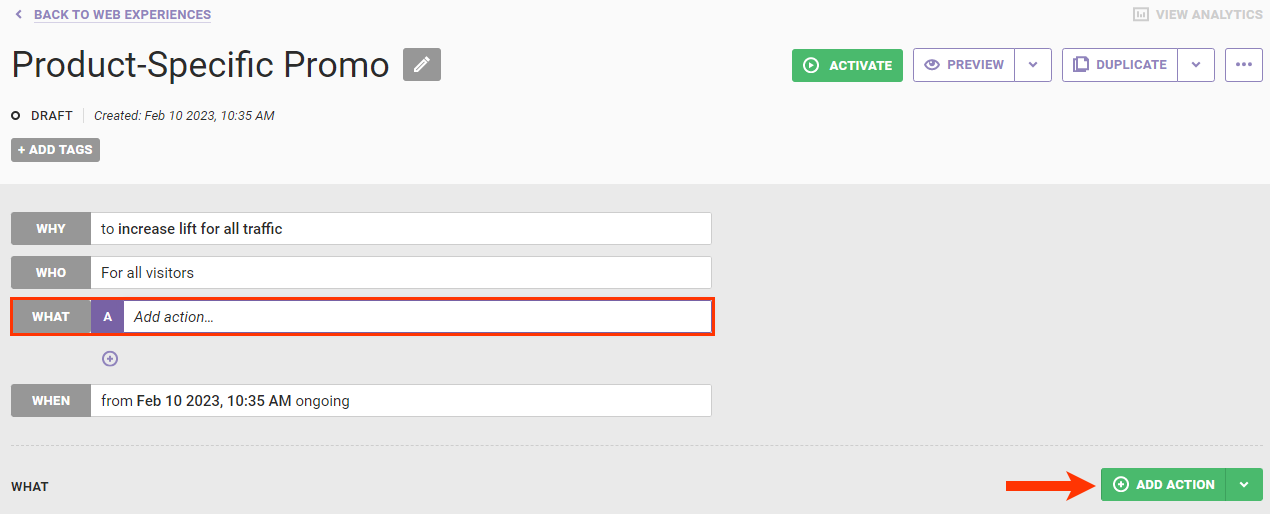
- Click WHAT and then click ADD ACTION.
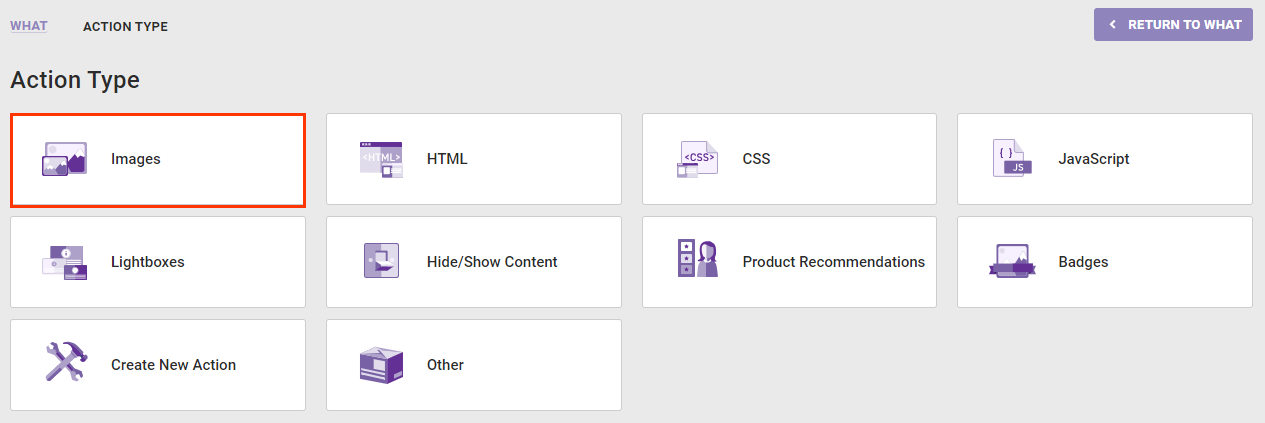
- Click Images.
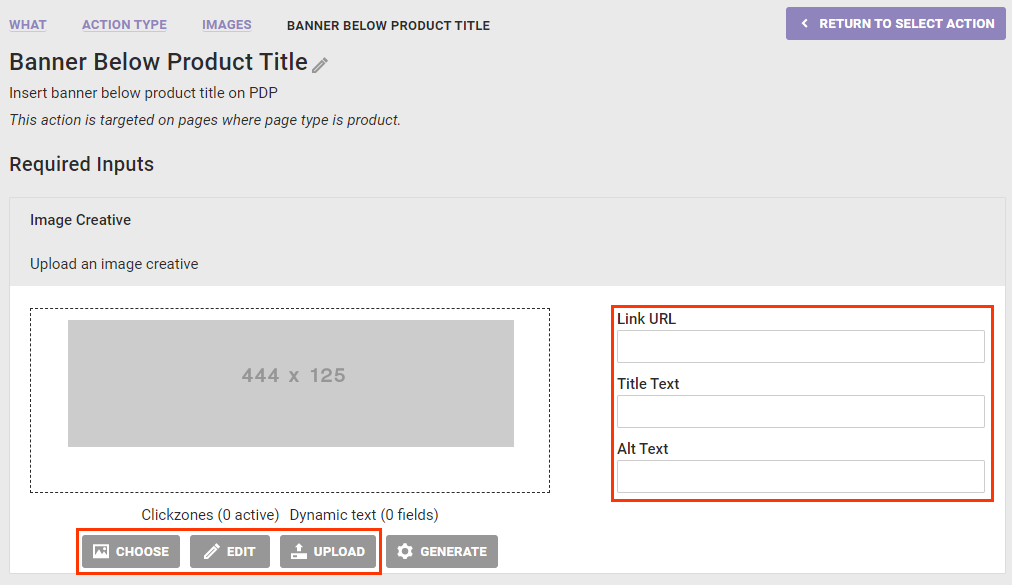
- Select an action template configured to work on a product detail page and to display the image you want to use in the experience.

- Add the image by uploading it or selecting it from Content Manager, and then input a link URL, if necessary, as well as title text and alternative (alt) text.
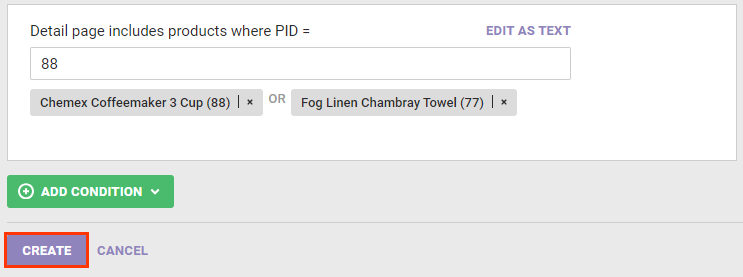
- Click ADD CONDITION, expand Product detail page, and then select Detail page includes products where PID =.
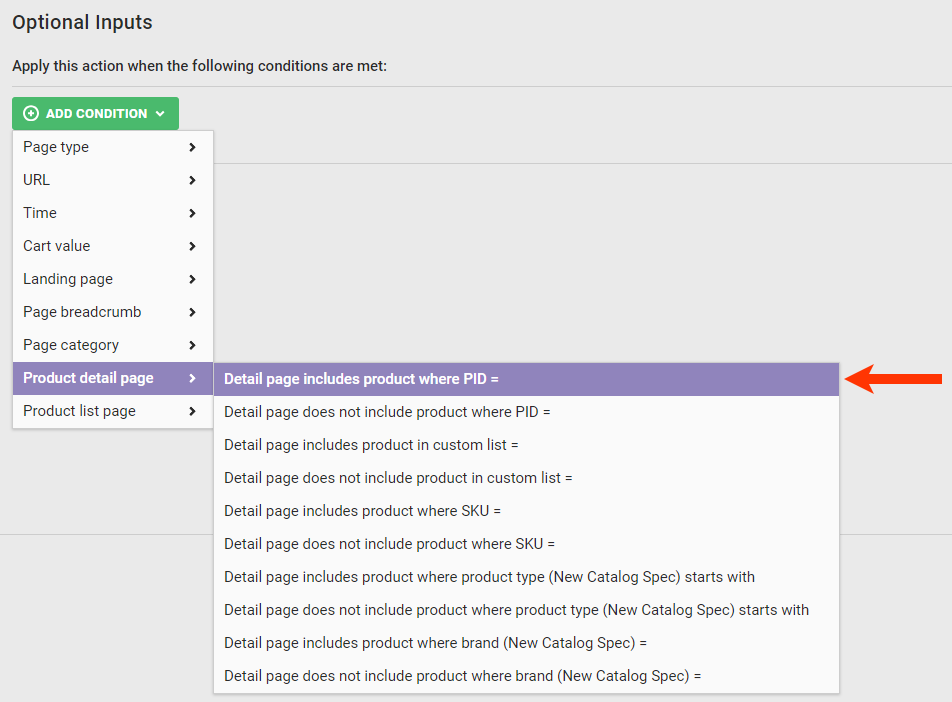
- Input the product ID(s) into the action condition equation.
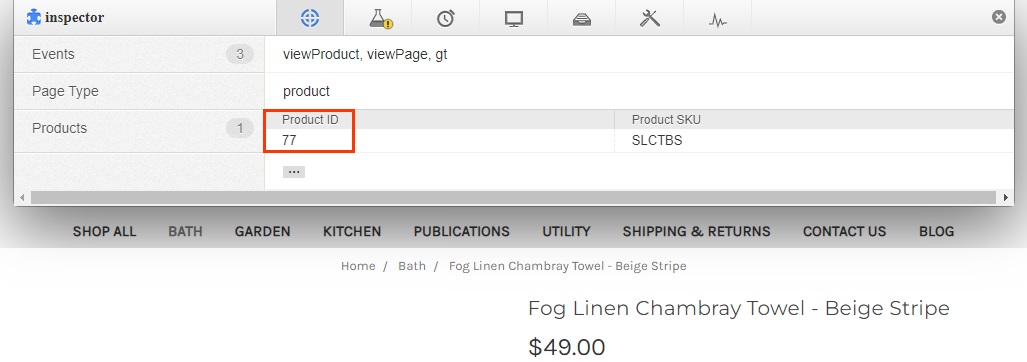
- In a new browser tab, load the product detail page for one of the products targeted by this experience, and then launch the Monetate Inspector browser plug-in to obtain the product ID.
- Repeat this process for any other products you want the experience to target.
- Input each product ID into the action condition field.

- In a new browser tab, load the product detail page for one of the products targeted by this experience, and then launch the Monetate Inspector browser plug-in to obtain the product ID.
- Click CREATE.
- Configure the WHEN settings as necessary. See Configure the WHEN of a Web Experience for more information.
After you create the experience, ensure that you preview it before activating it.
Previewing the Experience
Follow these steps to preview the experience to ensure the action works as expected.
- Click the drop-down arrow to the right of PREVIEW, and select the option to preview the experience alone or to preview it with all other active experiences.

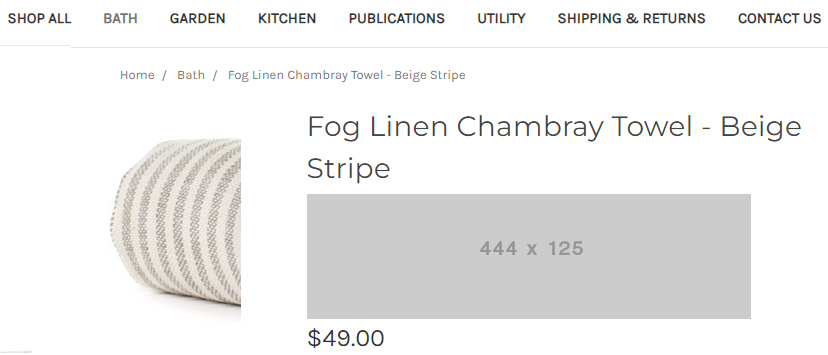
- Navigate to the product detail page for a PID that you input in the action condition that you created in step 9 to verify that the image appears. Repeat this step for each PID that you included in the action condition.
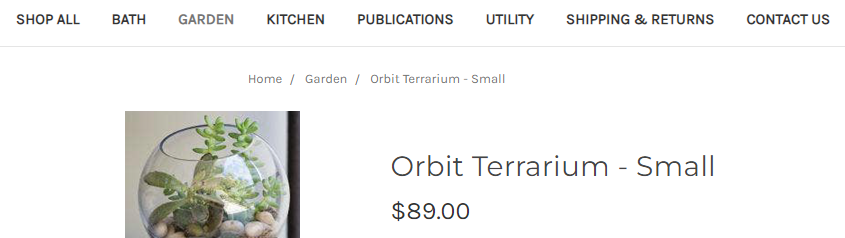
- After verifying that the action and the experience work as expected, navigate to a few different product detail pages not targeted to verify that the image does not appear on those pages.
After you confirm that the experience's action works as expected only on the targeted product detail pages, return to the Experience Editor page in the Monetate platform and then click ACTIVATE.