You can add one or more events that you've created in Event Builder as custom metrics to an experience before activating it.
If you want to do add a custom metric to an active experience, you must duplicate it and then add the custom metric to the copy. See Duplicate a Web Experience for more information.
Follow these steps to add an event as a custom metric to an experience.
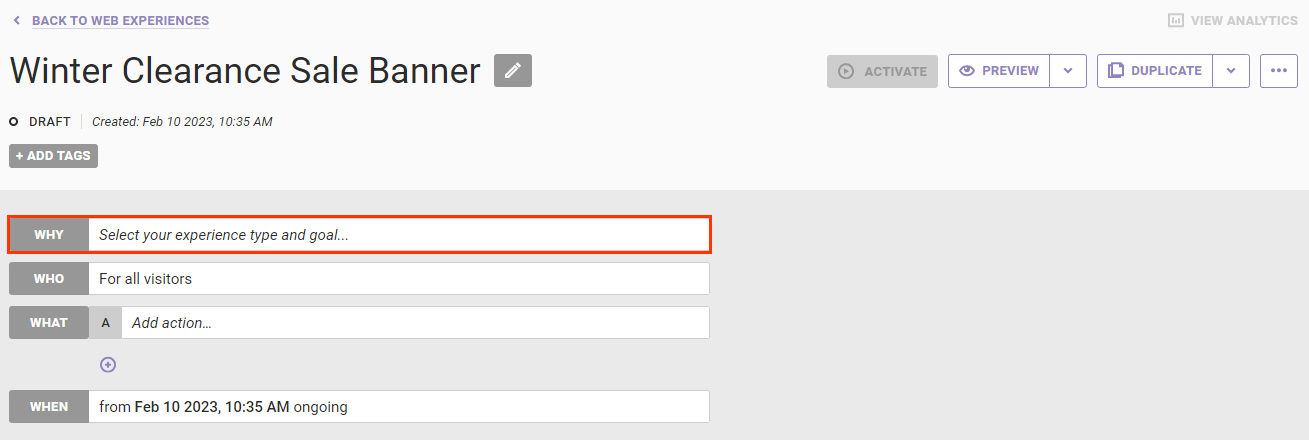
- Create a new Web experience, or open in Experience Editor an existing experience to which you want to add a custom metric.
- Click WHY.
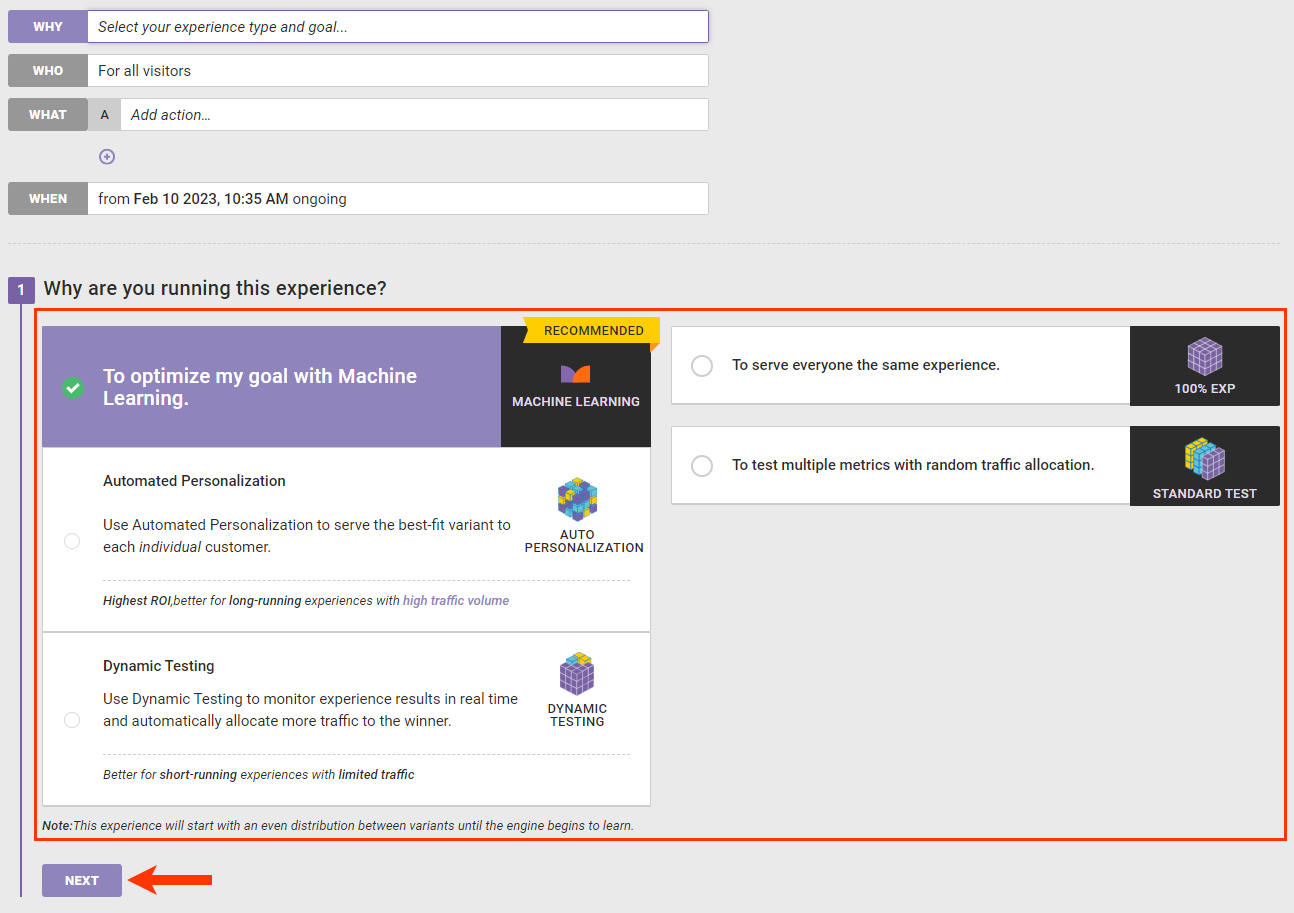
- Select the type of experience you want to run, and then click NEXT.
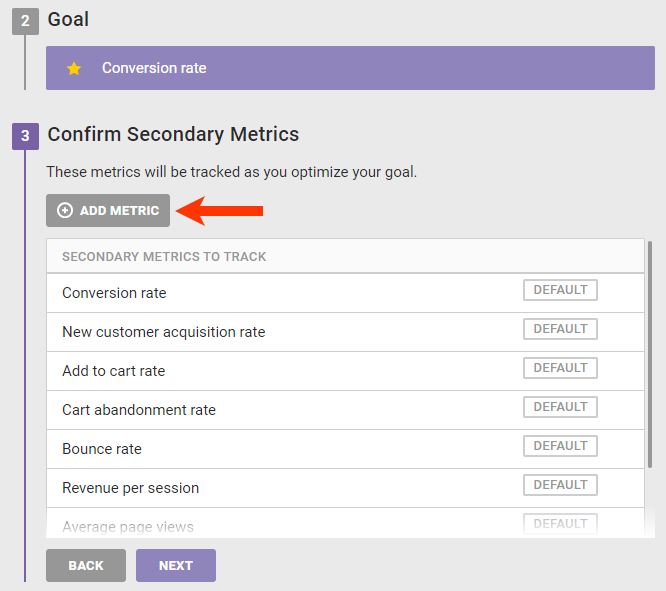
- To make a custom metric the goal metric, scroll or search by name to find it, and then click the star icon to select it. Otherwise, select a default system metric for the goal metric. Click NEXT.
-
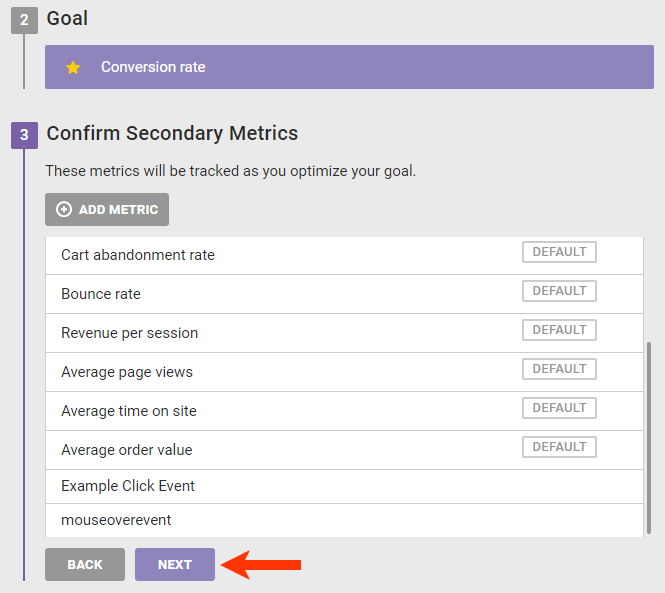
Optionally, add one or more custom metrics as secondary metrics.
- Click ADD METRIC.
- Scroll or search by name to find the custom metric you want to add, and then click to select it. Repeat as necessary. Click CHOOSE SELECTED.
- Click ADD METRIC.
- Click NEXT.
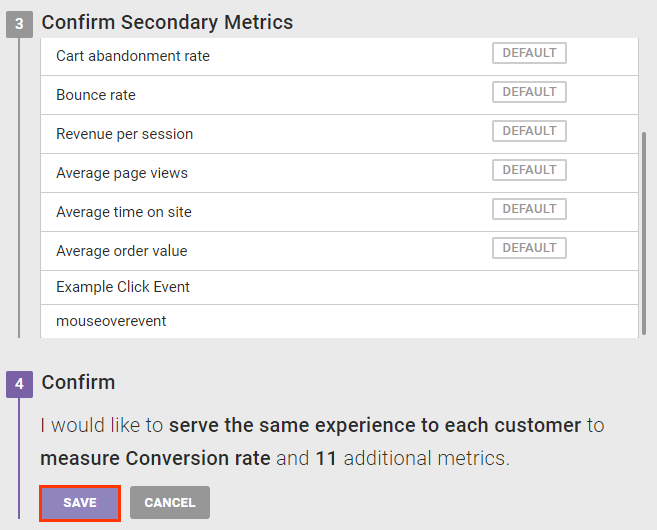
- Click SAVE.
- Complete the WHO, WHAT, and WHEN settings of the experience as necessary, and then click ACTIVATE to launch the experience or PREVIEW to ensure the experience is configured as you want.