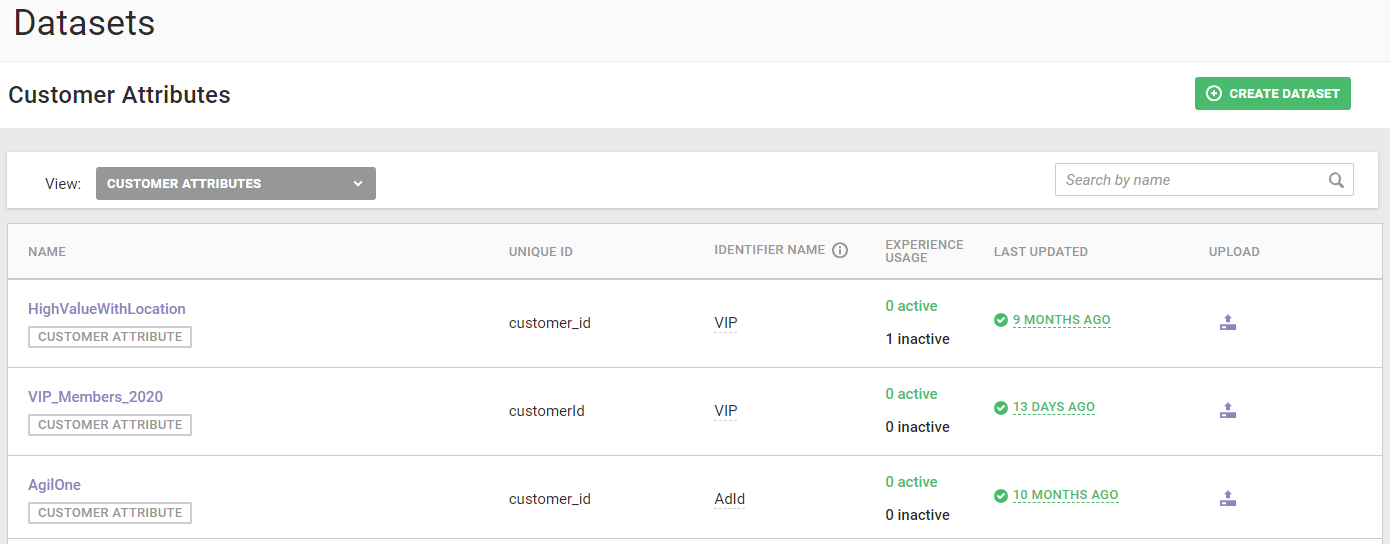
You can view key information about a Customer Attributes dataset that you have uploaded to the platform both on the Datasets list page and on a dataset's details page. To access a Customer Attributes dataset's details page, first click Datasets in the left-hand navigation to access the Datasets list page. Next, select Customer Attributes from View, and then click the name of the dataset.
Attributes Tab
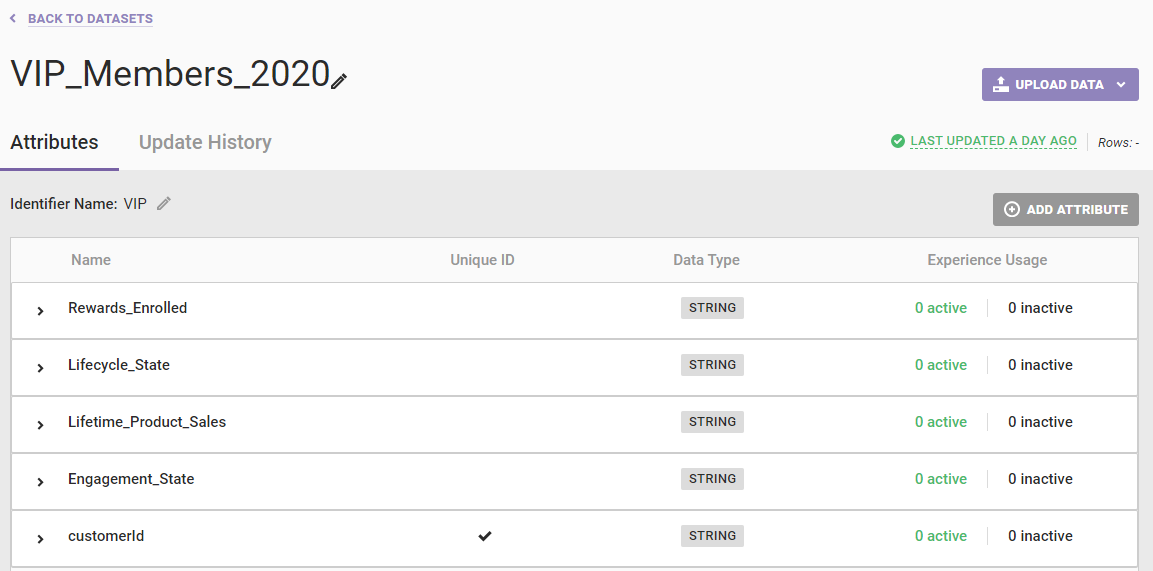
The default view of a dataset's details page is the Attributes tab. Displayed here are all the attributes in the dataset.
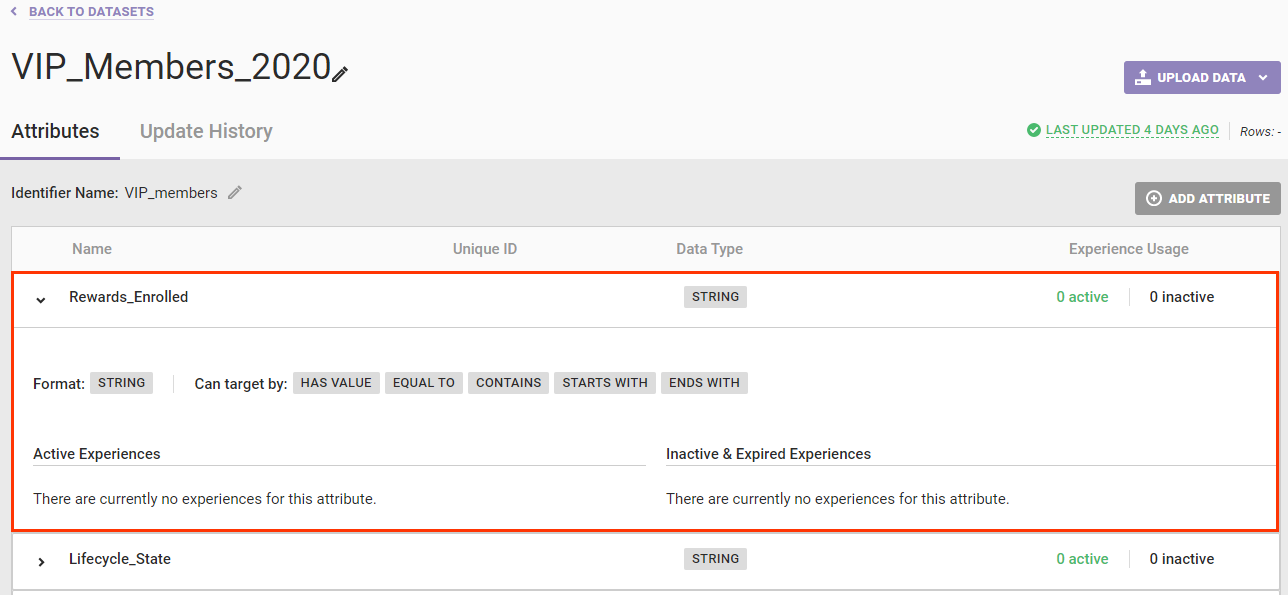
Click the name of any attribute listed to see the following information about it:
- Format: The data type selected, which can only be
STRING,NUMBER,BOOLEAN, orDATE - Can target by: The operators you can use when including this attribute in a filter, such as
Has value,Equal to, orStarts with - Active Experiences: The name of any active experience, if any, in which the attribute is employed, with the name serving as a link to that specific experience
- Inactive & Expired Experiences: The name of any inactive or expired experience, if any, in which the attribute was employed, with the name serving as a link to that specific experience
See Using the Add Attribute Modal in Update a Customer Attributes Dataset for more information about adding attributes from the dataset's details page.
Setting an Identifier Name
From the Attributes tab you can create an Identifier Name for the attribute or select an existing one.
Follow these steps to add or change a dataset's Identifier Name.
- Click the pencil icon that appears next to
No Identifier Nameor the existing Identifier Name.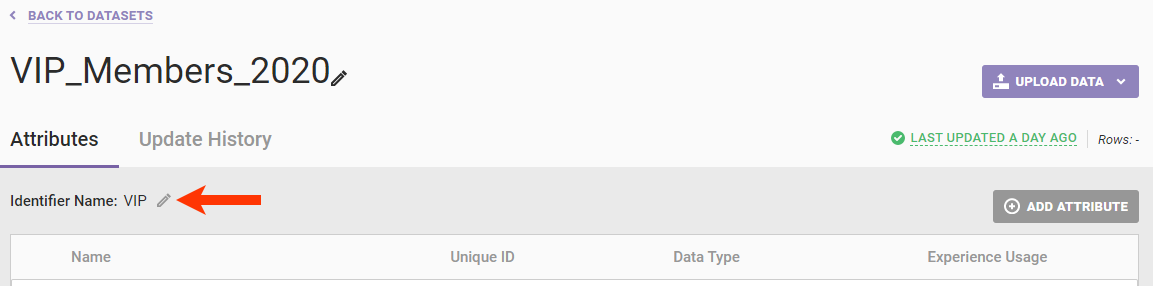
- Take one of the following actions:
- Select an existing Identifier Name from the list.
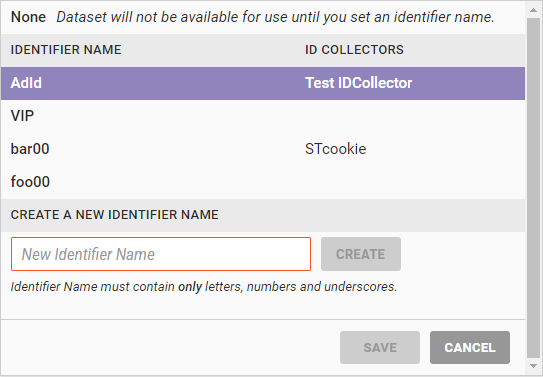
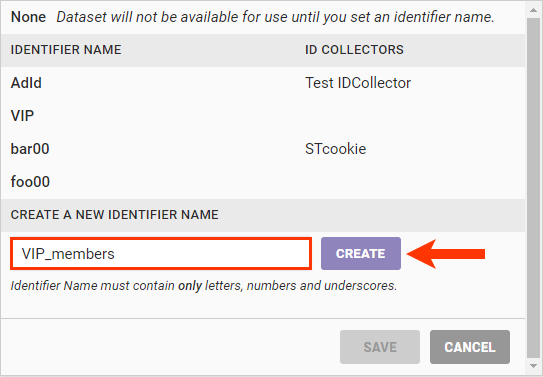
- Type a new Identifier Name into CREATE A NEW IDENTIFIER NAME and then click CREATE.
- Select an existing Identifier Name from the list.
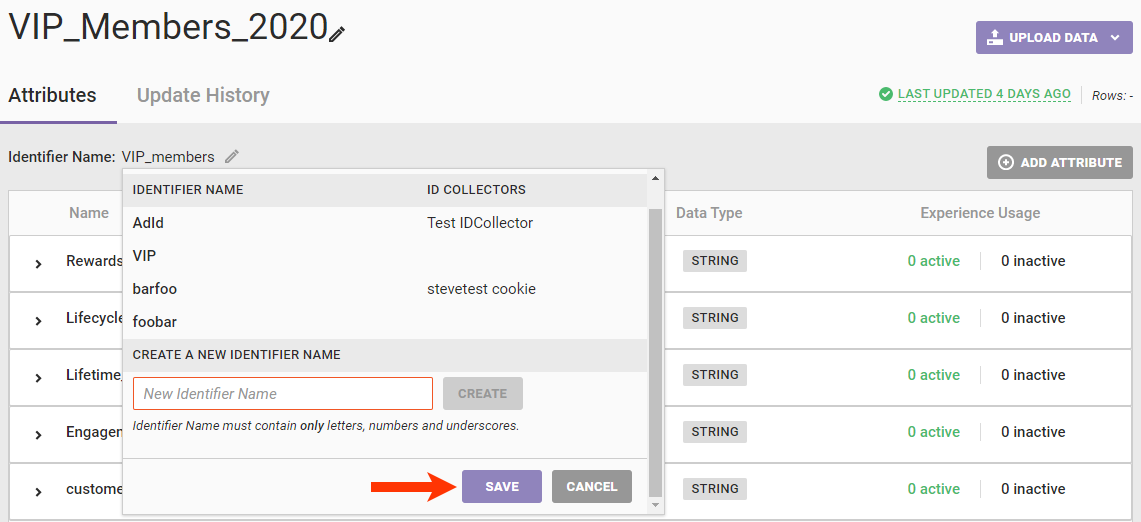
- Click SAVE.
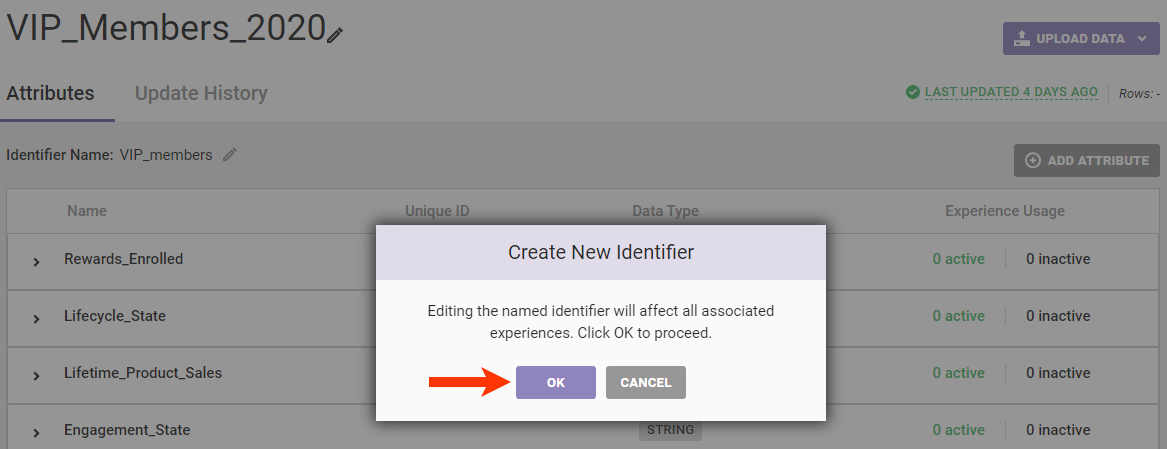
- Click OK in the Create New Identifier modal.
If you create a new Identifier Name, it then becomes available for use with other Customer Attributes datasets.
Uploading Data
You have three options to upload data after you create a Customer Attributes dataset schema:
- API Info: Review key details about the account's API configuration for updating the dataset
- SFTP Info: Review key details about the account's SFTP configuration for updating the dataset
- Data File Upload: Access the Upload Data wizard either to update select rows through a partial update or to replace the entire dataset through a full update
See Update a Customer Attributes Dataset via the Data API for more information about this dataset update option. Refer to Update a Customer Attributes Dataset via SFTP for additional guidance on the SFTP option. For assistance with the Upload Data wizard, review the information in Update a Customer Attributes Dataset.
Update History Tab
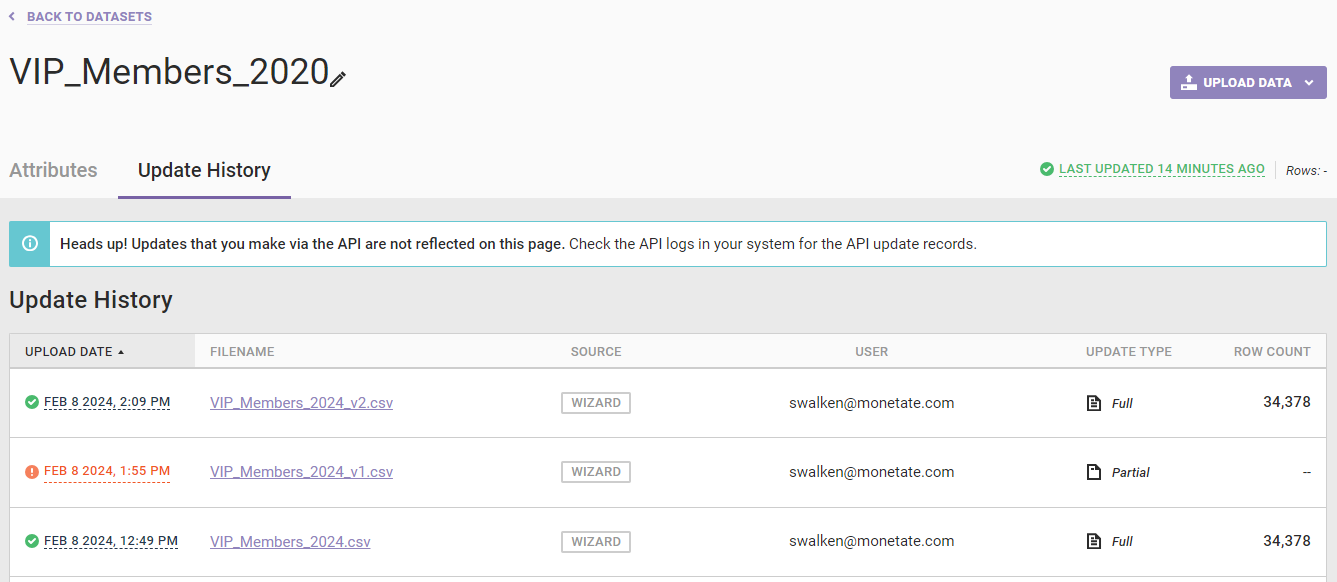
The table on the Update History tab contains information about each successful and failed update for the dataset.
- UPLOAD DATE: The number of days, months, or years elapsed since the specific file was uploaded; the exact date and time appears in a pop-up on hover
- FILENAME: The name of the CSV or TSV file uploaded to the platform
- SOURCE: How the file was uploaded to the platform, which can only be
WIZARD,S3, orSFTPsince the table doesn't include updates sent via the Data API - USER: The username associated with the upload action
- UPDATE TYPE: The type of update submitted,
Initial Upload,Full, orPartial - ROW COUNT: The number of rows contains with the file
If the platform is processing a just-uploaded file, then the Current Updates table that shows pending updates appears above the Update History table.
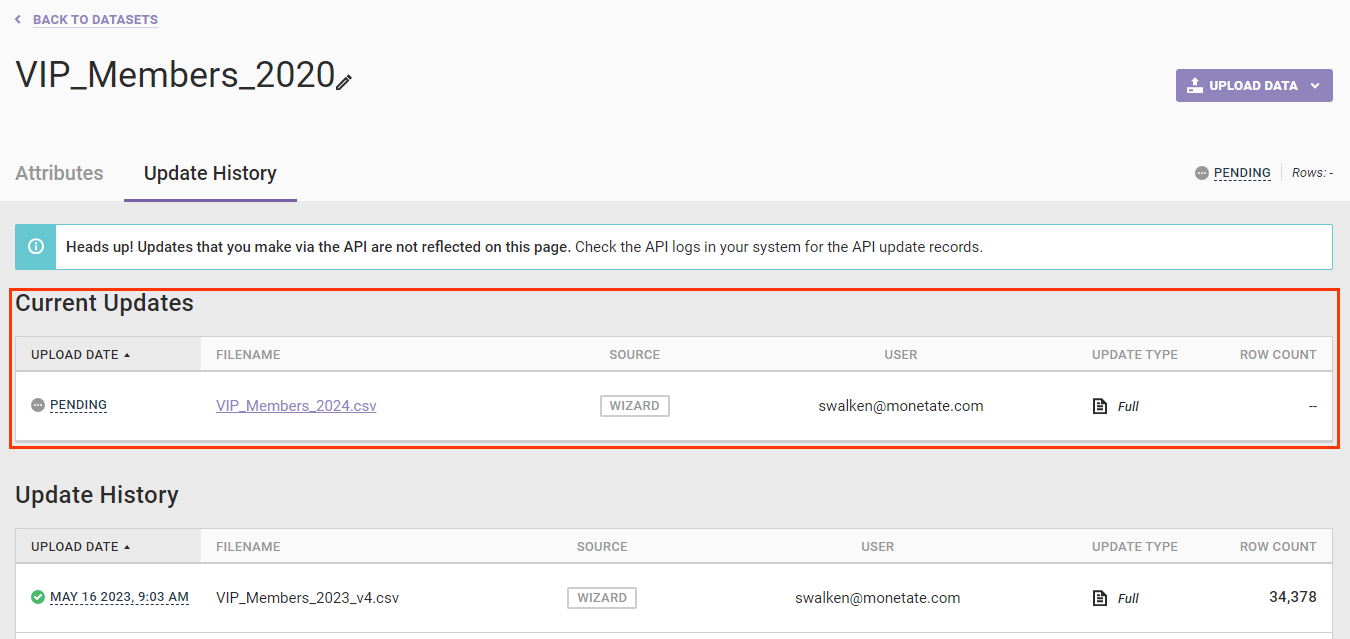
Once the platform finishes processing the file, it appears at the top of the Update History table.
Downloading Datasets
You can download a file from a dataset's Update History tab. You can download files successfully uploaded to the platform as well as files that resulted in one or more upload errors.
If a file is available for download, its filename appears in blue in the Update History table.
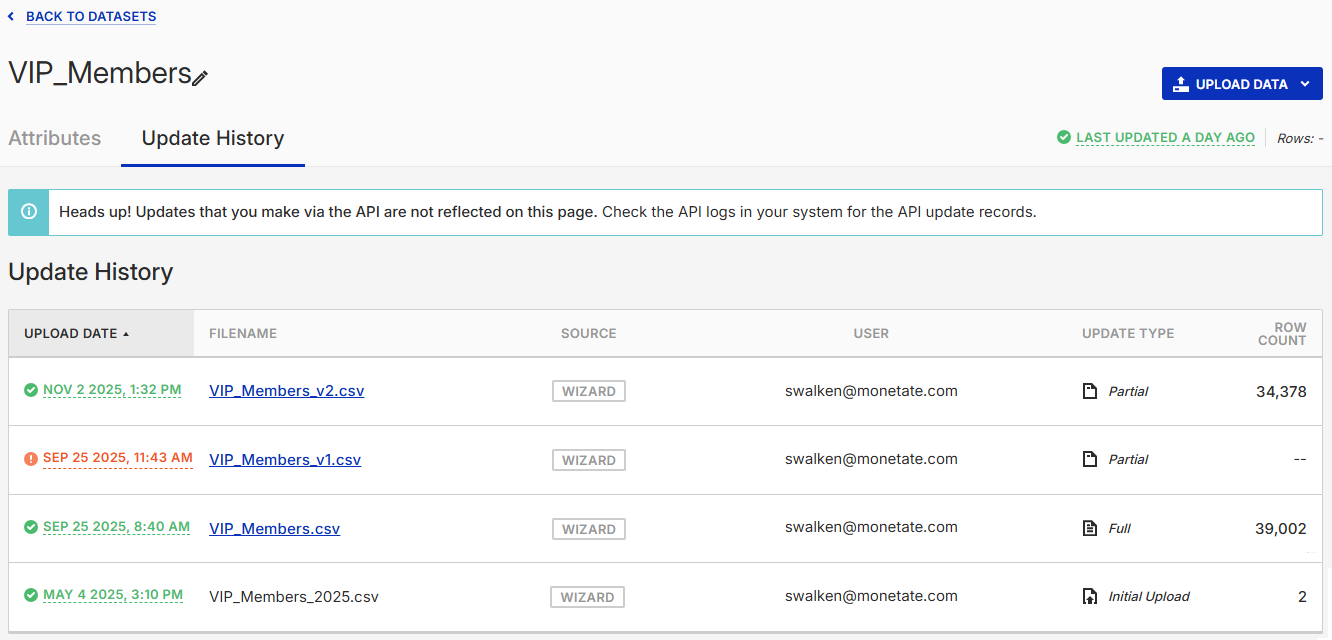
Click the filename and then save it to a location on your computer.