Follow these steps to add an image with a click zone to an experience.
- Create a new Web experience.
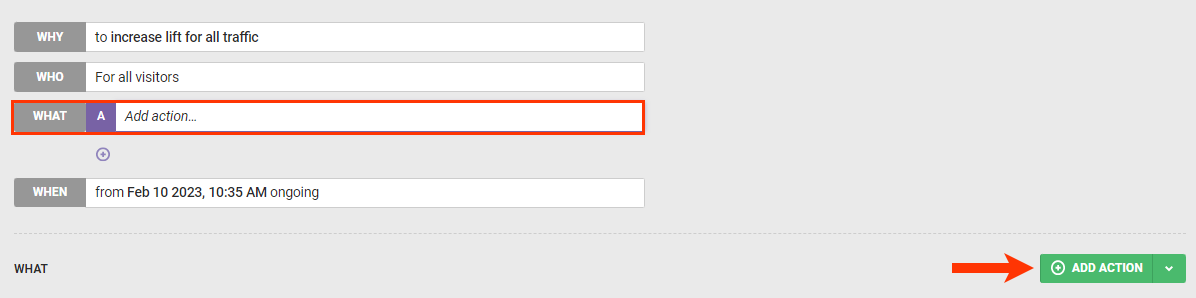
- Configure the WHY settings.
- Click the WHAT settings, and then click ADD ACTION.
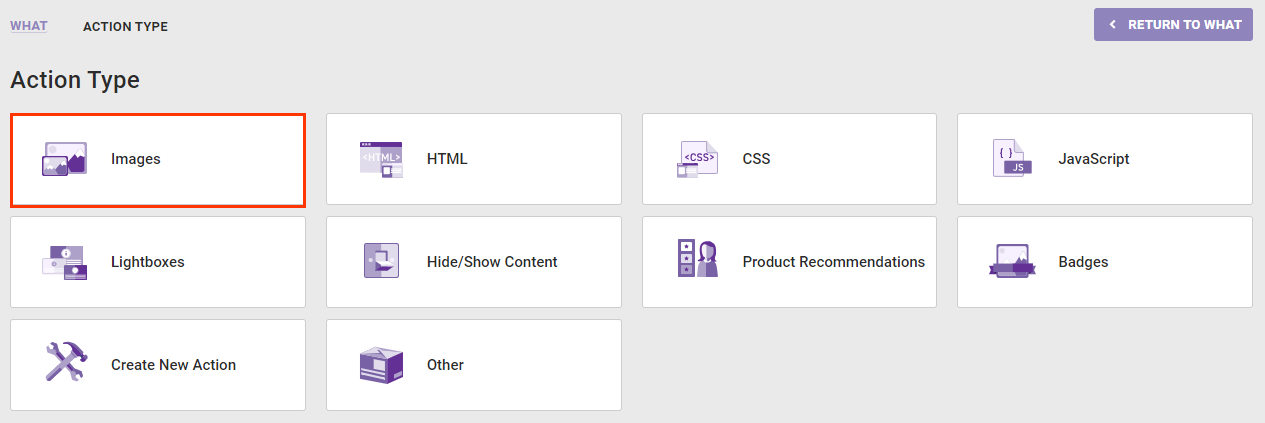
- Click Images.
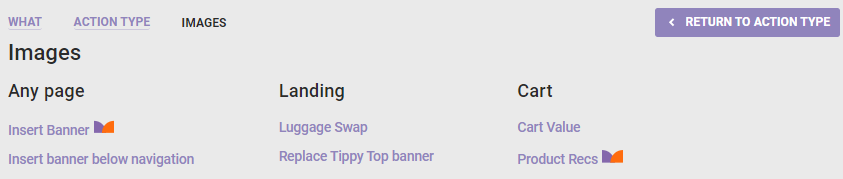
- Click the image action template that you want to use.
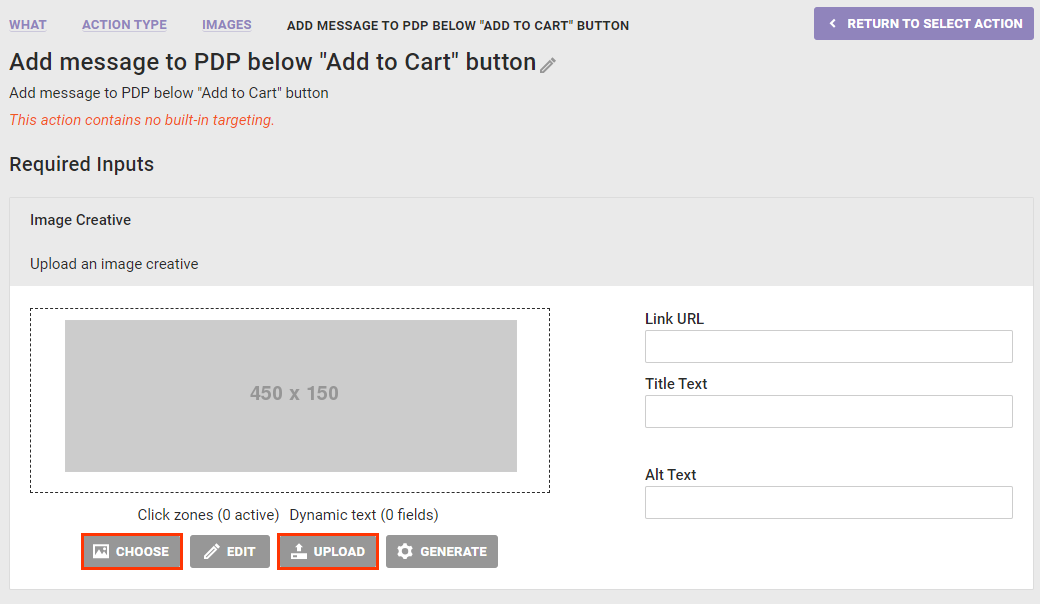
- Click CHOOSE to select an image already uploaded to the account, or click UPLOAD to upload an image to the account.
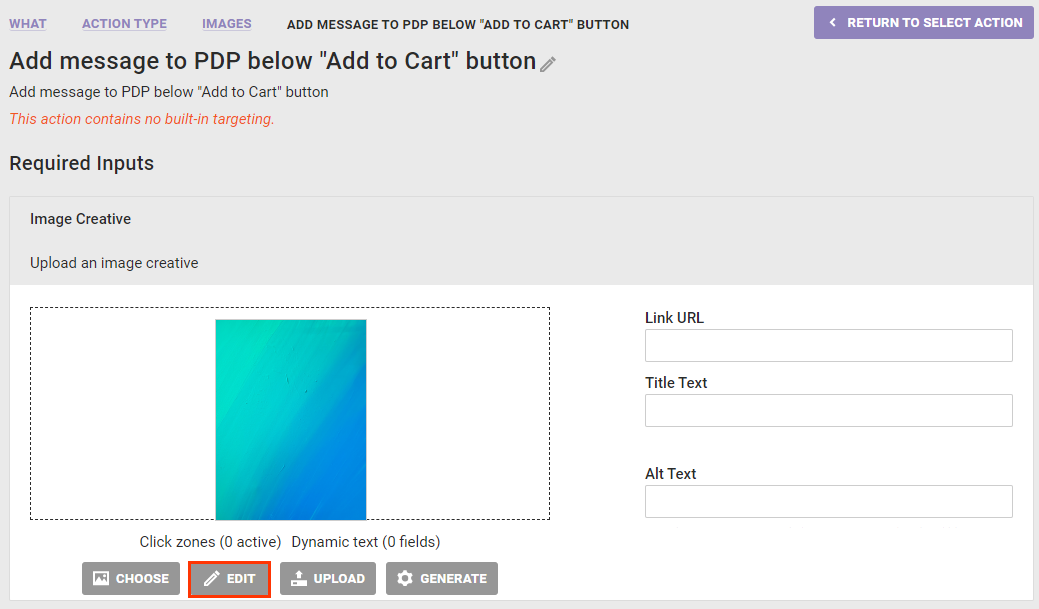
- If you clicked UPLOAD in the previous step, click EDIT to open the image in Content Builder.
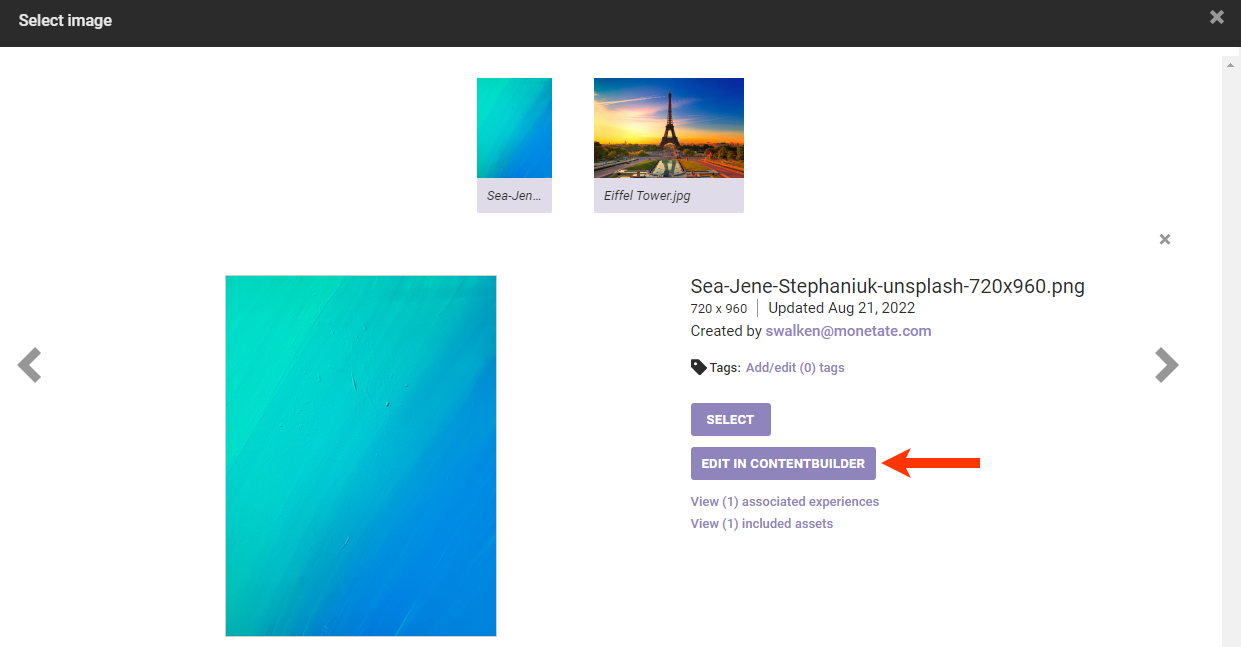
- If you clicked CHOOSE in step 6, then click EDIT IN CONTENT BUILDER in the Select Image modal.
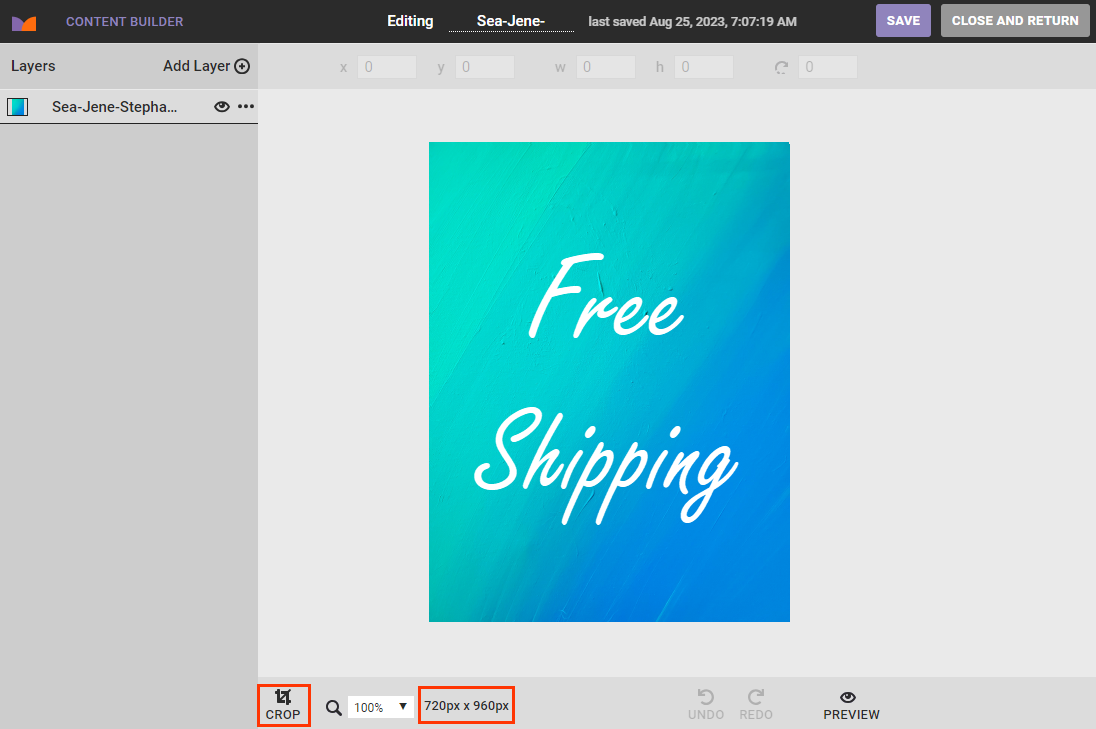
- Optionally, click CROP to trim the image, or click the image dimensions to resize it.
- Click Add Layer, then select Click zone, and then resize the click zone layer as necessary to fit the area of the image you want to be interactive.
- Complete the fields in the Link section:
- URL: The URL that loads when the customer clicks the image
- Alt text: The text displayed on mouse hover over the image or in lieu of the image if the customer has disabled image display in their browser
- CSS class: Defines the CSS class for the link
- Relationship: Defines the relationship between the current image and the linked image
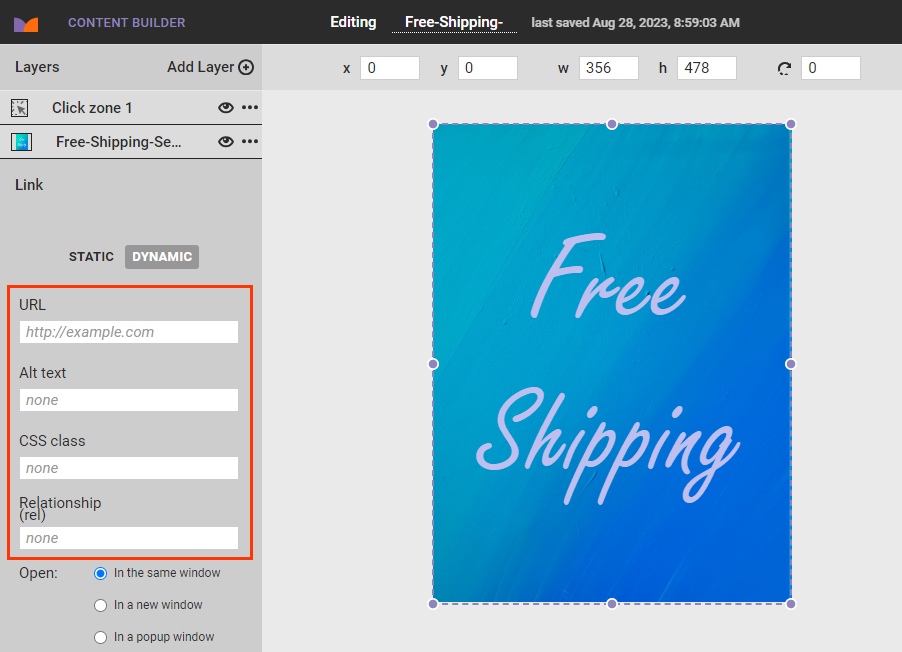
- Select an option to define how the click zone's link launches. If you select In a popup window, then complete the fields that appear that control the pop-up window.

- Click SAVE and then click CLOSE AND RETURN to exit Content Builder and return to the Experience Editor page.

- Complete the remaining fields and settings in the Required Inputs section of the action template and, as necessary, the Optional Inputs section. Click CREATE.
- Configure the WHO and, if necessary, WHEN settings.
Ensure that you preview the experience before you active it.
Modifying an Image Used in Multiple Experiences
Follow these steps to modify an image used in multiple experiences.
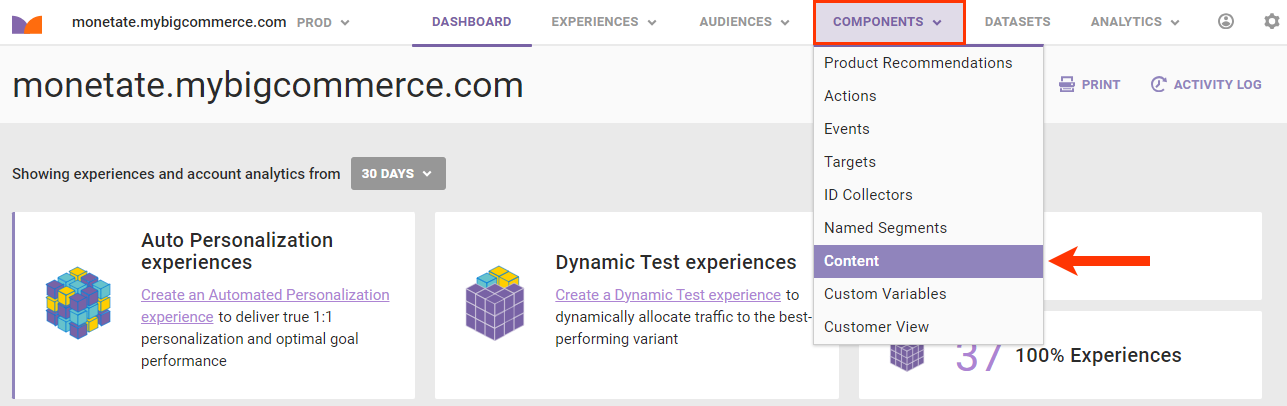
- Click COMPONENTS in the top navigation bar, and then select Content.
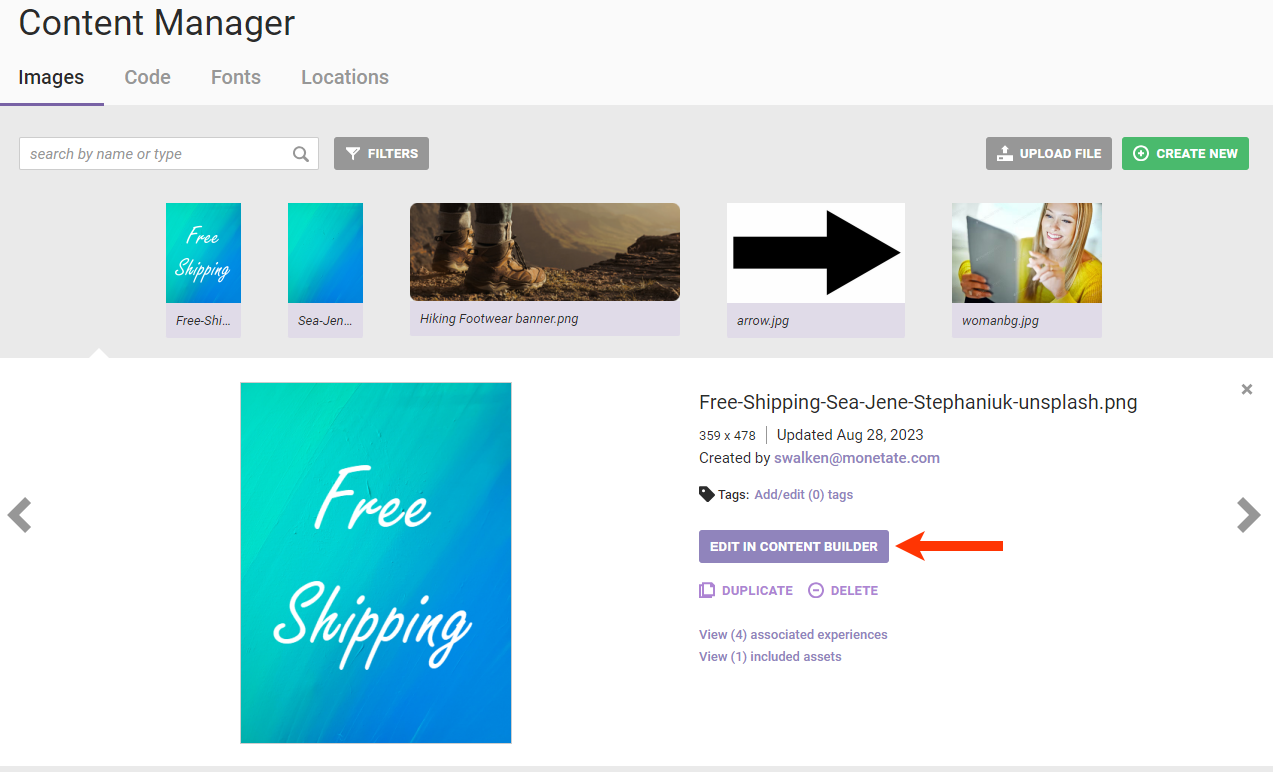
- Click the image that you want to modify, and then click EDIT IN CONTENT BUILDER.
- Modify the image and associated settings as necessary, and then click SAVE.
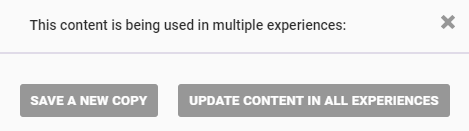
- Click UPDATE CONTENT IN ALL EXPERIENCES if you want the changes to the image to be part of all the experiences in which the creative appears. Click SAVE A NEW COPY to create a new image file that includes the changes you made that you can then deploy to whichever experiences you want.