Content Manager is a searchable repository for all of your account's creative content: images and layered content, code snippets, font files, and location lists used in various functions and features.
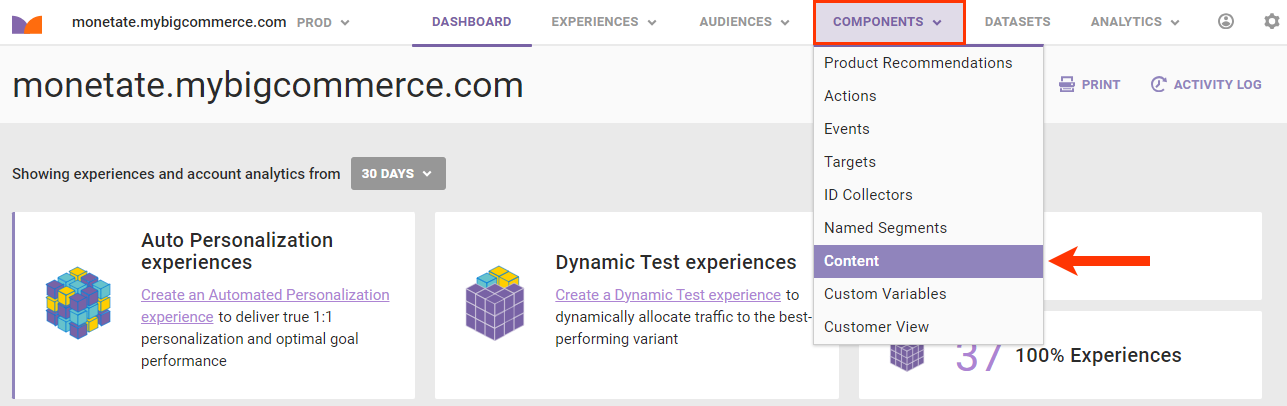
To access Content Manager, click COMPONENTS in the top navigation bar, and then select Content.
Any time you click CHOOSE when building an action in Action Builder or configuring an action in Experience Editor that involves an image, Content Manager loads in a modal.
Images
When you access Content Manager, the Images tab loads. Here you see all the image files uploaded to and created in the platform.
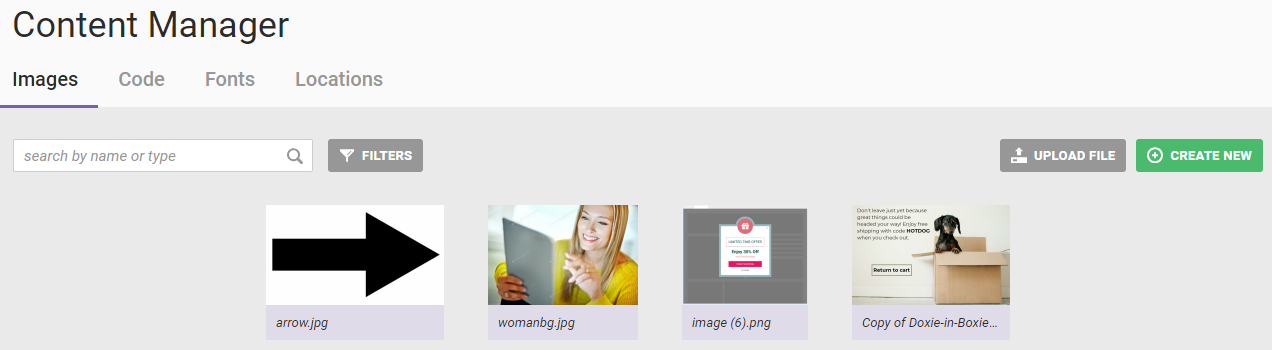
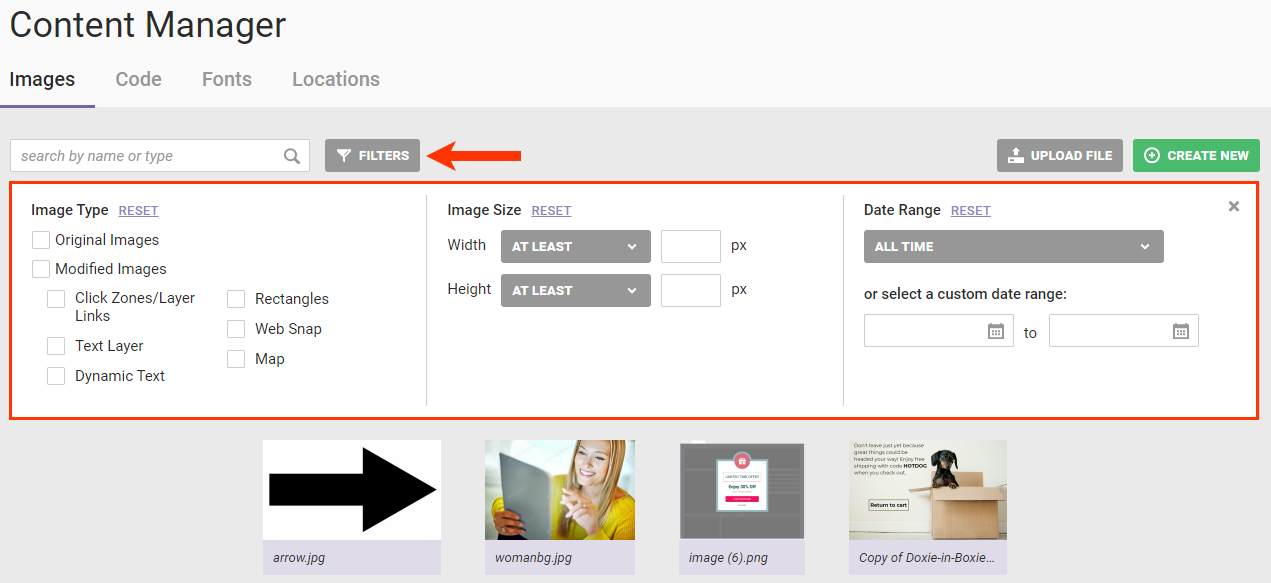
Use the search field to locate an image by name or type. You can also click FILTERS to access options so that you can sort images by type, image size, or date range.
After you click an image thumbnail, a modal appears with a larger view of the image along with the following information about it:
- Width and height in pixels
- Date the image was last updated
- User who created the image
- Tags assigned to the image
- Experiences built to use the image
- Action templates built to use the image
- Included assets
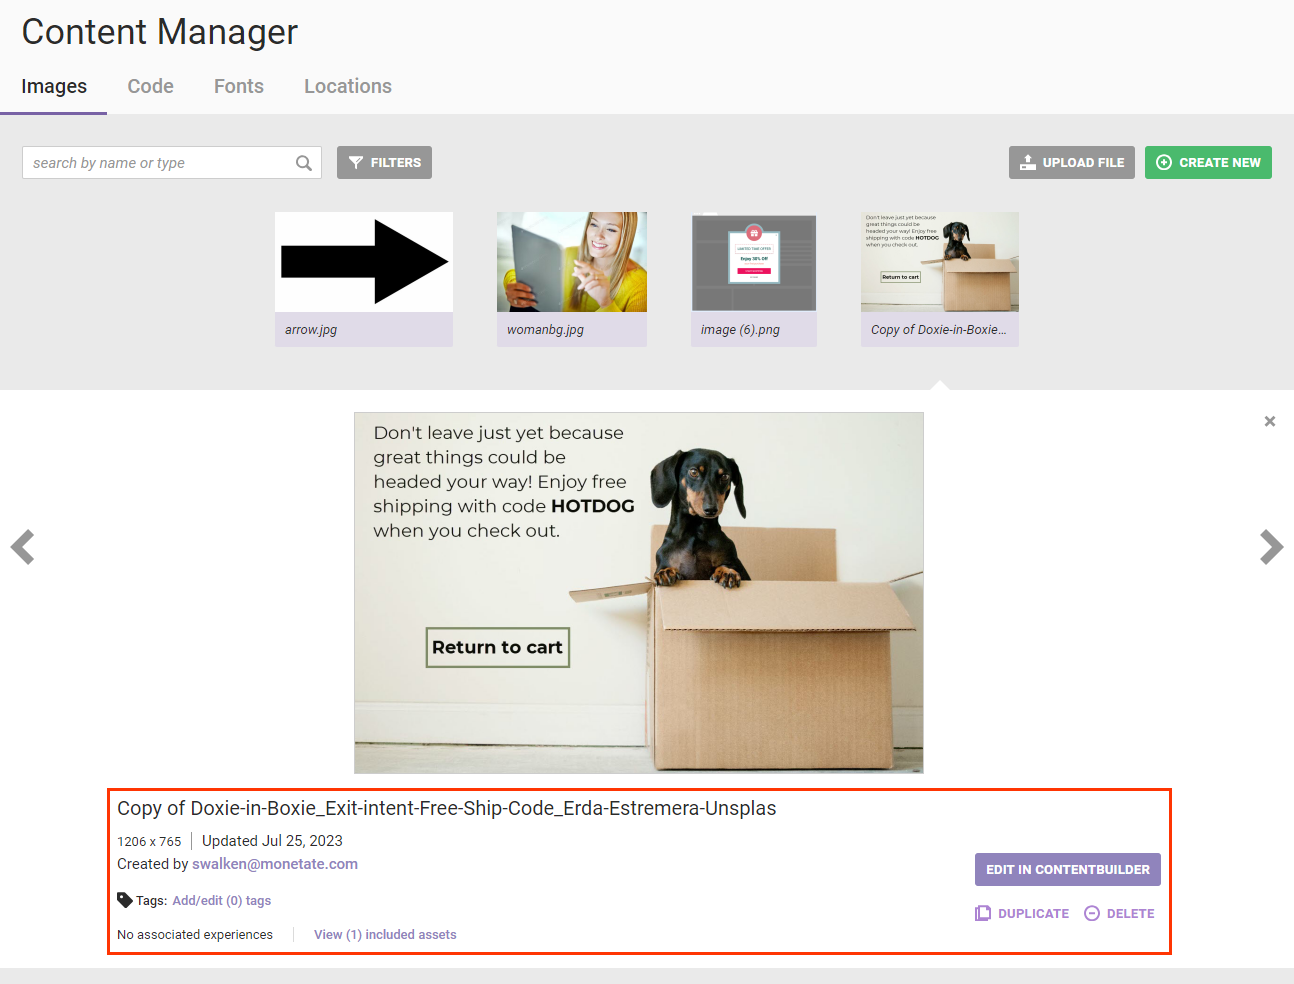
From this modal you can edit the image in Content Builder, duplicate the image, or delete it.
Adding Images
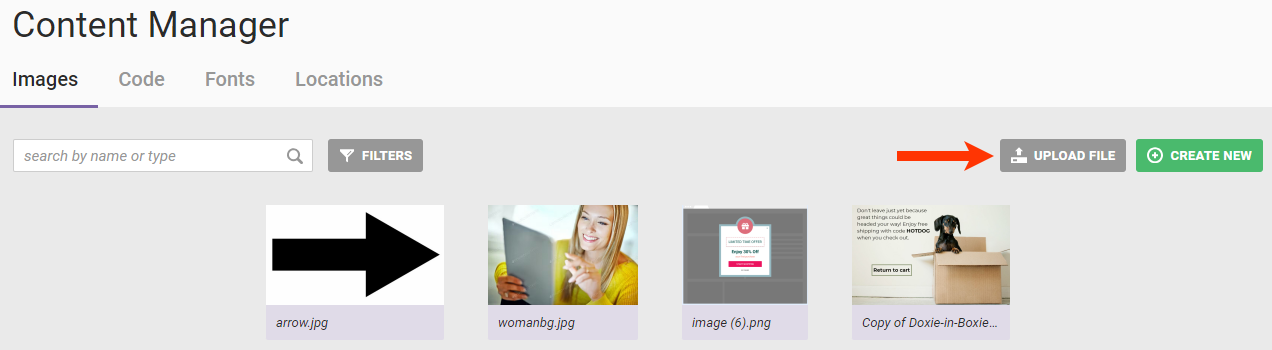
Click UPLOAD FILE to add images to the library.
You can upload any standard pixel-based image to Content Manager:
- JPG/JPEG
- PNG
- TIF/TIFF
- GIF
- BMP
You can upload animated GIF images to Content Manager to use in email experiences as well as in Dynamic Testing and Automated Personalization Web experiences. However, there are a few conditions:
- The image must be smaller than 1 MB.
- A warning box appears when you attempt to open a GIF in Content Builder.
- You can only add a click zone layer to a GIF in Content Builder. You cannot modify it any other way.
- If you try to modify the GIF any other way in Content Builder, such as adding a rectangle layer or dynamic text in a text layer, then Content Manager transforms the GIF into a static image.
You cannot upload vector-based images:
- SVG
- EPS
- AI
- PSD
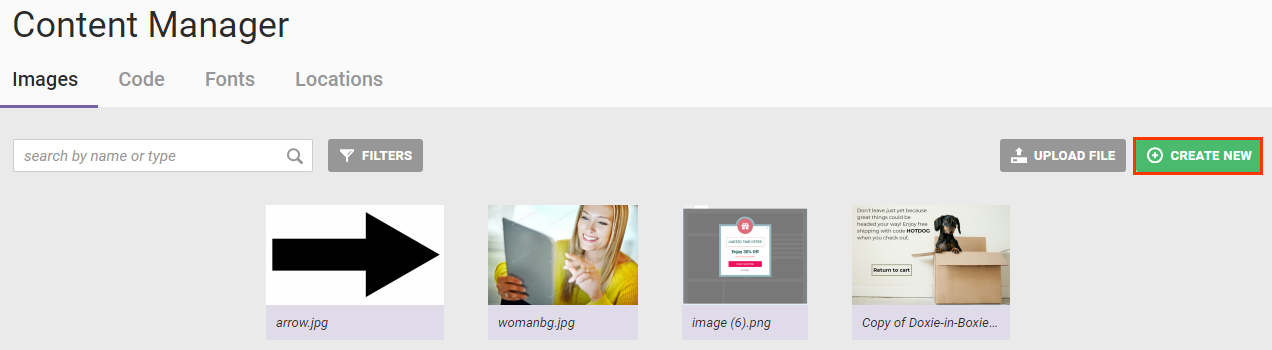
You can also create a new image by clicking CREATE NEW to launch Content Builder.
See the Content Builder category of the knowledge base for more information about using that tool.
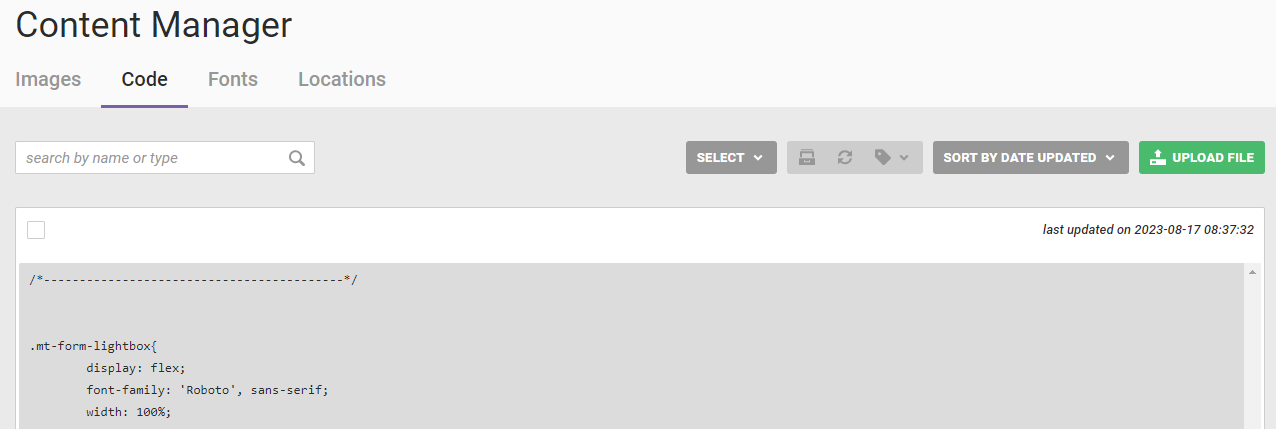
Code
Use the Code tab to build a library of JavaScript, CSS, and HTML snippets that you can insert when building actions in Action Builder and configuring actions in experiences.
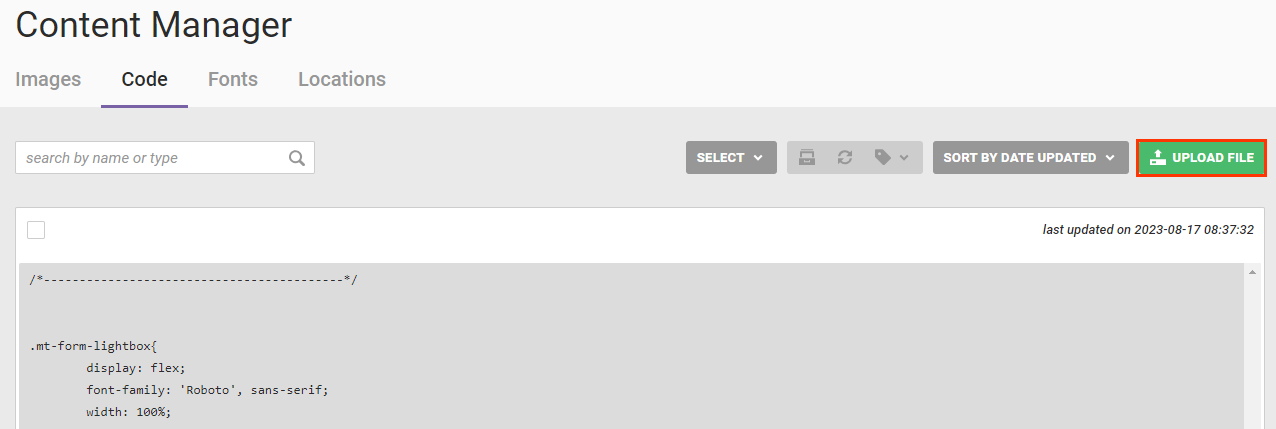
Click UPLOAD FILE to add a code snippet. You can upload files with these extensions:
- .js
- .json
- .css
- .swf
- .htm
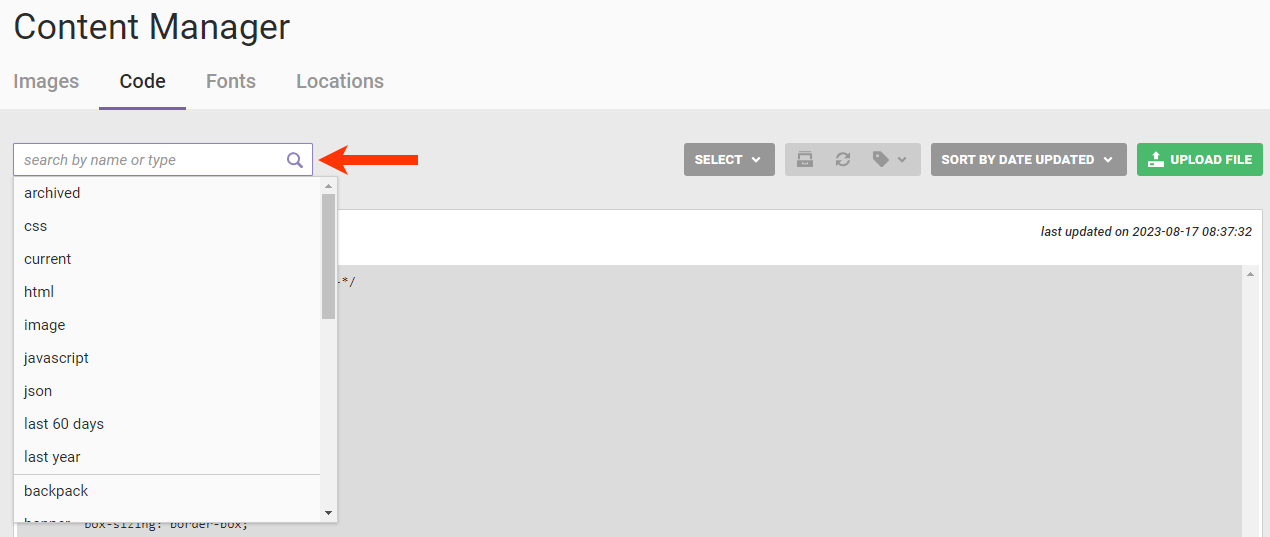
Use the search field to find code snippets by name, code type, custom tag, or by availability status.
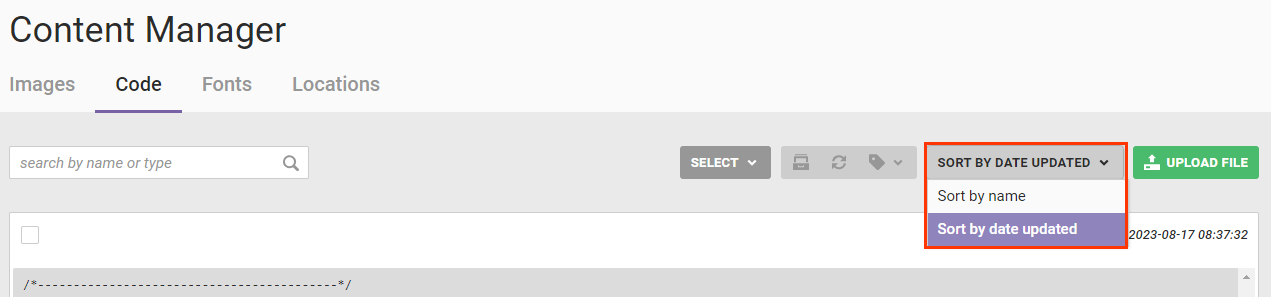
You can sort the table of snippets by name or by the date each was last updated, with most recently updated snippets at the top.
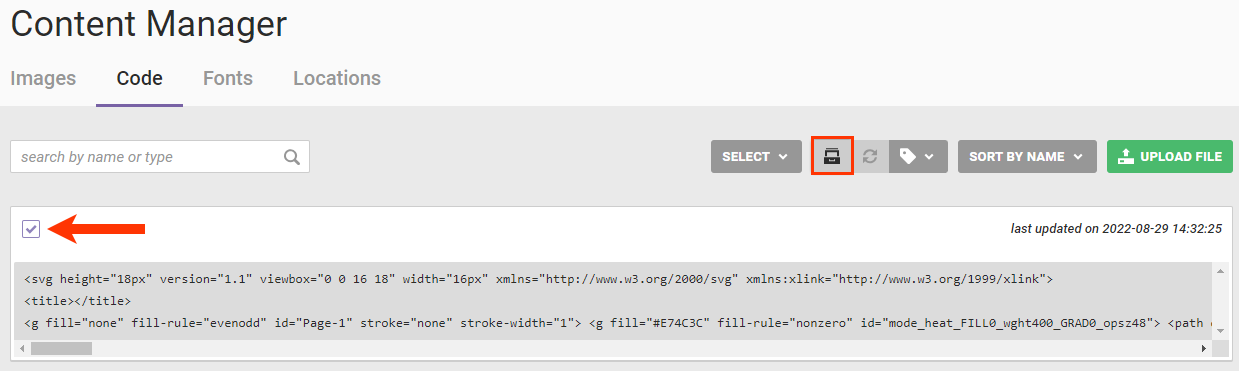
To view details about a snippet, click the bottom-right corner of the code.
From this view you can only append additional information about the snippet by clicking ADD NOTES FOR CREATIVE.
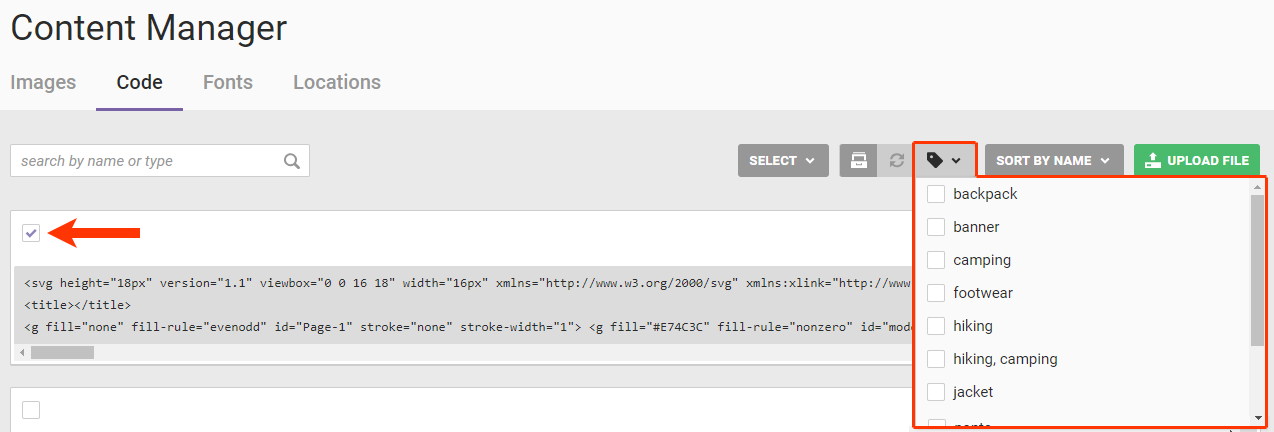
To add custom tags, select the snippet, click the tag icon in the toolbar atop the table of snippets, and then either select an existing custom tag or creating a new one by selecting New Tag.
To archive a snippet, select it and then click the archive icon in the toolbar atop the table of snippets.
You can restore an archived snippet by selecting archived from the search field, selecting the snippet that you want to restore, and then clicking the restore icon in the toolbar.
Fonts
The Fonts tab displays all the fonts that users have uploaded to your account to use when creating text layers in Content Builder.
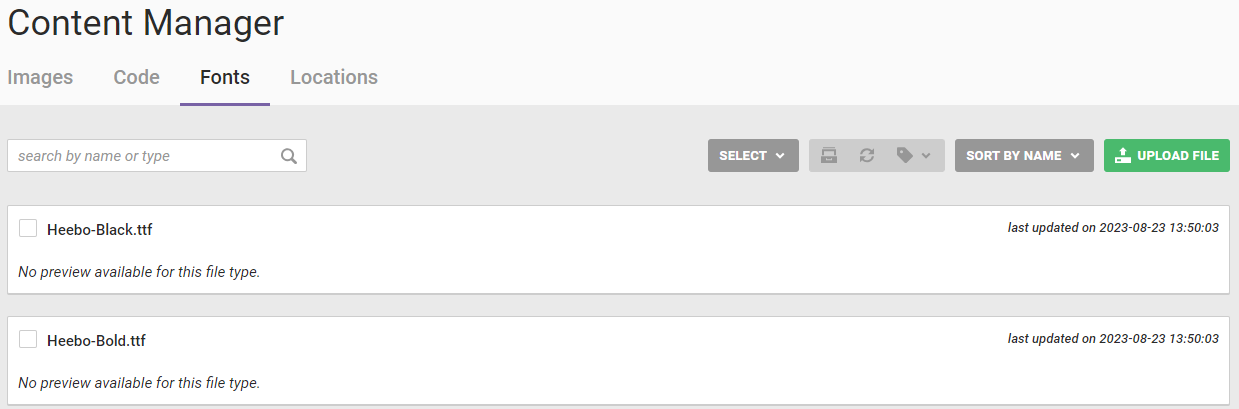
Much like the Code tab, you have multiple means of sorting and organizing the font files:
- Use the search field to find a font by name, custom tag, or by availability status.
- To add custom tags, select the font, click the tag icon in the toolbar atop the table of font files, and then either select an existing custom tag or creating a new one by selecting New Tag.
- Sort the table of fonts by name or by the date each was last updated, with most recently updated fonts at the top.
- To archive a font file, select it and then click the archive icon in the toolbar atop the table.
- To restore an archived font file, select
archivedfrom the search field, select the file that you want to restore, and then click the restore icon in the toolbar.
Click UPLOAD FILE to add TrueType font (.ttf) files and OpenType font (.otf).
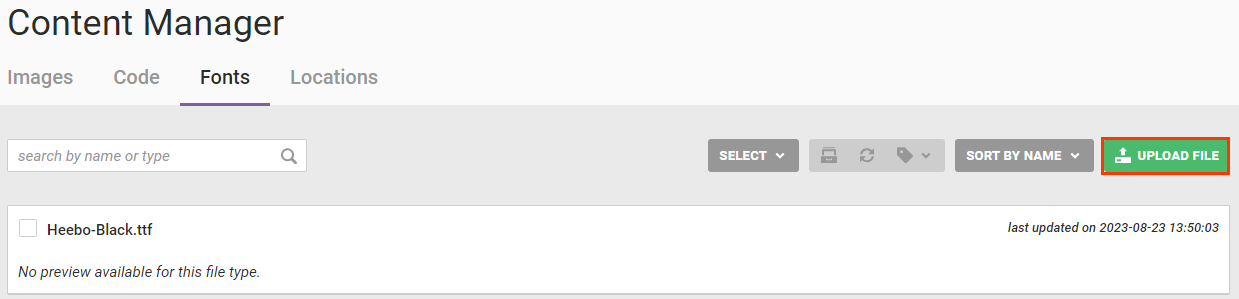
See Upload Fonts for more information.
Locations
The Locations tab of Content Manager, also called Locations Manager, displays the information that you can use in Web experiences to target people who are within or not within a specified distance of one location or many locations.
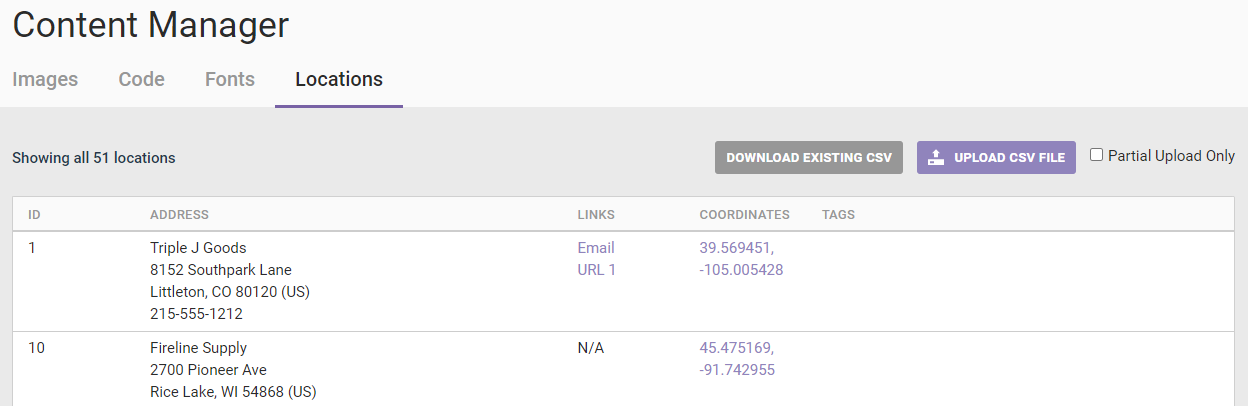
For more information about using the Locations feature, see Upload a Locations List.