A Data Collect experience provides performance insight about your experience and the ability to sub-segment audiences.
Follow these steps to build a data collection experience.
- Click EXPERIENCES in the top navigation bar, and then select Web.

- Click CREATE EXPERIENCE.

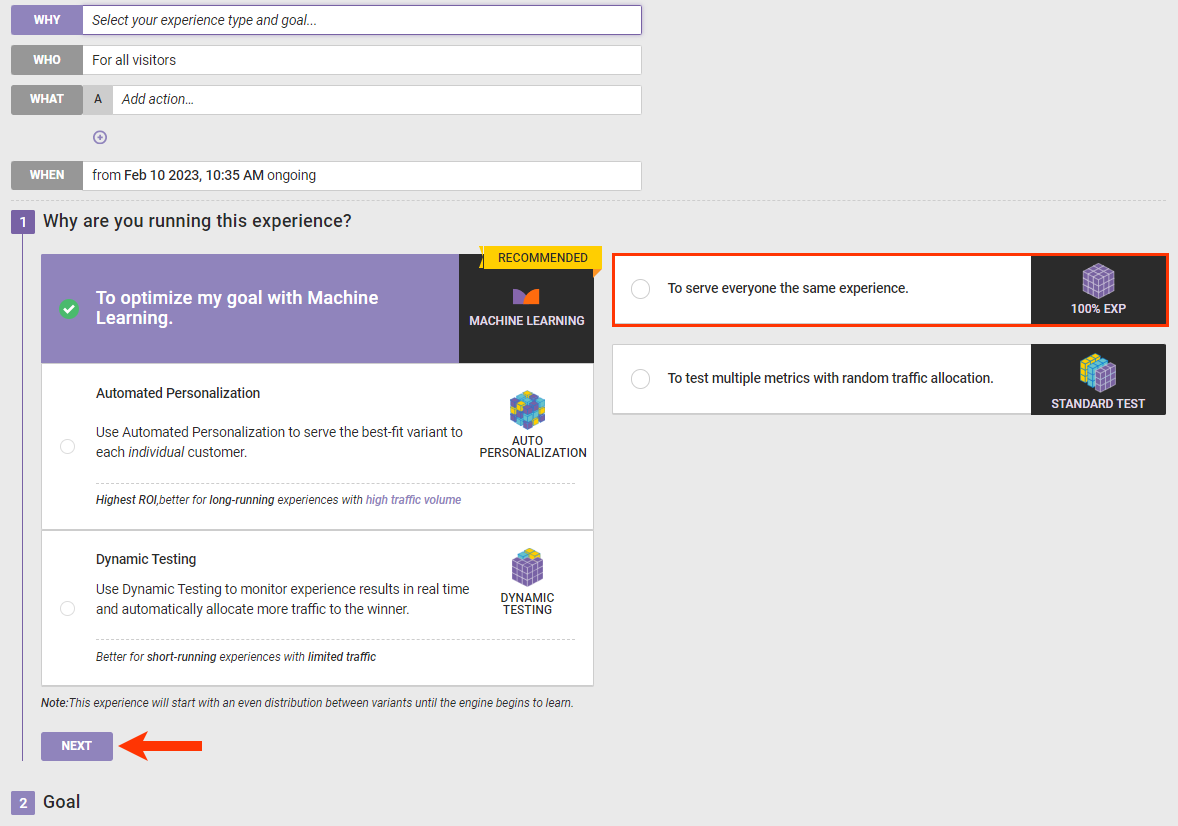
- Click WHY, select To serve everyone the same experience, and then click NEXT.
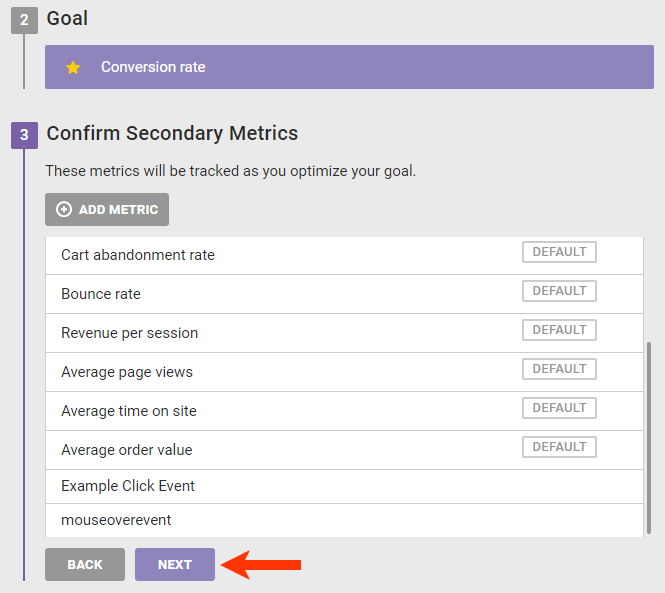
- Select a goal metric and then click NEXT.

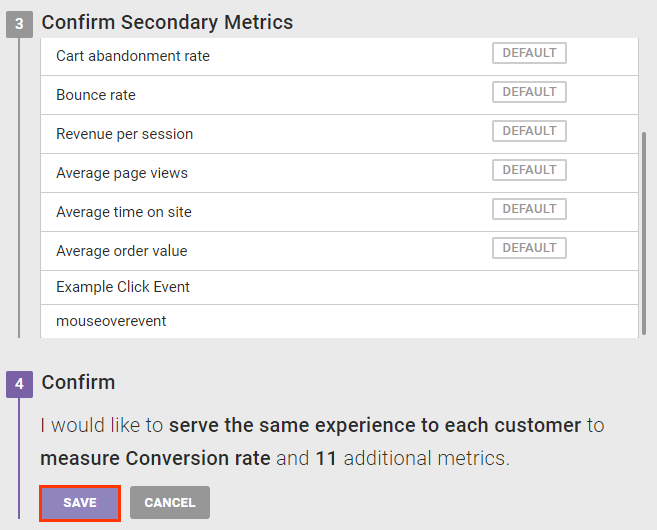
- Adjust the secondary metrics as needed, and then click NEXT.
- Click SAVE.
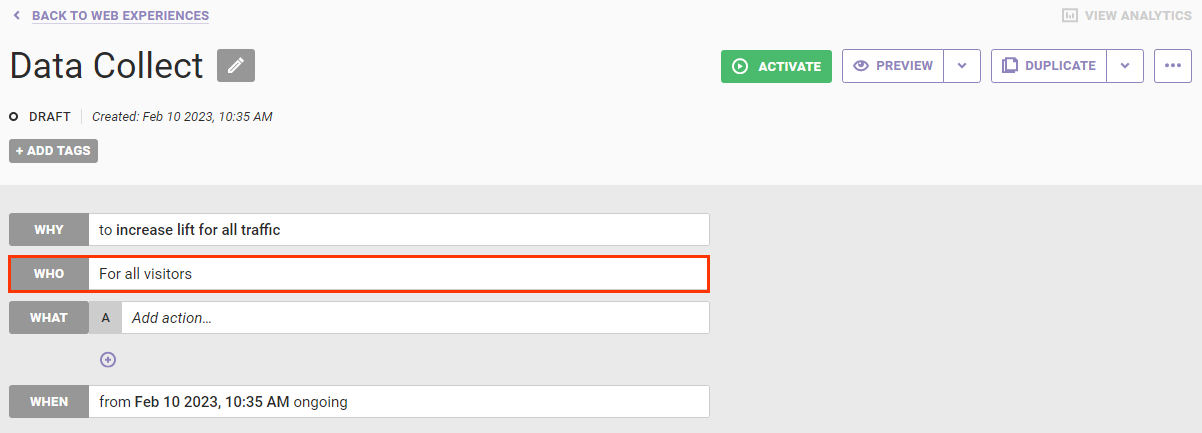
- Leave the WHO settings configured to For all visitors since the experience must work for everyone who visits your site.
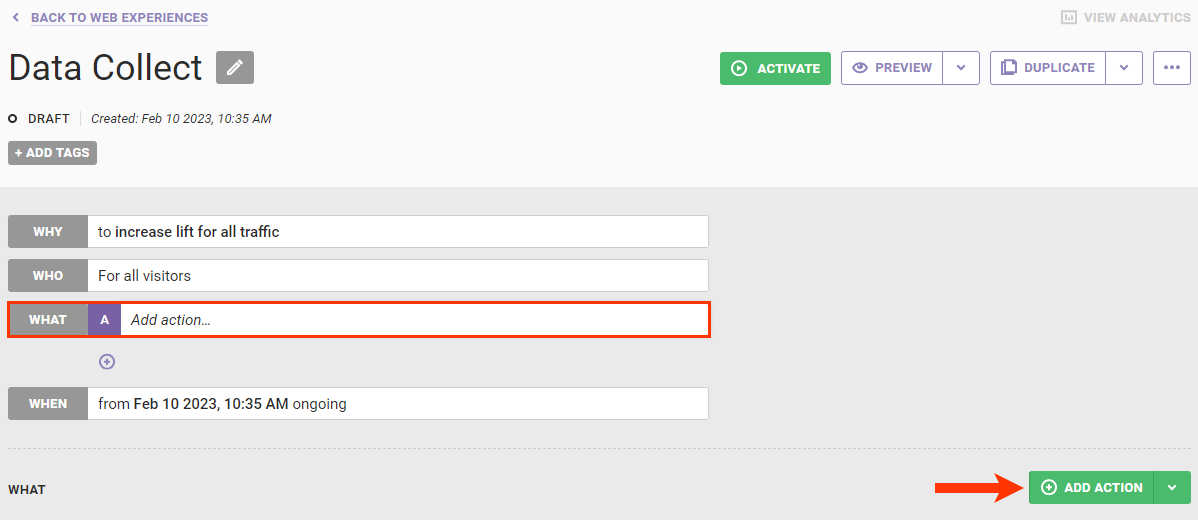
- Click WHAT and then click ADD ACTION.
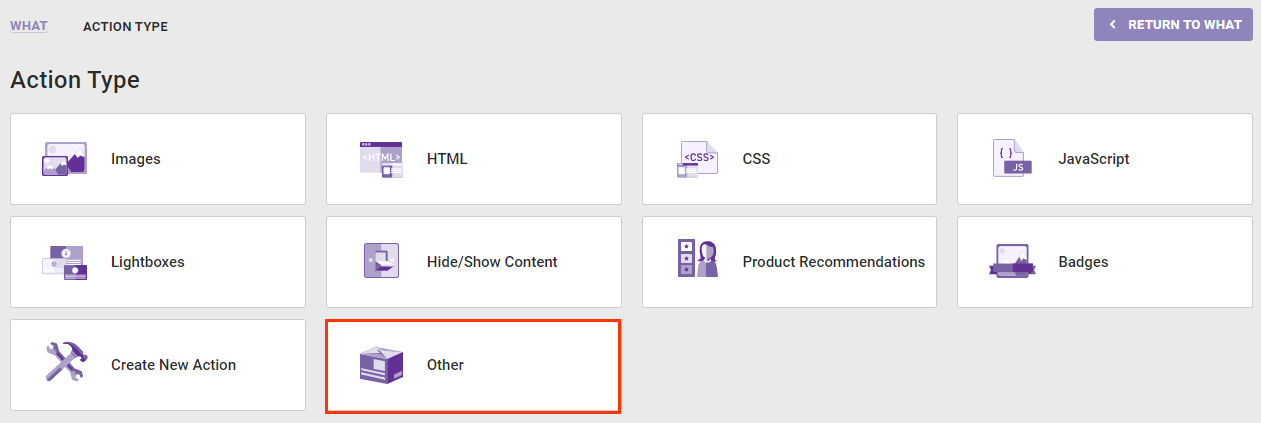
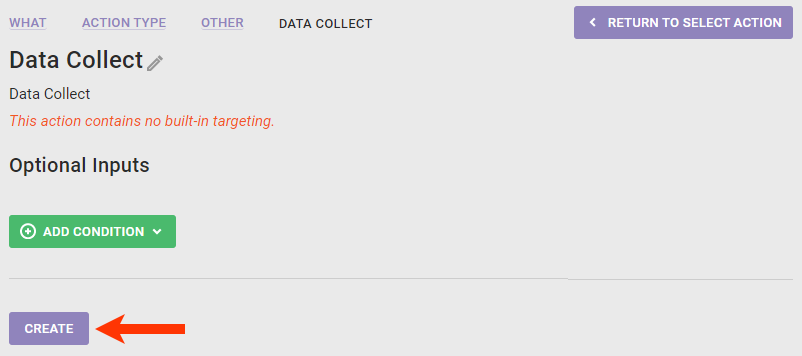
- Click Other.
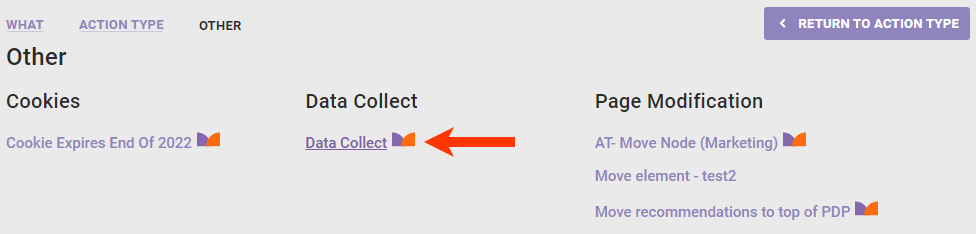
- Click Data Collect.
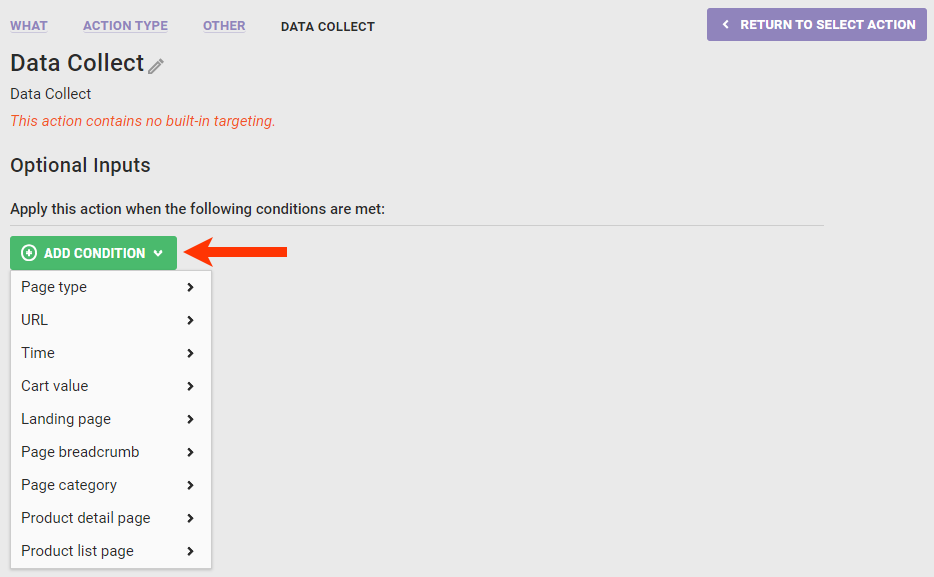
- Optionally, click ADD CONDITION to configure one or more action conditions to limit where this action fires. (For example, if you wanted it to run on index or product detail pages, then you'd configure an action condition using the Page type = option.) Otherwise, skip this step.
- Click CREATE.
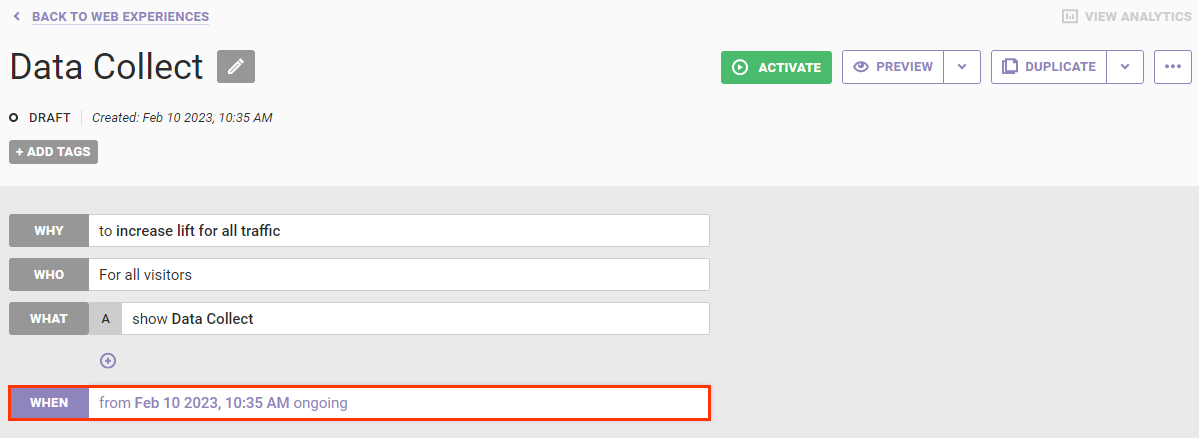
- Leave the WHEN settings unchanged since the experience should run indefinitely after you activate it.
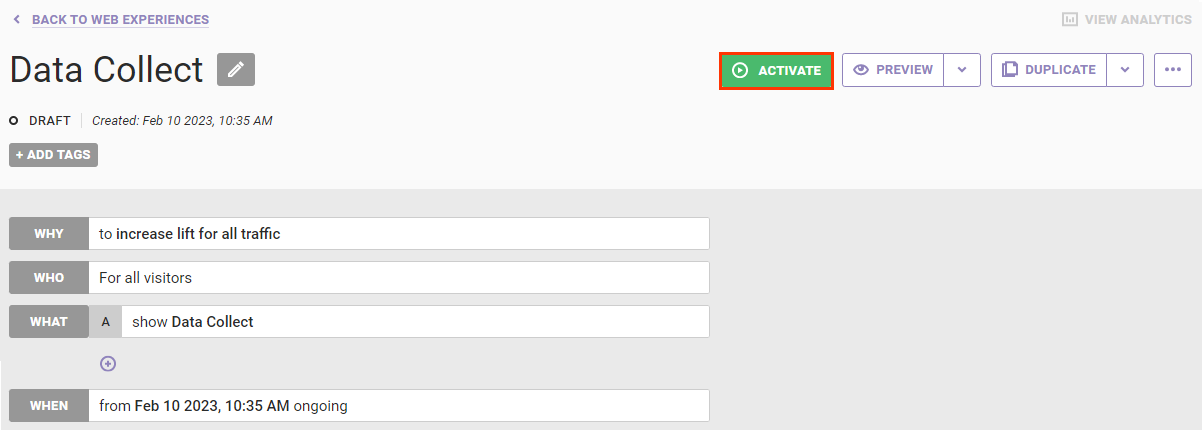
- Click ACTIVATE to launch the experience on your site.
Data for the experience is available in Monetate 24 hours after you activate the experience.