Use these best practices to organize your company's experiences and actions in folders, use tagging and descriptions to more readily find what you need, and perform regularly scheduled maintenance on your account to make the platform easier to navigate and to keep your teams organized.
Using Folders to Organize Experiences
You can take a number of different approaches to organize experiences into folders on the Web Experiences list page. The following examples are just a few ways to get started:
- By page type(s) that the experience applies to
- By user or team who created the experience
- By month or date ranges
- By goal metric
- By audience for the experience
- By specific marketing initiatives
You can use any of these folder organization methods, or you can create your own folders to best suit your business needs. Regardless of the approach you take with the folder structure, you can prioritize all experiences in each folder.
Using Tags to Provide At-a-Glance Context
Tags are a great way of adding at-a-glance context on the Web Experiences list page. They provide additional sorting and search options, and they help other users in the account quickly recognize which experiences are related to which goal initiative, which ones were created by which user, and more.

Use tags to indicate the following for each experience:
- Who created it
- What page it runs on
- When it was created
- Its selected primary goal metric
- The objective it aligns with from a program plan perspective
You can also use these tags to filter experiences on the Web Experiences list page.

Refer to Filtering and Organizing Experiences in Web Experience List Page for more information.
Creating an Experience Naming Convention
Use a templated structure for experience names so that certain details are consistently available at a glance on the Web Experiences list page. Consider a naming convention that provides such details as these:
- Date activated
- Business unit that created it
- Description
- Device type
- Split percentage

Adding Notes
Use the Experience Notes modal to add descriptions, details, expectations, and other details to an experience. You can add notes to an experience from the Web Experiences page, as shown in the following image, as well as from the Experience Editor.

Your team can add notes to explain the hypothesis of a test along with any internal notes and changes that you or someone else from your team made.
Using Page Types to Name Action Folders
When you're creating custom actions in Action Builder, organize those actions into folders for the page types on which they're intended to run. Ensure that you're consistent across action types.

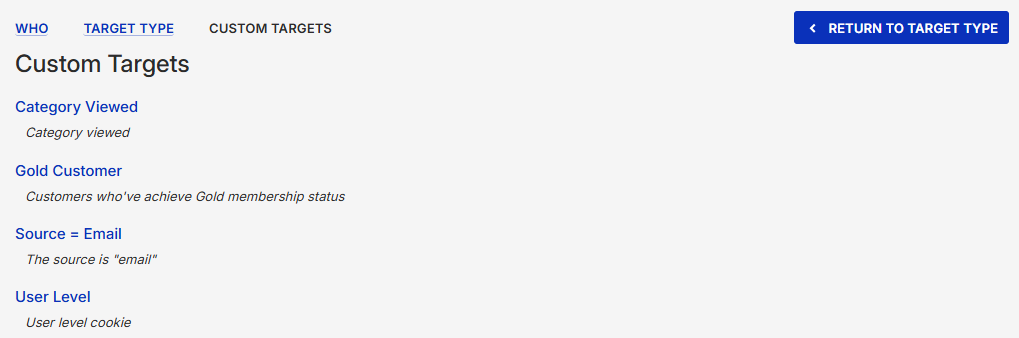
Using the Description Field in Custom Targets and Events
When you create a custom target in Target Builder or a custom event in Event Builder, insert the element selector, HTML element, cookie name, or variable name you used into the description field so that you can reference it within the target when you add it to an experience.
Maintaining the Account Organization
Keep the Web Experiences list page tidy by archiving outdated or paused experiences. You can always bring them back from the Archived folder. If you run a lot of experiences, Monetate recommends doing this clean-up monthly or at least quarterly.