Building a Web experience with a product-badging action is virtually the same as building any other Web experience. However, depending on which type of badging action you select—image-based or HTML-based—you may see inputs and settings unique not only to the badging action type but also unique to the badging action created by the Development Services team at your request. Therefore, the inputs and configuration options vary, and thus the procedures in this documentation represent only the most common setup inputs. Once the Development Services team creates the badging actions you have requested, they will provide instructions specific to your custom actions.
Configuring an Image-Based Badging Action
Follow these steps to configure an image-based product badging action in a Web experience.
- Create a new Web experience and then configure the WHY and WHO settings.
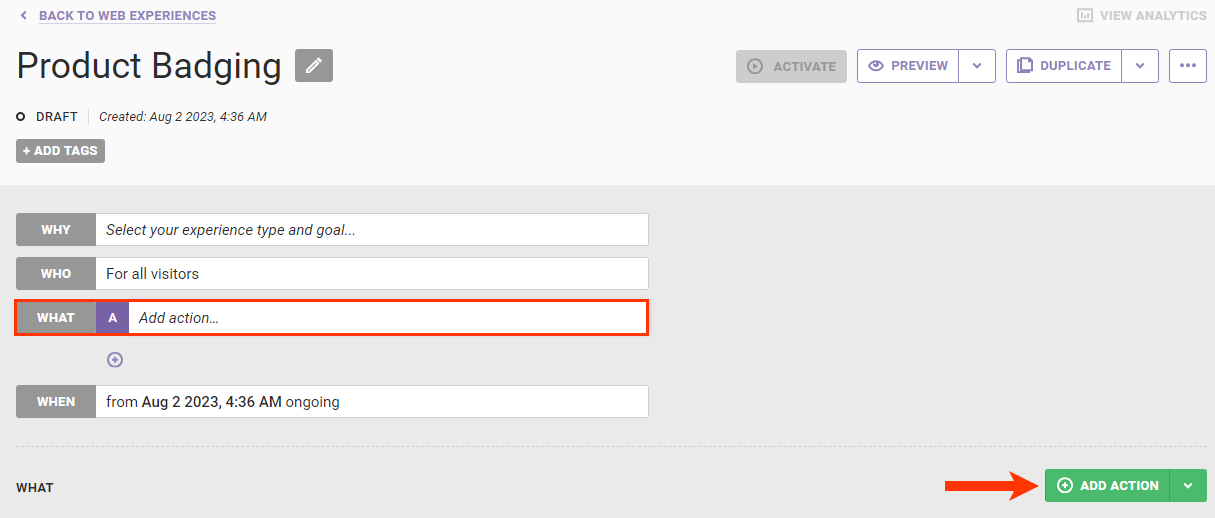
- Click WHAT and then click ADD ACTION.
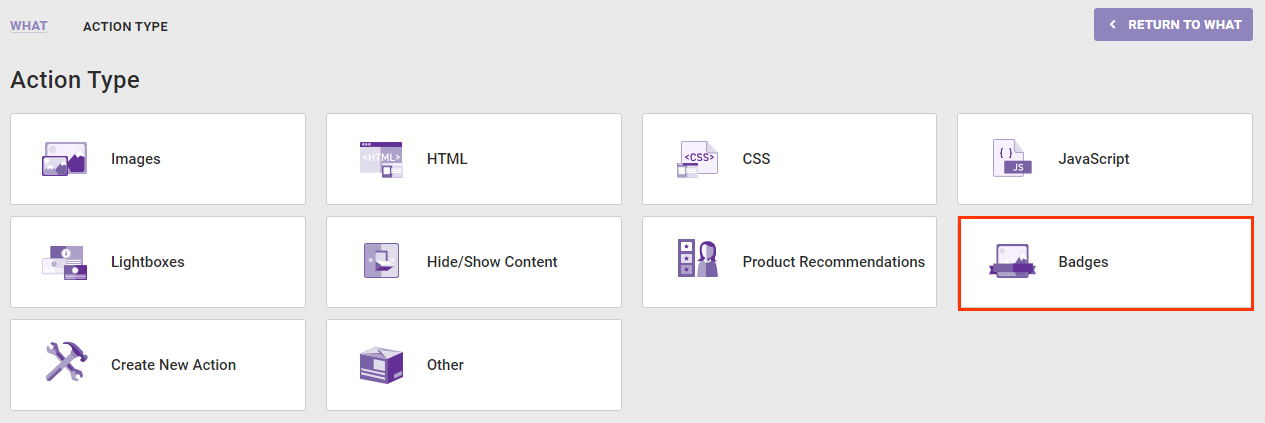
- Click Badges.
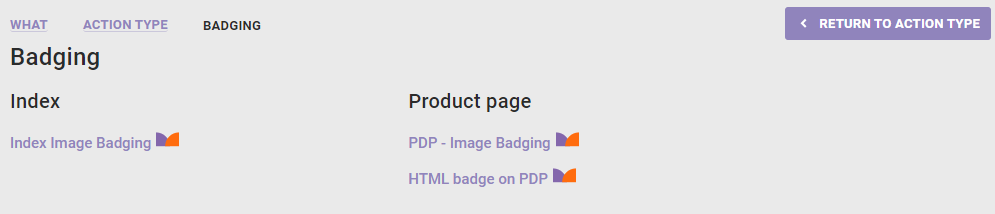
- Click the image-based badging action template that you want to use.
- Add the badge image by one of three methods:
- Click CHOOSE to select an image file in Content Manager.
- Click UPLOAD to navigate to an image file stored outside the platform and then upload it to Content Manager.
- Click GENERATE to create a placeholder that you later replace.
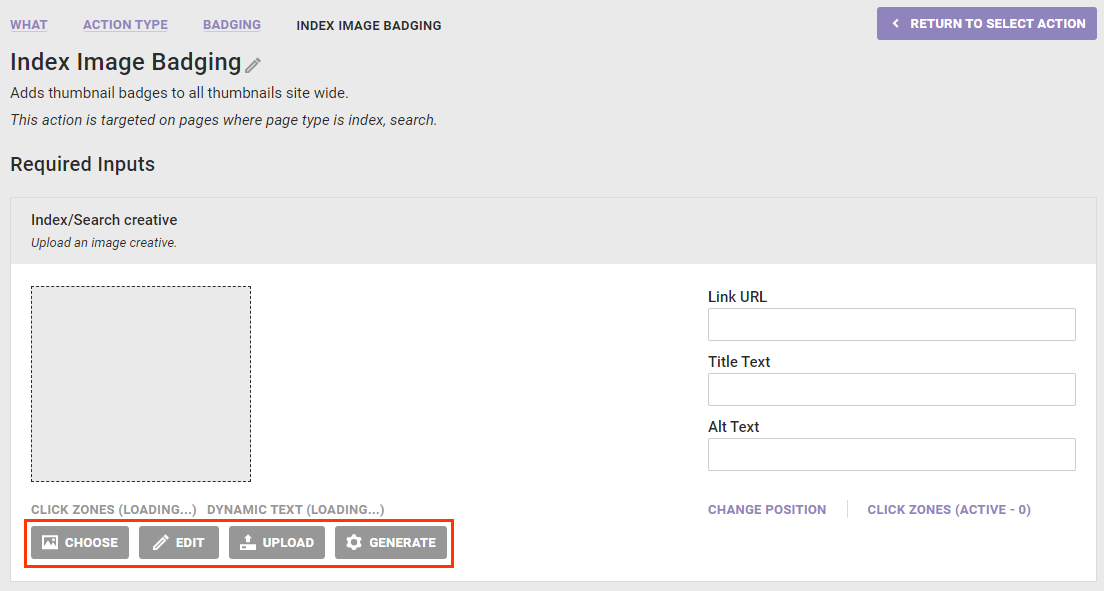
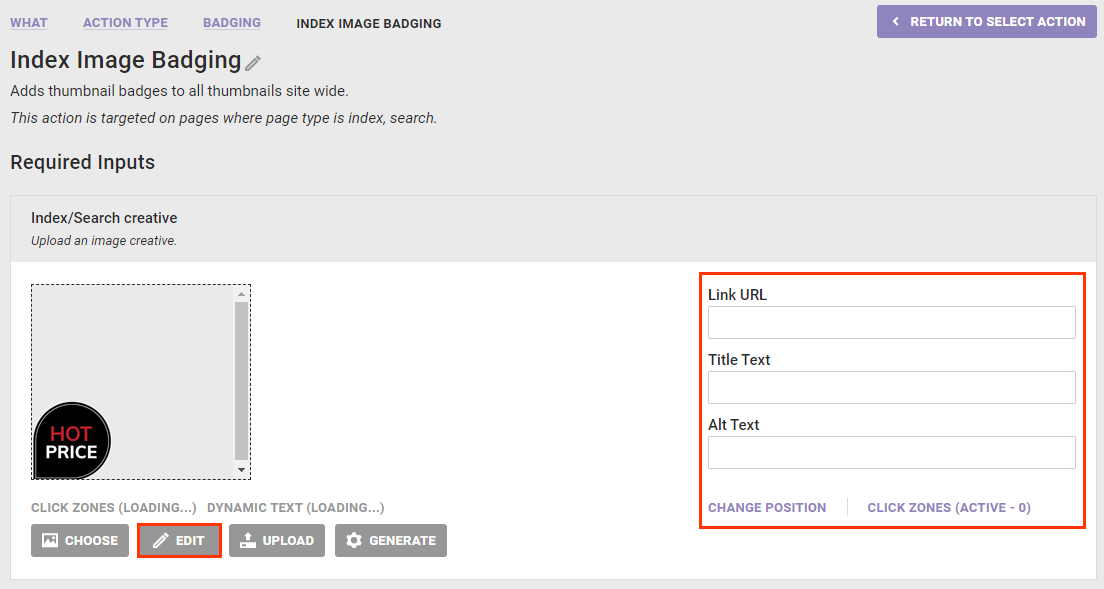
- Take any of these optional actions after the image creative appears:
- Click EDIT to modify the image in Content Builder.
- Type into Link URL a hyperlink to which the customer is taken after clicking the badge.
- Type into Title Text a description of the image to appear as a tooltip when the customer's cursor hovers over the image.
- Type into Alt Text a description of the image that can be read aloud by screen readers used by visitors who are blind or visually impaired.
- Click CHANGE POSITION to move the image placement on the thumbnail product image.
- Click CLICK ZONES to add one or more clickable areas to the image.
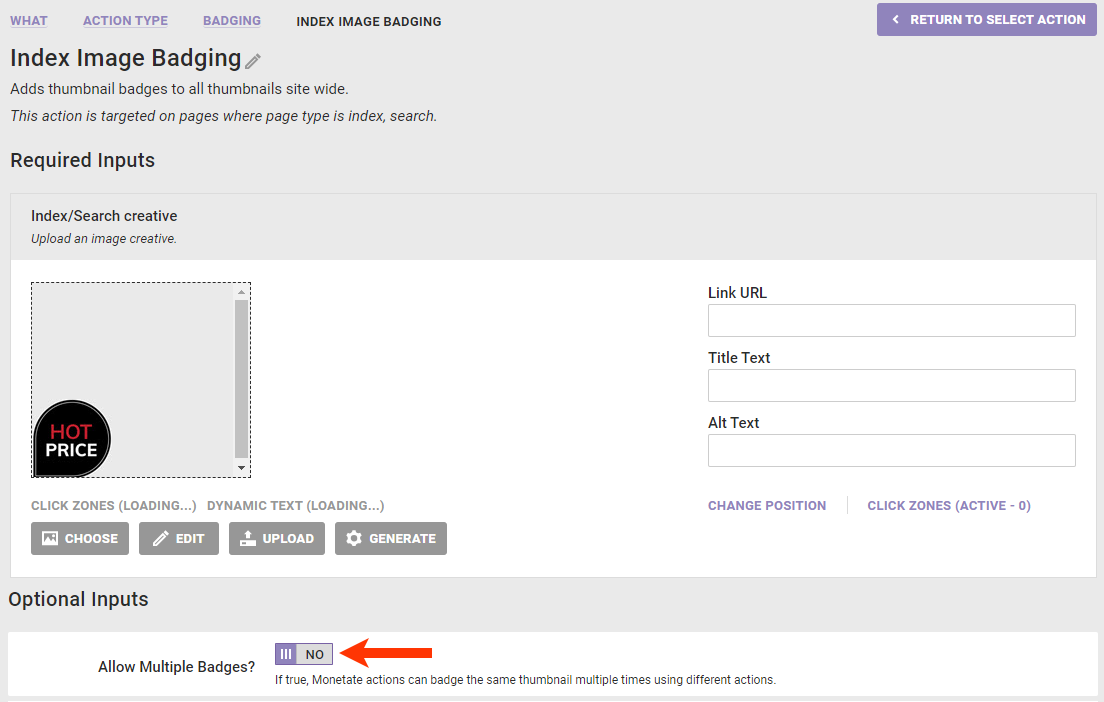
- Optionally, toggle Allow Multiple Badges? from NO to YES if you want to badge the same product image thumbnail multiple times using different badging actions.
- If not configured when the action was created, specify where and when the badging action fires, Click ADD CONDITION, expand a condition category, select an option from the category, and then input the necessary information to complete the condition equation. See Understanding Action Conditions for more information.
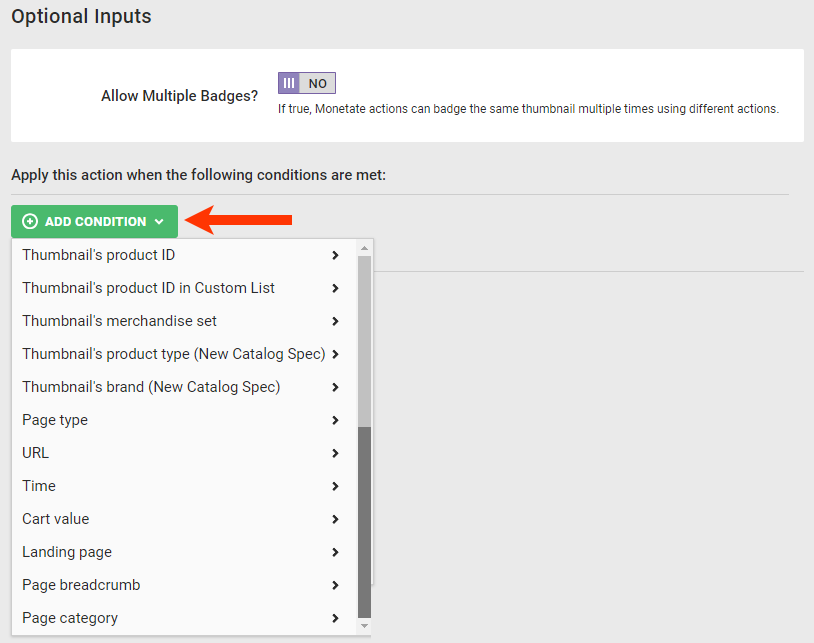
- Repeat the previous step as necessary to add however many action conditions you want for the action.
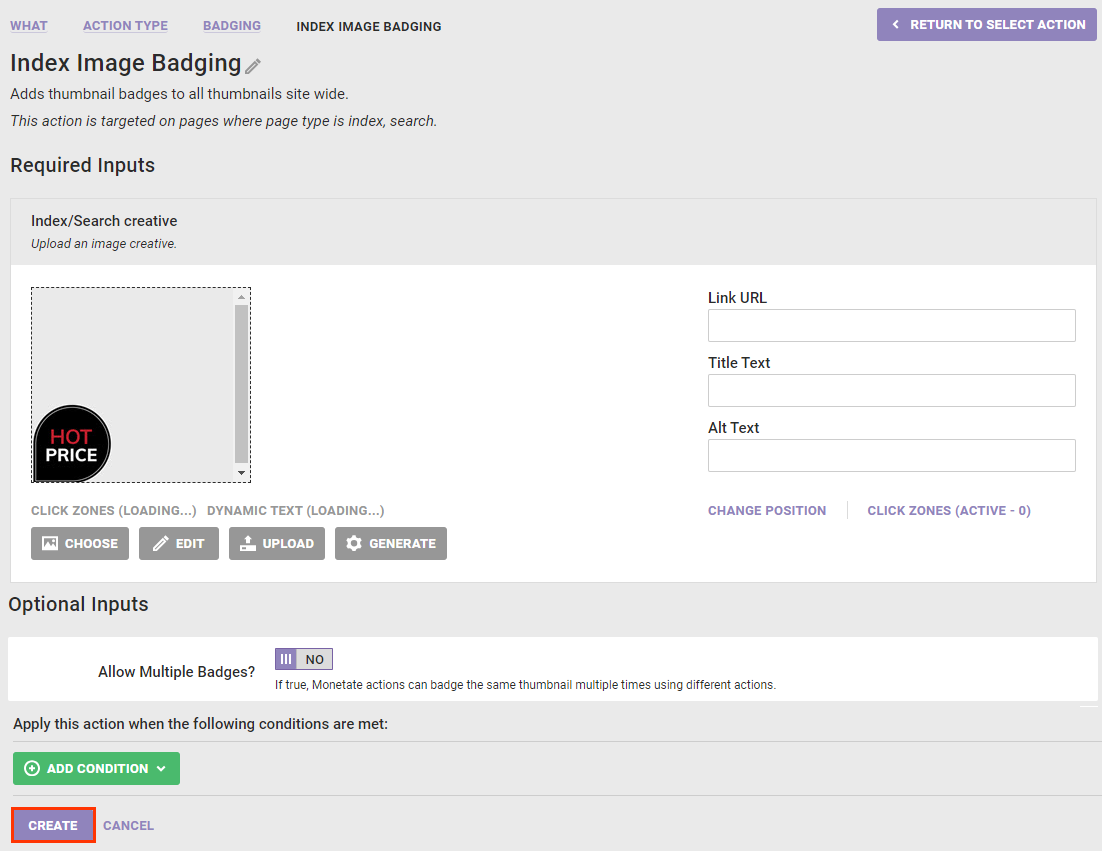
- Click CREATE.
Configuring an HTML-Based Badging Action
Follow these steps to configure an HTML-based product badging action within a Web experience
- Create a new Web experience and then configure the WHY and WHO settings.
- Click WHAT and then click ADD ACTION.
- Click Badges.
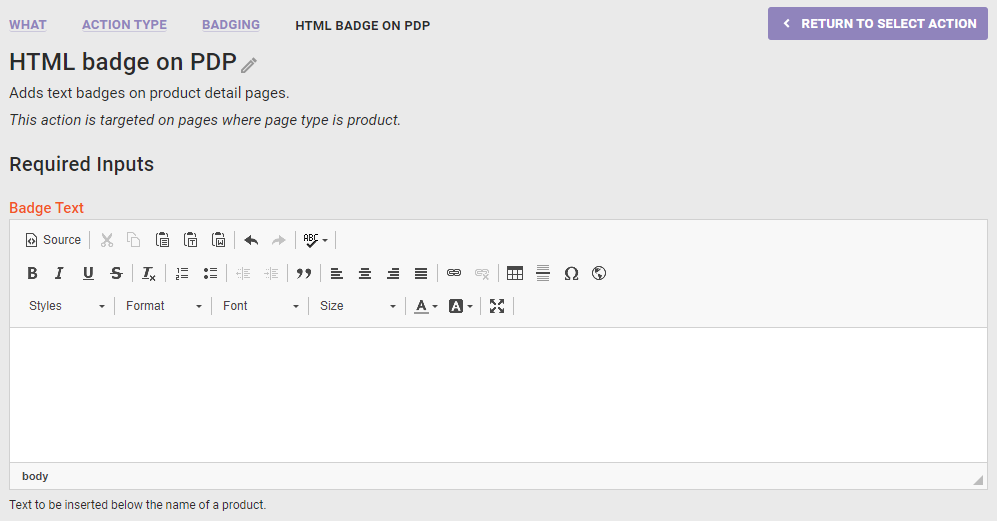
- Click the HTML-based badging action template that you want to use.
- Type into the WYSIWYG editor the text that you want inserted, and then use the editor's tools to style and format that text as necessary.
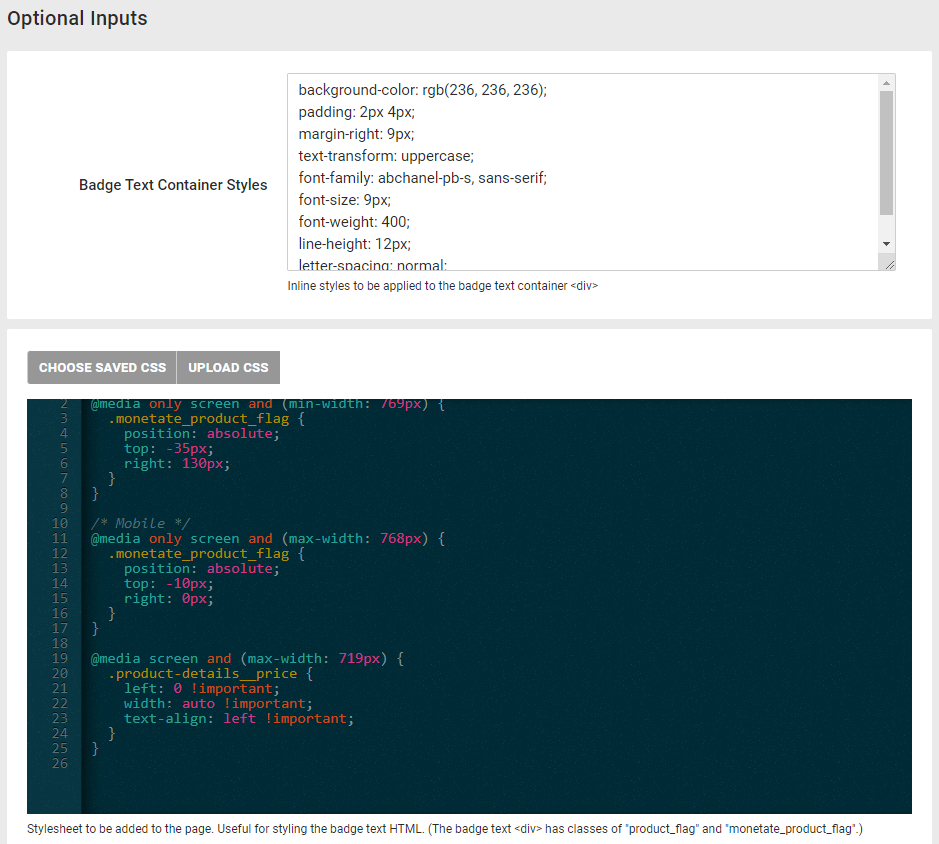
- Optionally, insert into Badge Text Container Style any inline style attributes that you want to use with the badge text's
<div>container. - Optionally, click CHOOSE SAVED CSS or UPLOAD CSS to insert CSS that overwrites existing styling in any external or browser-based stylesheet on your site. Review CSS Tips and Tricks to better understand how CSS properties included in actions within an experience work.
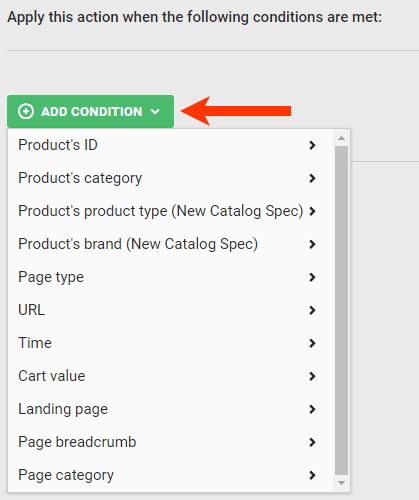
- To specify where and when the badging action fires, click ADD CONDITION, expand a condition category, select an option from the category, and then input the necessary information to complete the condition equation. See Understanding Action Conditions for more information.
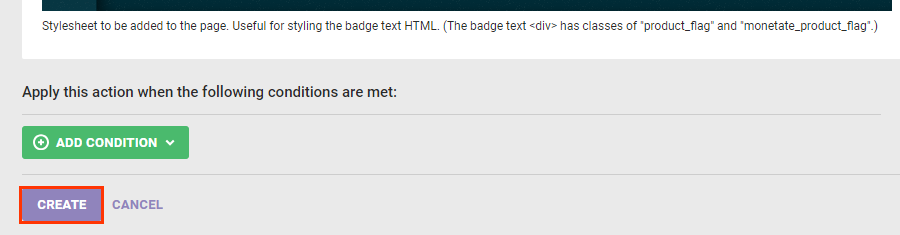
- Repeat the previous step as necessary to add however many conditions you want for the action.
- Click CREATE.
Understanding Action Conditions
You can use action conditions to specify the exact pages and products on which the badging action should fire. All standard action conditions, such as page type, page category, time, and cart value, can be used with badging actions.
You can also use badging-specific conditions to specifically target products by either product ID (PID) or SKU, or you can use the brand or product type as defined in the product catalog.
When you begin typing a PID or SKU into the text field for the action condition you are building, a type-ahead feature displays partially matching values that exist in the product catalog. If your site has products that match the input but are not in the product catalog, then the type-ahead feature does not show them.
If you are using a badging action for a product detail page, you can use these conditions:
- Product's ID =
- Product's ID ≠
- Product SKU =
- Product SKU ≠
- Product's product type (New Catalog Spec) starts with
- Product's product type (New Catalog Spec) doesn't start with
- Product's brand (New Catalog Spec) =
- Product's brand (New Catalog Spec) ≠
If you are using a badging action for a product listing page, you can use these conditions:
- Thumbnail's product ID =
- Thumbnail's product ID ≠
- Thumbnail's product ID in custom list
- Thumbnail's product ID ≠ in custom list
- Thumbnail's product SKU =
- Thumbnail's product SKU ≠
- Thumbnail's product type (New Catalog Spec) starts with
- Thumbnail's product type (New Catalog Spec) doesn't start with
- Thumbnail's brand (New Catalog Spec) =
- Thumbnail's brand (New Catalog Spec) ≠