You may need to update a customer dataset, perhaps to add more customers with actionable data or to add new information about the customers already in the dataset.
The type of update you need to perform determines the method(s) available for accomplishing the task.
Updating or Adding Rows to a Dataset
Perhaps you must update the values that appear in the recently_viewed_products attribute in a dataset for customer IDs (cust_id) 111 and 115. Therefore, you must update the rows for those two customer IDs, which you can accomplish through a partial update.

Maybe instead you must add new customers with the IDs 116, 117, and 118. Each customer ID represents a new row, which you can upload to the dataset through a partial update.

If you need to add rows, replace rows, or add or replace values within rows of customer information in a dataset, you must perform a partial update through the Data API, via SFTP, or using the Datasets Upload wizard in the platform.
For more information about using the Data API for an update, refer to Update Customer Data via the Data API. See Update a Customer Dataset via SFTP for more information about using an account's specific SFTP setup to send an update.
Using the Datasets Upload Wizard for a Partial Update
Follow these steps to add rows to or update rows already in a customer dataset.
- Click UPLOAD DATA on the Customer Datasets list page.

- Click Update Existing Dataset, choose the dataset you want to update, and then click NEXT.
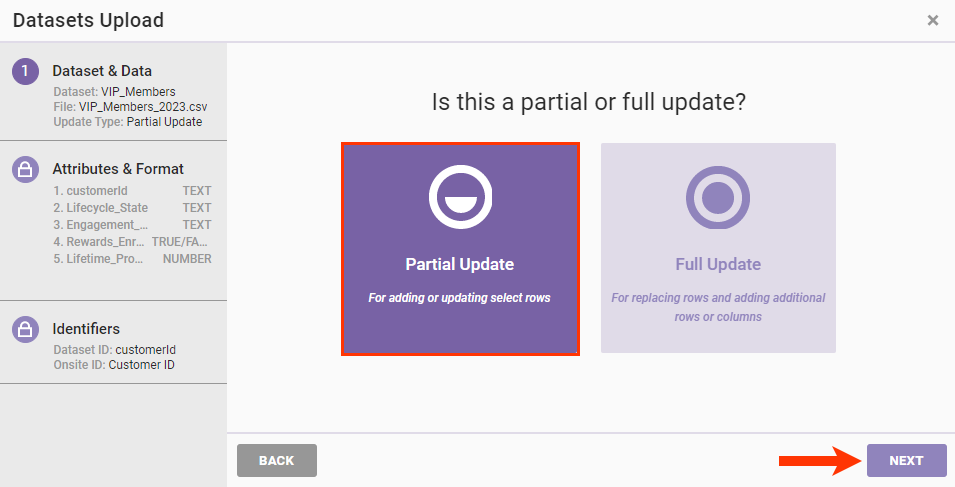
- Click Partial Update and then click NEXT.
- Drag and drop the file with the updated data into the wizard and then click NEXT.
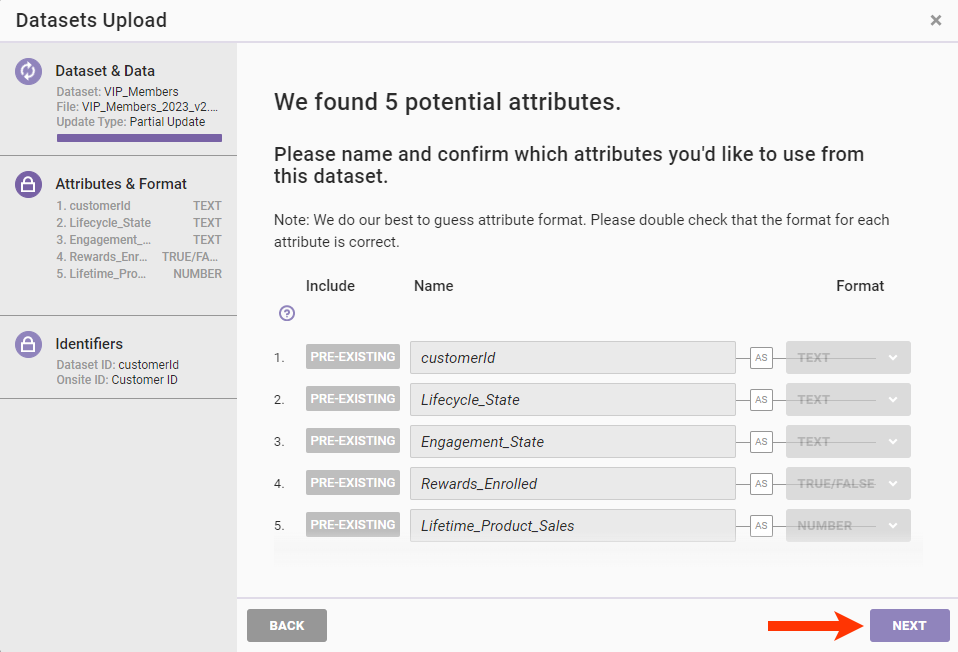
- Click NEXT on the screen showing the potential attributes because you cannot edit or exclude any of the attributes.
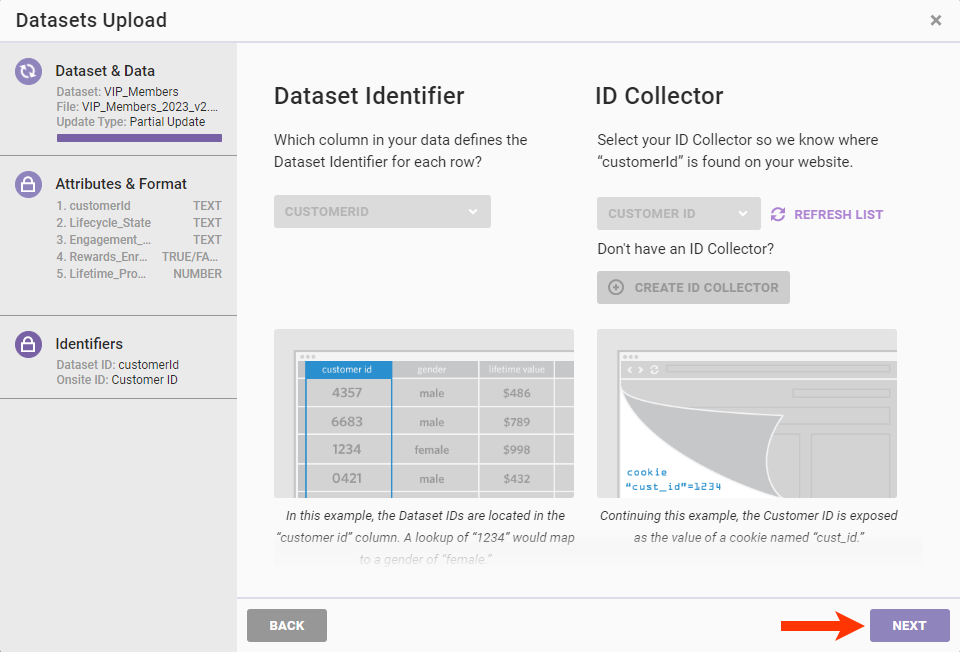
- Click NEXT on the screen showing the Dataset Identifier and ID Collector because you cannot edit these settings.
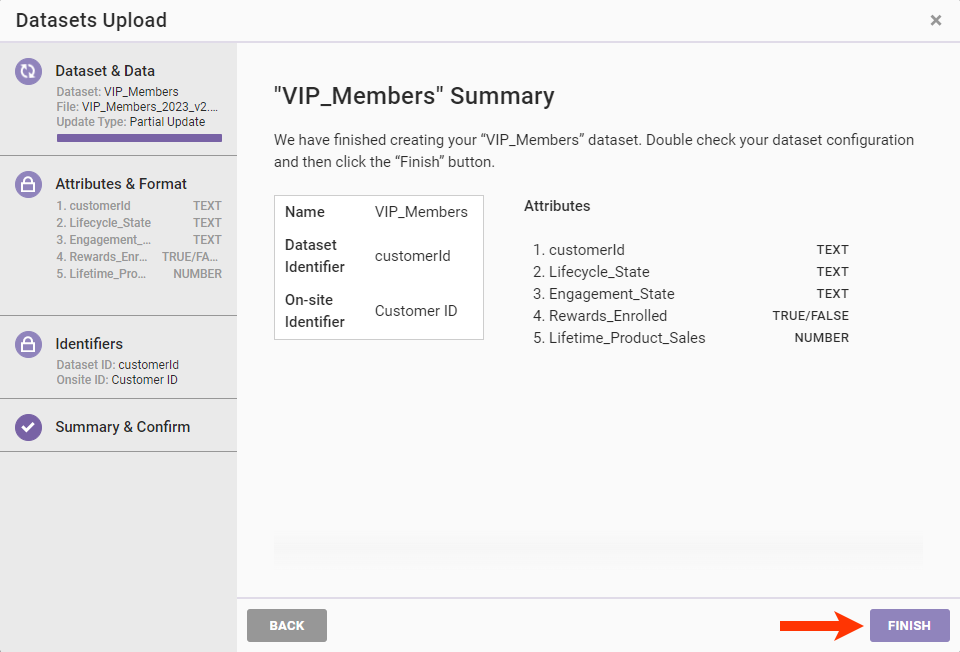
- Review the dataset summary and then click FINISH.
If the platform encounters an error with the update, then an entry appears in the Current Updates column on the Customer Datasets list page. Click it to view the errors.
Adding Attributes to a Dataset
Perhaps you need to add one or more columns, also called attributes or fields, to a customer dataset. You have two options to accomplish this task:
- Send a full file update using the Data API.
- Perform a full file update using the Datasets Upload wizard in the platform.
For more information about using the Data API for an update, refer to Update Customer Data via the Data API.
Before you update the dataset using the Datasets Upload wizard, ensure the CSV or TSV file you will upload meets these requirements:
- The new attributes appear after the existing ones.
- The order of the existing attributes matches their order in the dataset schema.
If the file fails to meet these requirements, an error message appears.
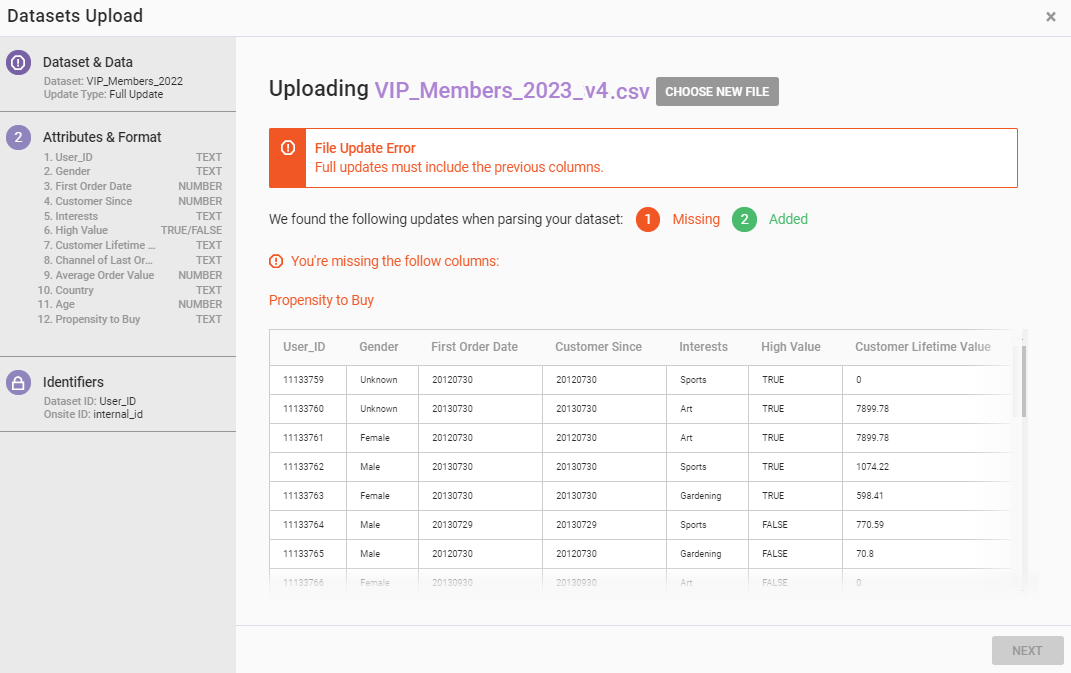
Correct the errors and then restart the update.
Using the Datasets Upload Wizard for a Full Update
Follow these steps to add attributes to a customer dataset.
- Click UPLOAD DATA on the Customer Datasets list page.
- Click Update Existing Dataset, select the dataset you want to update, and then click NEXT.
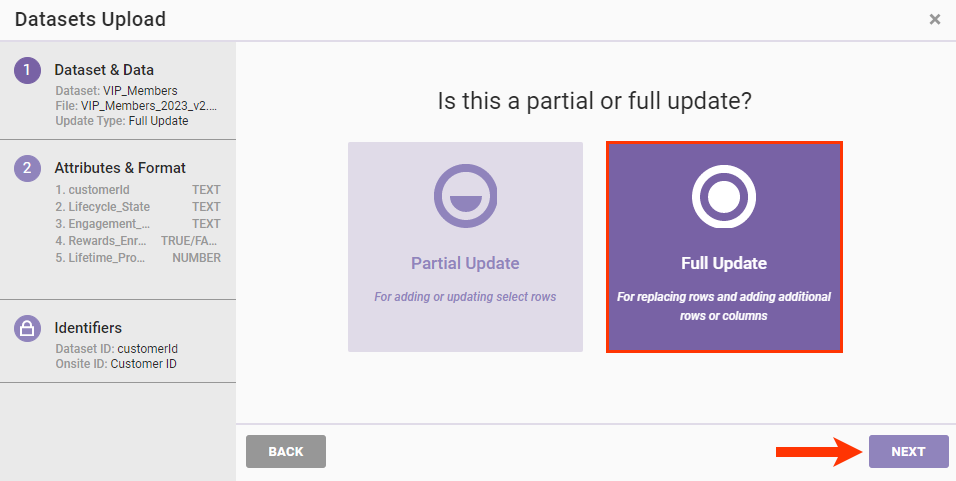
- Click Full Update and then click NEXT.
- Drag and drop the file with the updated data into the wizard and then click NEXT.
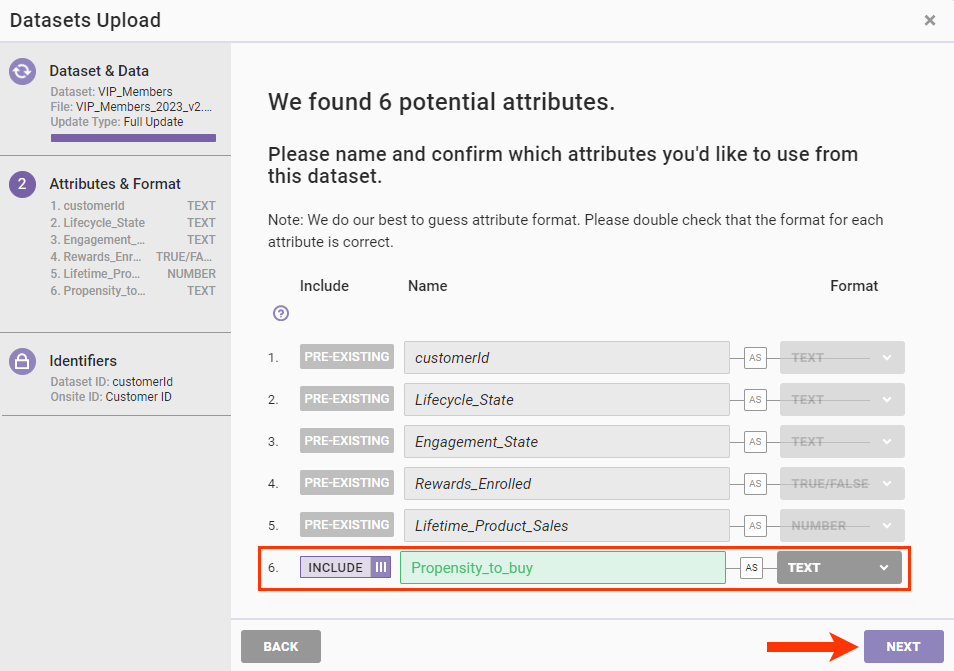
- Confirm that the data type selected for each new attribute is correct and then click NEXT. You can optionally take these actions for the new attributes:
- Edit the attribute's name that appears on the new dataset's details page if you don't want it to match its field name as it appears in the column header of the file.
- Click to change INCLUDE to EXCLUDE if you don't want an attribute to be part of the dataset.
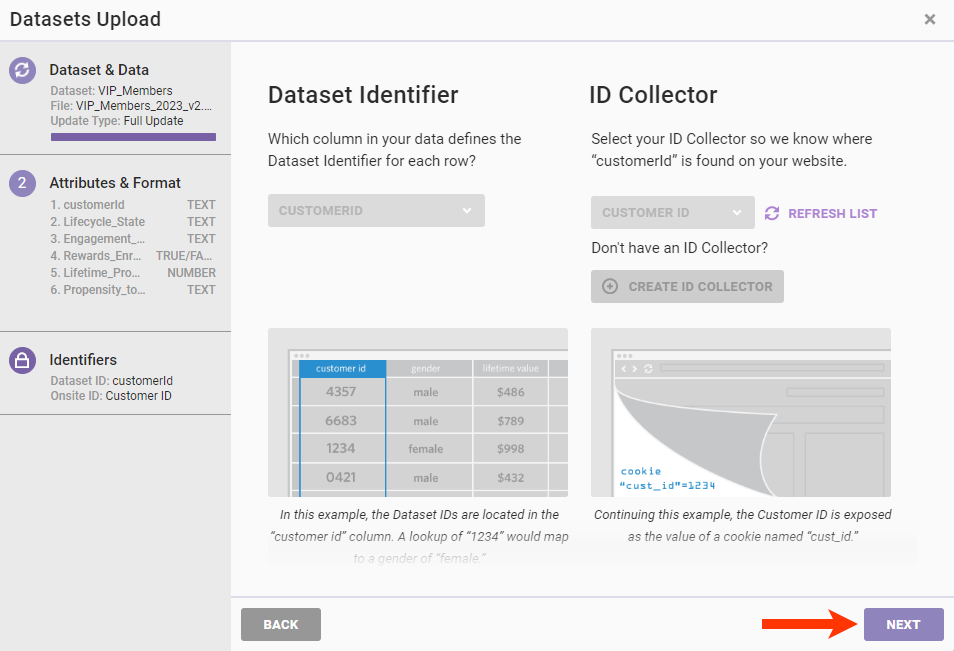
- Click NEXT on the screen showing the Dataset Identifier and ID Collector because you cannot edit these settings.
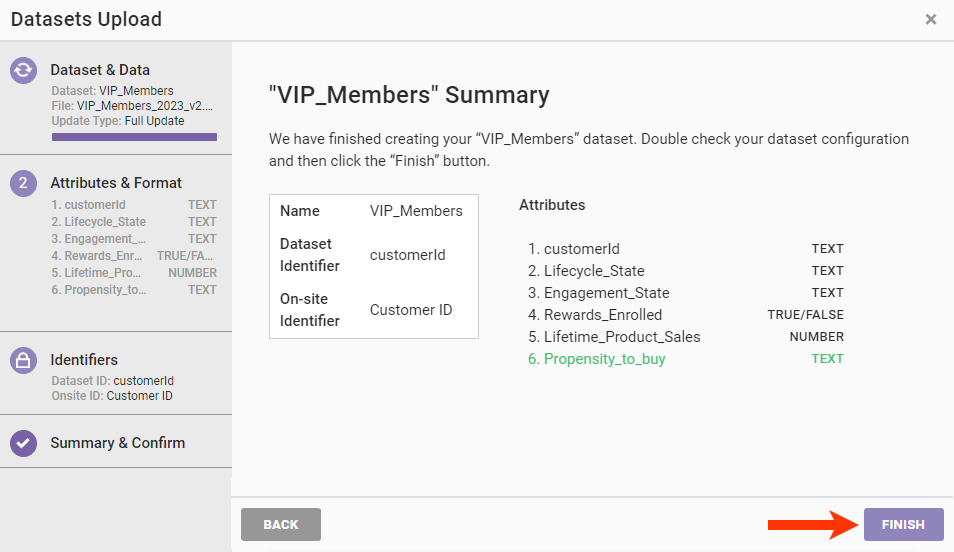
- Review the dataset summary and then click FINISH.
If the platform encounters an error with the update, then an entry appears in the Current Updates column on the Customer Datasets list page. Click it to view the errors.