Action inputs let you determine what parts of an action users can edit at the experience level. The options you see on the Inputs tab in Action Builder depend on the type of action you're building. The action inputs that you enable determine to some extent how you use the action in future experiences.
Action Inputs Examples
You create an image action and ensure to select the Image Creative and Relative Element Selector inputs before you save the new action.
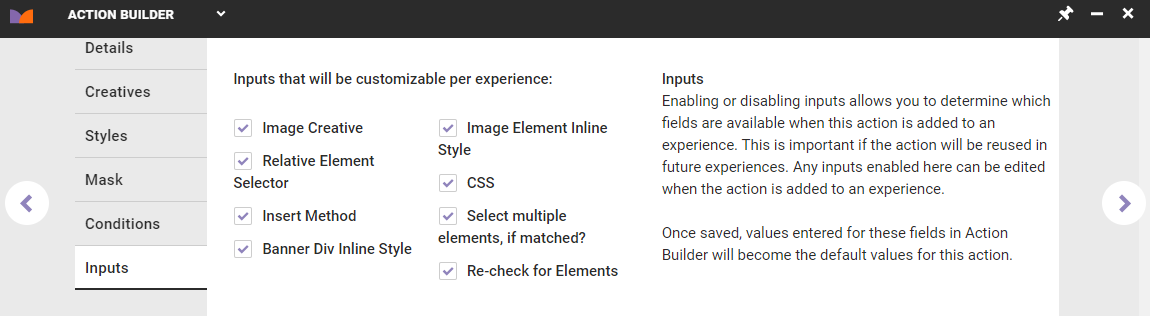
When you add the new image-based action to an experience, the Image Creative and Relative Element Selector options are available so that you can change the image and the element selector for that image.
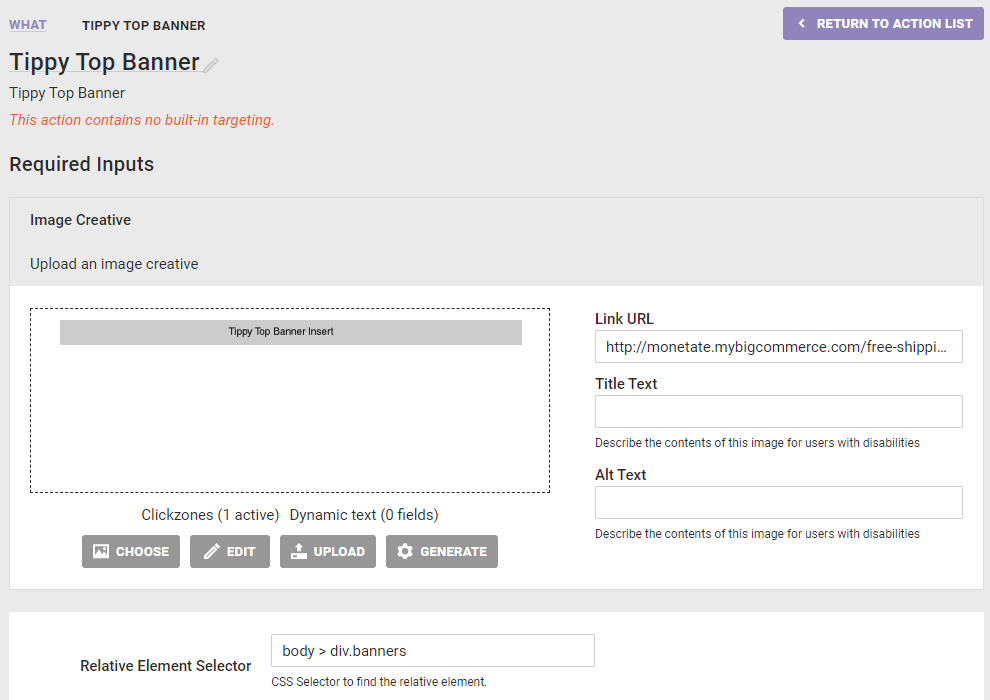
By selecting these inputs when you created the action, you ensure you have the opportunity to change both the image and the element selector each time you use the action in an experience.
Be aware, however, that customizing an action for each experience means that you cannot quickly make a global change. Perhaps your site format changes, which impacts the action's placement. If you customized the placement each time you used the action in an experience, then you must update the action in each individual experience. Open inputs allow the action to remain different in each experience, thus making a global update impossible.
Conversely, you can build an action with fewer or even no experience-level inputs available.
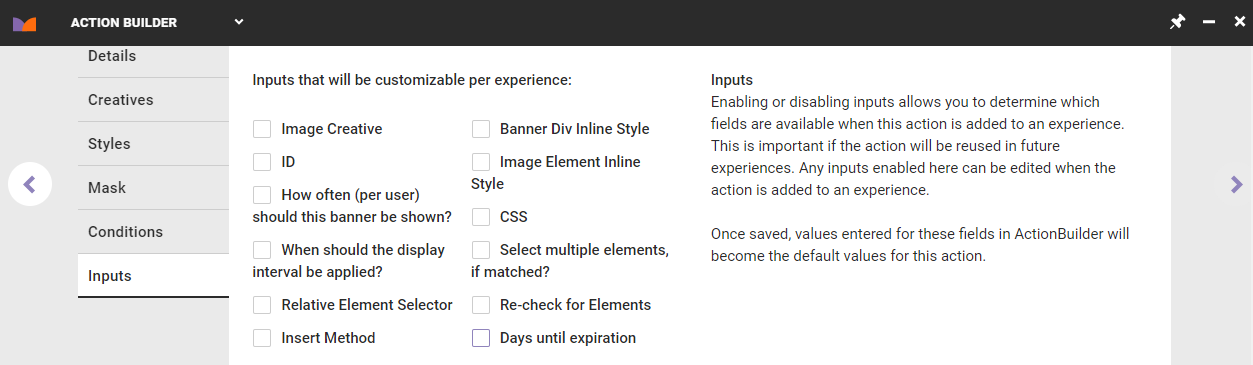
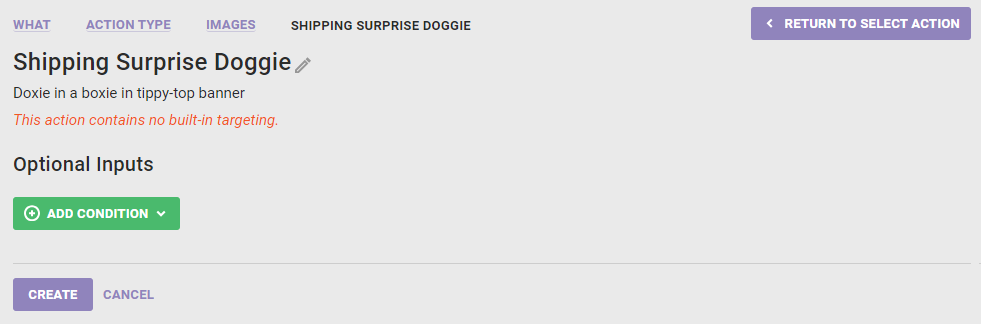
If you built an image-based action and didn't select any experience-level inputs, then that action is exactly the same each time you use it in an experience and cannot be revised when you configure it for an experience.
Although you cannot customize the action at the experience level when configuring it within an experience you're creating, you can edit the action from the Actions list page. Find the action on the Actions list page, click the action's additional options menu (...), and then select Edit.
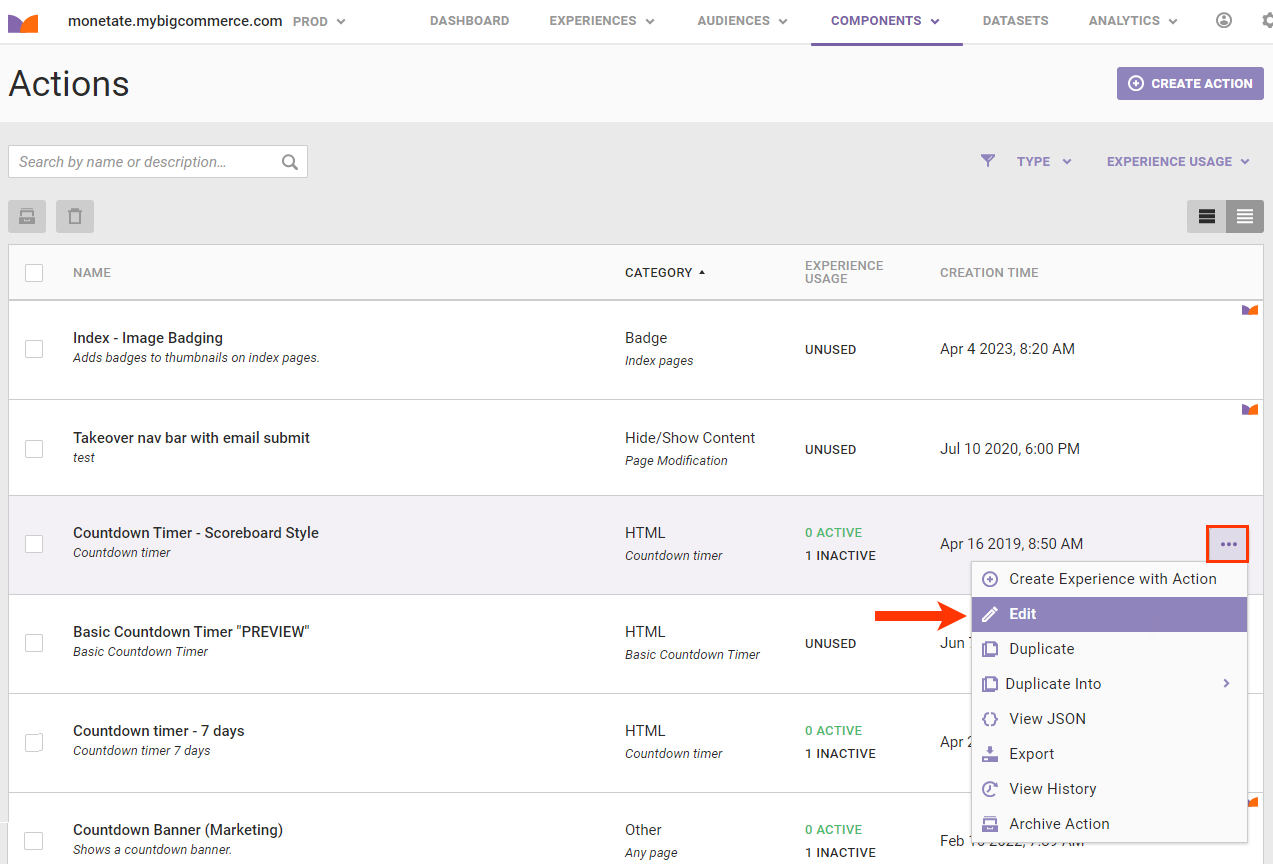
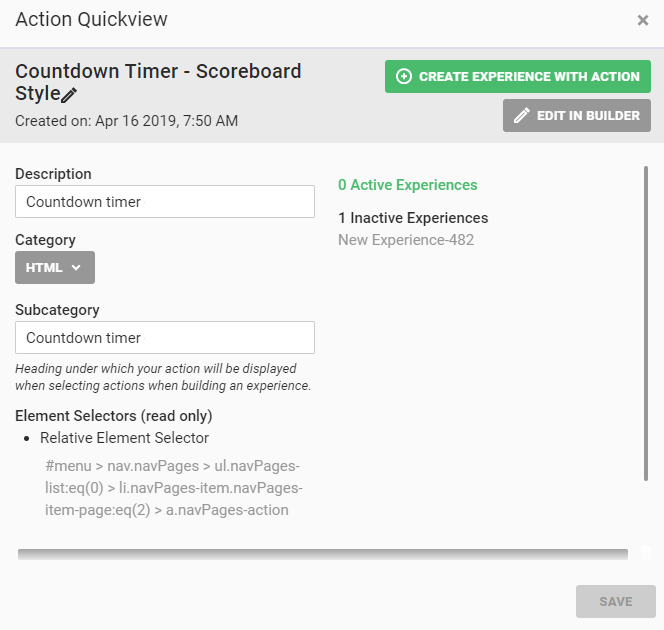
The Action Quickview modal opens, on which you can make the following changes:
- Rename the action
- Revise the description
- Change the category
- Revise the subcategory
- Add action conditions, or remove or revise existing ones
- Click EDIT IN BUILDER to launch Action Builder to make other changes to the action not available on the modal
See the documentation in the Building Actions category of the knowledge base for more information about the basic actions you can build in Action Builder.
Pros and Cons of Including Action Inputs
Keep in mind the pros and cons of including action inputs when you're building an action in Action Builder.
Pros
- You save time making new actions because they're reusable in different situations.
- You save time because you have fewer actions cluttering the Actions list page.
Cons
- If you need to change an action, you must do it in each experience that uses it.
- The time you saved with reusable actions may be offset by the time you spend updating that action within each experience using it if you need to make a global change to all of them.
Guidance for Using Inputs
There are definitely situations in which you should use inputs and situations in which you may not want to. Consider the following two scenarios.
Banner on the Landing Page
You want to create an action that replaces the main banner on your landing page, and you foresee changing that banner regularly. In this situation you should ensure Image Creative is selected on the Inputs tab of Action Builder so that you can reuse this action. The reusability factor outweighs the need for one easy update, especially if you expect to change the banner for all visitors. In this case, you probably won't run too many experiences that change the banner at the same time for different groups, so you will only have to make the update once at the experience level.
Site CSS
You want to create an action that changes CSS on your site. This type of action you may want to lock down by removing all input options when you create it in Action Builder. An insert CSS action, among others, likely needs a global update if the site element it impacts ever changes. In this case, the need for a single update that goes out to all experiences that use the action outweighs the need to customize the action at the experience level.