You cannot edit some portions of a Web experience after you have activated it. Duplicating an experience provides you with one workaround you can use if you need to revise an active experience.
Duplicating an Experience Within the Same Account
Follow these steps to duplicate a Web experience in the same account.
- Navigate to the experience that you want to duplicate, and then open it in Experience Editor.
- Click PAUSE if you do not plan to revise the WHY, WHO, WHAT, or WHEN settings of the duplicated experience. Otherwise, skip this step.

- Click the drop-down arrow to the right of DUPLICATE, and then select Duplicate Within Same Account.

- Click the pencil icon, rename the duplicate experience, and then click the green checkmark icon to save the new name.

- Revise the experience as necessary, and then click ACTIVATE or click PREVIEW.
If you activate a duplicated experience that you did not revise, consider archiving the original version to better ensure two versions of the same experience don't run concurrently.
Duplicating an Experience into a Different Account
Follow these steps to duplicate a Web experience into a different account.
- Navigate to the experience that you want to duplicate, and then open it in Experience Editor.
- Click the drop-down arrow to the right of DUPLICATE, and then select Duplicate Into Another Account.

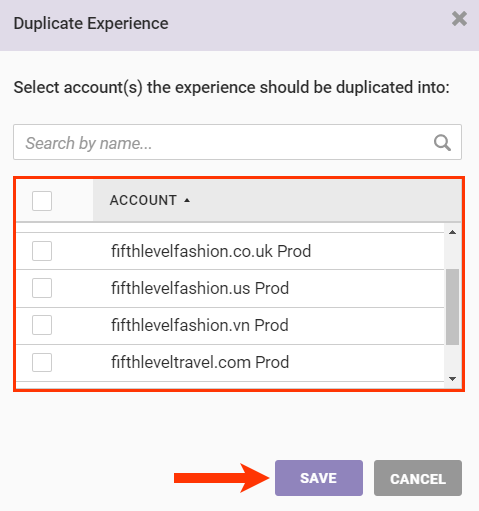
- Select one or more accounts into which you want to duplicate the experience, and then click OK.

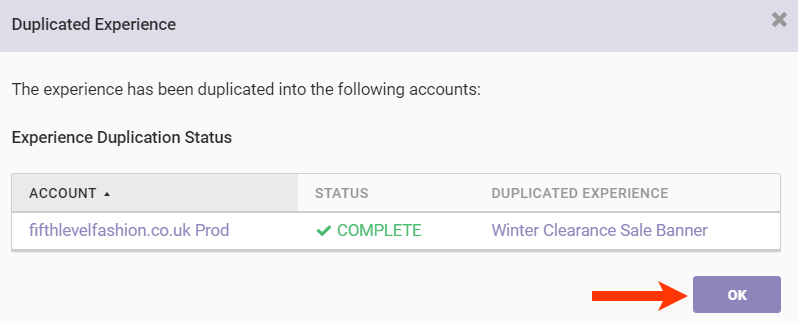
- Click OK after the confirmation message appears in the modal.

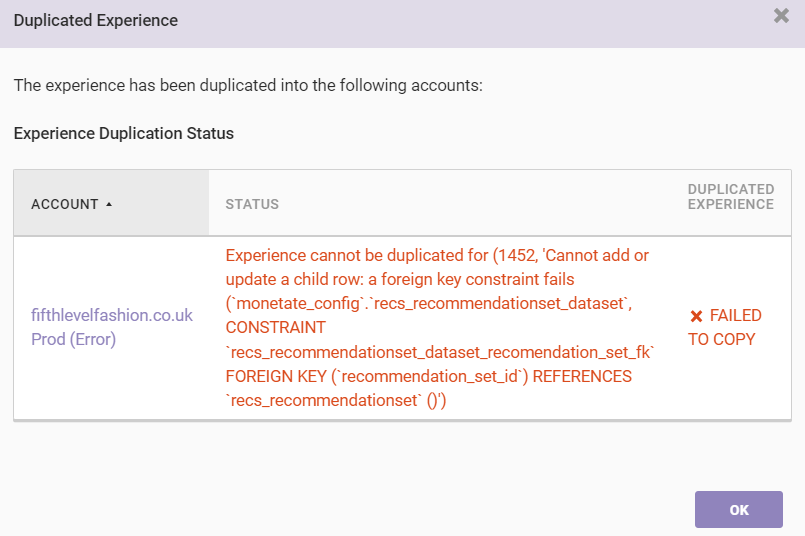
If you try to duplicate into a different account an experience that relies on data that is specific to the originating account—for example, a recommendations experience that uses a local recommendation strategy that isn't available to all your accounts—then an error message appears.

The duplicated experience isn't automatically activated but instead appears as a draft. You must go into the other account(s) into which you copied the experience, make any revisions necessary, and then activate the experience.