Follow these steps to create a Product Finder questionnaire.
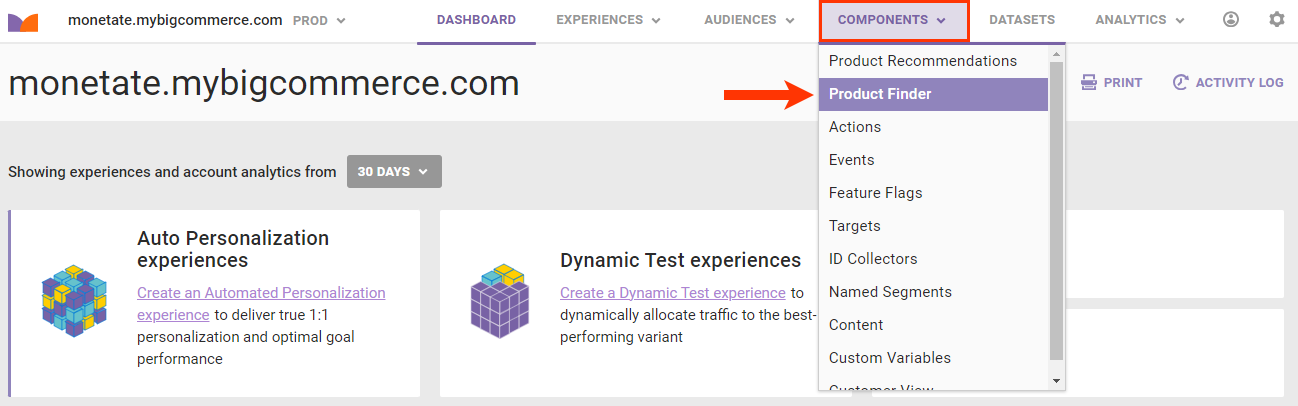
- Click COMPONENTS in the top navigation bar and then click Product Finder.
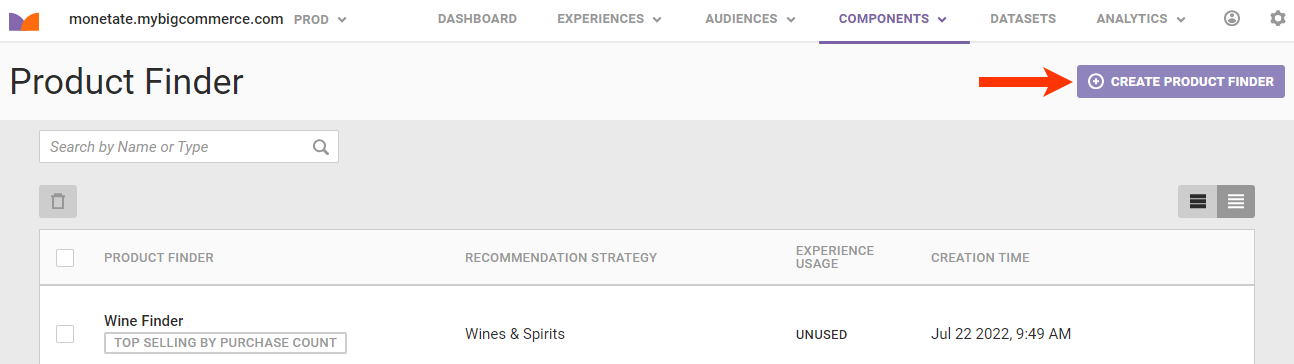
- Click CREATE PRODUCT FINDER.
- Configure the questionnaire.
- Name the questionnaire.
- Select a recommendation strategy.
- Select if you want recommended products displayed after each answer the visitor provides or only after answering all the questions.
- Optionally, input any product catalog custom attributes whose values you want displayed along with the basic product information for each recommended product. If you input multiple fields, ensure they're in a comma-separated list.
- Click NEXT: BEGIN QUESTIONNAIRE.

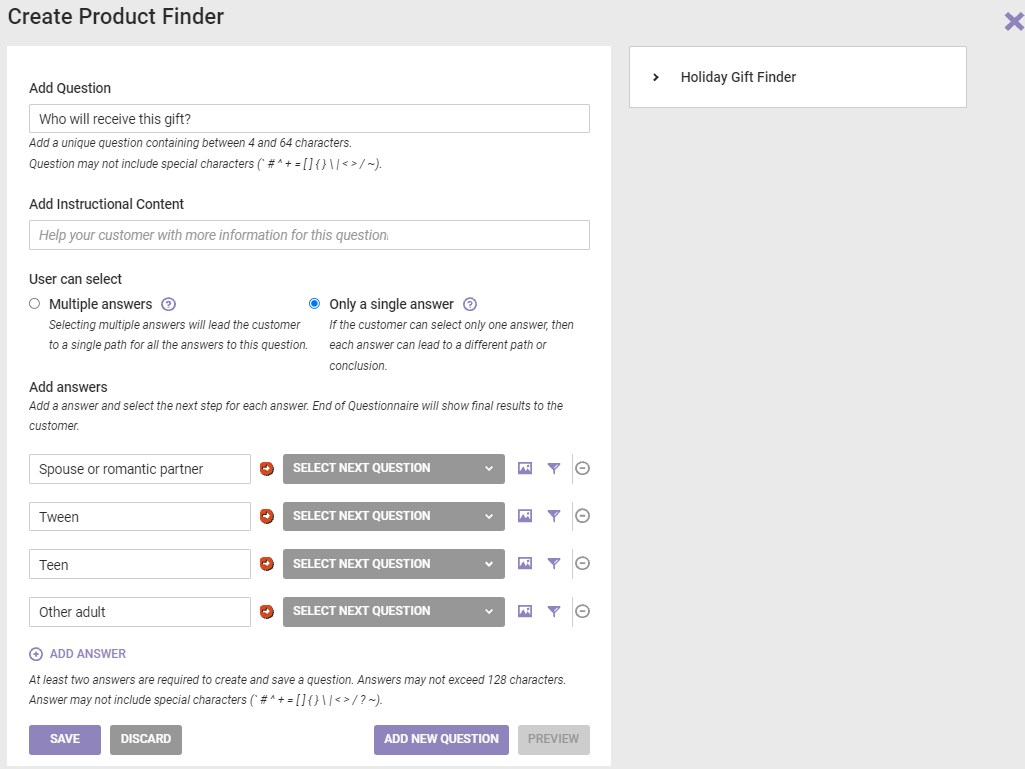
- Create the first question.
- Type the question text into Add Question. A question must have at least four characters and no more than 64 characters. It cannot have any special characters except a question mark and parentheses.
- Optionally, type into Add Instructional Content any information the customer might need to understand the question and the answer options.
- Select the setting to make the answer multiple choice or single choice.
- Type the first answer option into the Add Answer field, and then click ADD ANSWER each time you need to add another answer option. An answer cannot exceed 128 characters and cannot include any special characters.
- Optionally, add an image for each answer option. See Adding Images to Answer Options within this documentation for the steps.
- Optionally, add a filter for each answer option. See Adding Filters to Answer Options within this documentation for the steps.
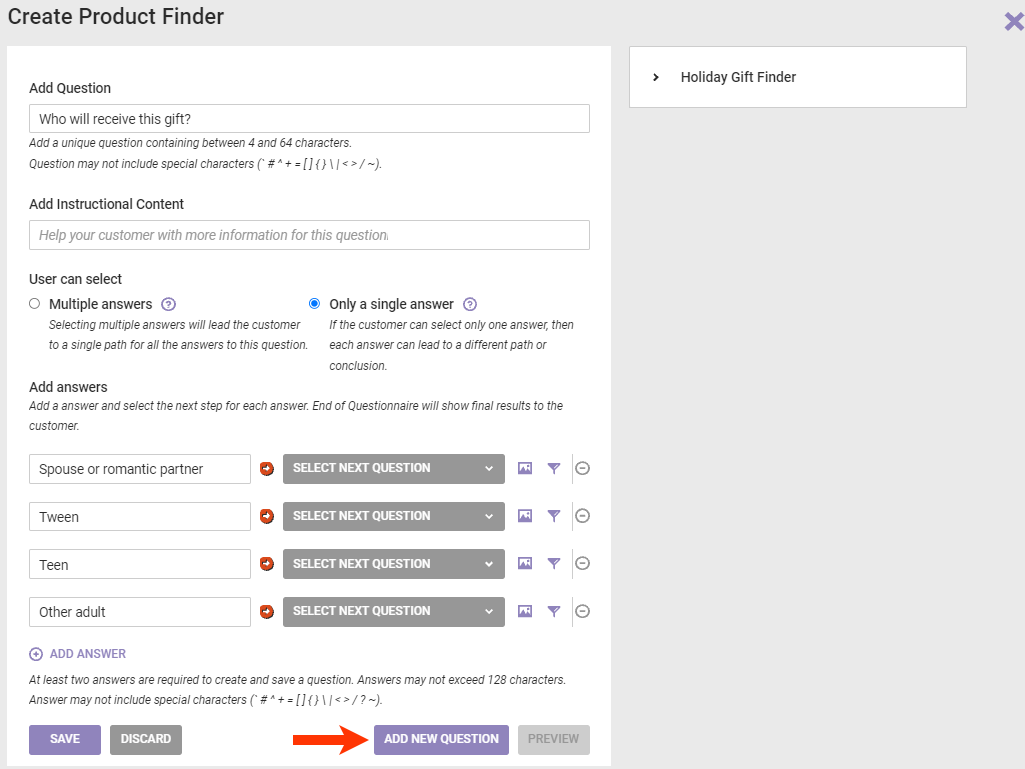
- Click ADD NEW QUESTION.
- Repeat steps 4 through 7 as many times as necessary to create all but the last question-and-answer entry in the questionnaire.
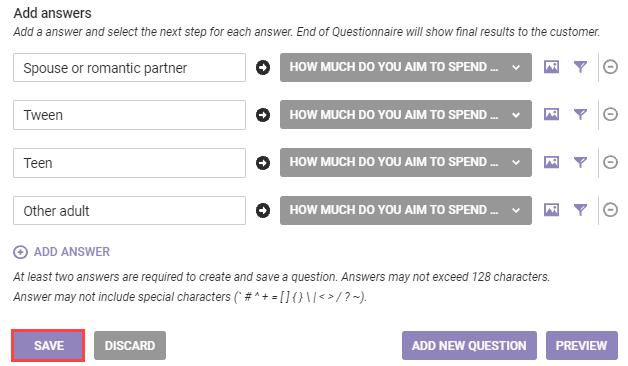
- Create the final question-and-answer entry.
- Repeat steps 4 through 6.
- Select End of Questionnaire for a multiple-choice final question, or select End of Questionnaire from the selector to the right of each answer option for a single-choice final question.
- Click SAVE.

After you create all the question-and-answer entries, you must link answers in one question to the next question(s) they lead to. See Configuring the Questionnaire Paths for more information.
Adding Filters to Answer Options
The product catalog attribute-based filters that you can apply to each answer option for each question in a Product Finder questionnaire make the products recommended all the more relevant to the answers the customer selected. These filters you build just like the recommendation filters used in recommendation strategies. See Filters in Recommendation Strategies for more information.
Follow these steps to create a filter for an answer option.
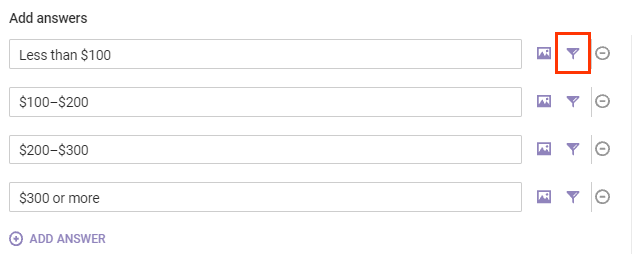
- Click the filter icon for an answer option.
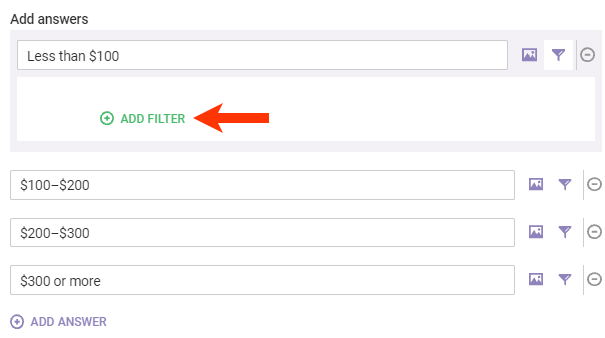
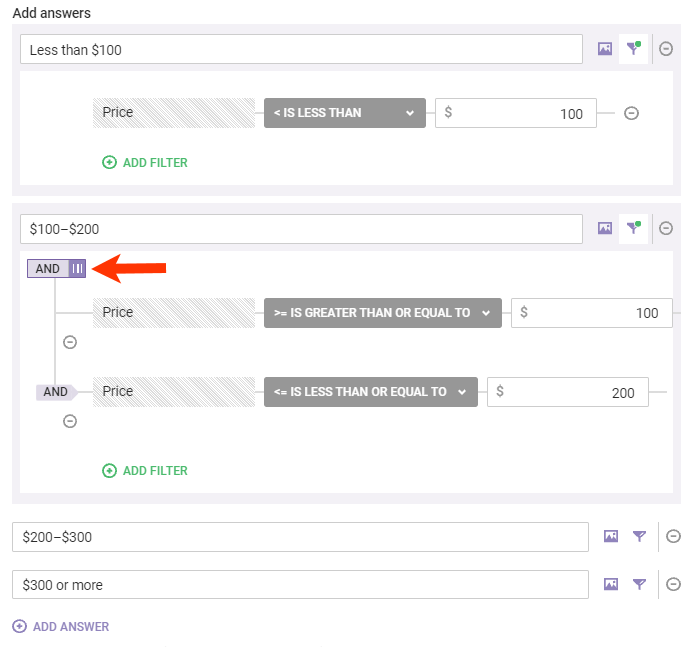
- Click ADD FILTER.
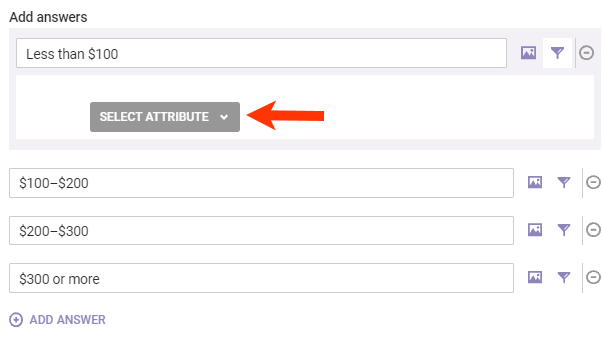
- Select an option from SELECT ATTRIBUTE. The options in the selector represent all the attributes in the product catalog associated with the recommendation strategy that you selected for the questionnaire, including custom attributes, along with all the attributes that are optional for any product catalog uploaded to the Monetate platform.
- Complete the filter equation by selecting an operator and then inputting a value.
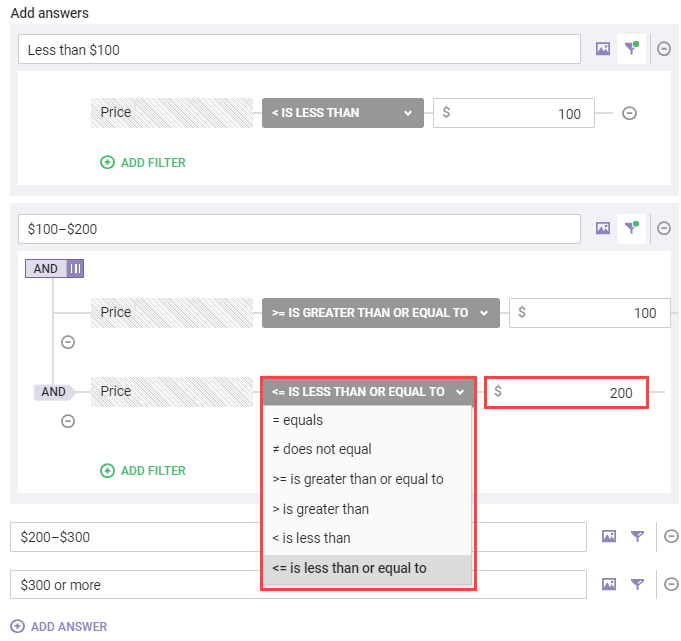
- Repeat steps 2 through 4 as necessary to create multiple filters for one answer option. Connect the filters by setting the operator toggle to AND or to OR.
Applying filters to answer options that are too specific can limit the number of recommendations shown in the Product Finder results. Thoroughly test all possible pathways through a questionnaire in preview mode to ensure that the recommendation strategy you selected for the questionnaire and the answer option filters that you've applied return the quantity and quality of recommended products you want. See Previewing the Questionnaire for more information.
Adding Images to Answer Options
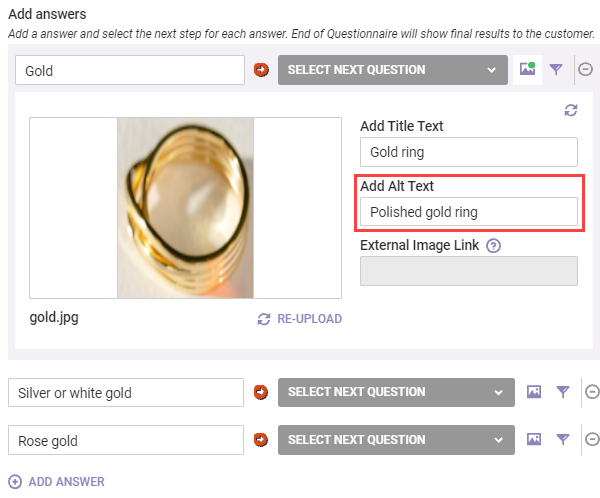
You can add an image to accompany the text of an answer option or as an answer option without text. Follow these steps to add an image.
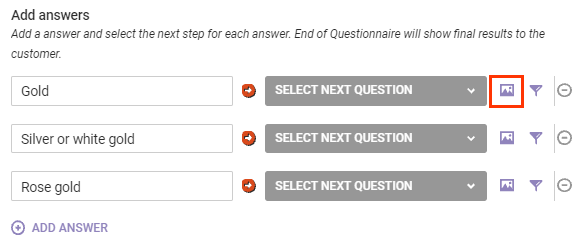
- Click the image icon for an answer option.
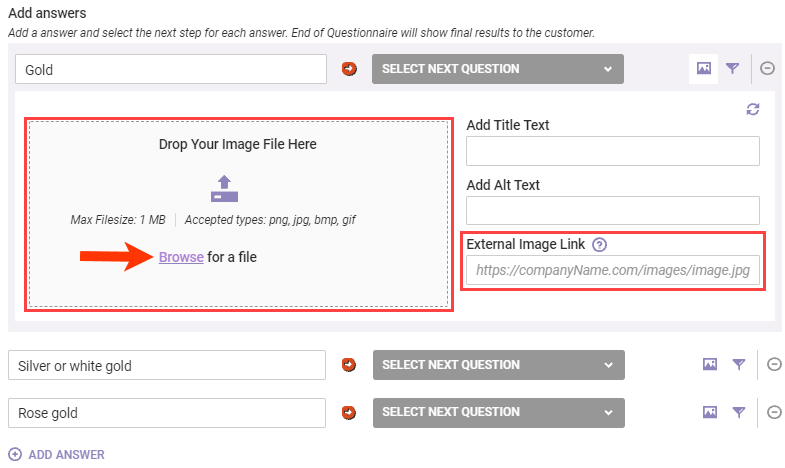
- Upload the image one of three ways:
- Drag and drop the image file into the appropriate area of the Create Product Finder wizard.
- Click Browse in the Create Product Finder wizard, and then navigate to and select the image file.
- Input into External Image Link the URL for the image you want to appear with or as the answer.
- Type into Add Title Text a description of the image to appear as a tooltip when the customer's cursor hovers over the image.
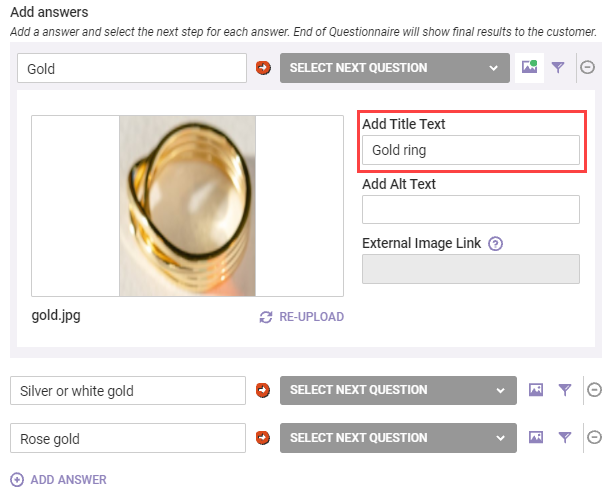
- Type into Add Alt Text a description of the image that can be read aloud by screen readers used by customers who are blind or visually impaired.
Repeat these steps for each answer option for the question.
Configuring the Questionnaire Paths
Using the Product Finder Template Excel file when planning can help you plot each path a customer can take through a questionnaire.
Click to expand the card for the first question that appears in the right-hand column of the wizard, and then click EDIT.
If the first question allows the customer to select only one answer, then for each answer option choose the next question that should appear from the selector to the right of the answer text field.
If the first question is multiple-choice, then select an option from What question does the customer go next?
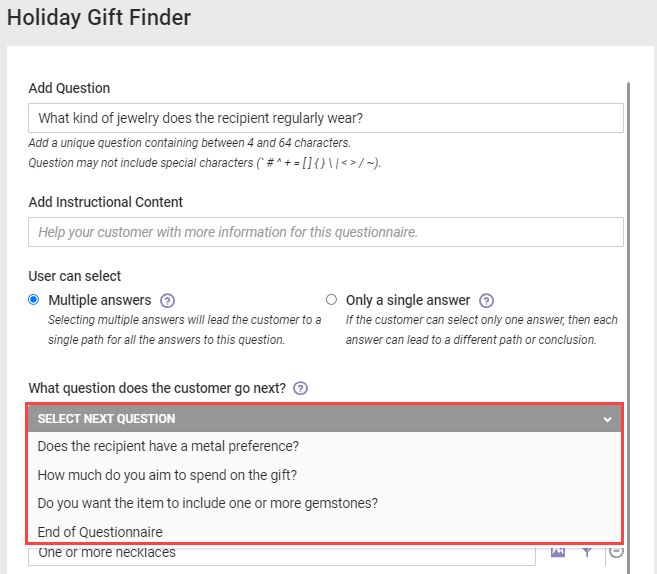
Whether you're choosing the next question for a multiple-choice question or one for an answer option for a single-choice question, you always have End of Questionnaire available. The first question never appears as an option.
Click SAVE after you select the next question a customer should see after answering the questionnaire's first question.
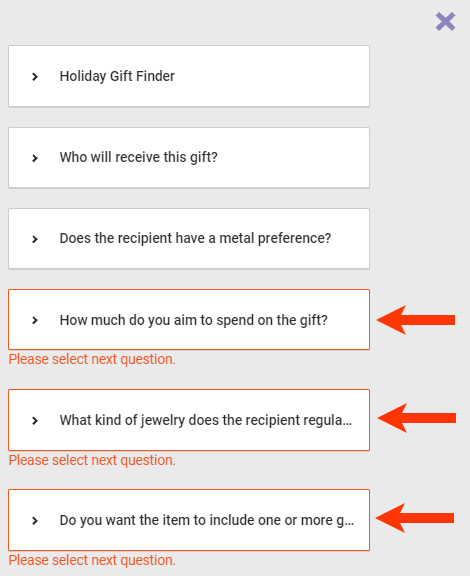
Repeat this process for each question in the questionnaire so that all answer options have a next question selected. Any question that doesn't have its answer options linked to a follow-up question is accompanied by a messaging indicating as much in the list of questions in the right-hand column of the Product Finder wizard.
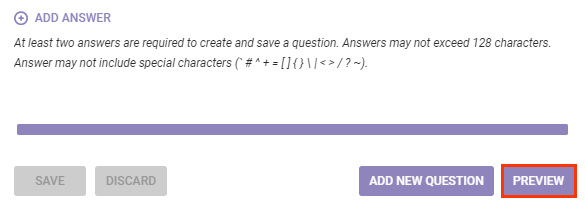
After you configure all the paths through the questionnaire, click PREVIEW to experience the questionnaire as if you were a site visitor.
Previewing the Questionnaire
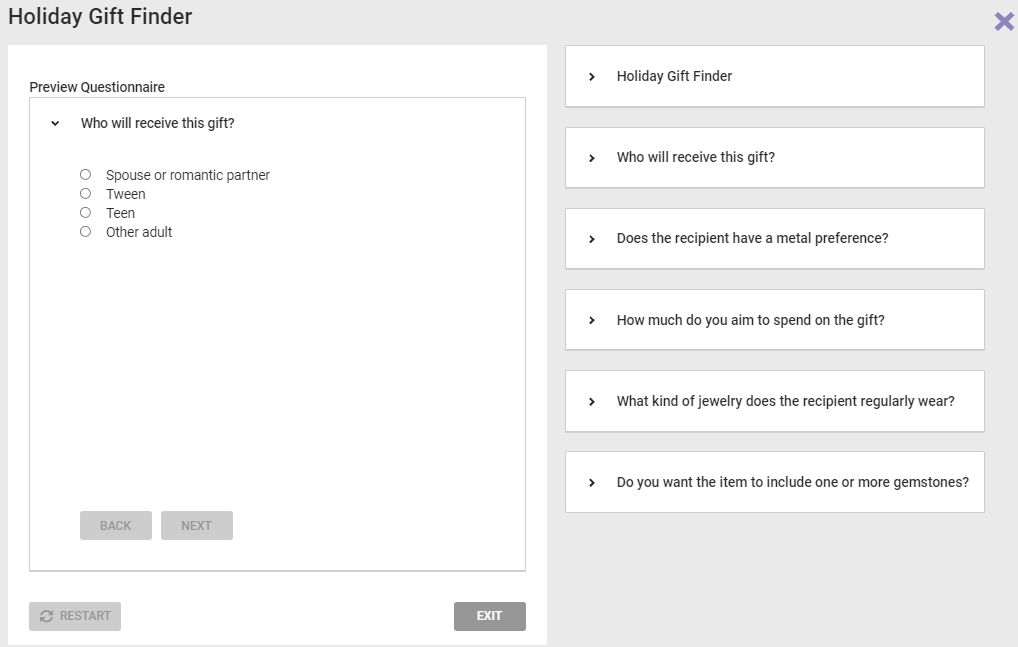
Use the preview function to thoroughly test the Product Finder's flow and to ensure that the recommendations returned match your expectations.
Regardless of the question-and-answer entry you're viewing when you click PREVIEW, the questionnaire always starts with the first question.
Test each possible path through the questionnaire to ensure that recommendations appear at the end or, if you selected Return results after each question when you configured the questionnaire, after answering each question.
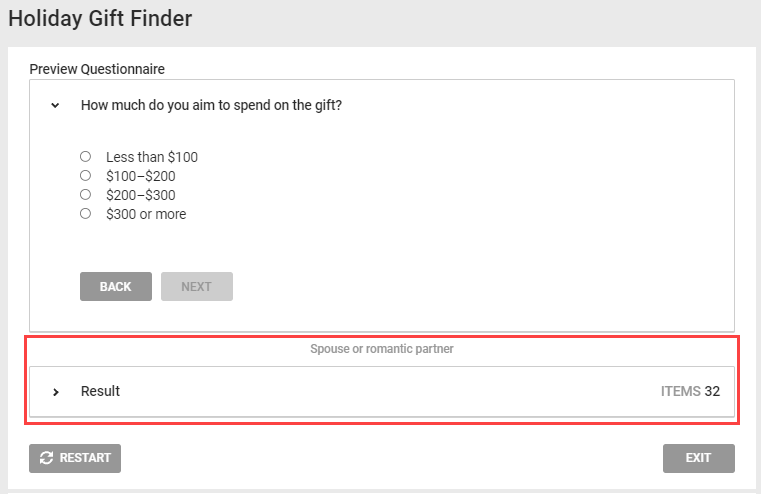
So that you can keep track of the answer(s) you selected or the path you took, a breadcrumb trail showing that information appears above the table containing the resulting recommendations. This screenshot shows the breadcrumb trail and the results for a questionnaire configured to return recommendations after each answer.
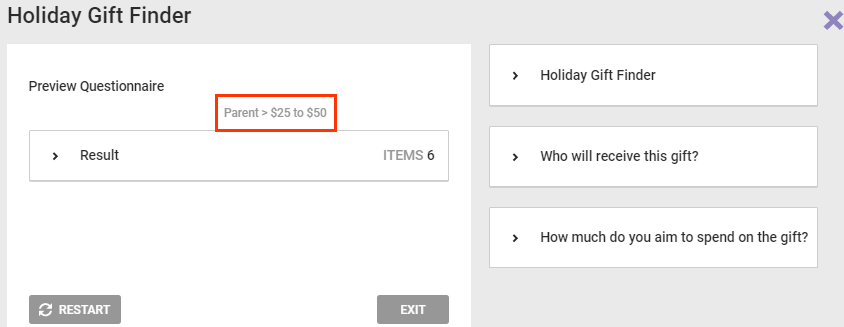
This screenshot shows the breadcrumb trail for a questionnaire configured to show recommendations at the end.
To view the details about the resulting recommendations, click anywhere within the Result accordion heading to expand the table.

At any time during the preview, you can edit a question-and-answer entry by clicking to expand its entry in the right-hand column of the wizard and then clicking EDIT. You can revise any aspect of the question and its answer options and then click SAVE. Click PREVIEW to test the questionnaire from the beginning, or click another question-and-answer entry in the right-hand column to make changes to it.
By thoroughly previewing the pathways through the questionnaire, you can better ensure that site visitors have a positive experience using it and that the questionnaire makes the impact you want it to make.
When you complete the preview, click EXIT to close the wizard and return to the Product Finder list page.