From the Web Experiences list page, you can access all the experiences created in the account you're viewing. To navigate to this page, click Experiences in the left-hand navigation, and then, if necessary, select Web.

Modes
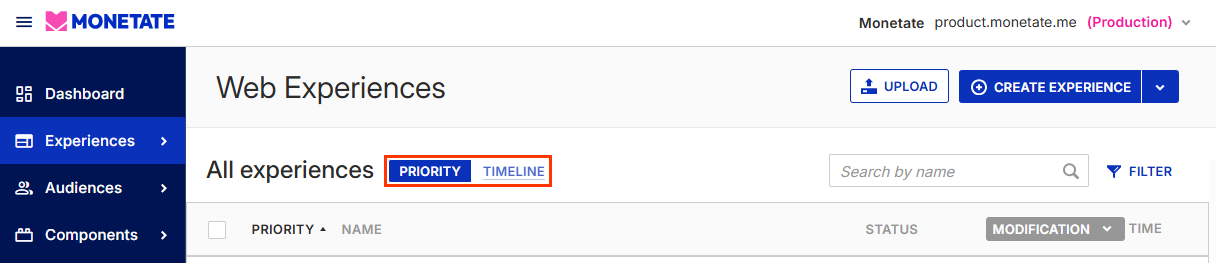
There are two modes for the Web Experiences list page: Priority and Timeline. You can switch between them by clicking the appropriate button at the top of the page.
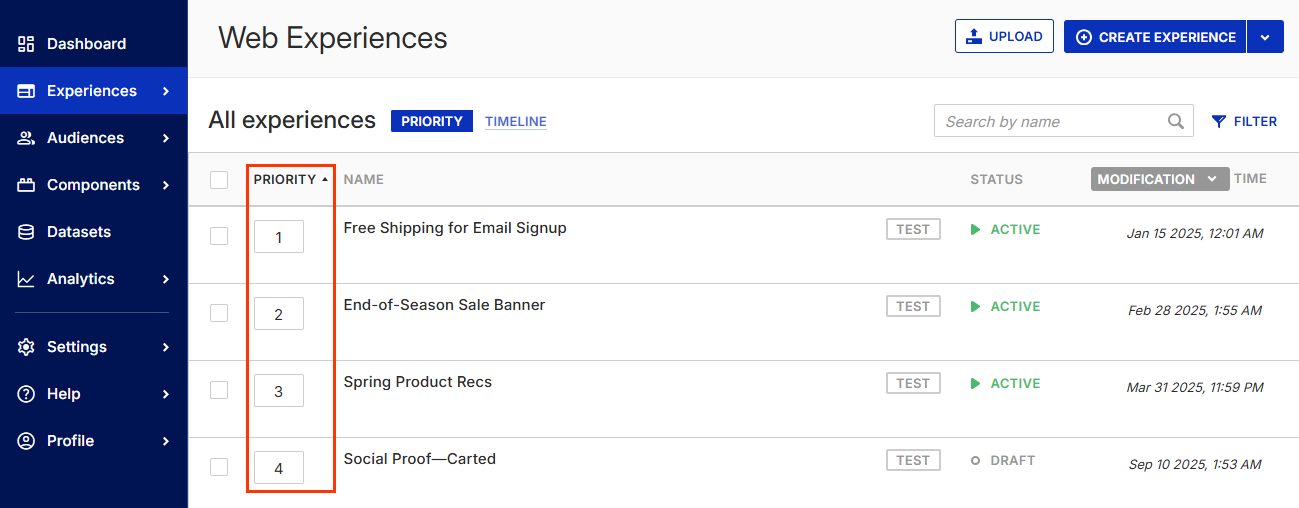
Priority Mode
The Priority mode of the Web Experiences list page displays all the experiences in a given folder, sorted by the filters and search results that you've applied.
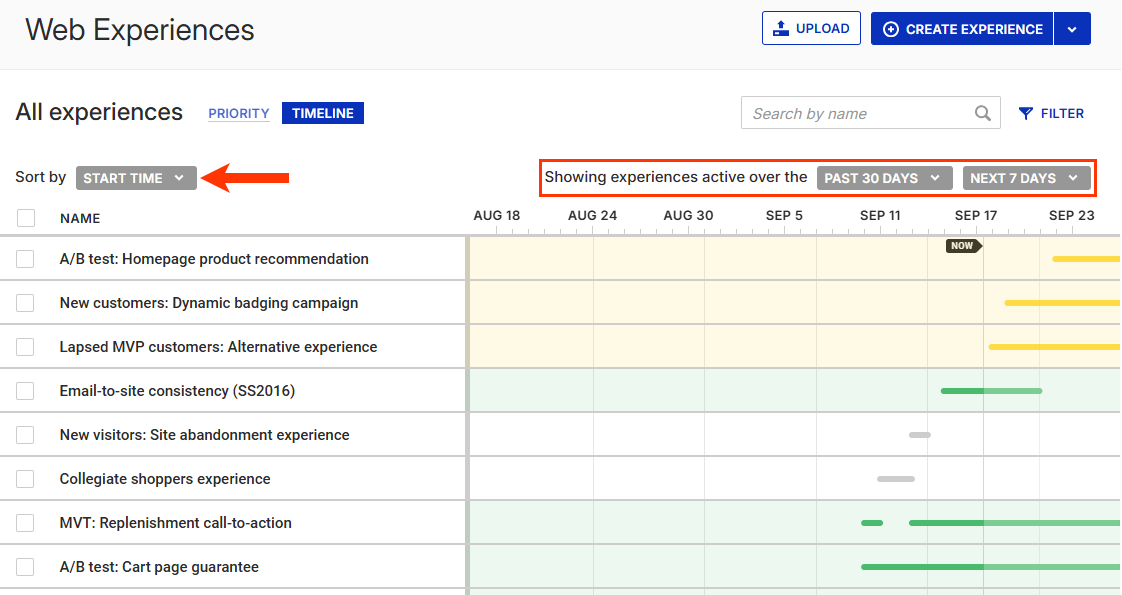
Timeline Mode
The Timeline mode of the Web Experiences list page displays a visual representation of when the experiences in a given folder will run or ran. They're sorted by any filters and search results that you've applied. You can adjust the display by changing the sort criteria and the time window.
Any search results, folder selections, and filters that you select apply to both the Priority and Timeline modes.
Prioritizing Experiences
You can set the priority for an experience in any folder or from the All experiences view. You can do this either by clicking the priority for the experience and entering its new priority, or by dragging the experience's row to the desired position in the table.
See Experience Priority for more information.
Searching for Experiences
Use the search bar above the table to find specific experiences by name regardless of what folder they're in. The results appear in the table.
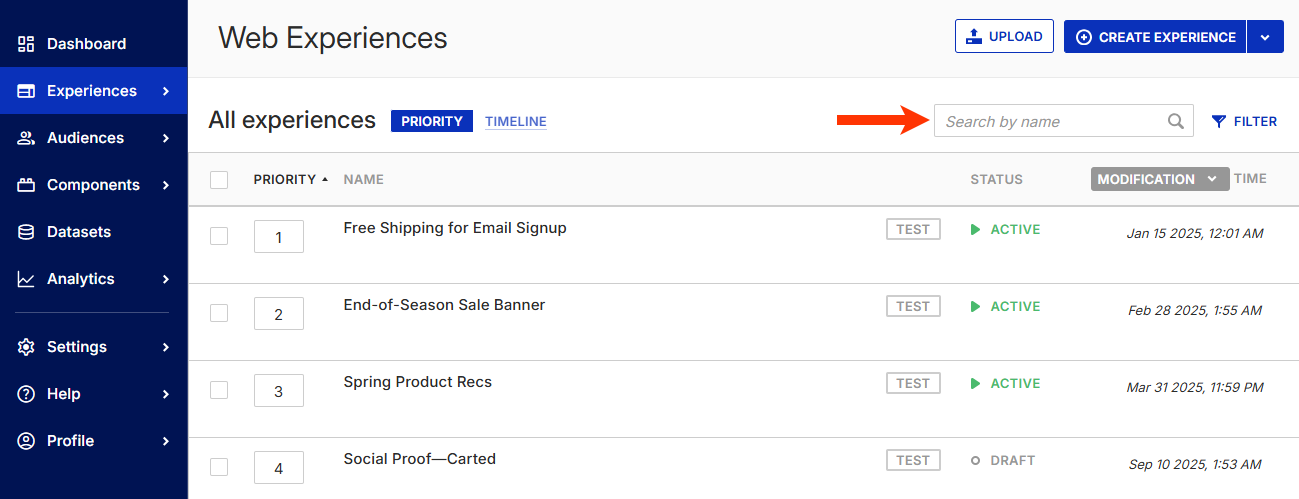
To clear the search term or phrase, click the X in the search bar.
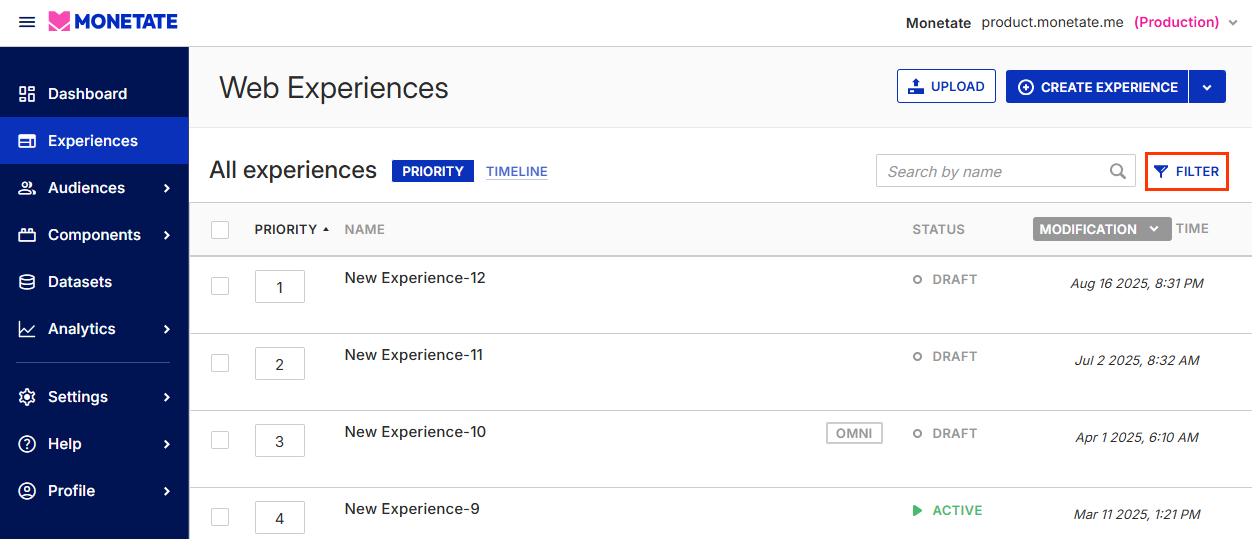
Filtering and Organizing Experiences
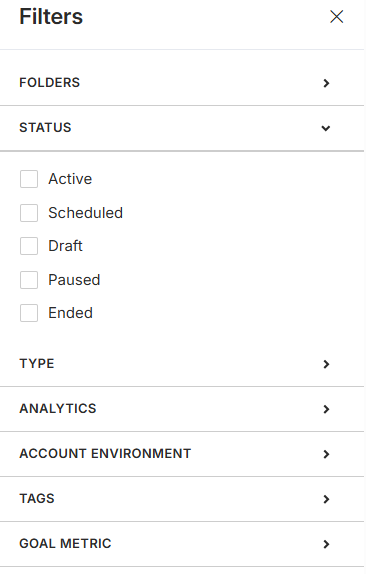
Click FILTER to open a right-hand sidebar so that you can access the built-in All experiences and Archived folders as well as any custom folders that you and other users have created.
This same right-hand sidebar contains the built-in STATUS, TYPE, ANALYTICS, ACCOUNT ENVIRONMENT, TAGS, and GOAL METRIC filters so that you can sort what experiences appear in the table.
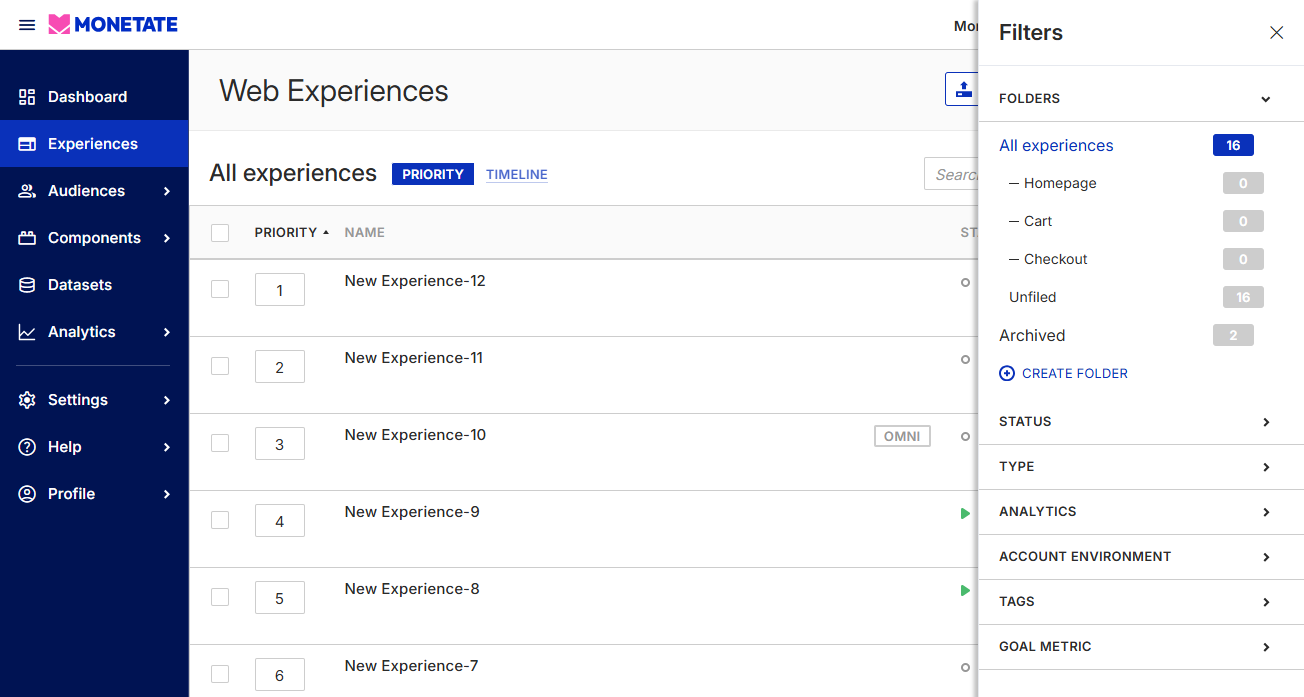
Folders
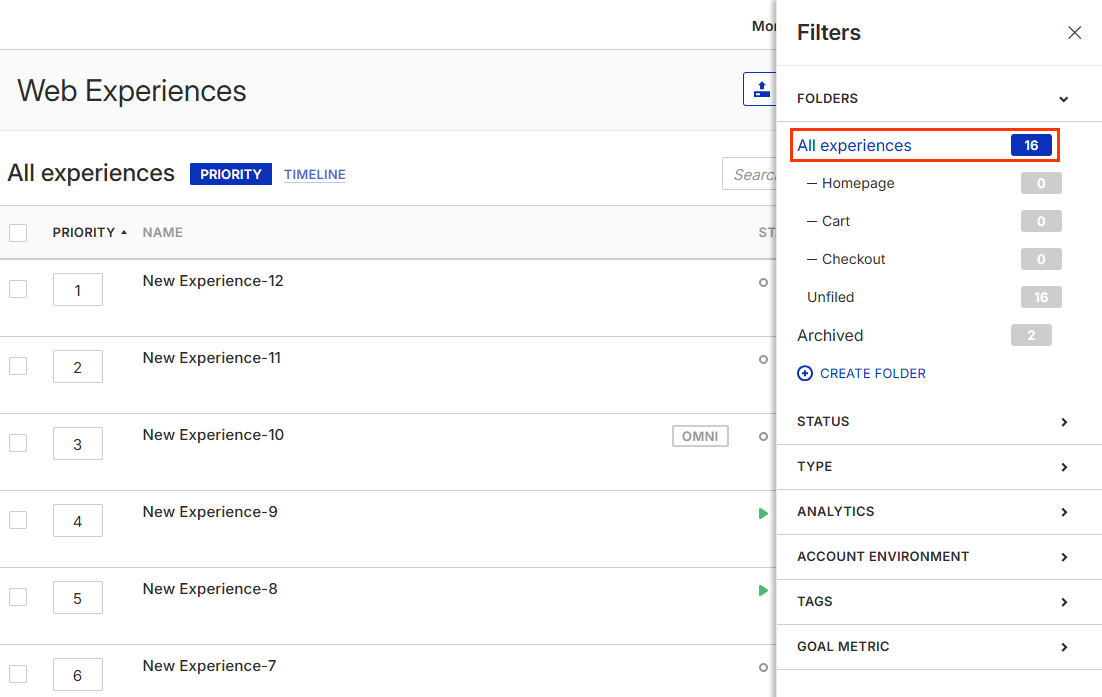
Click a folder to see only the experiences it contains in the table of the Web Experiences list page. Each folder listed in the right-hand sidebar has an experience count that automatically adjusts as you add and remove experiences from the folder.
The All experiences folder contains every experience that is active, paused, or in draft mode, even if the experience is in a custom folder. When you load the Web Experiences list page, the default view is the contents of the All experiences folder.
The Archived folder contains the experiences that you and other users have archived.
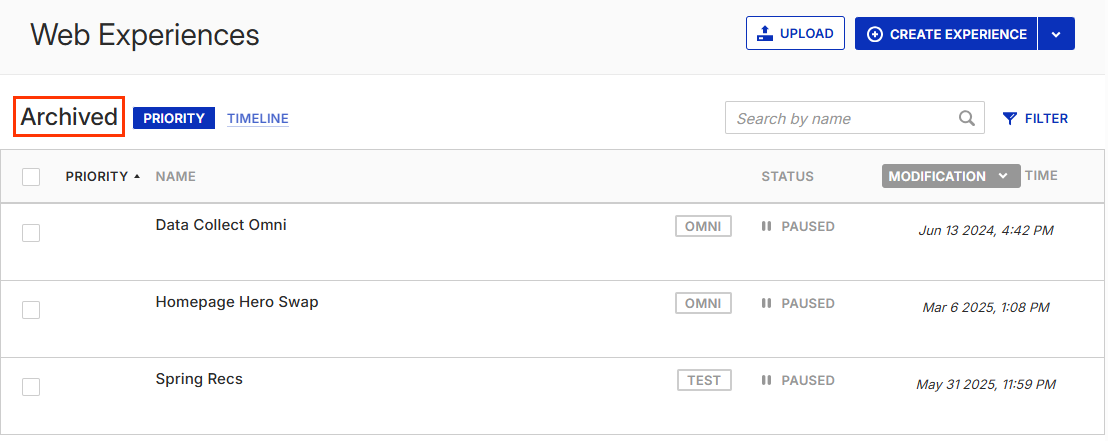
When you view the contents of the Archived folder, the STATUS column shows that each experience is paused. Opening one of these experiences in Experience Editor reveals the true status is ARCHIVED.

Click CREATE FOLDER to create a new folder. Refer to Platform Organization Tips for examples of custom folders you can use to organize experiences.
To delete or rename a folder, place your mouse pointer on a folder name, click the additional options menu (...), and then select the action that you want to take.
If you delete a folder that contains experiences, those experiences are moved to the Unfiled folder, which contains all experiences not assigned to a folder.
To move an experience to a folder, place your mouse pointer on the experience's name so that a row of related actions appears beneath it, and then click Move. In the Move To Folder modal, select the folder where you want to move the experience, and then click MOVE.
To move multiple experiences at once, first select each experience that you want to move, and then click MOVE TO FOLDER in the right-hand sidebar. Next, in the Move To Folder modal, select the folder where you want to move the experiences, and then click MOVE.
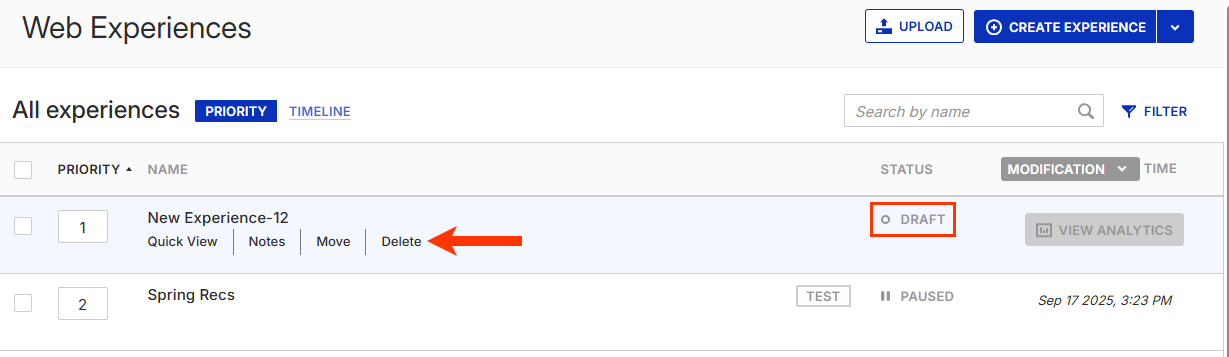
To delete an experience, place your mouse pointer on the experience's name, and then click Delete from the row of actions that appears below it.
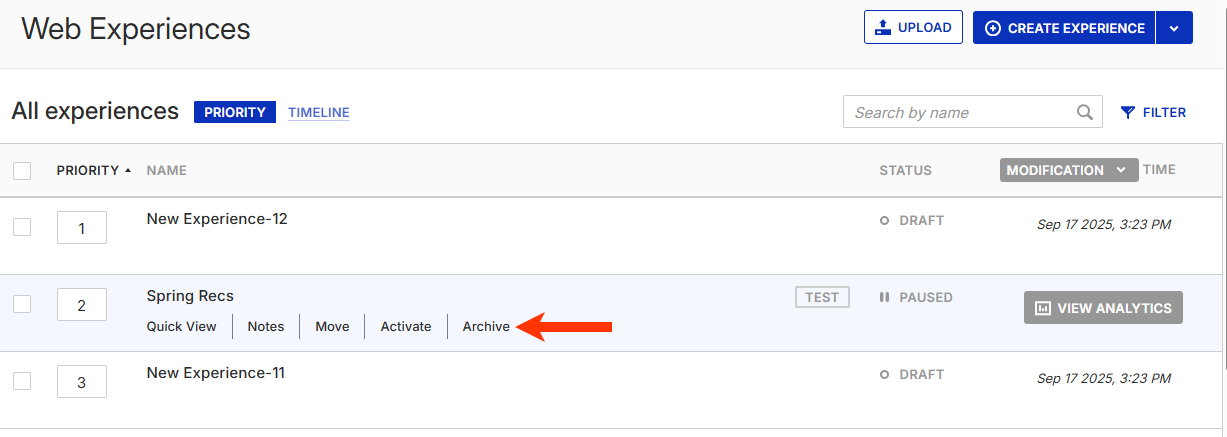
If an experience is active, paused, scheduled, or has ended, you can archive it. To archive an experience, place your mouse pointer on the experience's name, and then click Archive from the row of actions that appears below it.
All experiences that you archive are in the Archived folder.
Status Filters
The Status filter options allow you to display any combination of active, scheduled, paused, ended, or draft experiences in a specific folder.
Type Filters
The Type filter options allow you to display any combination of experiences as identified by experience type. The options available in this filter vary based on the experience types available in your account.

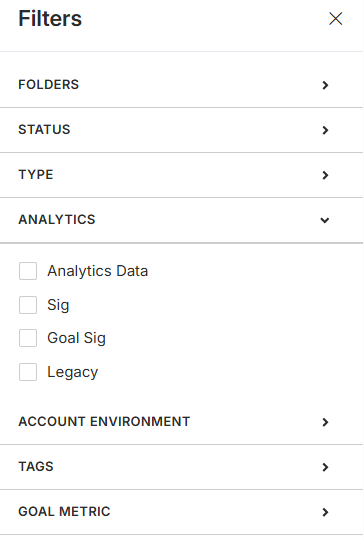
Analytics Filters
The Analytics filters allow you to display any combination of experiences as identified by their various analytics states. The options available in this filter vary based on the experiences in your account and whether or not they've reached significance or have analytics data available.
Tag Filters
The Tags filters allow you to display any combination of experiences that are labeled with tags that you created. The options available in this filter vary based on the tags created for experiences in the account. If you and other users haven't created any tags, then no tags appear.

You create a tag when you add it for the first time to an experience. On the Experience Editor page, click ADD TAGS, and then type the tag text. If the tag already exists, you can select it. If it doesn't, click the green and white add icon to the right of the text field to create it. Repeat these steps to add additional tags. Finally, click OK.

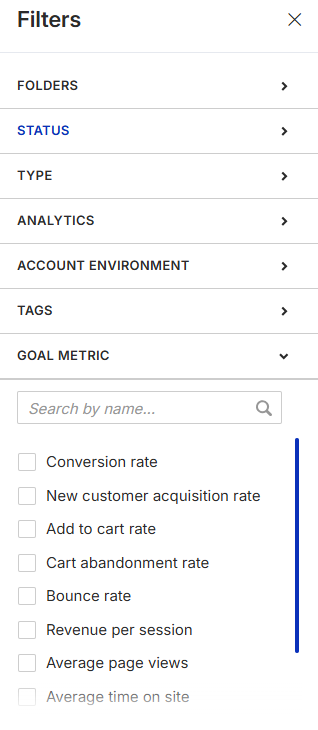
Goal Metric Filters
The Goal Metric filters allow you to display any combination of experiences that contain a particular goal metric. This category includes out-of-the-box goal metrics and custom metrics that you create. If you haven't created any custom metrics, then you only see the out-of-the-box goal metrics.
Applying Multiple Filters
If you choose multiple options from the same filter type, the filtering function uses OR logic. For example, if you select both Conversion rate and New customer acquisition rate from the Goal Metric category, then you see all experiences that contain either the Conversion rate goal metric or the New customer acquisition rate goal metric.
If you select multiple options from different filter types, the filtering function uses AND logic. For example, if you select Active from the Status filter category and Conversion rate Goal Metric category, then you see all experiences that are active and have the Conversion rate goal metric. Each time you add a filter option, the filtering function updates to include the new filter selections.
To clear the filters, deselect them from each category accordion, or click RESET that appears when your mouse pointer hovers over the number of selected filters in a category.
All filters remain in place across all folders until you clear or deselect them.
Sorting the List View
Click a column header to change the sort order from ascending or descending.

Sorting by Time
Use the options in the selector that accompanies the TIME column header to change which timestamp appears for the experiences listed. Selecting an option only changes the time shown and does not change the sort order.
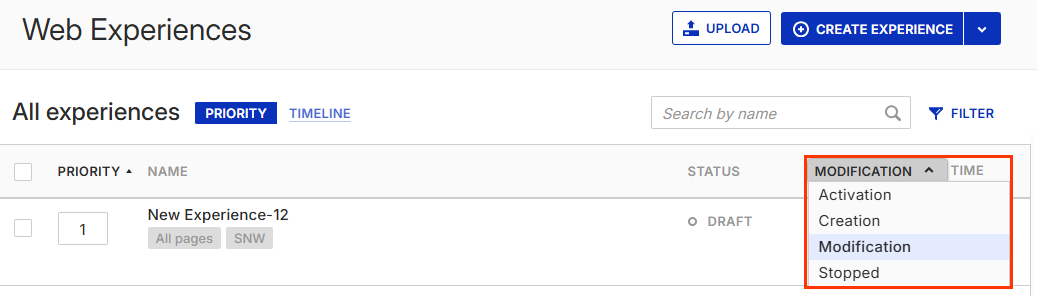
For example, if you sort by priority, choosing Activation from the selector only changes the timestamp to display the time and date when each experience was activated but doesn't sort the list by activation time. It remains sorted by priority. To sort by activation time, select Activation and then click the TIME column header to apply your selection.