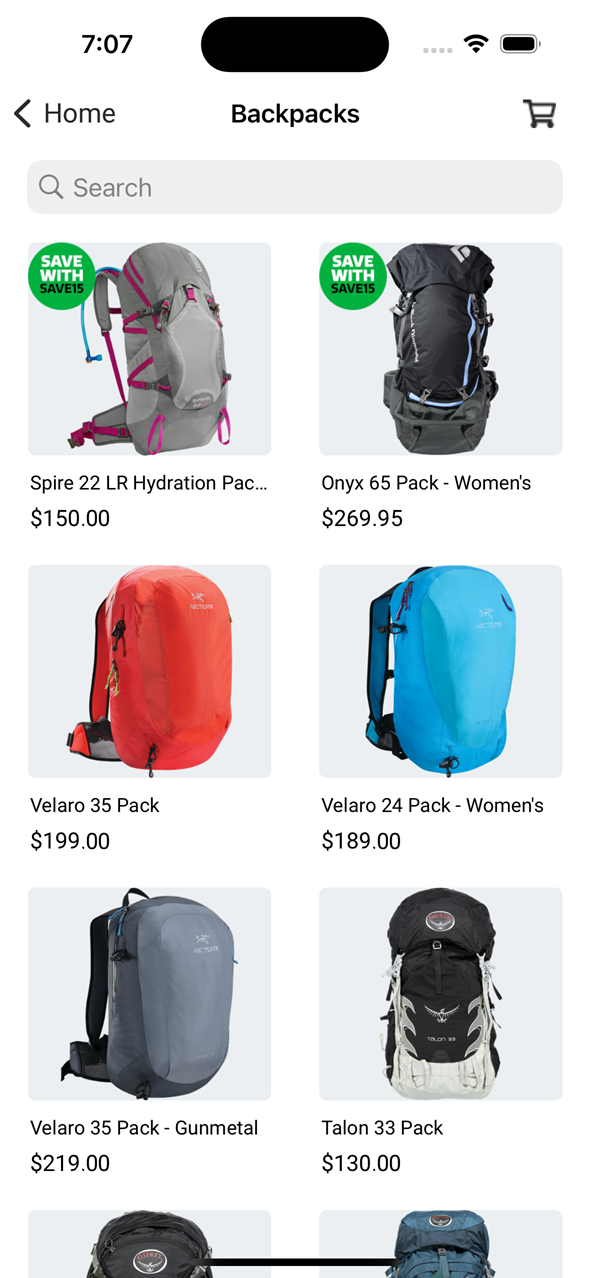
Monetate's Omnichannel product badging action allows Engine API clients to apply some treatment to specific items on product listing pages to draw site visitors' attention to those items to foster engagement. For example, this screenshot shows a product badge advertising a discount on certain items on the mobile view of a product listing page.
Configuring the Action
Follow these steps to configure an image-based product badging action displayed on a product list page for an Omnichannel experience.
- Create a new Omnichannel experience, and then configure the WHY and WHO settings.
- Click WHAT and then click ADD ACTION.
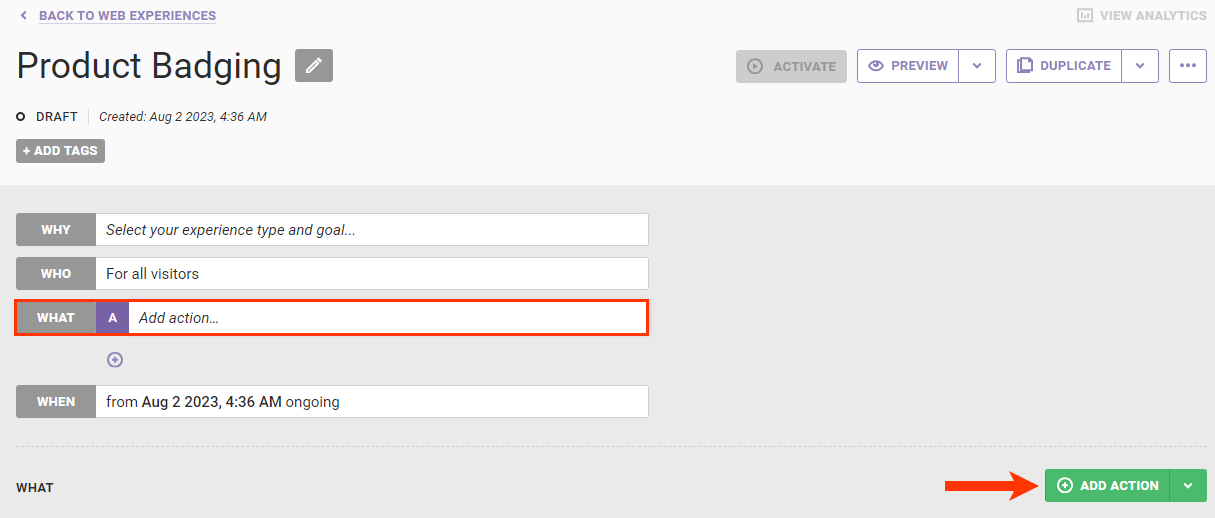
- Click Badges.
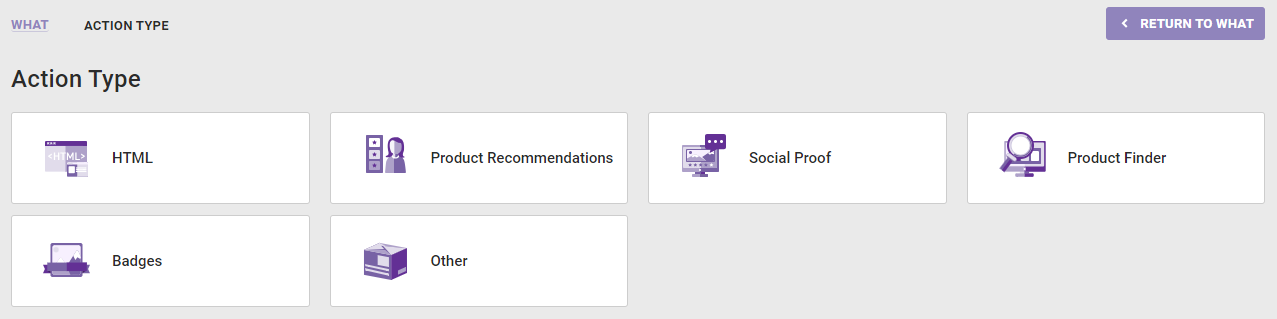
- Click the Omnichannel badging action template that you want to use.

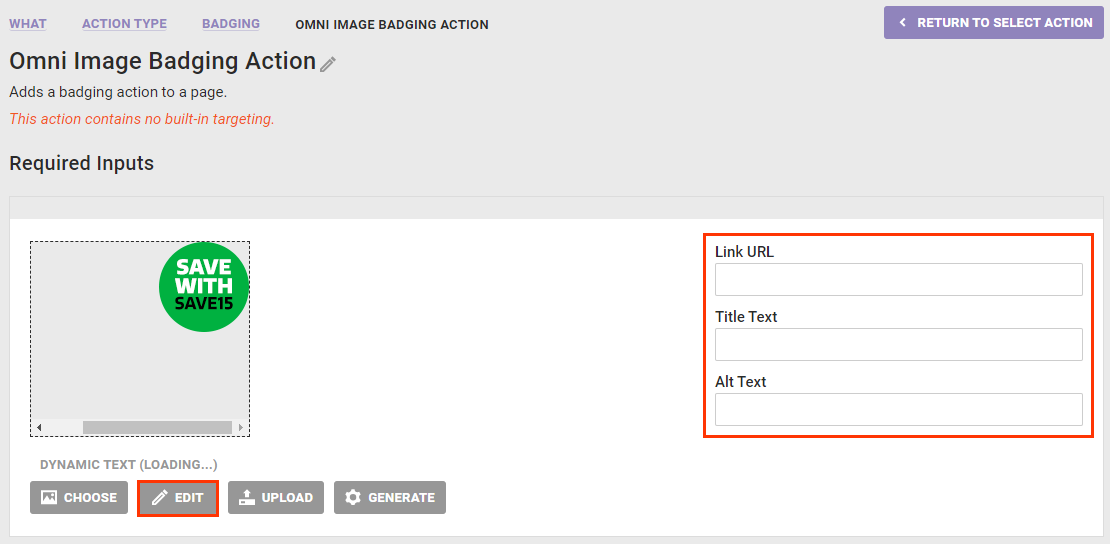
- Add the badge image by one of three methods:
- Click CHOOSE to select an image file in Content Manager.
- Click UPLOAD to navigate to an image file stored outside the platform and then upload it to Content Manager.
- Click GENERATE to create a placeholder that you later replace.
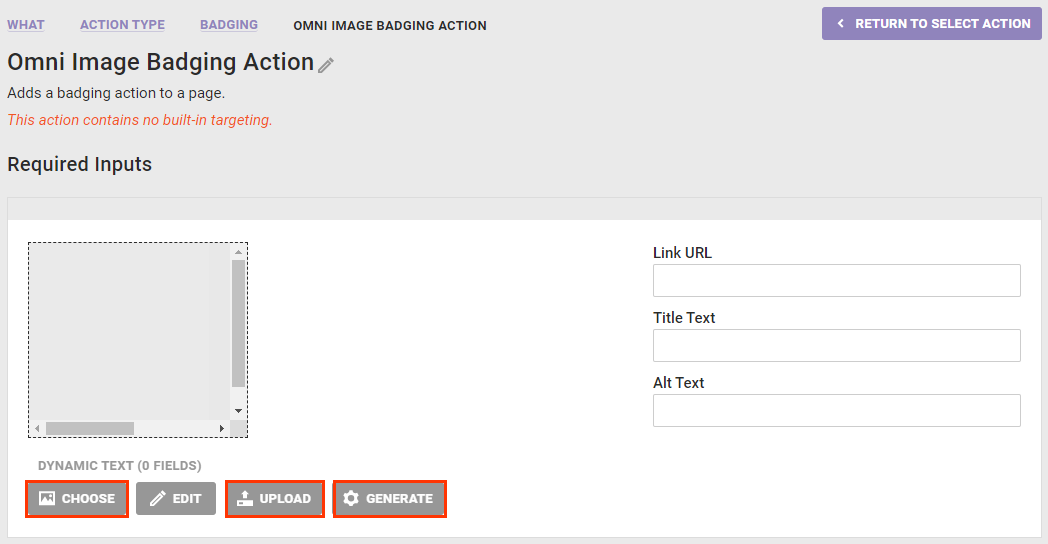
- Take any of these optional actions after the image creative appears:
- Click EDIT to modify the image in Content Builder.
- Type into Link URL a hyperlink to which the customer is taken after clicking the badge.
- Type into Title Text a description of the image to appear as a tooltip when the customer's cursor hovers over the image.
- Type into Alt Text a description of the image that can be read aloud by screen readers used by visitors who are blind or visually impaired.
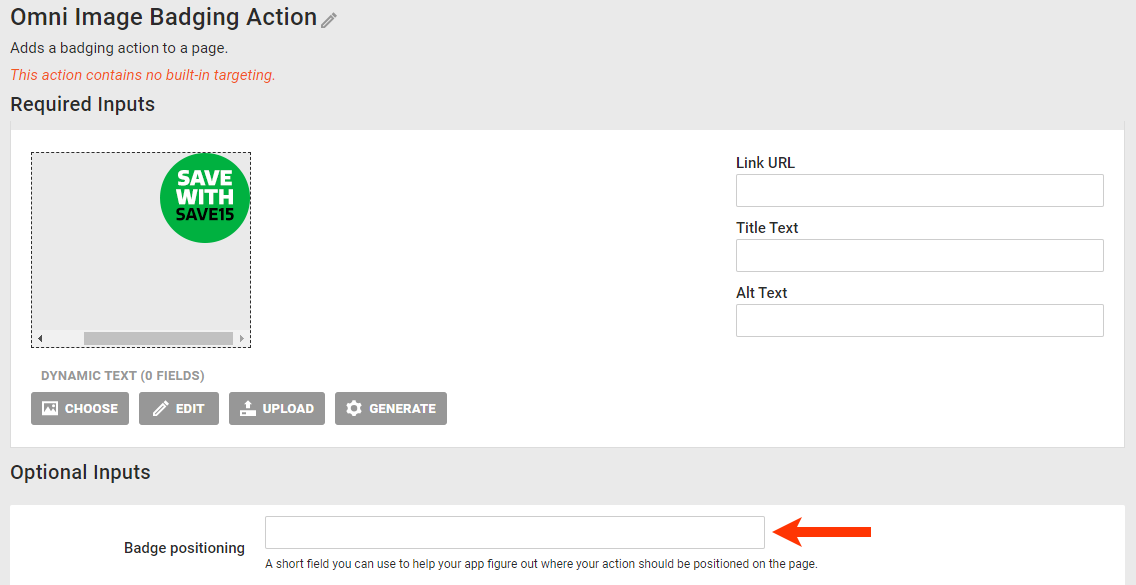
- Optionally, input into Badge positioning a string that helps your app determine where the image should be positioned on the page.
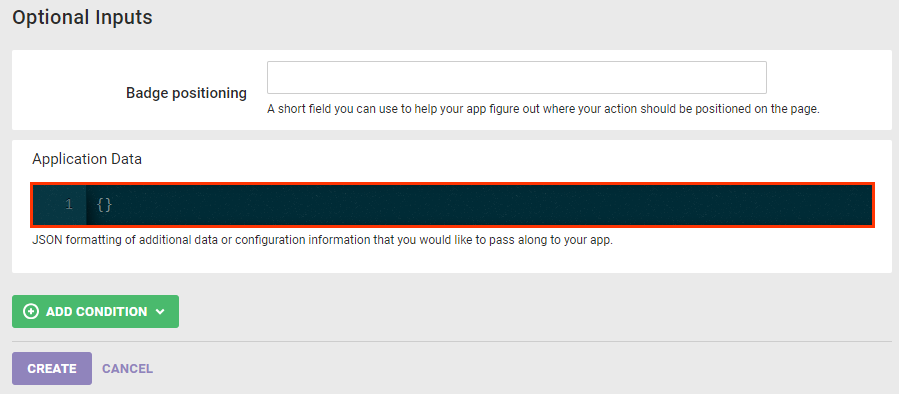
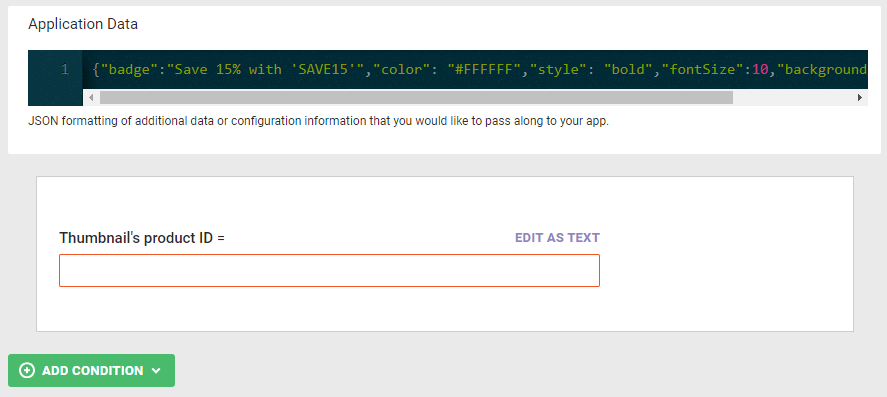
- Optionally, input into Application Data any JSON-formatted additional data or configuration information that you want to pass to your app.
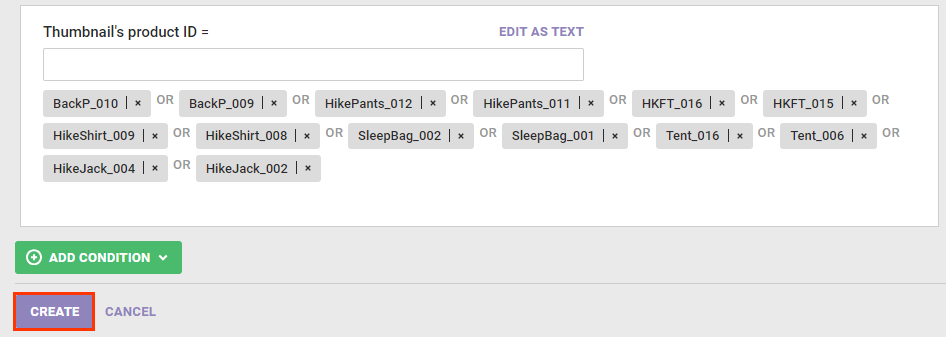
- Create an action condition that identifies on which products you want the badge to appear.
- Click ADD CONDITION, expand Product Thumbnail, and then select an option from that category.
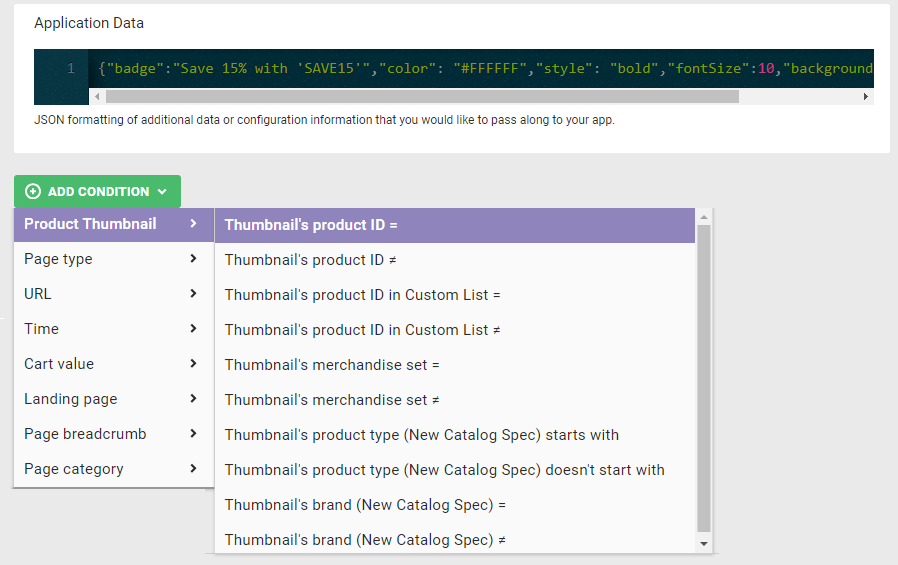
- Complete the action condition equation by inputting the necessary product IDs.
- Click ADD CONDITION, expand Product Thumbnail, and then select an option from that category.
- As necessary, create additional action conditions. See Using Action Conditions for more information on which action conditions are available for a product badging action targeting a product list page.
- Click CREATE.
In addition to configuring the WHAT action, you must also configure the appropriate request to the Engine API. See Omnichannel Product Badging Action Request in the Monetate Developer Hub for more information.
Using Action Conditions
You can use action conditions to specify the exact pages or products on which the badging action should fire. All standard action conditions, such as page type, page category, time, and cart value, can be used with badging actions.
You can also use badging-specific conditions to specifically target products by either product ID (PID) or SKU, or you can use the brand or product type as defined in the product catalog.
You can use these conditions with a badging action for a product listing page:
- Thumbnail's product ID =
- Thumbnail's product ID ≠
- Thumbnail's product ID in custom list
- Thumbnail's product ID ≠ in custom list
- Thumbnail's product SKU =
- Thumbnail's product SKU ≠
- Thumbnail's product type (New Catalog Spec) starts with
- Thumbnail's product type (New Catalog Spec) doesn't start with
- Thumbnail's brand (New Catalog Spec) =
- Thumbnail's brand (New Catalog Spec) ≠
When you begin typing a PID or SKU into the text field for the action condition you are building, a type-ahead feature displays partially matching values that exist in the product catalog. If your site has products that match the input but are not in the product catalog, then the type-ahead feature does not show them.