Create an Experience That Only Targets Logged-In Users

Recent updates to Safari Intelligent Tracking Prevention (ITP) block third-party cookies on your website. This update means that Preview Mode and the Monetate Inspector browser plug-in may not work in Safari.

Monetate has developed an alternative approach to delivering preview mode to the site. To have this option enabled for your account, submit a support ticket using the Monetate Technical Support portal (support.monetate.com).

No workaround exists at this time for Monetate Inspector, so consider using a different browser such as Chrome if you need to use Monetate Inspector.

You may want to offer promotions, creatives, or other custom content for your site visitors only after they log in. You can address this common use case a number of different ways. This use case creates a custom target for a particular on-page site element that indicates whether a visitor is currently logged in.

Finding the 'Logged-In' Site Element

Follow these steps to find the site element to target.

  1. Log in to your site.

    The customer login page of a retailer's site

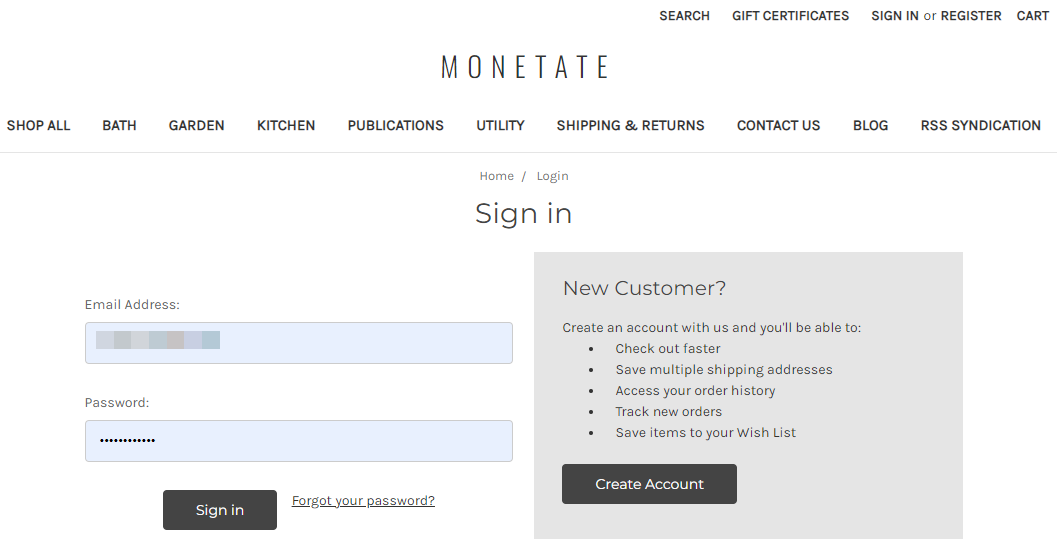
  2. Find your site's logout button that displays on every page when a customer is logged into their account.

    Callout of the 'SIGN OUT' button on a retailer's site

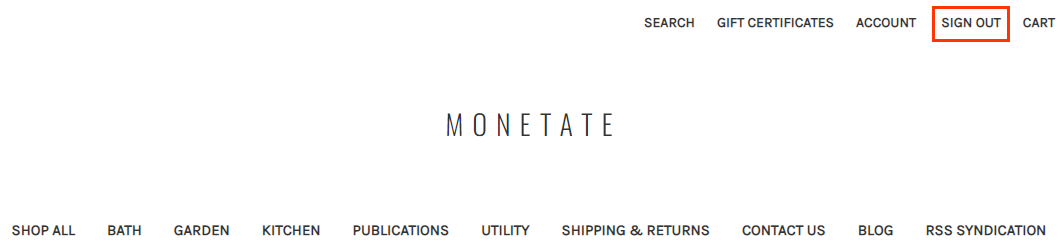
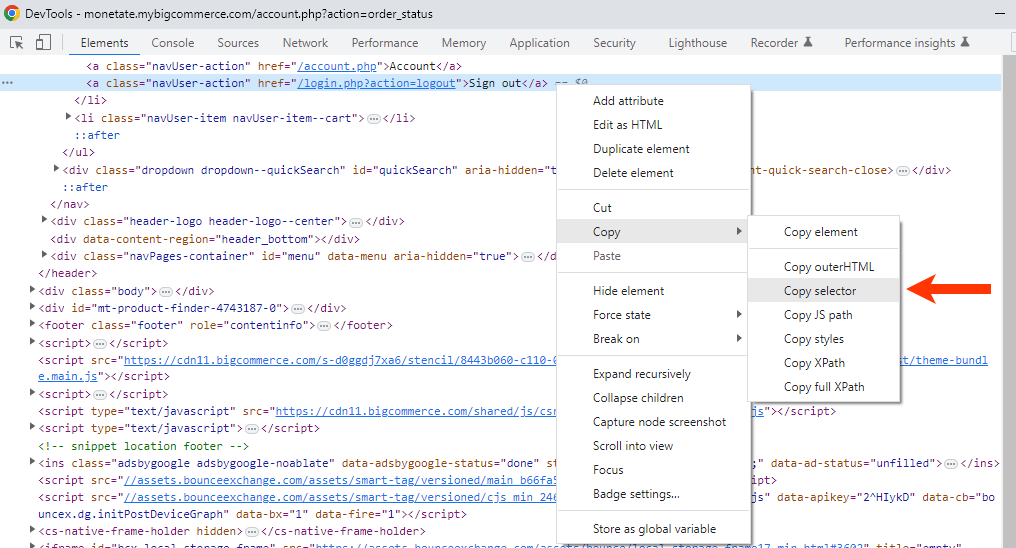
  3. Use your browser's Web developer tools to find the selector for this button. Right-click the button and then select Inspect.

    Animated demonstration of a user placing their mouse pointer on the 'Sign Out' button, right-clicking on it to access the contextual menu, and then selecting the Inspect option

  4. In the Element window of Developer tools, right-click the highlighted code for the button, expand Copy, and then select Copy selector.

    Callout of the 'Copy selector' option in a contextual menu of Chrome Developer tools

After you identify the element's name, you can build the custom target in Target Builder.

Building the Custom Target

Follow these steps to use the logout button element to build a target in Target Builder.

Since this element only appears when a customer is logged in, the custom target can search for its existence on a page to determine that a customer is currently logged in.

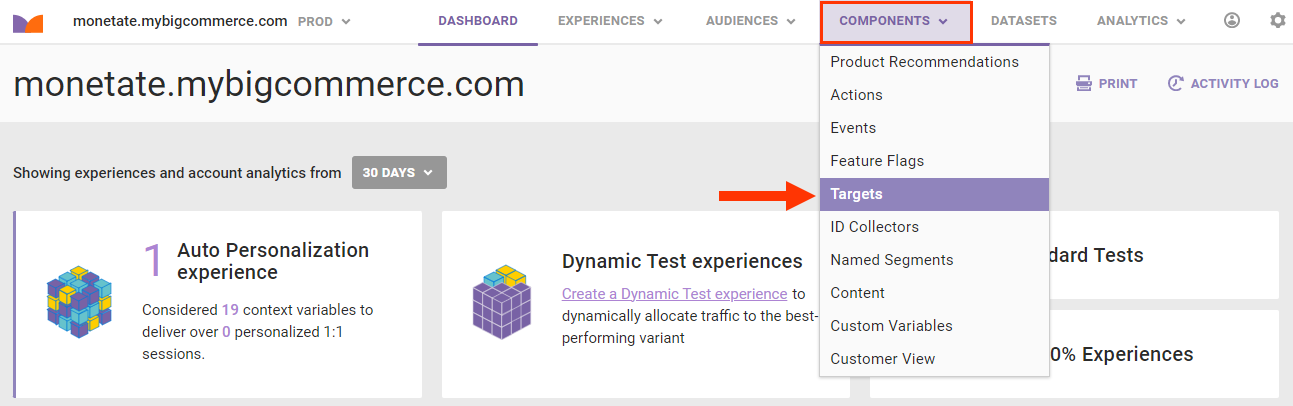
  1. Click COMPONENTS in the top navigation bar, and then select Targets.

    Callout of the Targets option in the COMPONENTS menu in the top navigation bar

  2. Click CREATE TARGET.

    Callout of the CREATE TARGET button on the Targets list page

  3. If necessary, log into your site in the new window that Target Builder launches so that you can test the element selector.
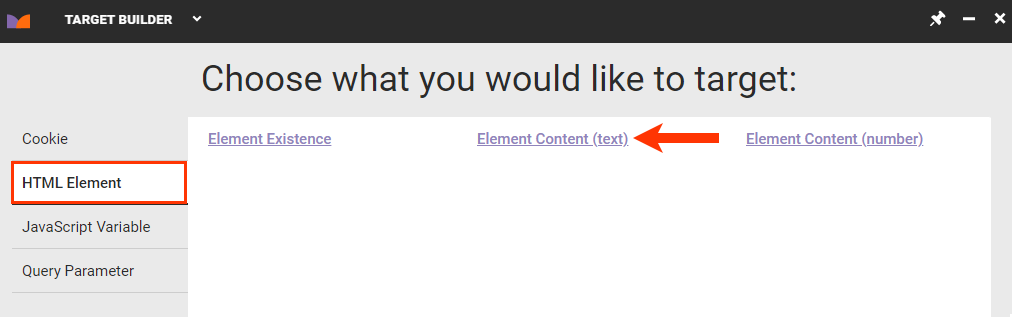
  4. In Target Builder click the HTML Element tab, and then click Element Content (text).

    Callout of the HTML Element tab and the 'Element Content (text)' button

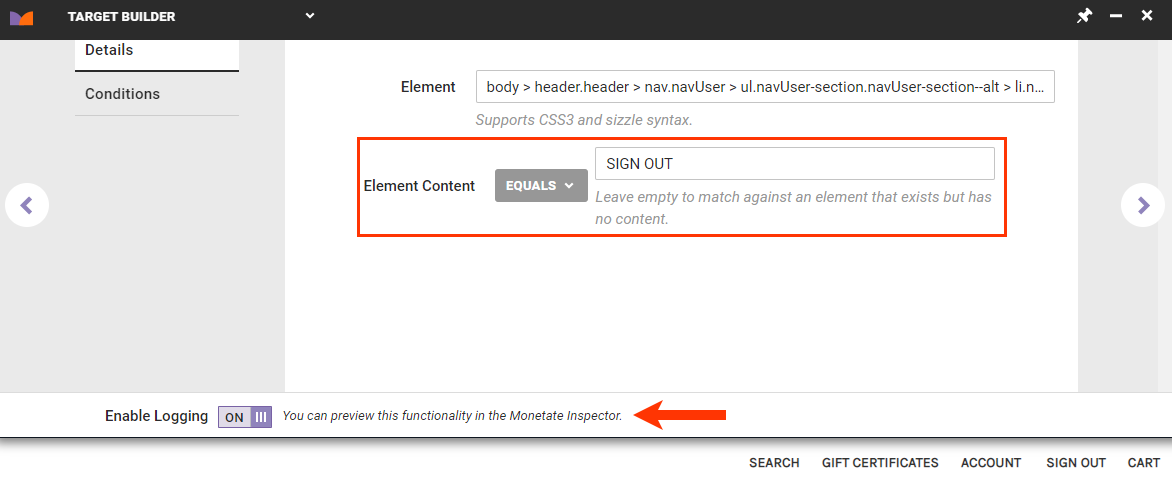
  5. Use the element selector to select the logout button, or paste the element selector that you copied in Finding the 'Logged-In' Site Element into Element Selector, and then click the forward arrow.

    Animated demonstration of a user selecting the 'SIGN OUT' button's element selector for Target Builder and then clicking the forward arrow

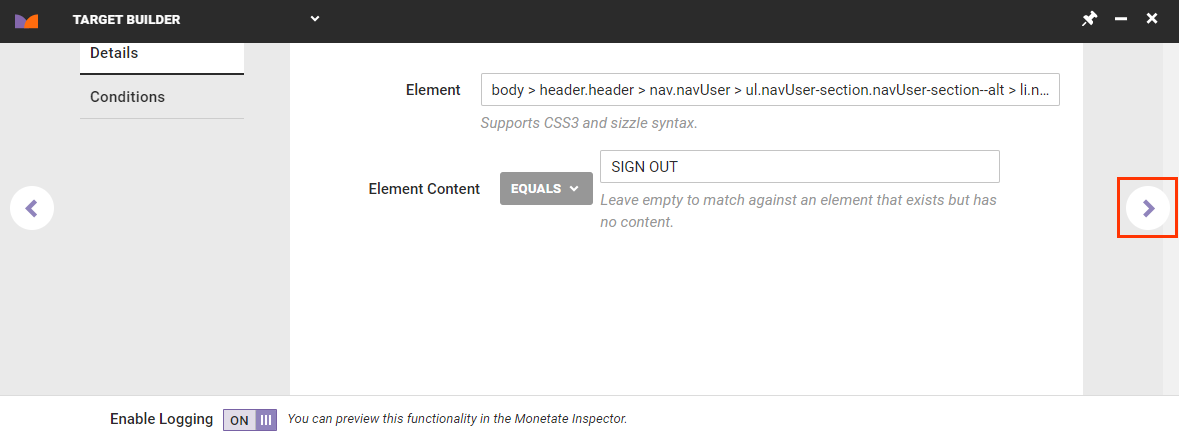
  6. On the Details tab, input the text of the logout button into Element Content, and leave the selector set to EQUALS so that the target only triggers when that exact text is present on the page.

    When Enable Logging is enabled in Target Builder, the message changes from "Waiting for matched target...." to "You can preview this functionality in the Monetate Inspector." when Target Builder matches the text you type into Element Content with the element content identified in Element.

    Callout of the 'Element Content' field, with EQUALS selected and 'SIGN OUT' entered as the value, along with a callout of the 'You can preview this functionality in the Monetate Inspector' message for the 'Enable Logging' function

  7. Because this target should work on any page on your site, no conditions are necessary. Click the forward arrow.

    Callout of the forward arrow on the Details tab

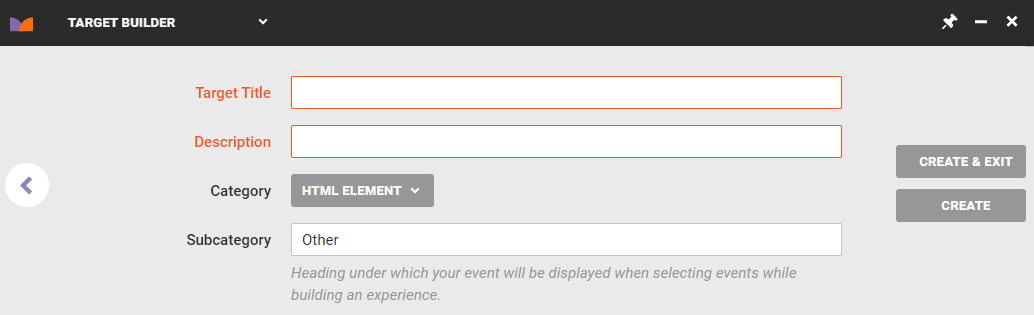
  8. Give the target a name and description, optionally add a subcategory, and then click CREATE & EXIT.

    The final panel of Target Builder, with the Title, Description, and Subcategory fields and the CREATE & EXIT button

Building an Experience to Test the Target

After creating the target, you can build a Web experience to ensure that the target works properly.

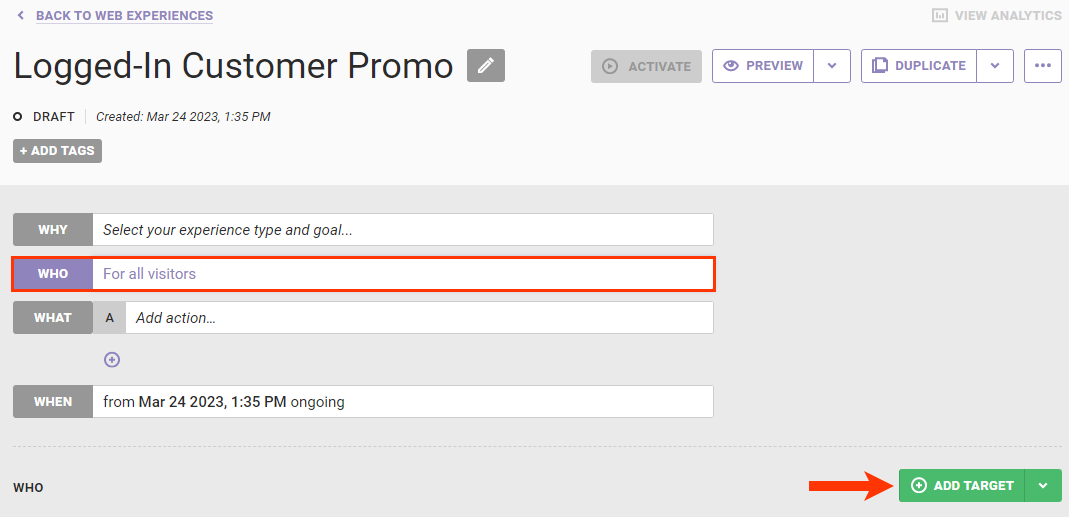
  1. Create a new Web experience and configure the WHY settings.
  2. Click WHO and then click ADD TARGET.

    Callout of the WHO settings and the ADD TARGET button

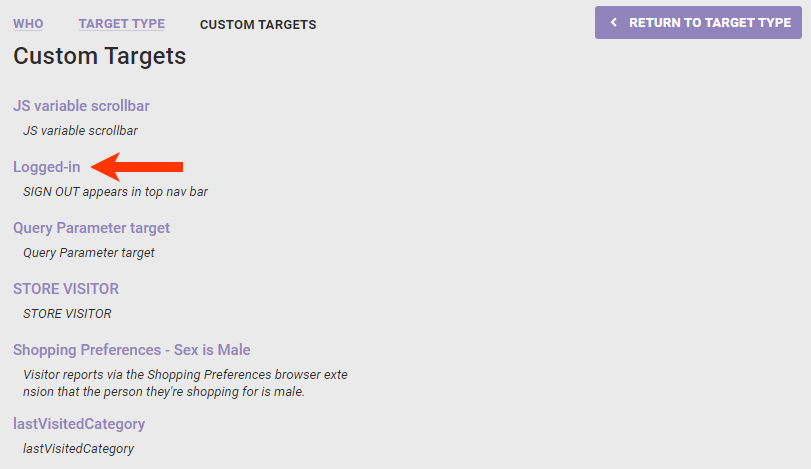
  3. Click Custom Targets.

    Callout of the Custom Targets option on the Target Types panel

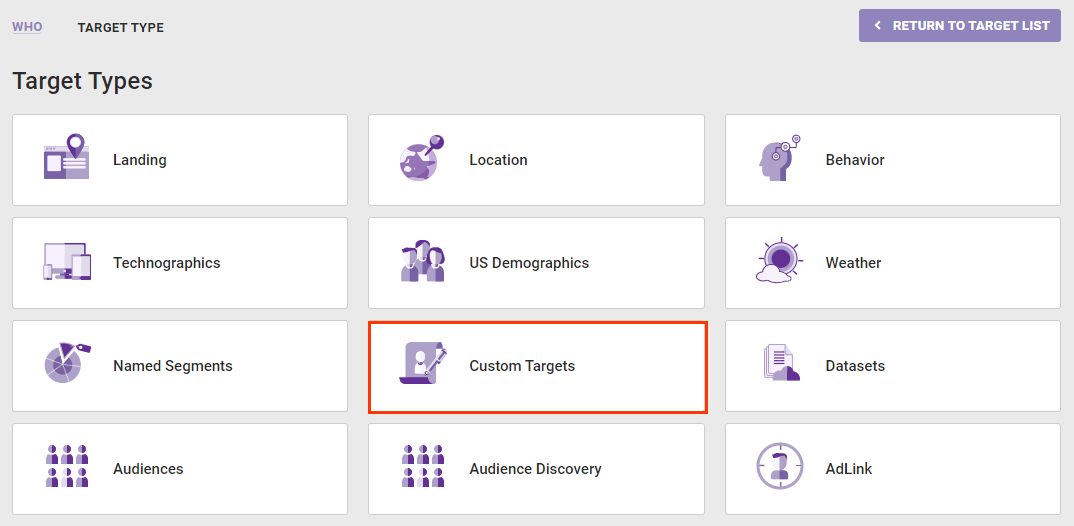
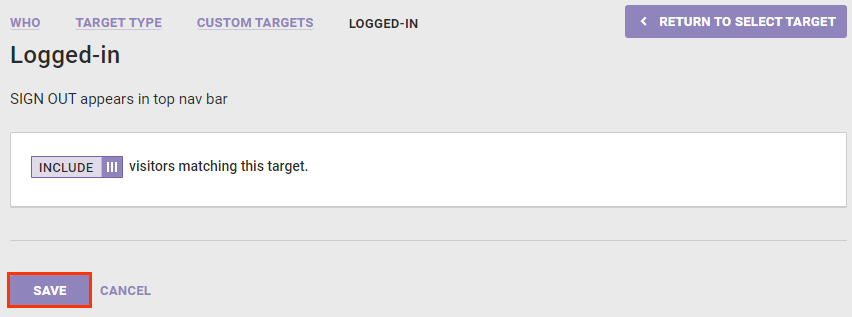
  4. Click the target that you created in Building the Custom Target.

    Callout of a custom target option that targets logged-in customers

  5. Click SAVE.

    Callout of the SAVE button on the 'Logged-in' custom target panel

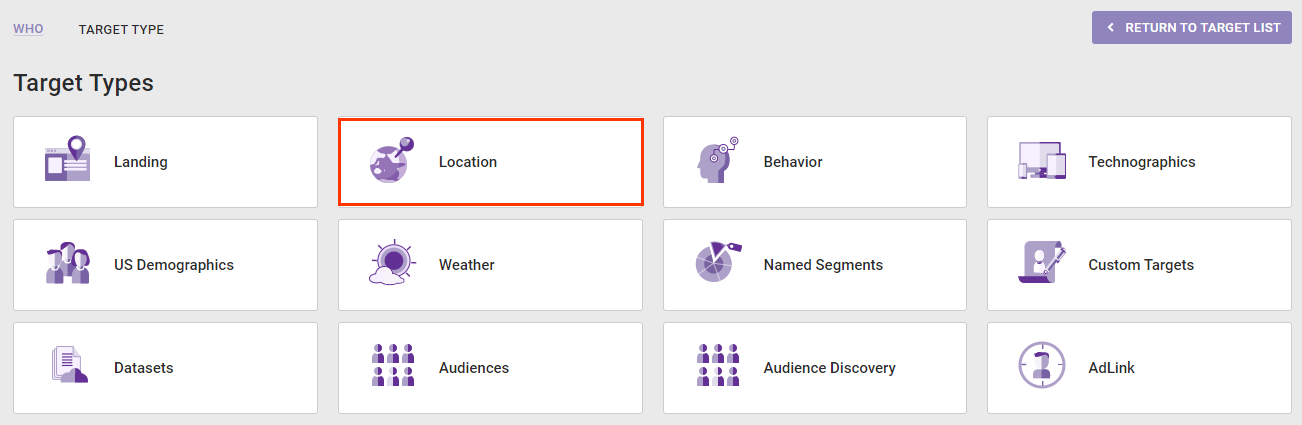
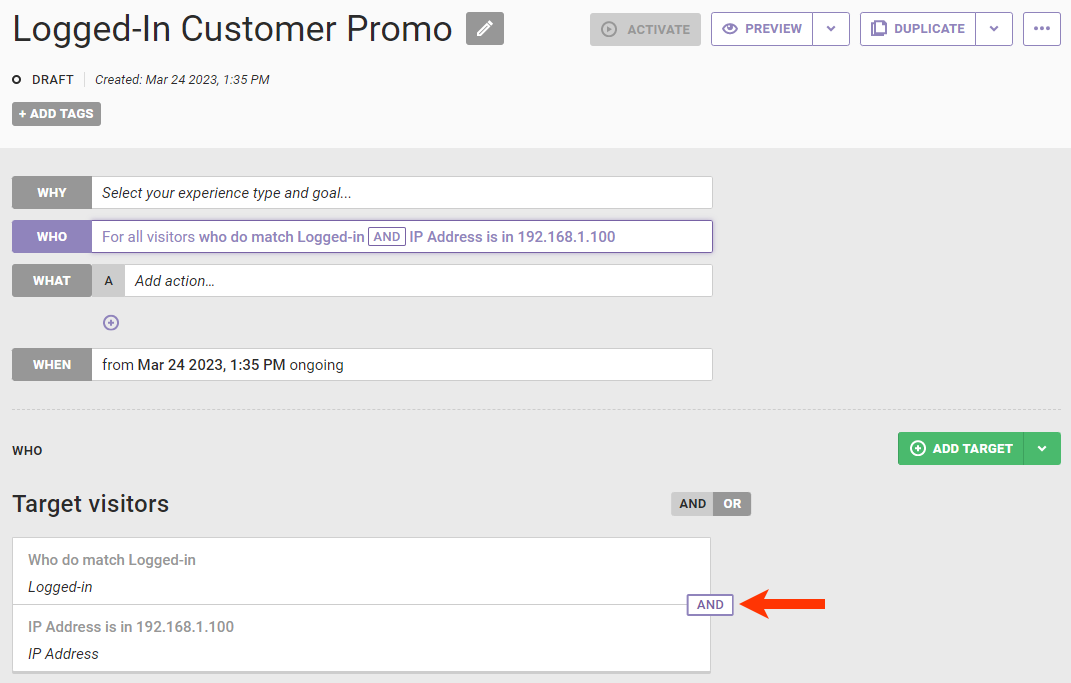
  6. Add a second WHO target to limit who can see the experience. Click ADD TARGET and then click Location.

    Callout of the Location option on the Target Types panel

  7. Click IP address.

    Callout of the 'IP address' option on the Location panel

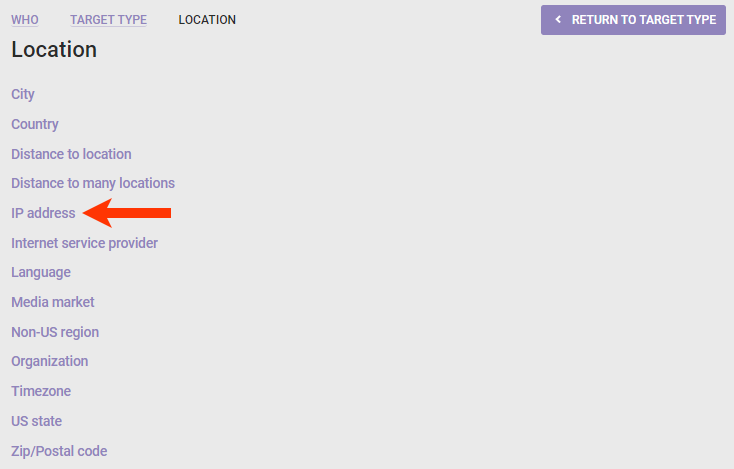
  8. Input your IP address into the appropriate field, and then click SAVE.

    The IP address target, with an IP address entered into the  appropriate field and a callout of the SAVE button

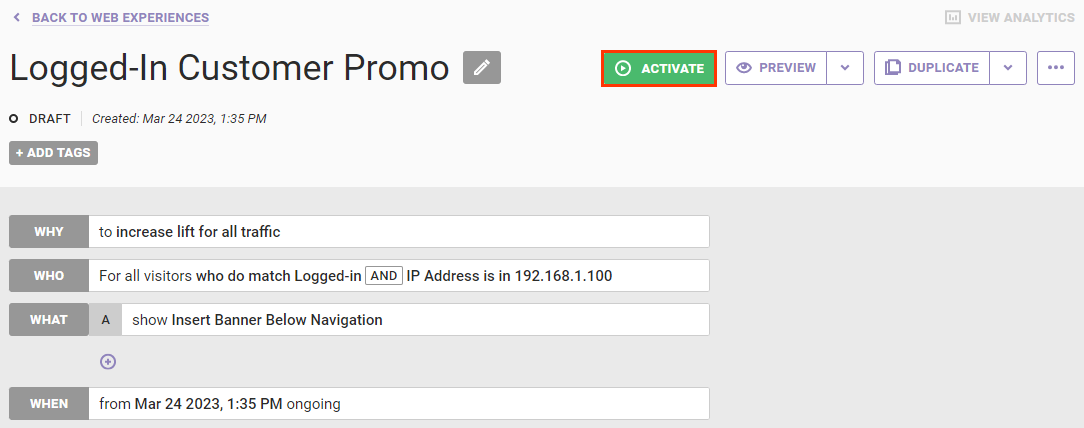
  9. Ensure that the connector logic between the two WHO targets is set to AND.

    Callout of the WHO target logic connector

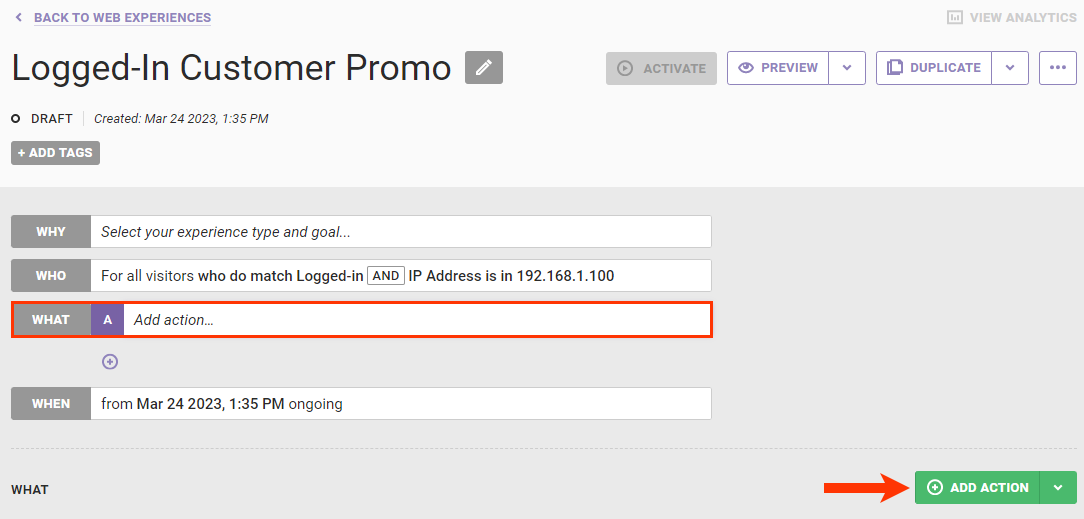
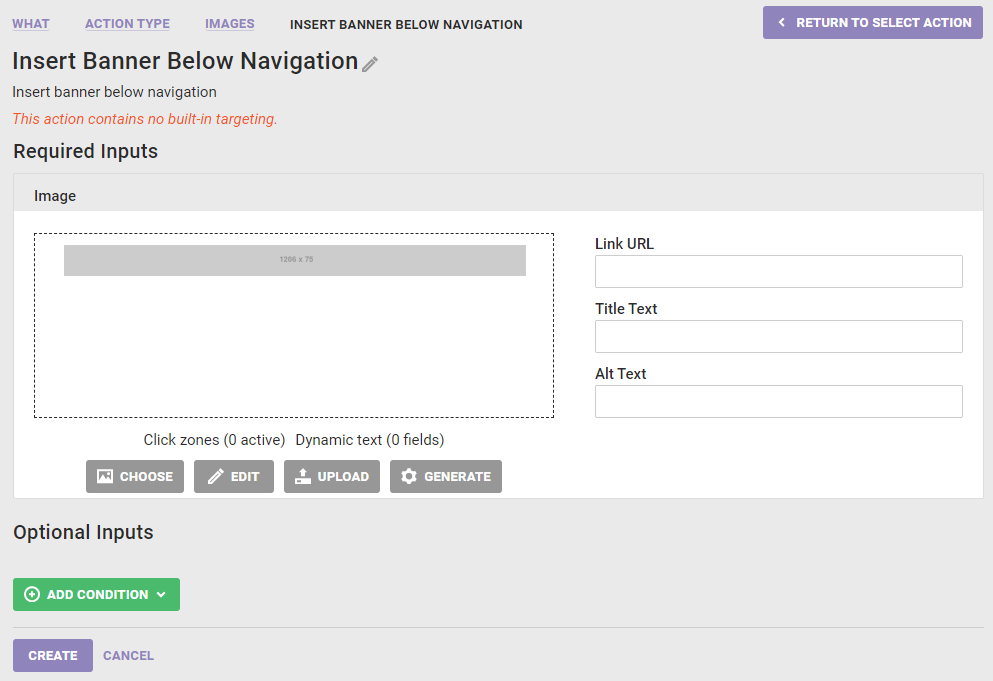
  10. To test that this target works as expected, configure an action to display a placeholder image on every page of your site, such as below the navigation bar.
    1. Click WHAT and then click ADD ACTION.

      Callout of the WHAT settings and the ADD ACTION button

    2. Click Images.

      Callout of the Images option on the Action Type panel

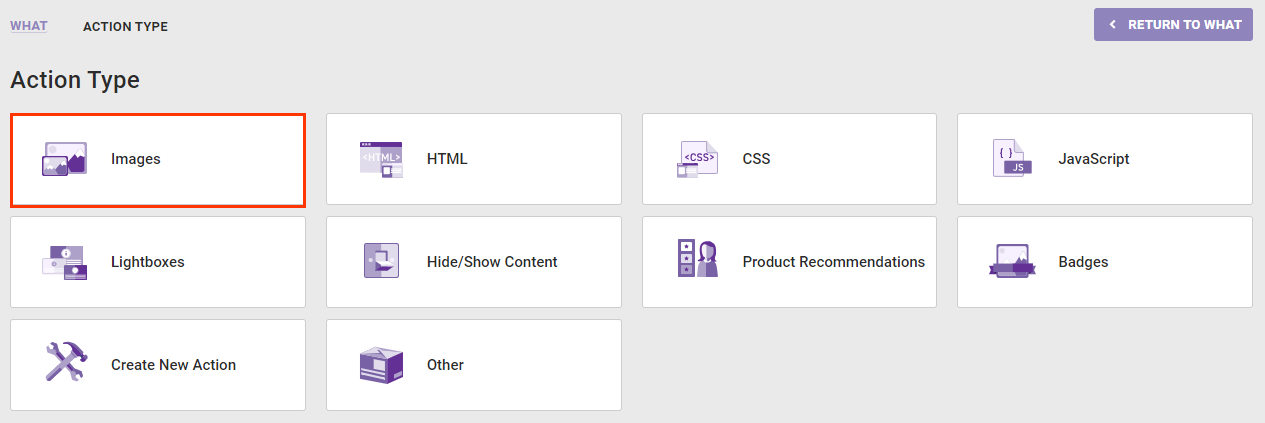
    3. Select an action template that meets your needs for the test experience.

      Example of action template options on the Images panel

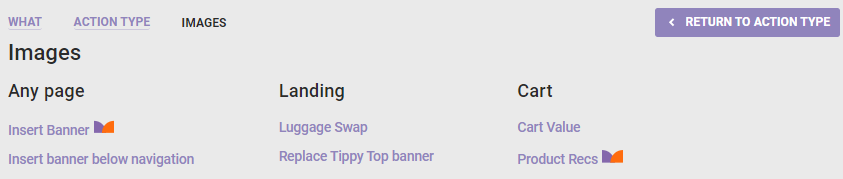
    4. Configure the action and then click CREATE.

      The 'Insert Banner Below Navigation' action template

  11. Click ACTIVATE because you cannot test a custom target using Preview Mode.

    It can take up to 30 minutes for a custom target to become available on your site. You can verify that the custom target is firing on your page by using the Monetate Inspector browser plug-in.

    Callout of the ACTIVATE button

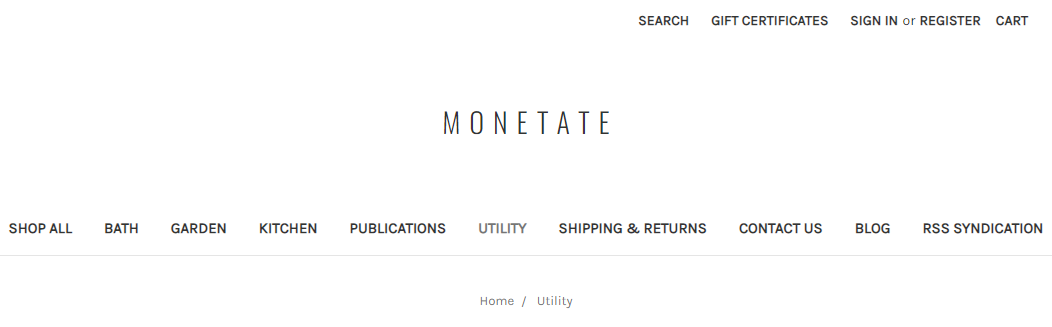
If the custom target works correctly, the placeholder image appears right below the site's navigation bar if the test visitor is logged in.

Callout of the placeholder image displayed on the example site

Once the test visitor logs out, that placeholder image no longer appears.

View of the example site without a logged-in visitor

After you confirm that your target works as expected, you can use it in a live experience for all site traffic.