Configure an On-Site Search Terms Target

Follow these steps to configure for an experience the On-site search terms WHO target so that visitors who, while on your site in their current Monetate session, searched for one or more terms that you specify during the time frame that you select.

To use this target, you must ensure that you've implemented the addSearch method or, if you're an Engine API client, that you include monetate:context:SearchView in the request.

  1. Click EXPERIENCES in the top navigation bar and then select Web.

    Callout of the Web option in the EXPERIENCES menu of the top navigation bar

  2. Give the experience a name, and then complete the WHY settings.

    A Web experience titled 'Winter Clearance Sale Banner' and a callout of the WHY settings

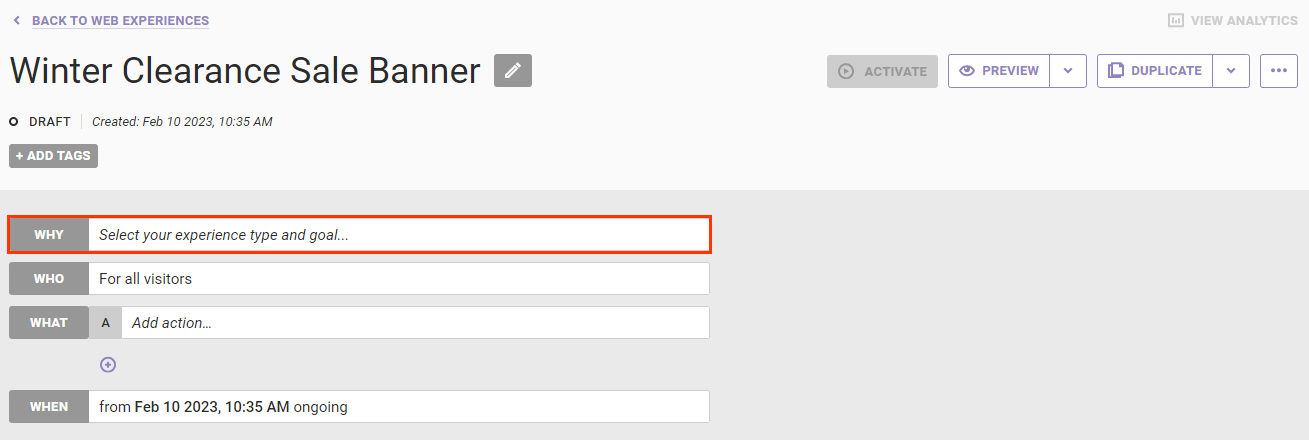
  3. Configure the WHO settings.
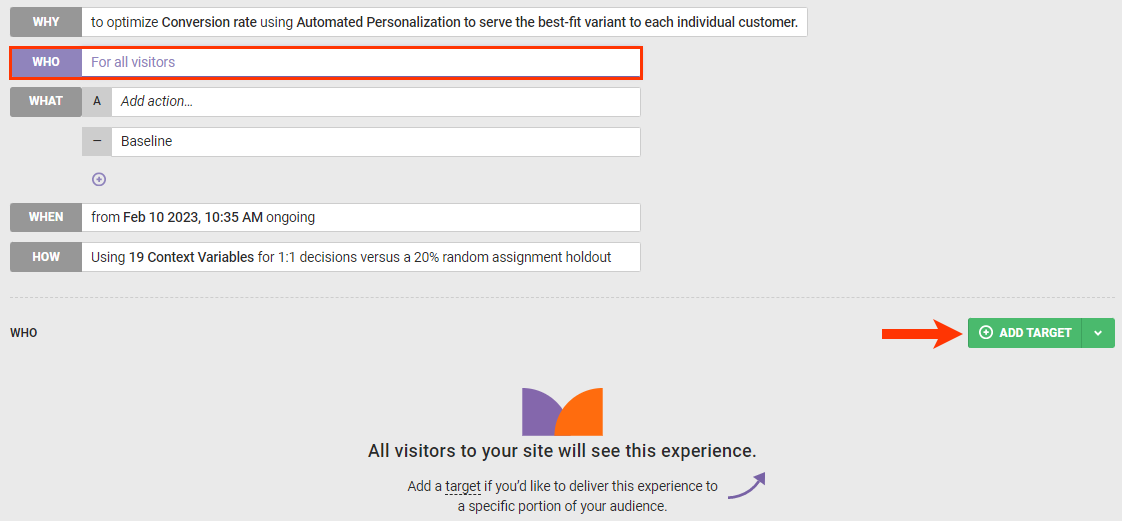
    1. Click WHO and then click ADD TARGET.
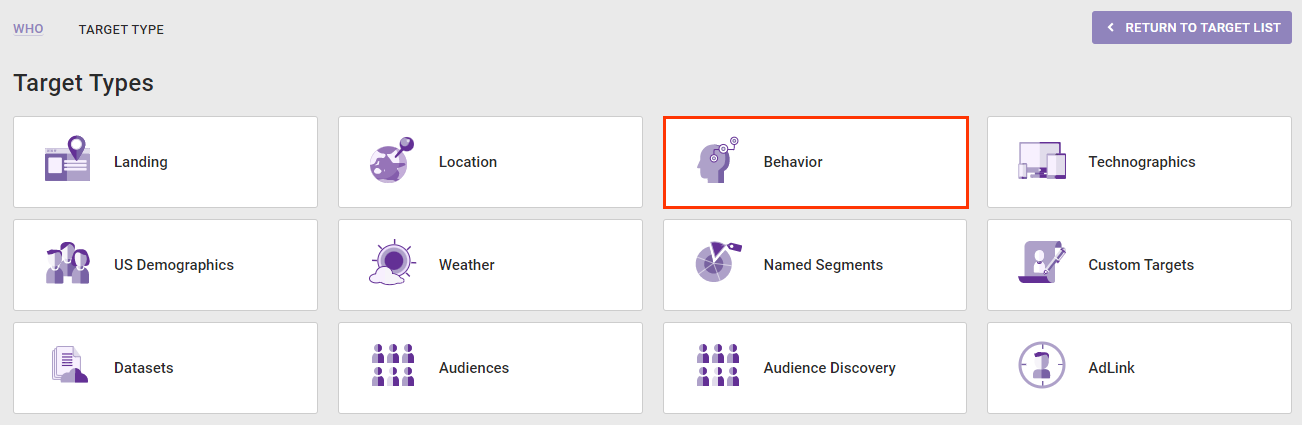
      Callout of the WHO settings and of the 'ADD TARGET' button

    2. Click Behavior.

      Callout of the Behavior option on the Target Types panel

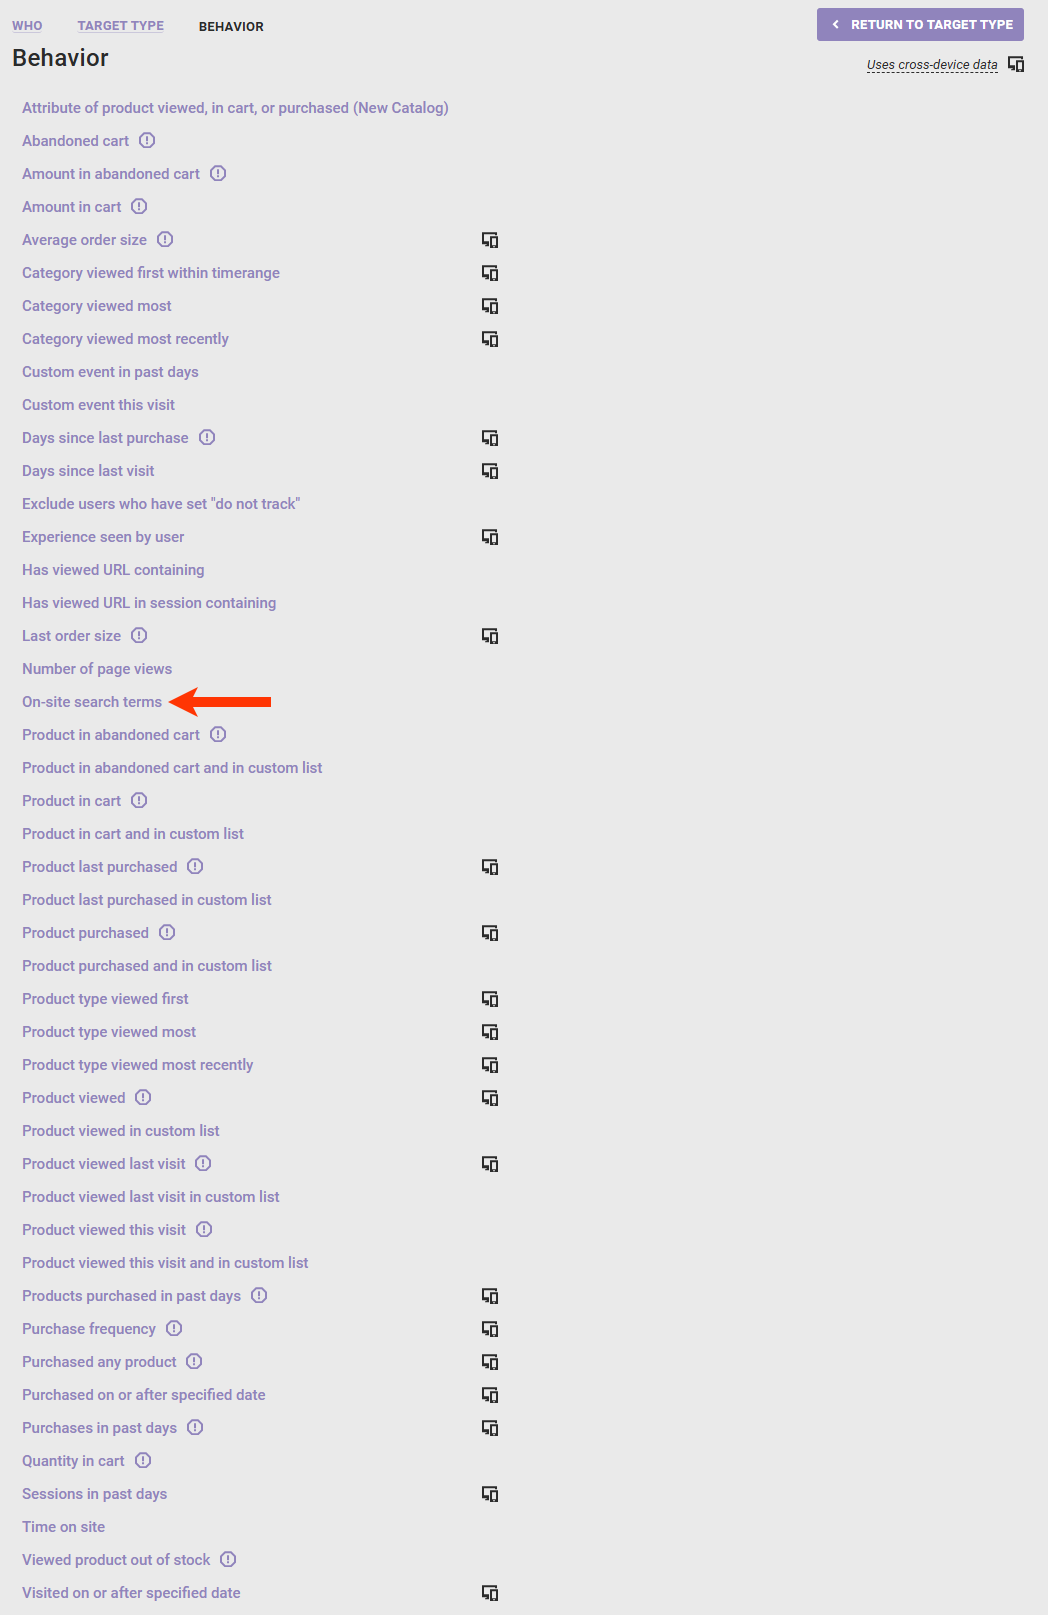
    3. Click On-site search terms.

      Callout of the 'On-site search terms' target option on the Behavior targets panel

    4. Input into Terms searched the words or phrases that you want to use for targeting. Ensure that a comma separates each term (for example, boots, work boots, Chelsea boots, Wellington).

      Monetate only retains the most recent 1,000 search terms that a customer used during the current session as well as during sessions from the past 30 days.

      Callout of the 'Terms searched' field on the 'On-site search terms' WHO target

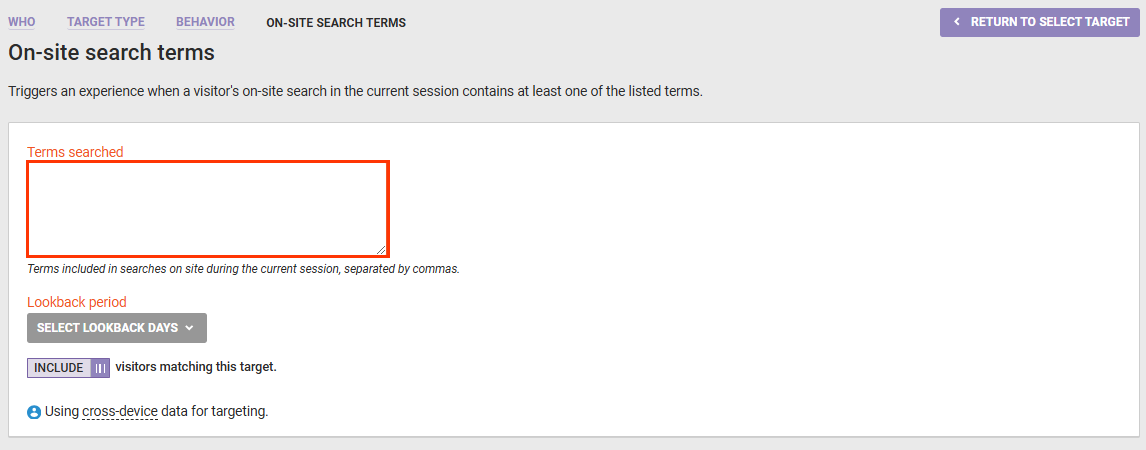
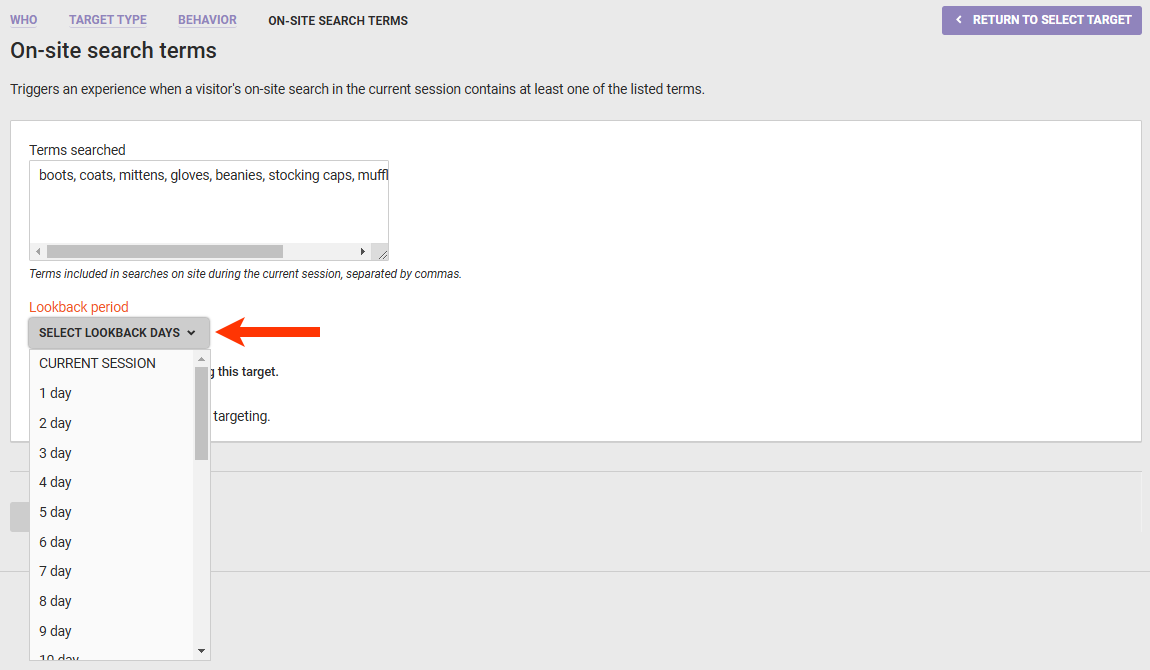
    5. Select an option from Lookback period.

      Callout of the 'Lookback period' selector on the 'On-site search terms' WHO target

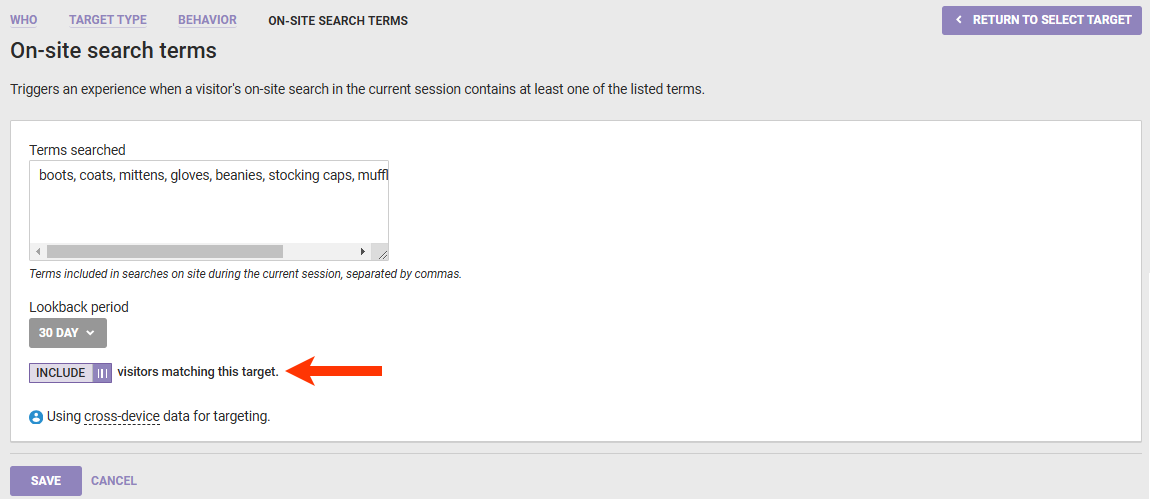
    6. If necessary, toggle INCLUDE to EXCLUDE if you want to exclude visitors matching the target you've configured.
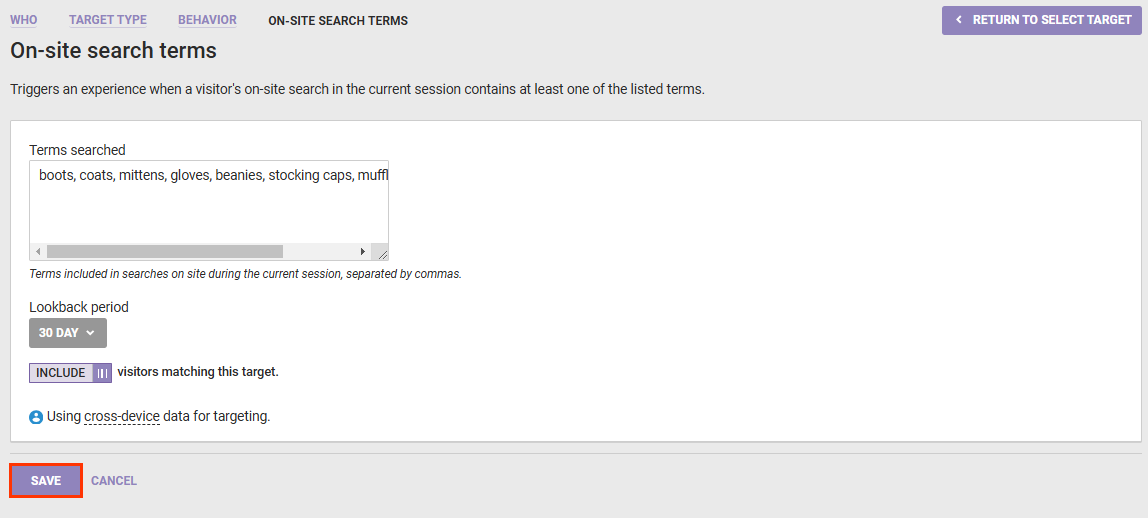
      Callout of the 'INCLUDE visitors matching this target' setting on the 'On-site search terms' WHO target

    7. Click SAVE.

      Callout of the SAVE button on the 'On-site search terms' WHO target

    Complete the WHAT and WHEN settings, and then click PREVIEW or ACTIVATE.

Table of Contents