The Events list page displays any custom events that you have created to track interactions, impressions, and other event types on your site. To access it click COMPONENTS in the top navigation bar, and then select Events.

Like many other list pages in the Monetate platform, the Events list page is a table that contains basic information for each custom event built in Event Builder.
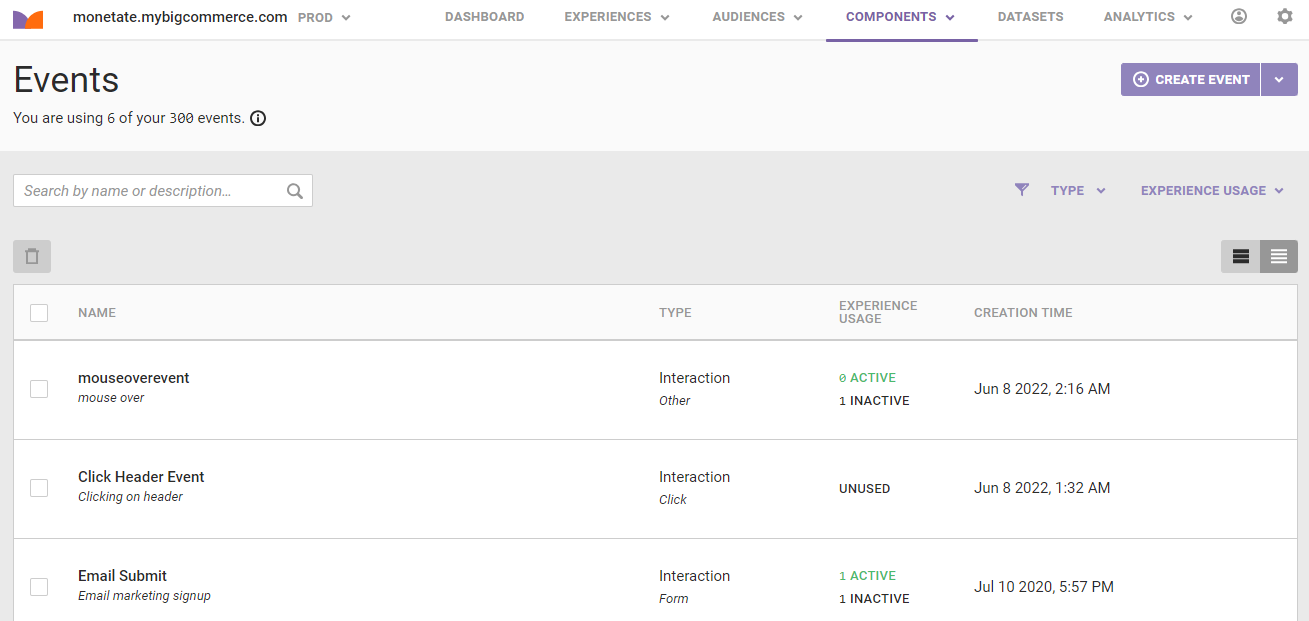
A running total of the custom events created appears at the top of the page.

Above the table are tools to help you find one or more events or types of events. In addition to the search bar on the left-hand side, you can filter the list by event type and by experience use.
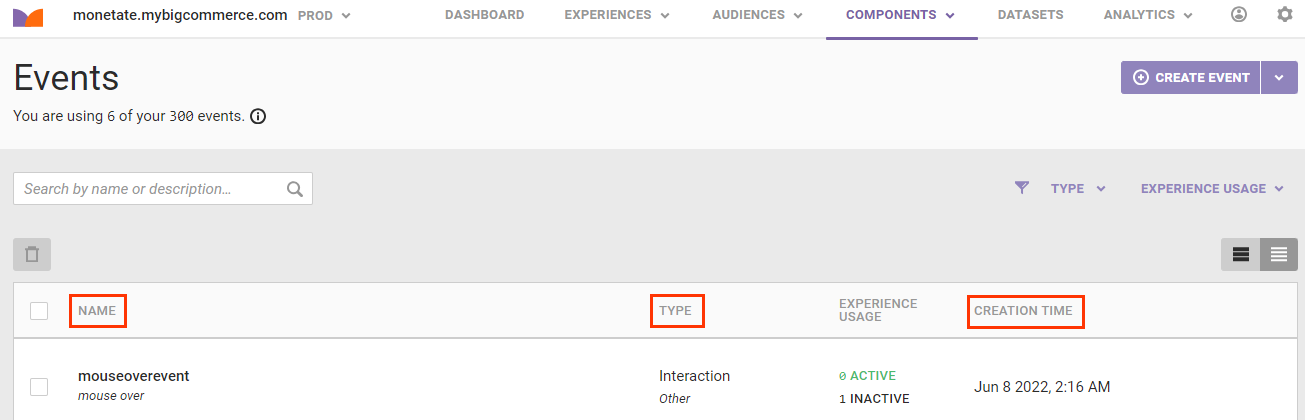
You can sort the table's contents by the event name in alphabetical or reverse alphabetical order at any time by clicking the NAME header or by the event type by clicking the TYPE header. Sort the contents by creation date in chronological order or reverse chronological order by clicking the CREATION TIME header.
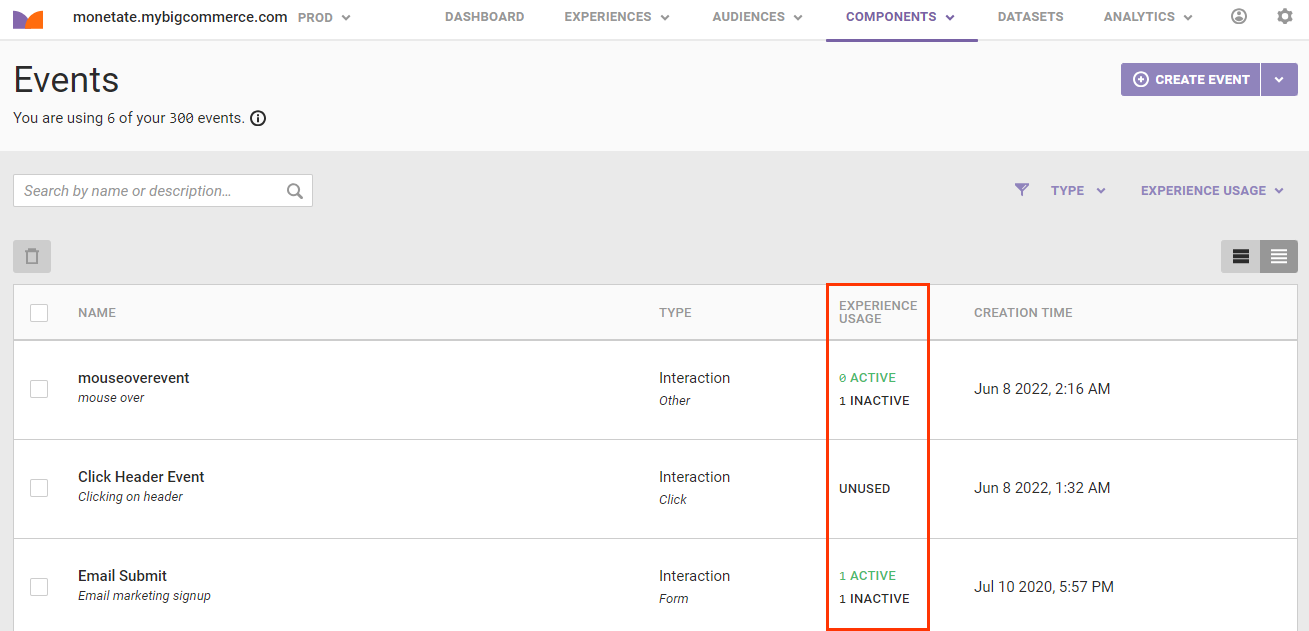
The EXPERIENCE USAGE column shows the number of active and inactive experiences an action is part of or if the action is not used at all.
Event Quickview
Click an event name to open the Event Quickview modal for more specific information about the event.
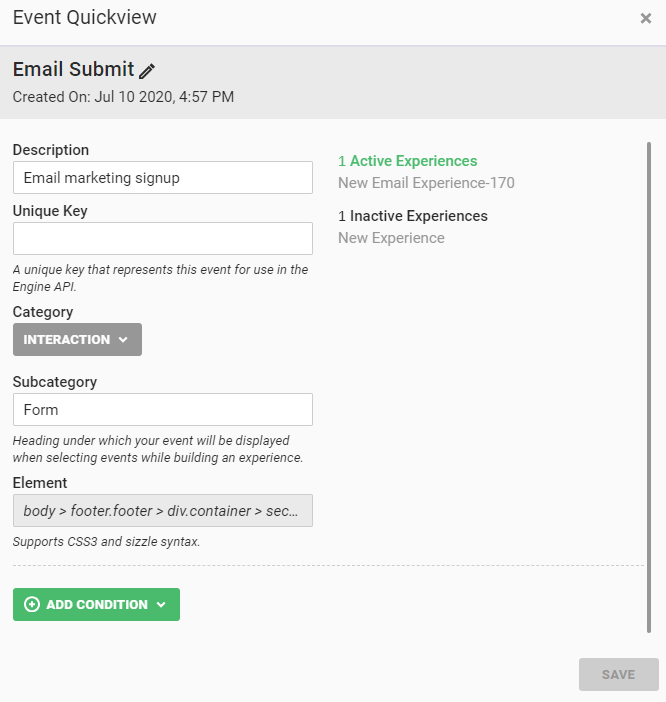
The modal contains options to add, edit, or delete the event's description, category, subcategory, and unique key for the Engine API.
Click ADD CONDITION to add action conditions.
Ensure you click SAVE at the bottom of the modal to save your changes to the event.
Additional Options
Depending on your account configuration and on your user role, an additional options menu (...) may appear at the far-right side when you place your mouse pointer on an entry in the table. It contains options to view the raw JSON for the event and to delete the event.

Depending on your account configuration and on your user role, you may see only the delete icon at the far-right side when you place your mouse pointer on an entry in the table.
![]()
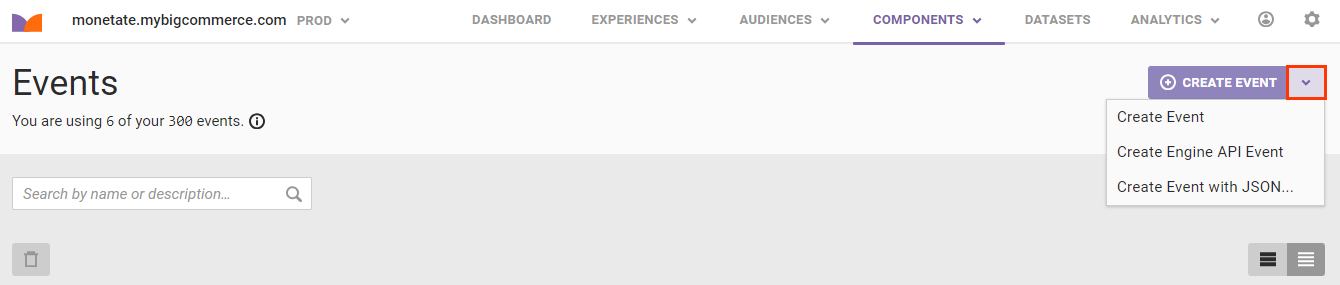
Depending on your account configuration and on your user role, you may see options to create different types of events when you click the arrow to the right of CREATE EXPERIENCE:
- Create an event using JSON code
- Create an Engine API event with a single line of code that you can reuse across your site
Deleting Events
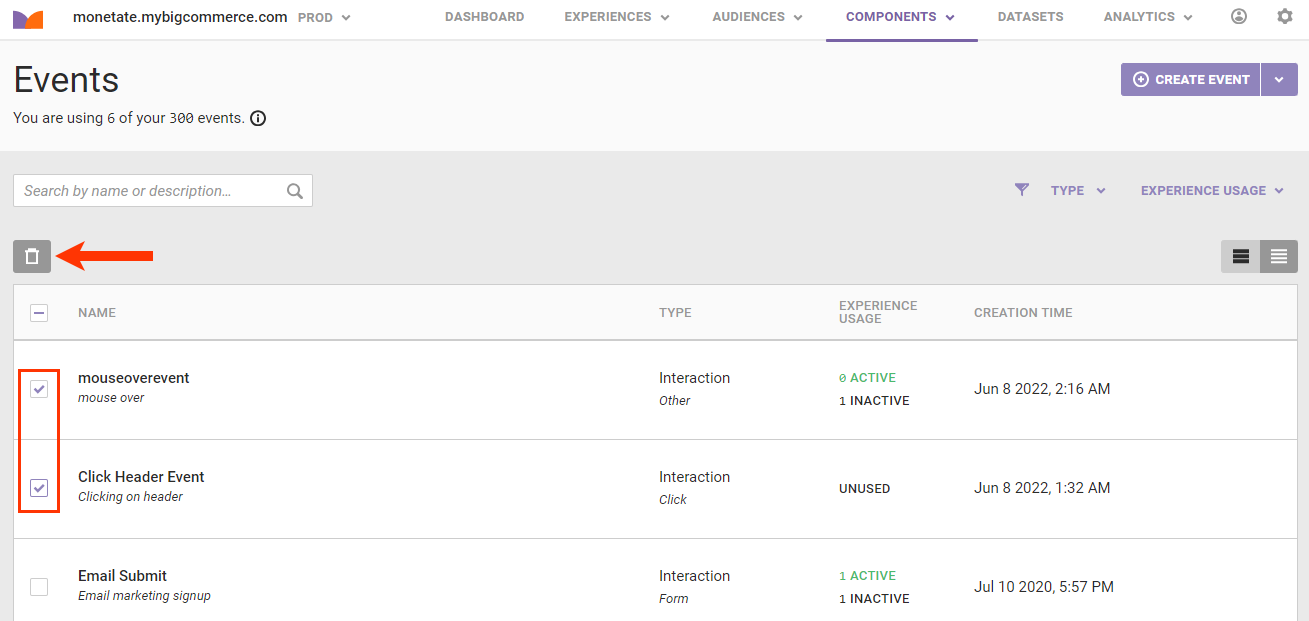
In addition to using the delete icon that appears when you place your mouse pointer in a table row, you can delete multiple events at once. Select the checkbox left of the event name for each event that you want to remove, and then click the delete icon above the table.
If you need assistance managing the events in your account, submit a support ticket using the Monetate Technical Support portal (support.monetate.com).