Follow these steps to add a custom target to a Web experience.
- Create a new Web experience.
- Configure the WHY settings.
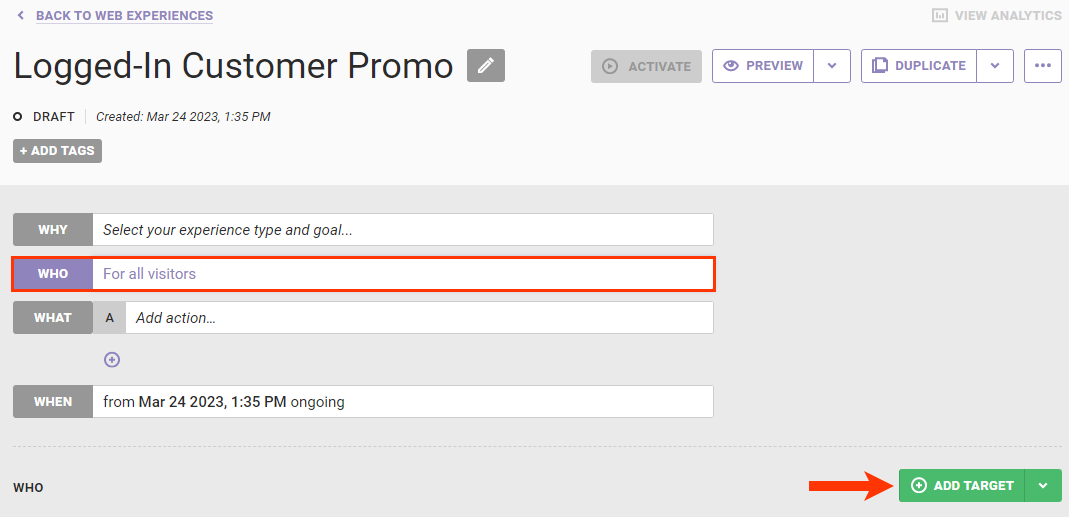
- Click WHO and then click ADD TARGET.
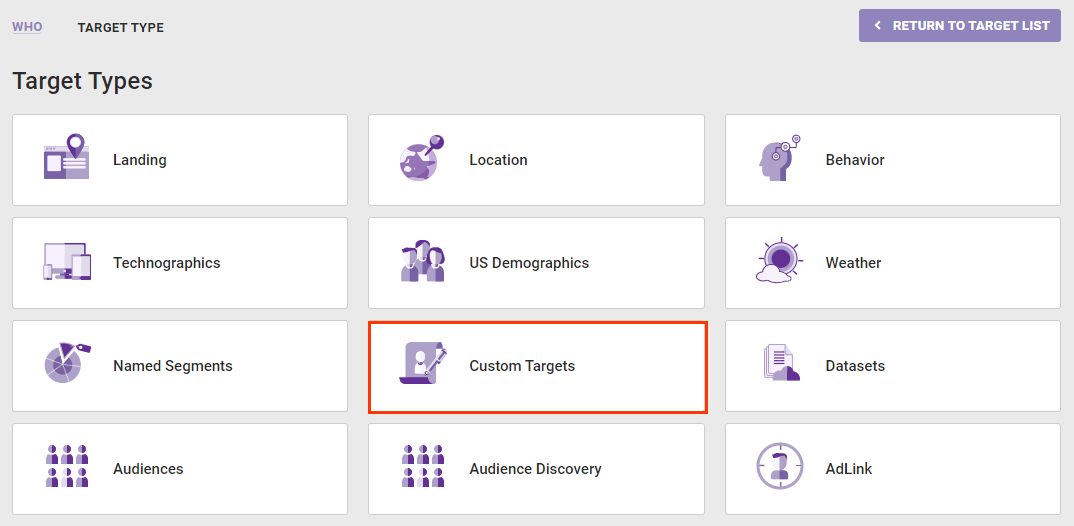
- Click Custom Targets.
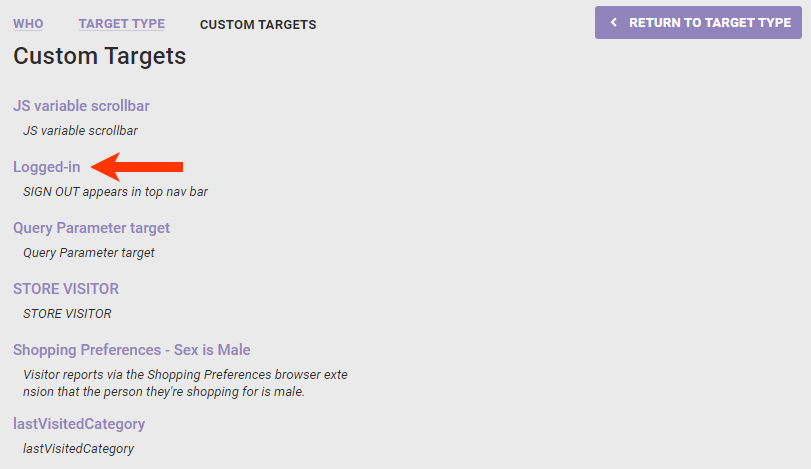
- Click the specific custom target that you want to use in the experience.
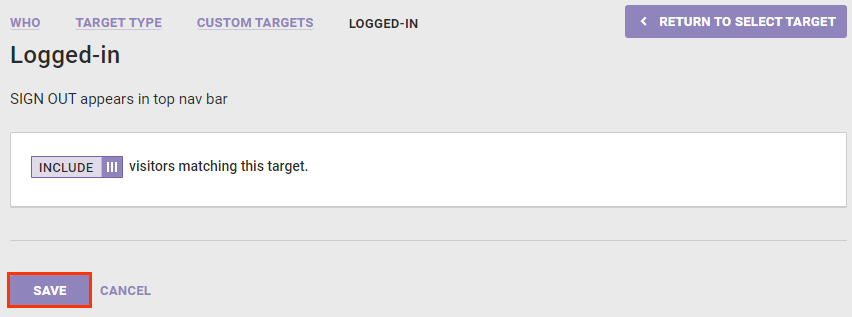
- If necessary, switch the toggle from INCLUDE to EXCLUDE if you want to exclude the the target from the experience. Click SAVE.
- Configure the WHAT and, as necessary, the WHEN settings.
- Preview the experience. See Activate an Experience for Preview and Testing and Preview Mode Limitations to determine if the custom target you selected in step X limits your ability to use the PREVIEW button.
Targets need to cache, while active, for approximately 30 minutes before regularly appearing.