Follow these steps to create a Product Recommendations for Email experience.
- Click EXPERIENCES in the top navigation bar, and then select Web.

- Click the drop-down arrow to the right of CREATE EXPERIENCE, and then select Product Recommendations for Email.

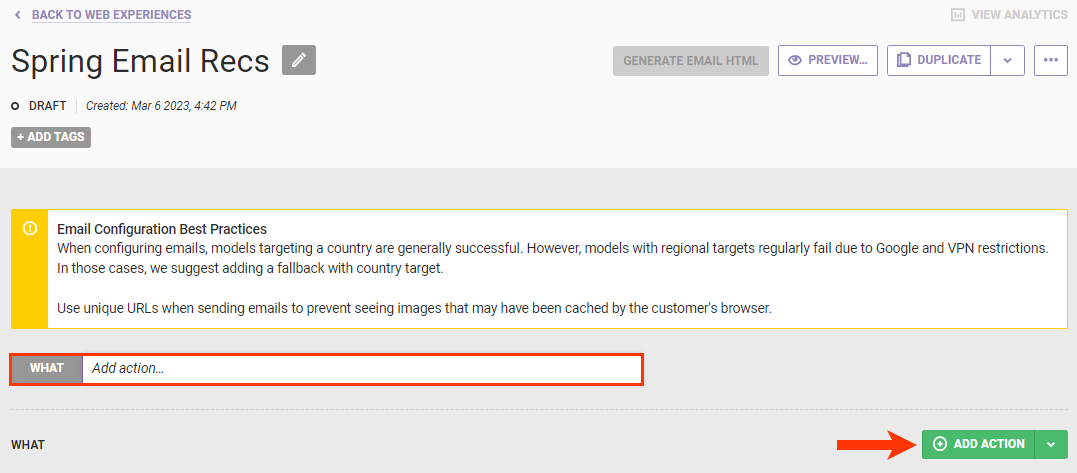
- Click the pencil icon, enter a name for the experience, and then click the green checkmark icon to save the name.

- Click WHAT and then click ADD ACTION.
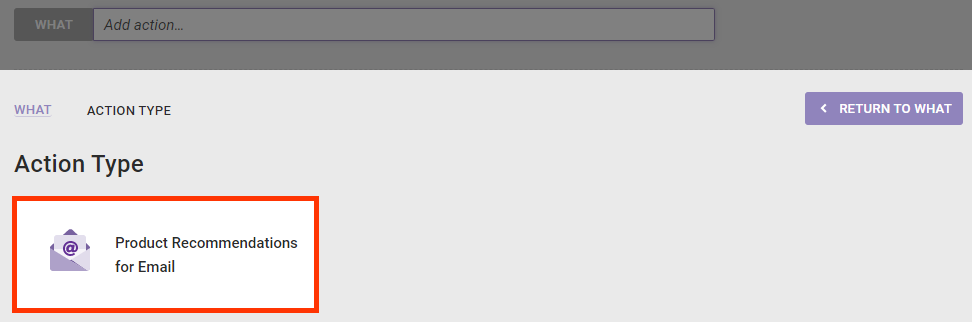
- Click Product Recommendations for Email on the Action Type panel.
- Click the action template that you want to use.

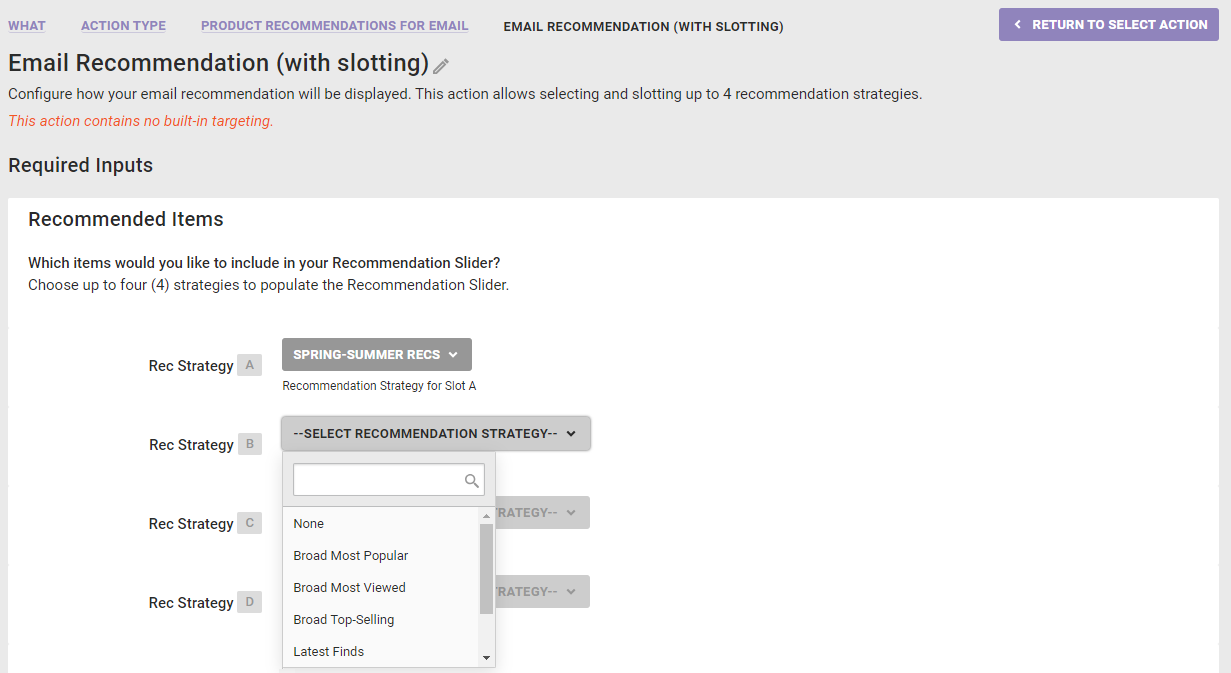
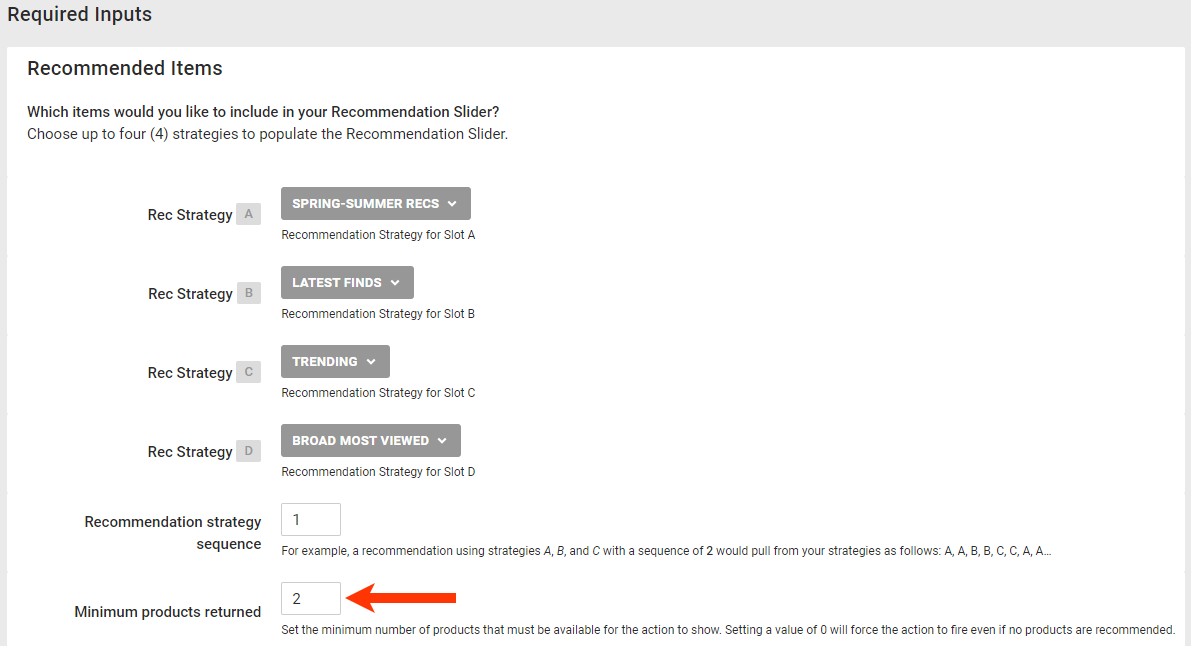
- Configure the required recommendations-related inputs for the action.
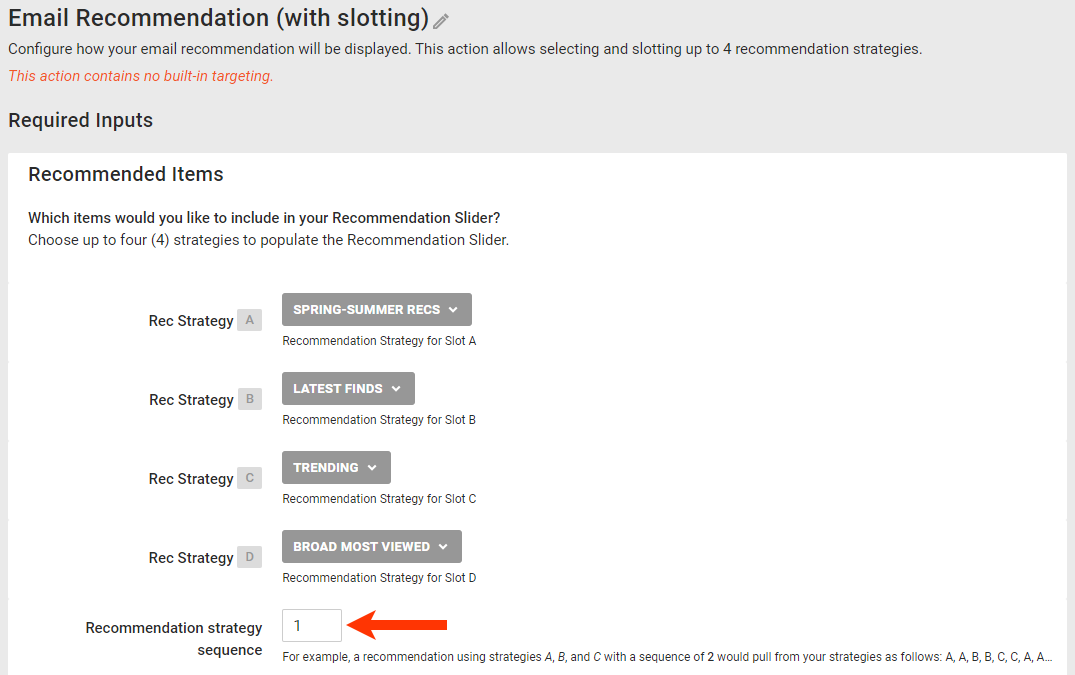
- Select up to four recommendation strategies to populate the recommendations.
- Set the number of times the action displays recommendations from one strategy before displaying recommendations from the next strategy. Refer to Setting the Recommendation Strategy Sequence in Configure a Recommendations Action with Slotting for more information.
-
Enter into Minimum products returned the minimum number of recommended products that the product recommendation sources must identify for the action to fire.
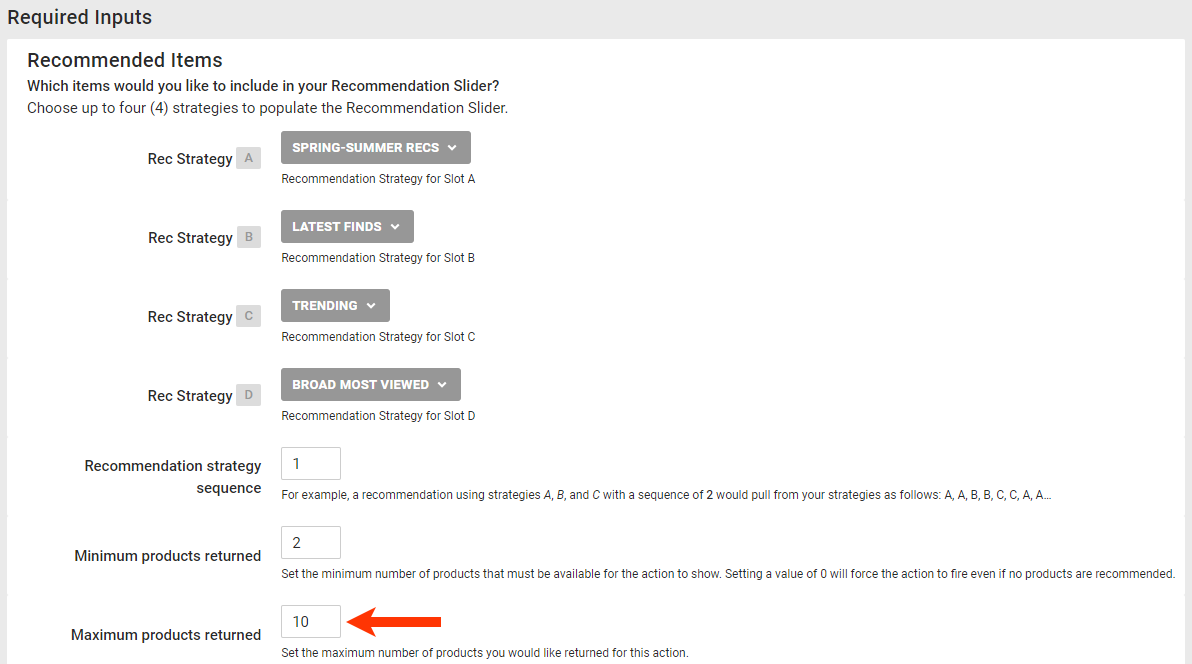
-
Set the maximum number of products the action can recommend.
- Optionally, enter into Pinned products the value of the
idattribute for each product that you want to always appear at the beginning of the recommendations results.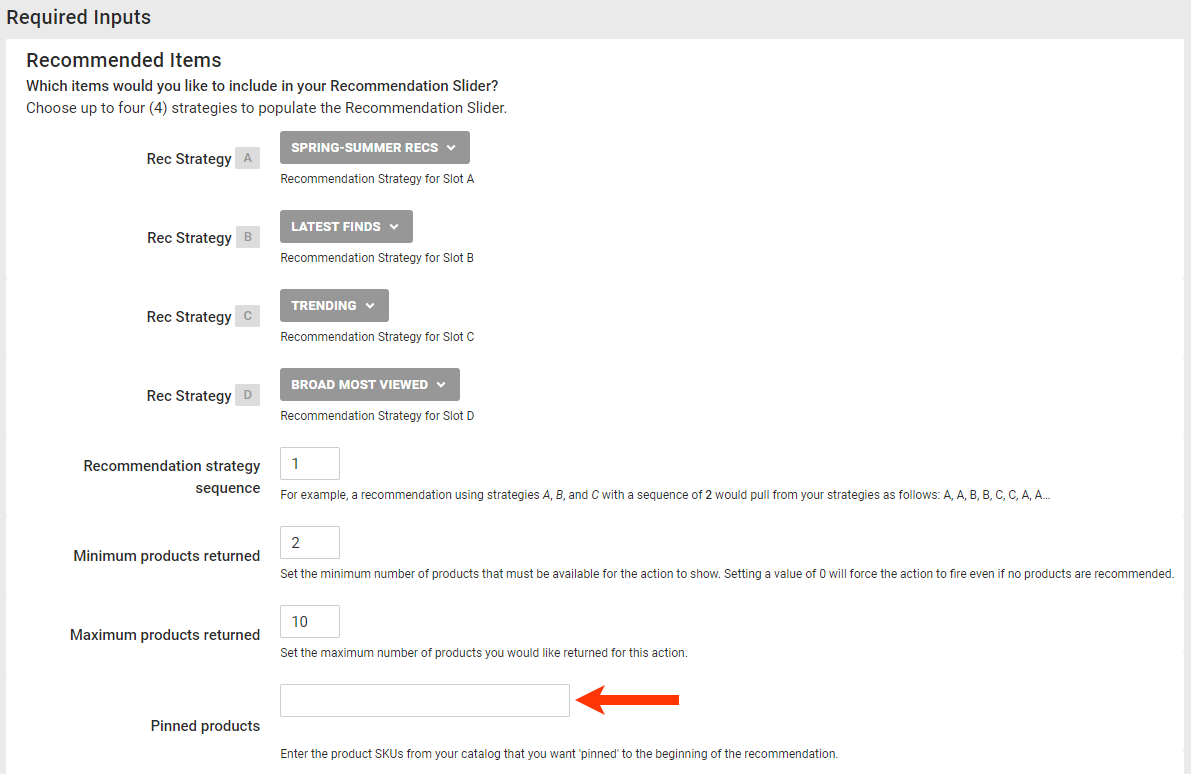
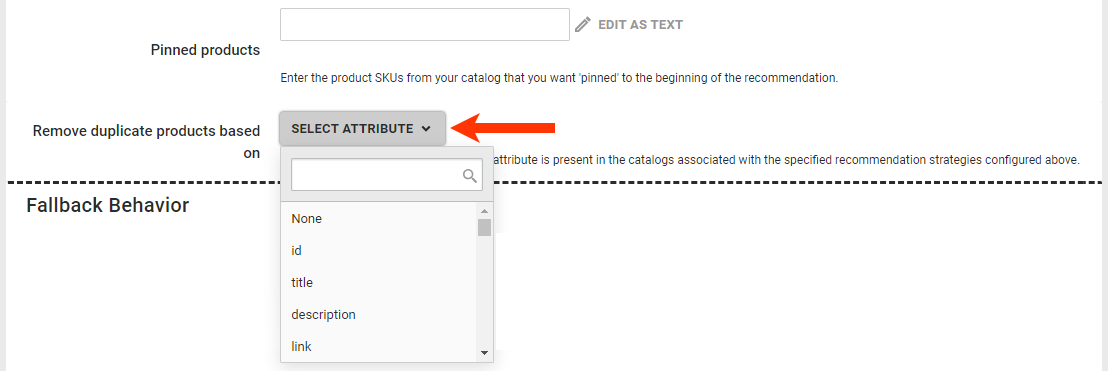
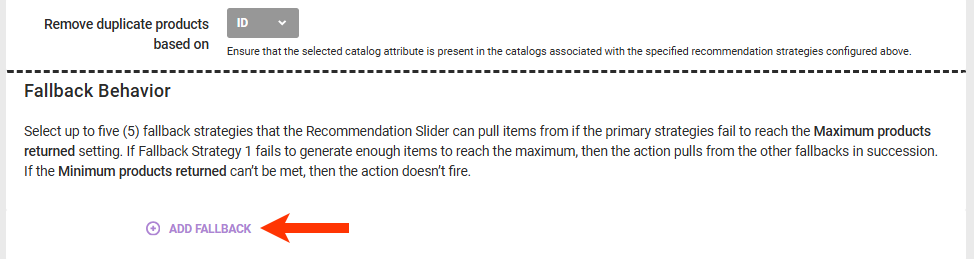
- Optionally, select a product catalog attribute on which duplicate recommended products are removed from the results.
- Select up to four recommendation strategies to populate the recommendations.
- Optionally, select up to five backup recommendation strategies that you want used to supplement the strategies that you selected in step 7a if they can't identify enough recommended products to meet the minimum that you set in step 7c or to ultimately meet the maximum that you set in step 7d.
- Click ADD FALLBACK.
- Select a strategy.
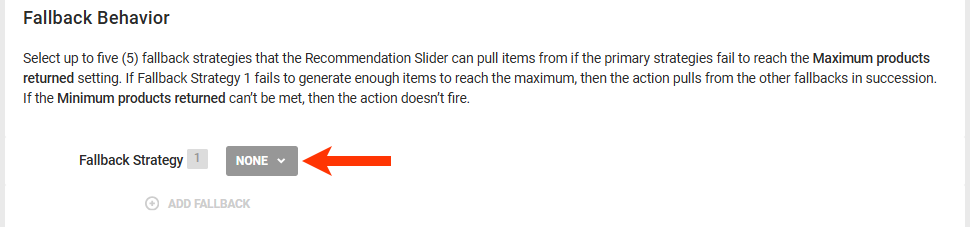
- Repeat steps 8a and 8b to add as many fallback recommendation strategies as necessary or until you reach the five strategy limit.
- Click ADD FALLBACK.
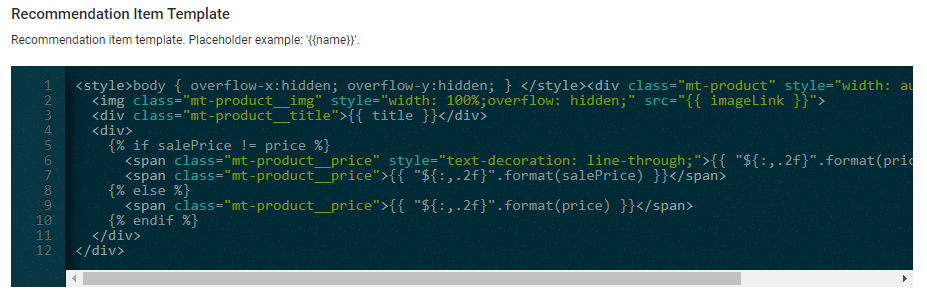
- As necessary, modify the HTML code for the recommendation item template.
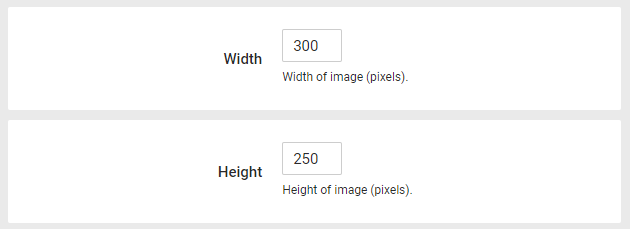
- As necessary, adjust the size of the image container.
- Click CREATE.
- Click GENERATE EMAIL HTML.

- Click COPY TO CLIPBOARD.
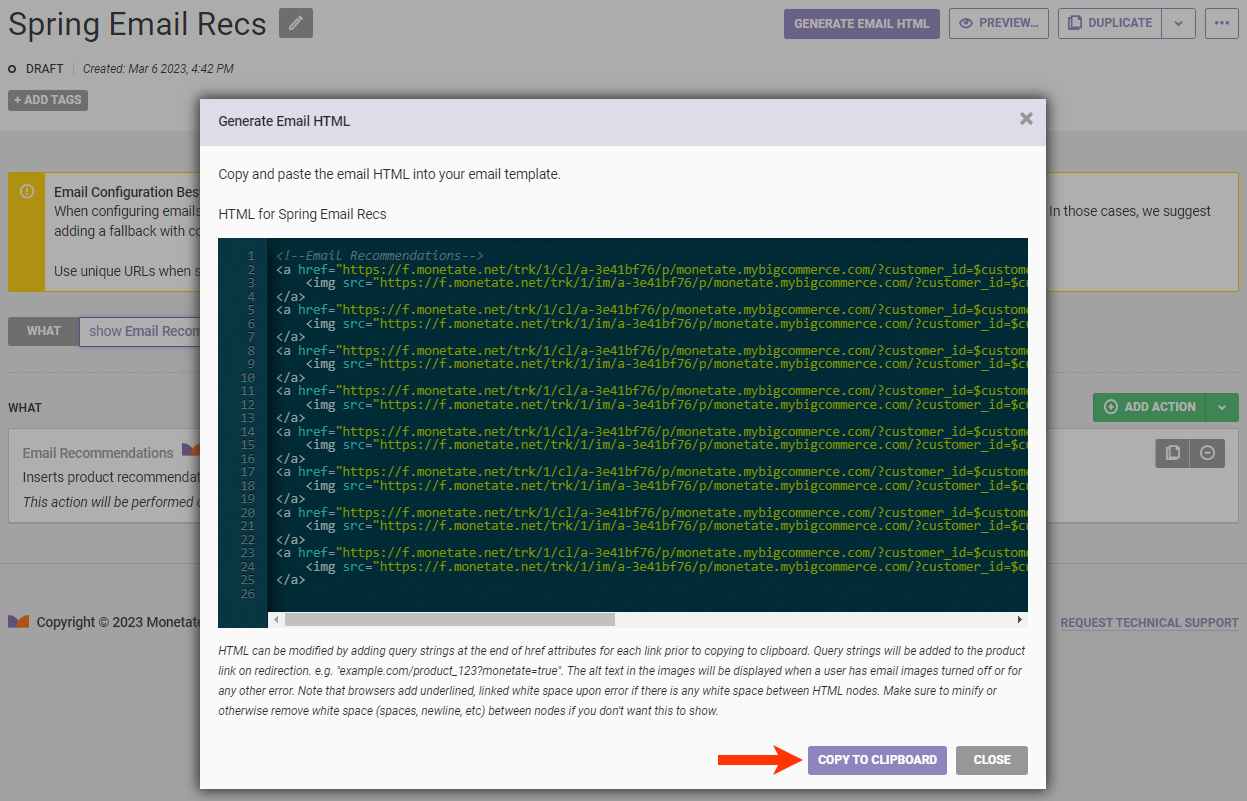
- Paste the HTML into your ESP email template, and then replace the
$customer_idplaceholder and, as necessary, the placeholders for any run-time parameters in the generated HTML, with their respective values. See Preparing the Generated HTML for guidance.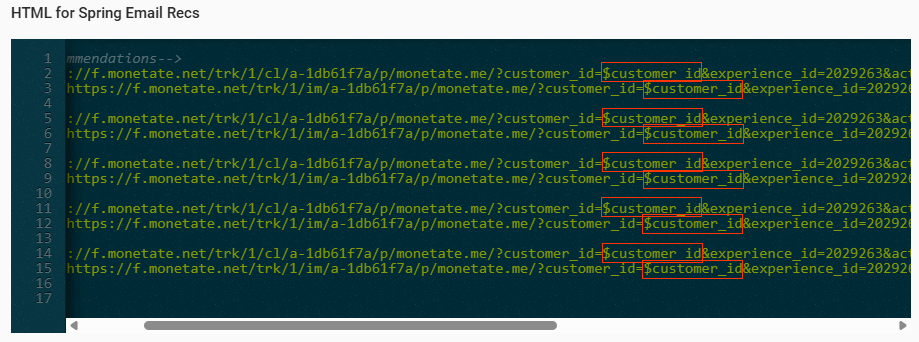
Unlike Web experiences, a Product Recommendations for Email experience requires no activation because you send it to customers using your ESP.
Refer to Product Recommendations for Email Experience Analytics for more information about the results data you can view.
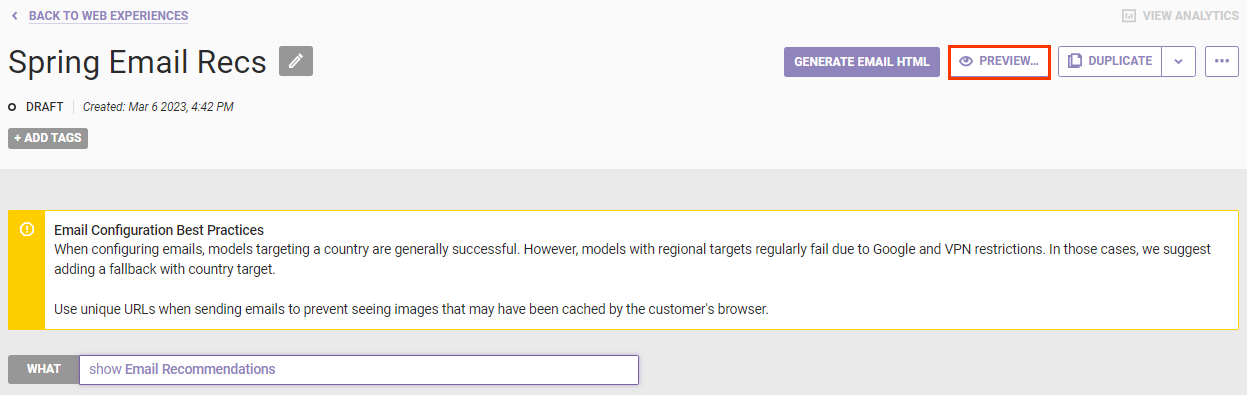
Previewing the Email Experience
Follow these steps to preview a Product Recommendations for Email experience complete with the context of a customer ID.
- Click PREVIEW on the Experience Editor page.
- Enter a customer ID value in the Preview modal.
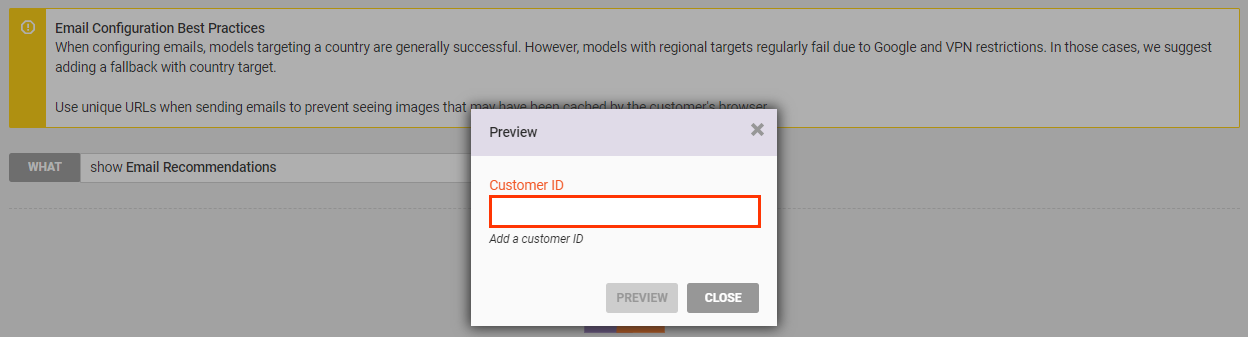
If the preview appears blank, a likely culprit is a syntax error in the template. Another possibility is a lack of returned recommended items due to either an empty catalog or the configurations of the recommendation strategies selected in the WHAT action.
Preparing the Generated HTML
You must make a few modifications to the HTML code that appears in the Generate Email HTML modal before you can use it.
Customer ID
In each image URL and link URL, you must replace the $customer_id placeholder with your ESP's customer identifier. Often you can replace $customer_id with a subscriber merge token that dynamically resolves to the ESP identifier.

Depending on the configuration of the recommendation strategies that you selected when creating the experience's action, the generated HTML may contain one or more pass-through parameter–value placeholder pairs. Ensure that you also replace each value placeholder with its respective attribute value(s) that you want to use in the experience.
Item Group ID Run-Time Parameter
If one of the recommendation strategies is configured with Item group ID(s) in run-time parameter (for email) selected for Base Recommendation on, then pt_based_on_item_group_id=$runTimeFilter appears in the generated HTML code for the email.

You must replace the $runTimeFilter placeholder with at least one and no more than five item_group_id values that you pass to Monetate.
If you use multiple values, ensure they're in a properly formed string with each comma replaced with %2C.

Recommendation Run-Time Filters
If you selected one or more recommendation strategies configured with one or more run-time filters, then you must replace the placeholder for each run-time filter parameter (for example, pt_brand=$runTimeFilter) with a value for that attribute that you pass to Monetate.

You cannot use multiple attribute values with a recommendation run-time filter.
Other Query String Parameters
You can configure a Product Recommendations for Email experience so that you can track page visits and product purchases that result from it by adding a query string parameter for tracking purposes to the generated HTML.
Add the query string parameter at the end of each image URL and link URL in the generated HTML.

When the email recipient clicks a link in the message, they're redirected to its corresponding page on your site as expected, with the query string parameter that you'd added preserved.