Regardless of the channel that you want to serve an experience on (mobile app, server-side integration for Web, etc.), the process for creating an Omnichannel experience is the same with the exception of the actions available for the experience.
Follow these steps to configure an Omnichannel experience.
- Click EXPERIENCES in the top navigation bar, and then select Web.

- Click the arrow to the right of CREATE EXPERIENCE, and then select Omnichannel.

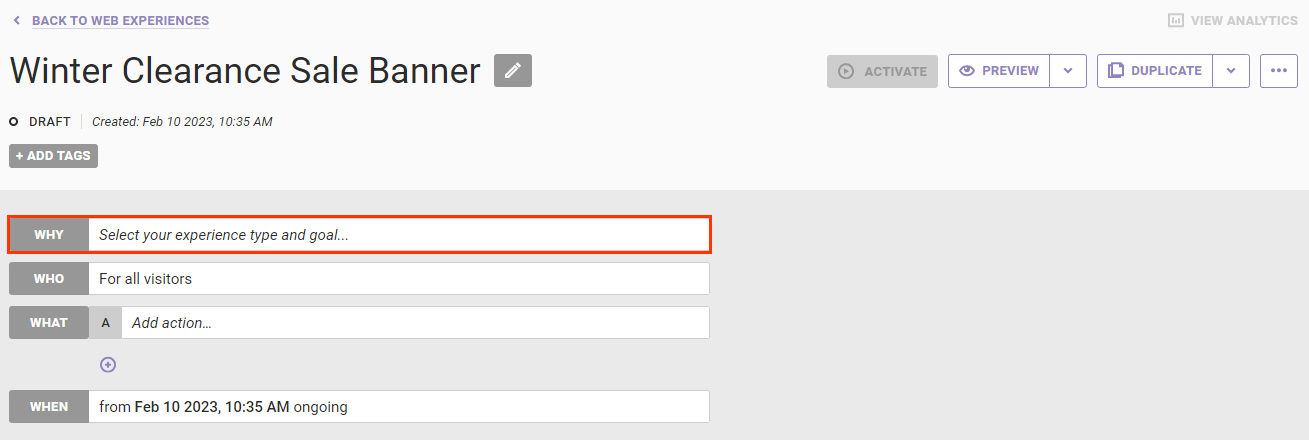
- Name the experience.

- Configure the WHY settings.
- Click WHY.
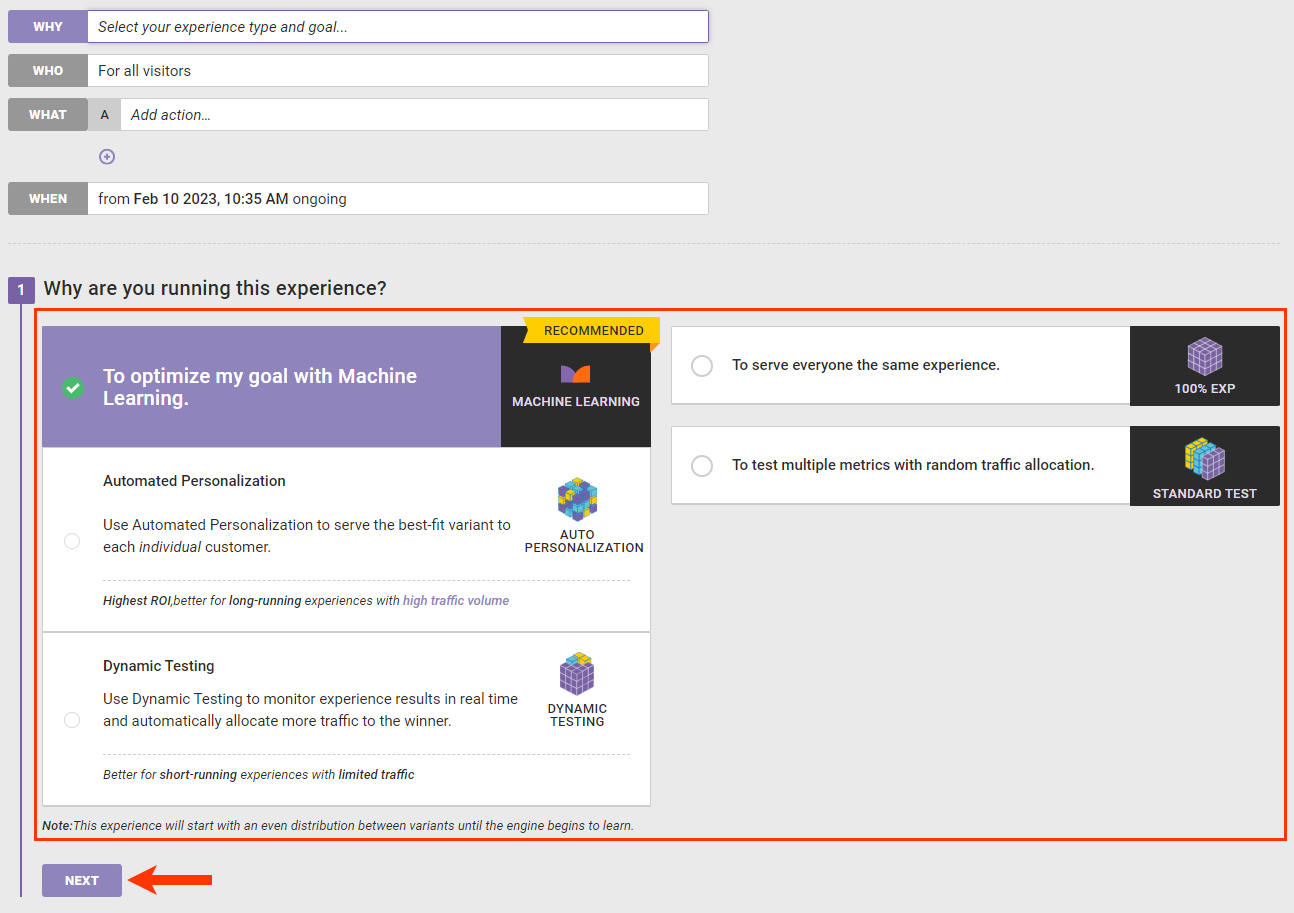
- Select an experience type and then click NEXT.
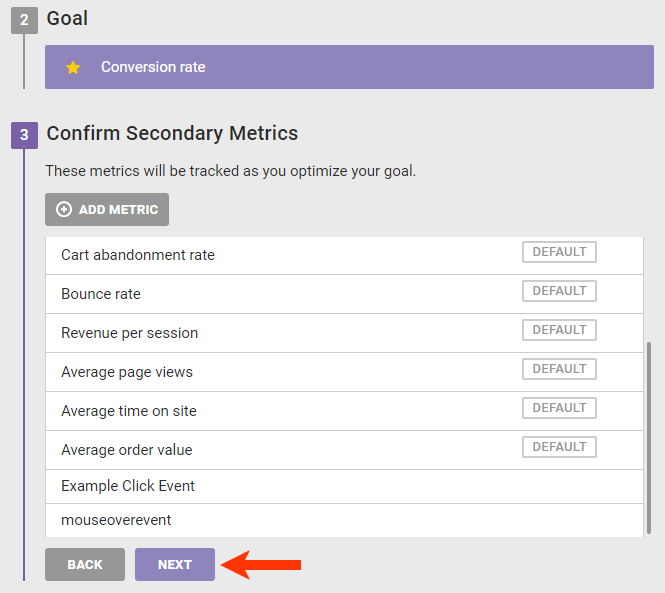
- Select a goal metric and then click NEXT. Refer to Event/Metric Mapping in Target, Event, & Condition Mapping for a table of default metrics and their respective associated Engine API events.

- Configure as necessary the secondary metrics, and then click NEXT.
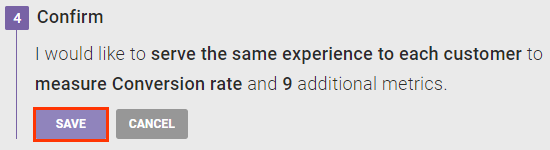
- Confirm that the WHY summary statement is accurate, and then click SAVE.
- Click WHY.
- Configure the WHO settings. Refer to Target Type Mapping in Target, Event, & Condition Mapping for a table of target types and their respective associated Engine API events.
- Click WHO and then click ADD TARGET.
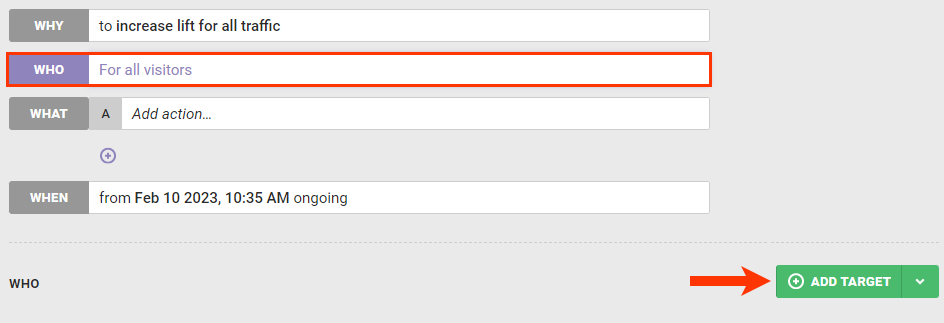
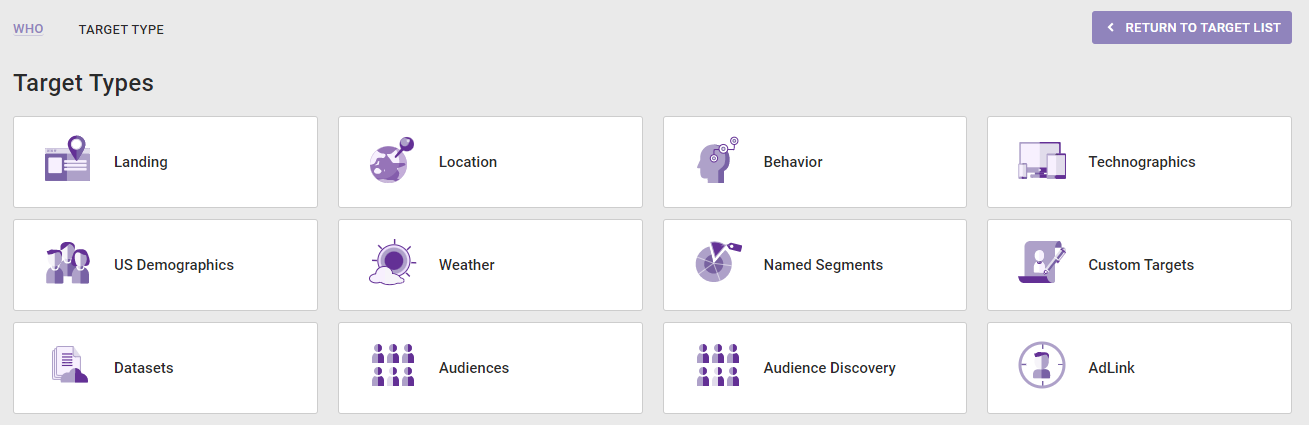
- Click a category on the Target Type panel, select a target, and then configure it as necessary. See WHO Targets in Omnichannel Experiences in the Monetate Developer Hub for more information.
- Click WHO and then click ADD TARGET.
- Configure the WHAT settings.
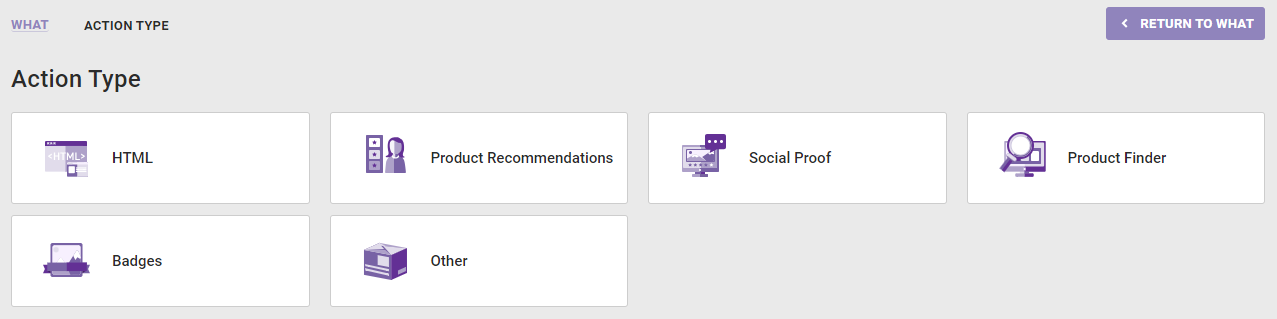
- Click WHAT and then click ADD ACTION.

- Click a category on the Action Type panel, select an action template, and then configure it as necessary. See Available Omnichannel Action Types for more information about the action templates typically available for Engine API clients. See Using Action Conditions in Omnichannel Experiences in Target, Event, & Condition Mapping in the Monetate Developer Hub for guidance on configuring action conditions.
- Click WHAT and then click ADD ACTION.
- Configure the WHEN settings.
- Click WHEN and then click START AND STOP TIME.
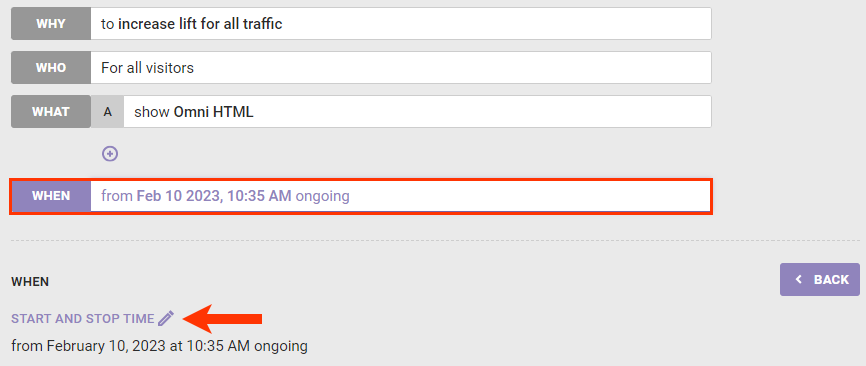
- Configure the start and, optionally, stop date and time as well as dayparting and time zone settings as necessary, and then click SAVE. See Configure Experience Timing for more information.
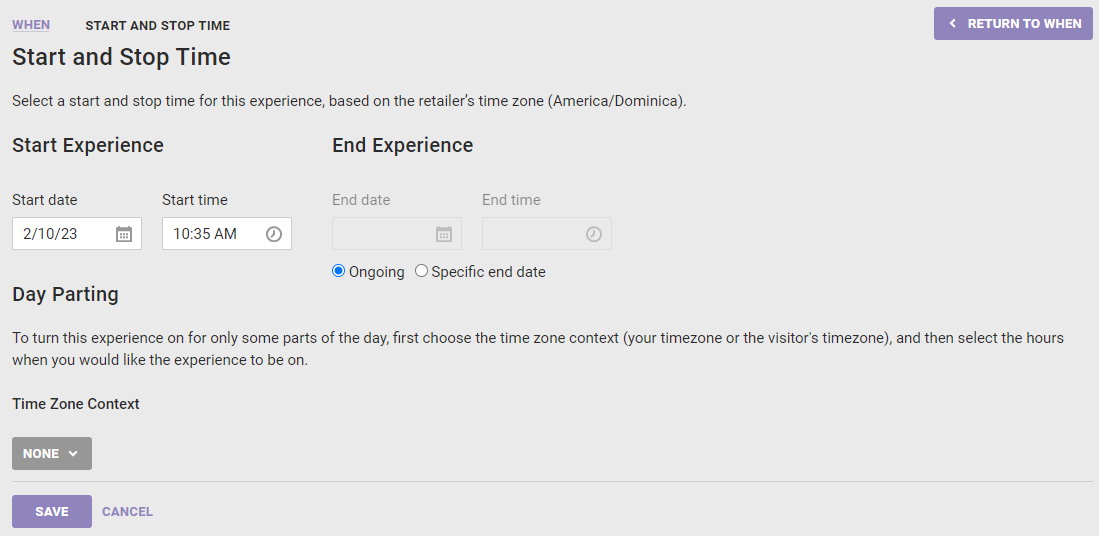
- Click WHEN and then click START AND STOP TIME.
- Click PREVIEW to test the experience. See Preview an Omnichannel Experience in the Monetate Developer Hub for more information.

- Click ACTIVATE when you're ready to deploy the experience.

See Request Requirements in the Monetate Developer Hub for more information about Engine API request calls for Omnichannel experiences.