Follow these steps to add a new layer to a creative file you're creating or modifying in Content Builder.
- Click Add Layer at the top of the Layers panel.
- Adjust the priority of layers as necessary. Click and drag a layer to the desired position in the panel.
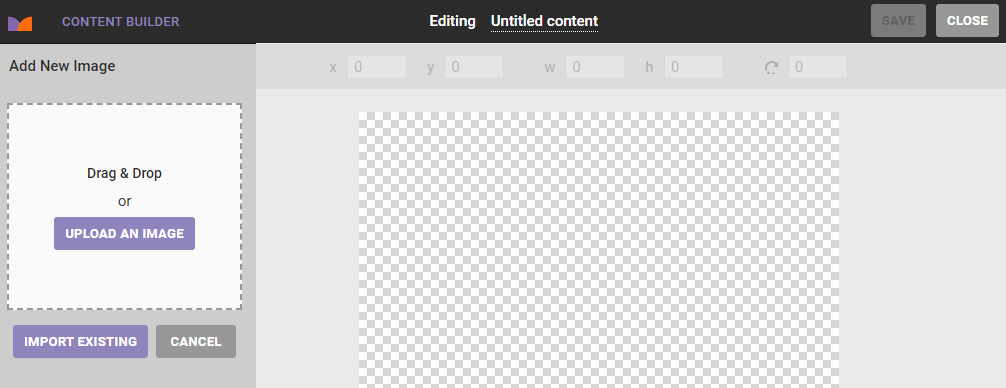
Image Layer
This layer option allows you to add an image to the canvas. You can upload an image using your computer's file explorer; by dragging and dropping an image file into Content Builder; or by importing an image already in Content Manager.
After you add the image, you can resize it, adjust its opacity, as well as add a border and shadow.
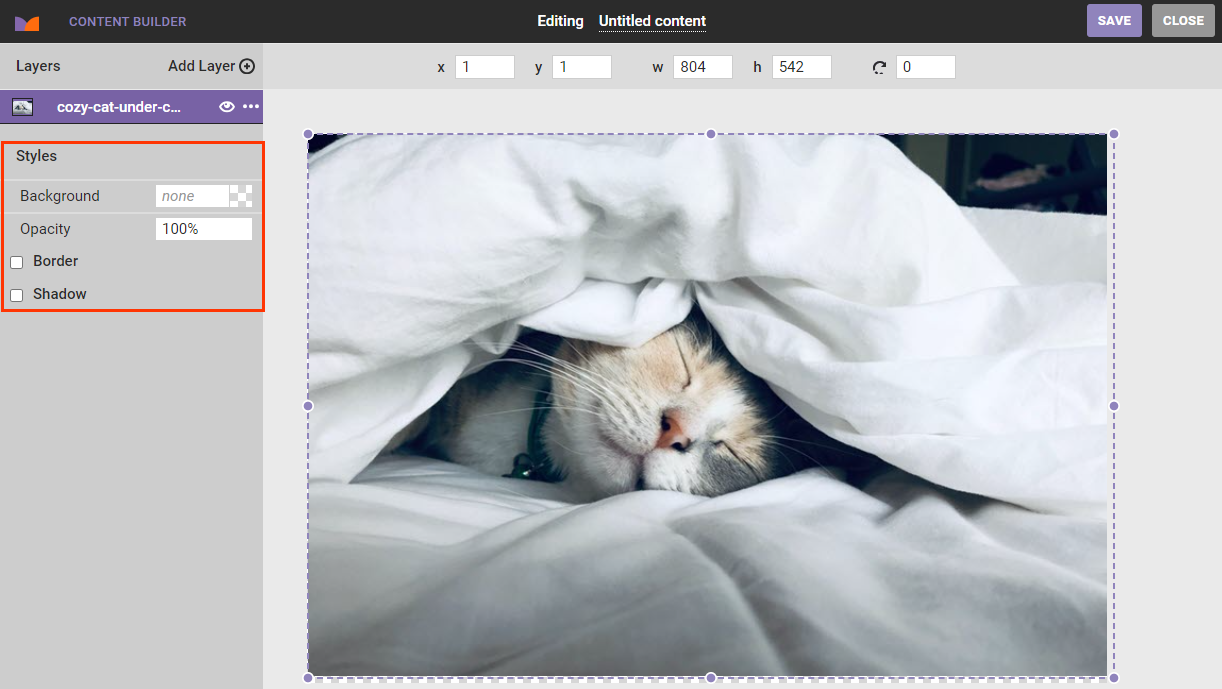
Along with the options in the properties panel, you can click the image layer and drag it anywhere on the canvas, rotate, and resize the image to fit your needs. If you want to add a link to an image layer, click the additional options menu (...) and then select Add link.
Rectangle Layer
Select Rectangle from Add Layer to add a quadrilateral that you can style a variety of ways to the canvas.
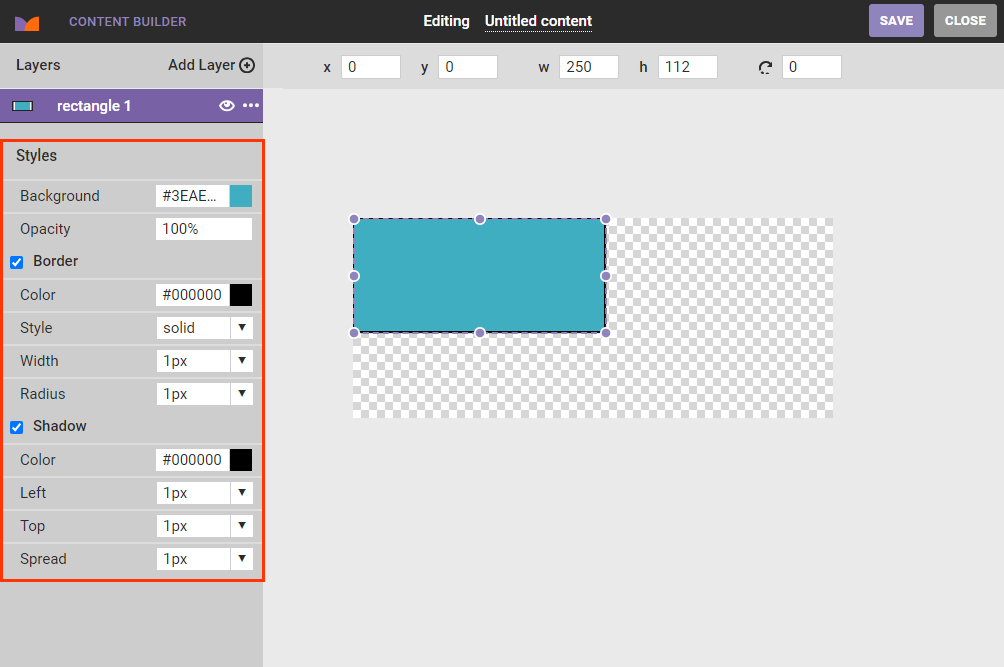
Along with the options in the properties panel, you can click the rectangle layer and drag it anywhere on the canvas as well as resize the rectangle by using your mouse pointer to drag a corner or side. For more precise measurements, enter the width and height dimensions in pixels into w and h above the canvas.

To make the rectangle layer a button or other linked element, click the additional options menu (...) and then select Add link.
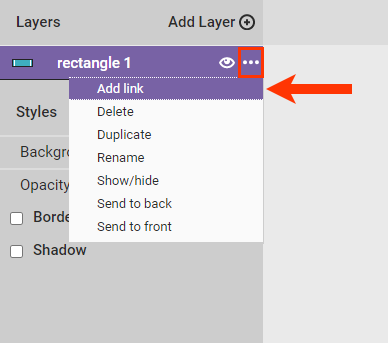
You can then complete the fields that appear in the properties panel to configure the URL linkage. These same fields appear when you create a click zone layer.
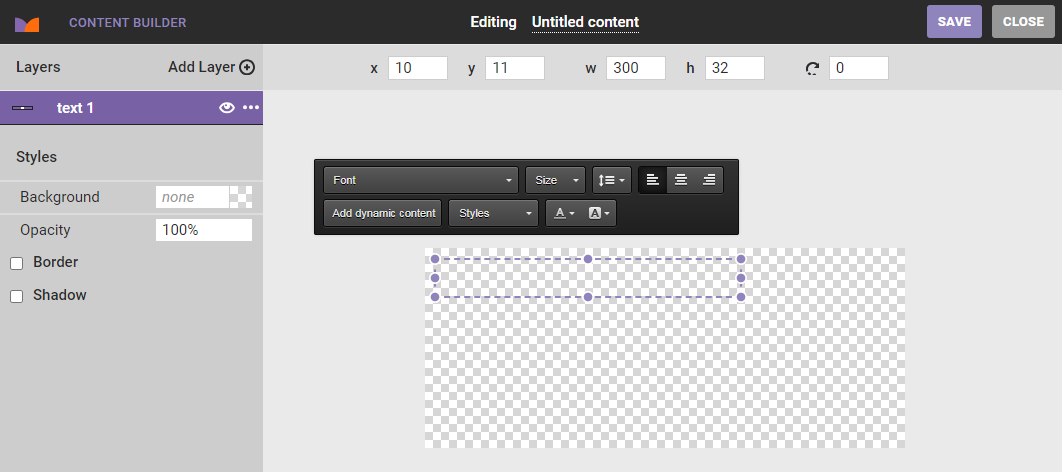
Text Layer
Use the Text option in Add Layer to add text with high-resolution, anti-aliased fonts.
The properties panel for a text layer contains options that allow you to change the background color and opacity as well as to add and adjust a border and shadow to the text field.
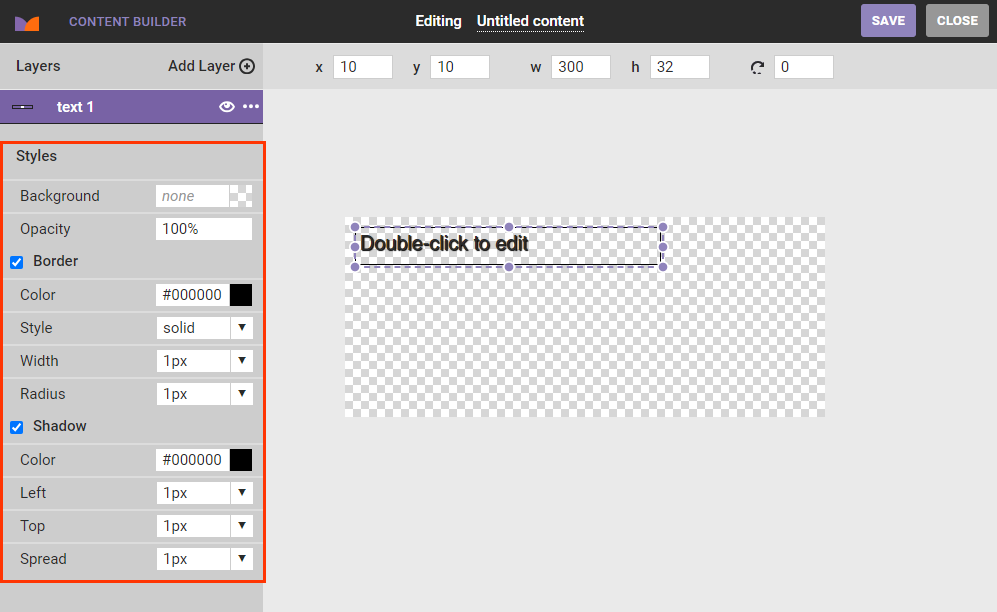
Click within the text field to activate the text insertion cursor and to access the text editor palette, which includes standard options for adjusting how the text appears. The font options available include any fonts uploaded to Content Manager.
For more information about adding dynamic content to the layer, see Add Dynamic Text to Creatives.
Along with the options in the properties panel, you can click and drag the text layer anywhere on the canvas. To add a link to a layer, click the additional options menu (...) and then select Add link. You can then complete the fields that appear in the properties panel to configure the URL linkage. These same fields appear when you create a click zone layer.
Click Zone Layer
Select Click zone from Add Layer or select Add link from a layer's additional options menu (...) to add a hyperlinked region to a specific area of the canvas. A click zone layer works even if it doesn't have the top priority over other layers.

Complete the fields in the properties panel to configure the URL and related interaction properties, such as the URL loading in a new browser window, the same browser window, or in a pop-up window.
The alt attribute only populates if you enter a link address. If you don't want the link to take the visitor anywhere, then you can enter #, which keeps the visitor on the current page. Otherwise, you can also HTML content instead and then manually input the alt attribute.
If you select In a popup window for the URL launch location, additional options appear.

The click zone linkage can be static or dynamically tied to the customer's location and relying on URLs uploaded to the Locations Manager within Content Manager.
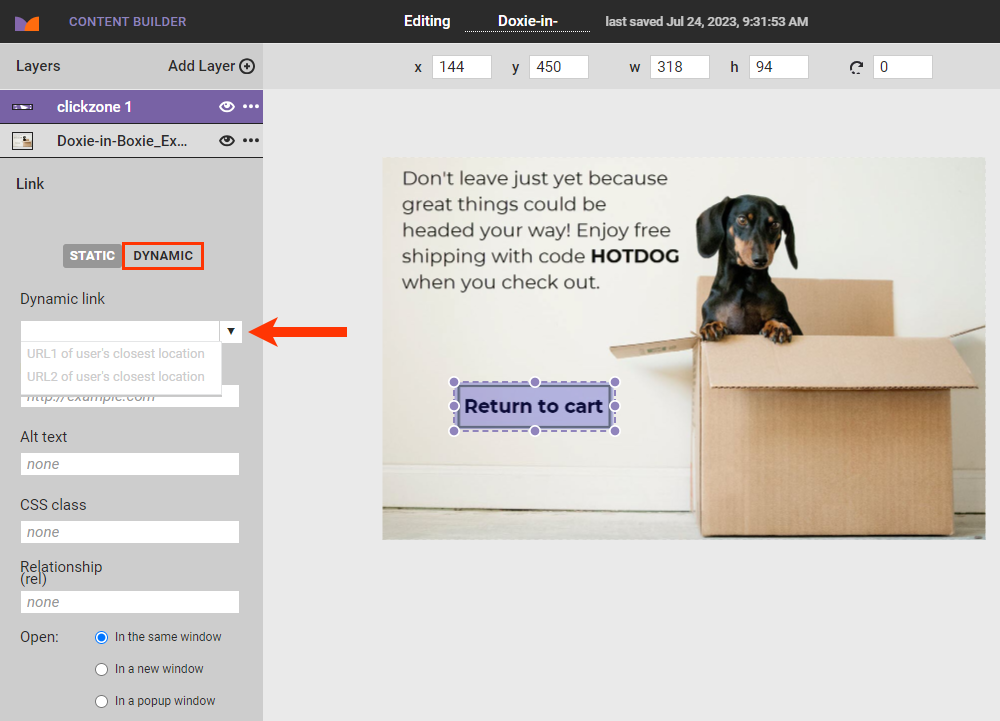
See Adding a Dynamic Click Zone in Use Location-Based Dynamic Text and Click Zones for more information.
Along with the options in the properties panel, you can click and drag the link layer anywhere on the canvas as well as resize it to fit your needs.
Saving and Closing
Ensure that you click SAVE after you finished creating or modifying a creative file in Content Builder.
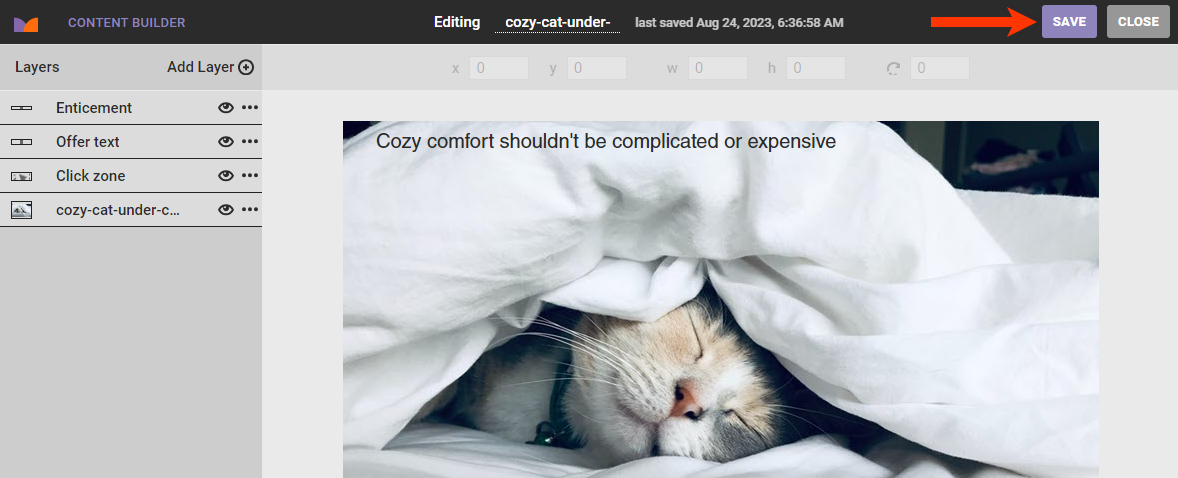
Anything you edit in Content Builder is saved in Content Manager. After you click SAVE, you can access the new content on the Images tab of Content Manager.
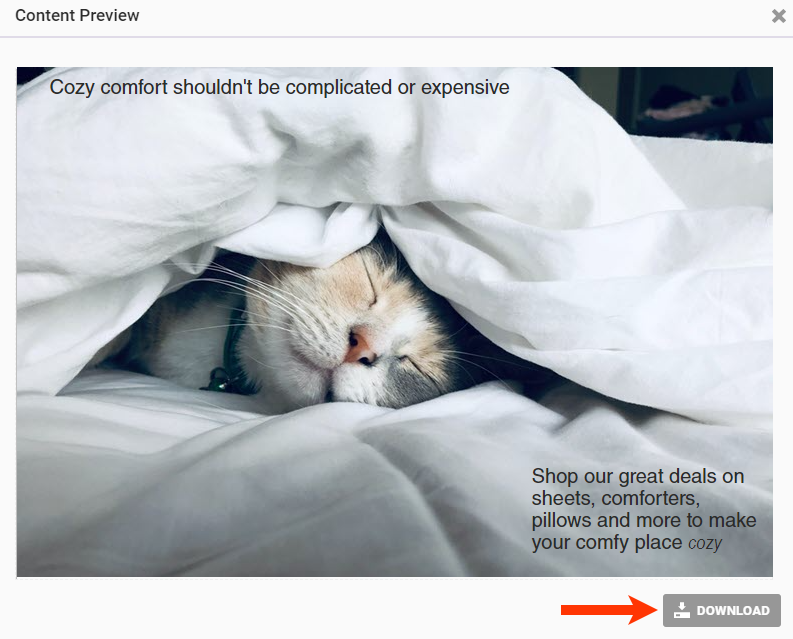
To download the file to your computer, first click PREVIEW.
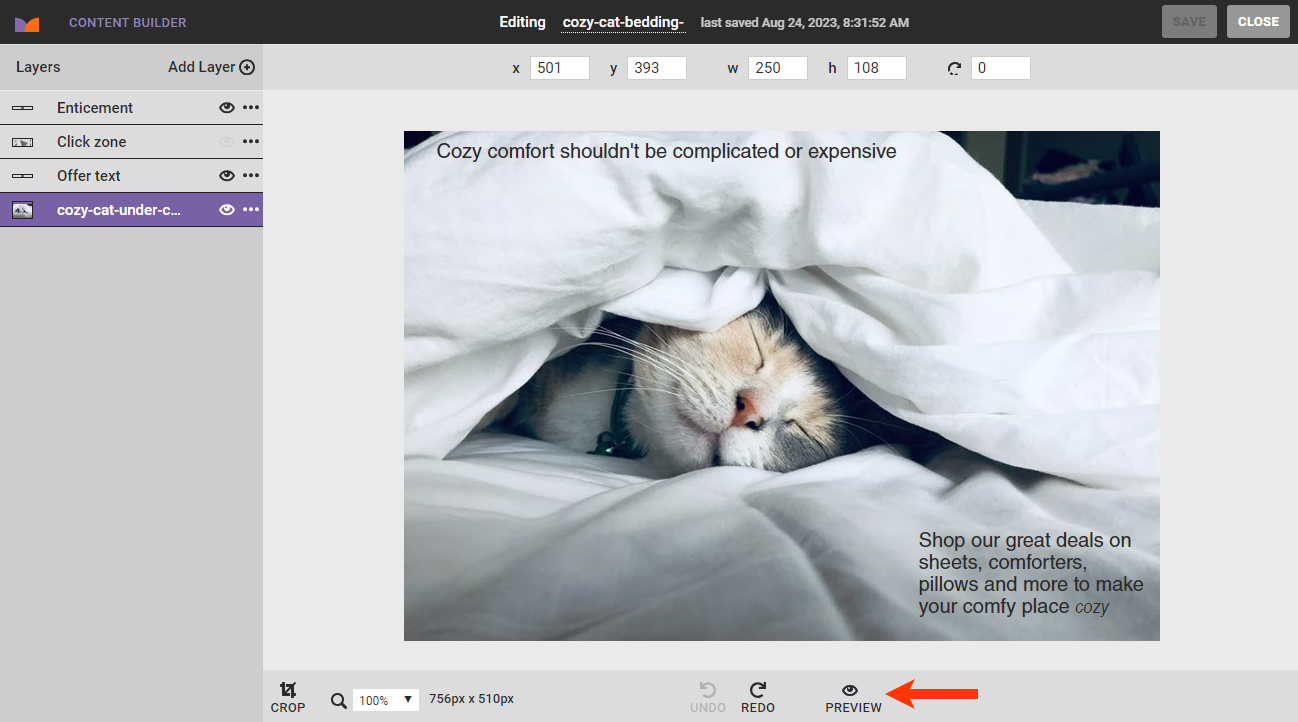
Next, click DOWNLOAD in the Content Preview modal.