Once you create a target in Target Builder, you cannot edit it. For assistance viewing the backend settings for a target, submit a support ticket using the Monetate Technical Support portal (support.monetate.com).
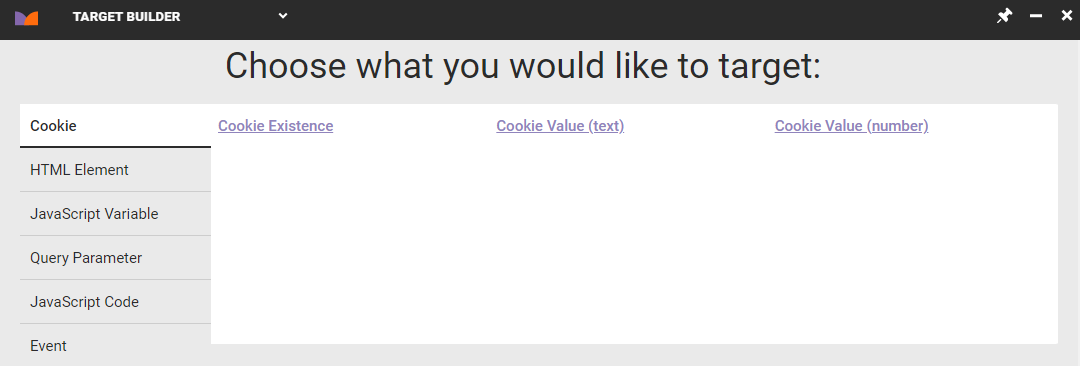
Based on a Cookie
Before you build a target based on a cookie on your site, you must understand a few potential limitations of working with cookies.
The cookie you use for the target must have a domain attribute set to something other than the default hostOnly value. When the hostOnly value is in place, only servers within the your company's domain can request and read the cookie value. So long as the hostOnly value remains, the cookie target you build cannot function since cookie target evaluations are made by monetate.net servers.
To ensure the cookie target you build works correctly, you must ensure the script writing the cookie sets the domain attribute to remove the hostOnly flag so that monetate.net servers can evaluate the cookie for targeting purposes.
Furthermore, Monetate cannot read cookies set with httpOnly permission. This permission type only allows requests from the server that wrote the cookie, which then blocks the platform's target evaluation requests originating from monetate.net.
This permission is set with the domain and httpOnly parameters when the cookie is created.
Follow these steps to create a custom target based on a cookie.
- Click COMPONENTS in the top navigation bar and then select Targets.
- Click CREATE TARGET to launch Target Builder.
- Click one of the target options on the Cookietab:
- Cookie Existence: Create a target based on the presence of a specific cookie. For example, you can target based on the presence of a cookie that signifies when a user is logged in.
- Cookie Value (number): Create a target based on when a cookie value is greater than, less than, or equal to a certain numeric value. For example, you can target when the cookie for rewards points is greater than or equal to 500 so that you can offer that visitor a coupon.
- Cookie Value (text): Create a target based on when a cookie contains a certain text value. For example, you can target based on a user-level cookie when the cookie value equals
platinum.
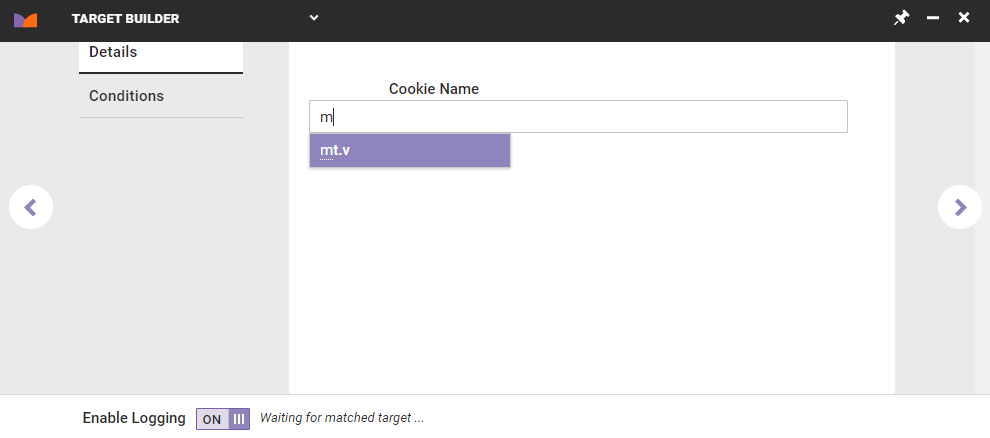
- On the Details tab, begin typing into Cookie Name the name of the cookie you want to use, and then select one of the suggested cookies that is present on your site.
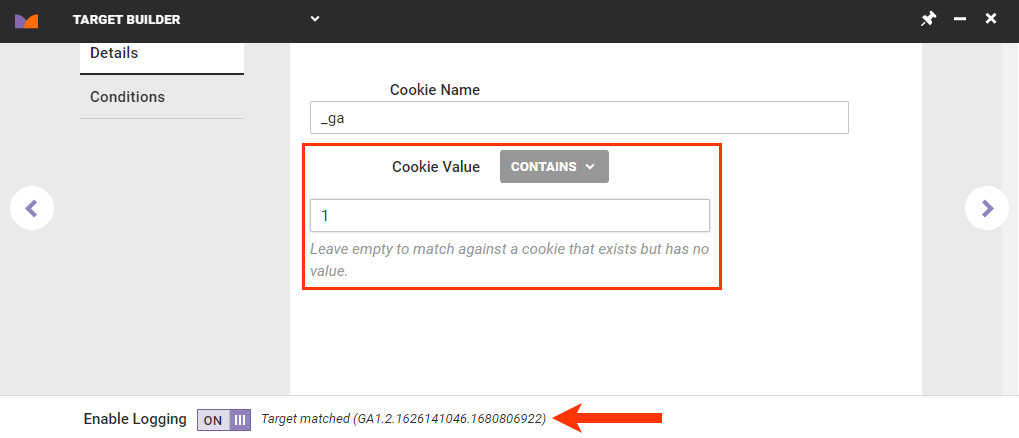
- If you selected Cookie Value (text) or Cookie Value (number) in step 3, then select an operator from Cookie Value, and then type the appropriate text or number to complete the value. If you input the value correctly, the preview bar at the bottom of Target Builder displays Target matched to the right of Enable Logging.
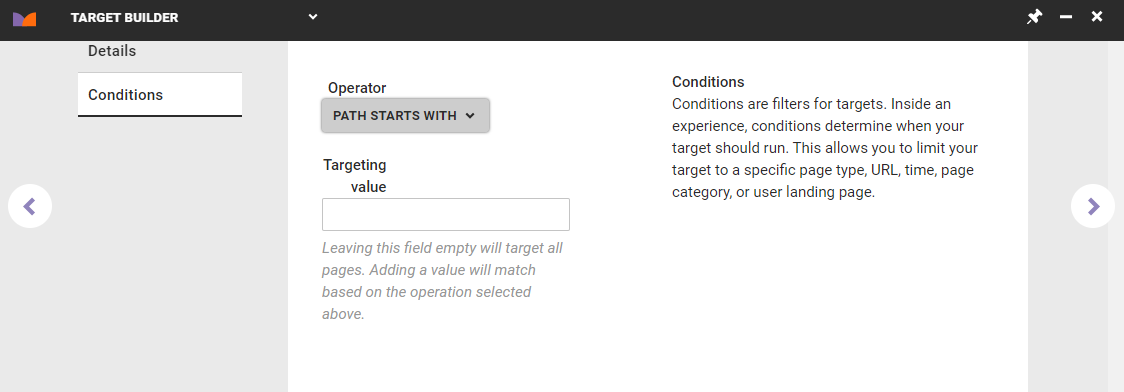
- If necessary, click Conditions to add URL-based conditions to the target if you only want it to work on certain pages.
- Give the target a title and description, and then enter a subcategory, if necessary. Click CREATE & EXIT.

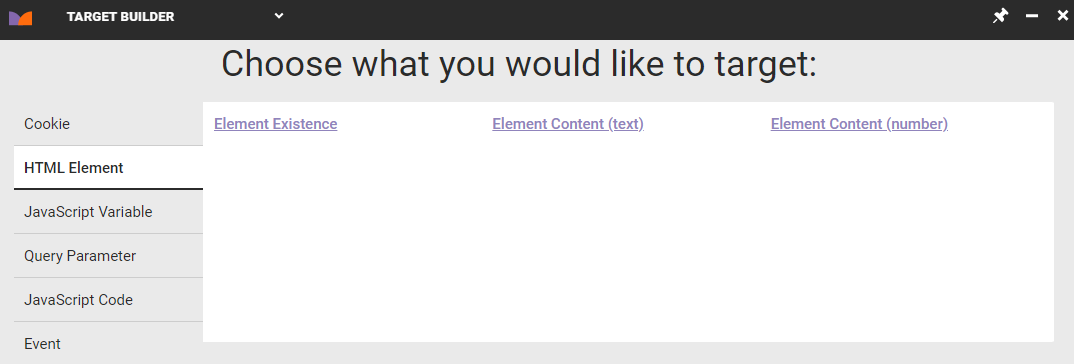
Based on an HTML Element
Follow these steps to create a custom target based on an HTML element.
- Click COMPONENTS in the top navigation bar and then select Targets.
- Click CREATE TARGET to launch Target Builder.
- Click the HTML Element tab, and then select one of the target options:
- Element Existence: Create a target based on the presence of a specific HTML element. For example, you can target based on the presence of a shopping cart error message when a site visitor tries to checkout with nothing in the cart.
- Element Content (text): Create a target based on when an HTML element contains a certain text value. For example, you can target based on any HTML element that contains the word jacket.
- Element Content (number): Create a target based on when an HTML element value is greater than, less than, or equal to a certain numeric value. For example, you can target when the HTML element for price is greater than or equal to a certain amount.
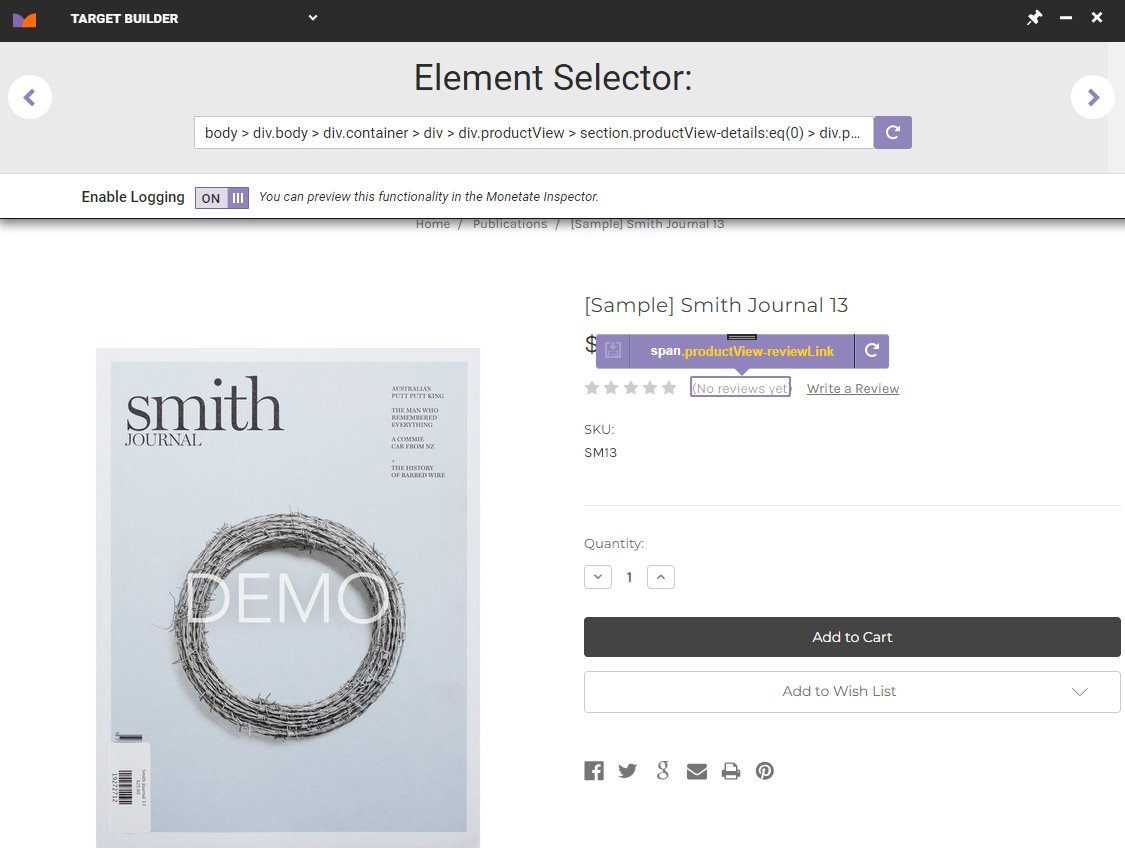
- Use the element selector to highlight and then select a DOM element on your site, and then click the forward arrow.
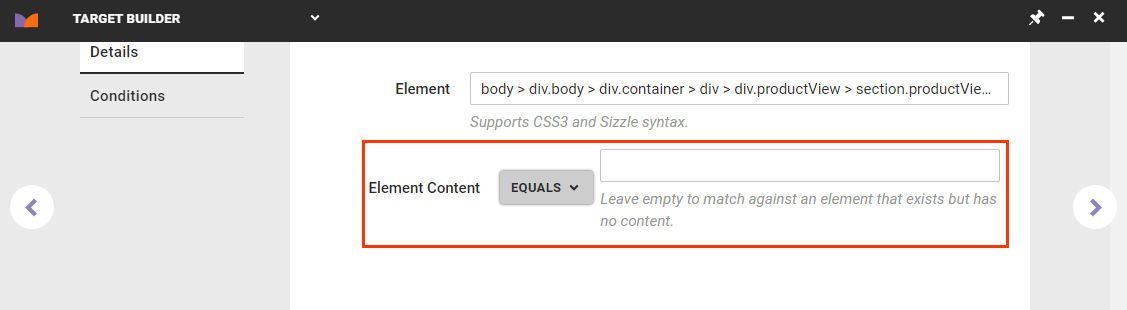
- If you selected Element Content (text) or Element Content (number) in step 3, then select an operator from Element Content, and then type the appropriate text or number to complete the value. Leave the text field empty to match against an HTML element that exists but has no content.
- If necessary, click Conditions to add URL-based conditions to the target if you only want it to work on a specific page type, URL, page category, or landing page or at a specific time. See Adding Conditions in this documentation for more information about condition options.
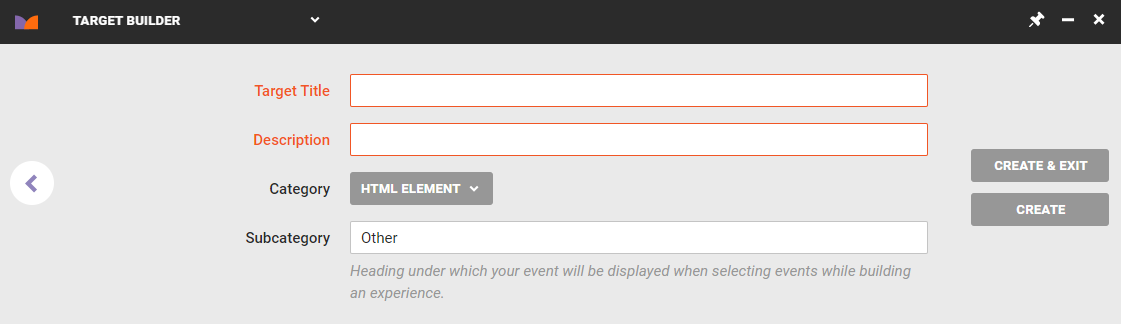
- Give the target a title and description, and then enter a subcategory, if necessary. Click CREATE & EXIT.
Based on a JavaScript Variable
Though JavaScript variables are mostly site-specific, you can create specific targets supplied by a browser.
Here are a few use cases for in-browser JavaScript targets:
navigator.userAgent— Target in-store kiosks or browsers not available in the WHO settings via the user agent string, such asMozilla/5.0 (Windows NT 10.0) AppleWebKit/537.36 (KHTML, like Gecko) Chrome/42.0.2311.135 Safari/537.36 Edge/12.10136document.referrer— Target users from a particular URL within your site, such as the cart page, such ashttp://example.com/cart/document.title— Target users who see a webpage with specific title text that appears in the browser
Follow these steps to create a custom target based on a JavaScript variable.
- Click COMPONENTS in the top navigation bar and then select Targets.
- Click CREATE TARGET to launch Target Builder.
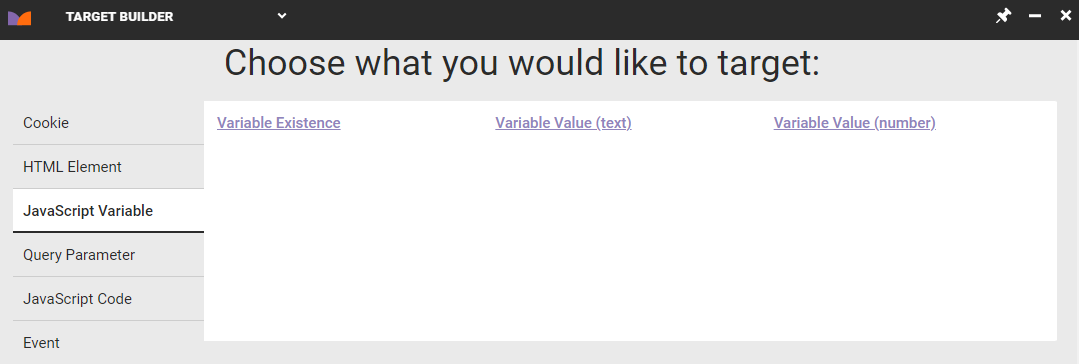
- Click the JavaScript Variable tab, and then select one of the target options:
- Variable Existence: Create a target based on the presence of a specific variable. For example, you can target based on the presence of a variable on your site that contains user history to determine if the site visitor has been to your site previously.
- Variable Value (text): Create a target based on when a variable contains a certain text value. For example, you can target based on a variable that contains information on previously purchased products that contain the text value
jacket. - Variable Value (number): Create a target based on when a variable value is greater than, less than, or equal to a certain numeric value. For example, you can target when a variable for an item's stock level is less than or equal to zero.
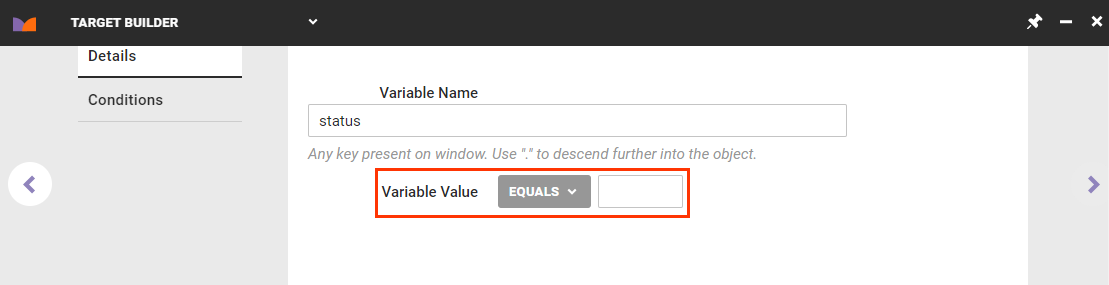
- On the Details tab, begin typing into Variable Name the name of the variable you want to use, and then select one of the suggested variables that is present on your site.

- If you selected Variable Value (text) or Variable Value (number) in step 3, then select an operator from Variable Value, and then type the appropriate text or number to complete the value.
- If necessary, click Conditions to add URL-based conditions to the target if you only want to limit the target to a specific page type, URL, page category, or landing page or to a specific time.
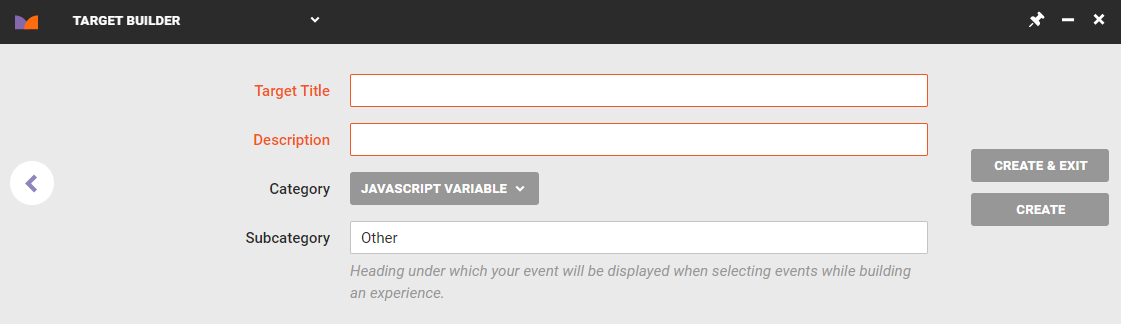
- Give the target a title and description, and then enter a subcategory, if necessary. Click CREATE & EXIT.
Based on a Query Parameter
An experience based on a query parameter target is triggered only when the parameter is present in the URL. For example, if a customer arrives on your site with the query parameter present but then navigates to another page of the site, the experience may not fire. If you want the experience to persist for an entire session, use instead the Initial URL query string option in the Landing target type category.
Follow these steps to create a custom target based on a query parameter.
- Click COMPONENTS in the top navigation bar and then select Targets.
- Click CREATE TARGET to launch Target Builder.
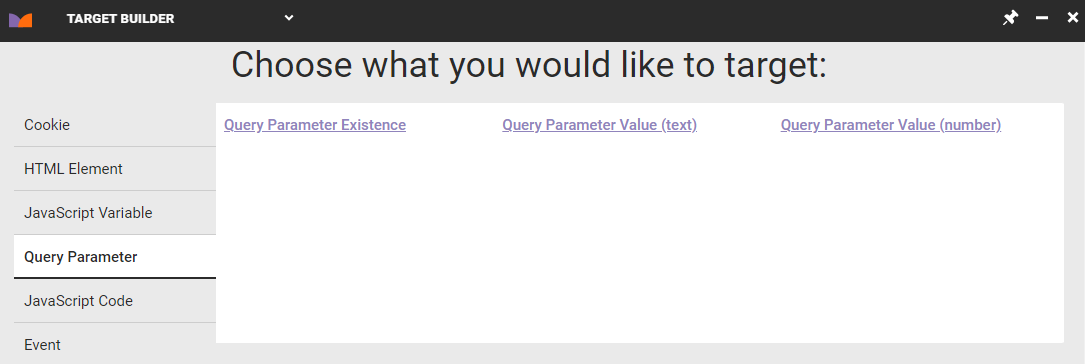
- Click the Query Parameter tab, and then select one of the target options:
- Query Parameter Existence: Create a target based on the presence of a specific query parameter. For example, you can target based on the existence of a query parameter from an email click-through that targets all users who arrived on your site from a link in an email.
- Query Parameter Value (text): Create a target based on when a query parameter contains a certain text value. For example, you can target all users who arrive on your site from its Facebook page based on the
sourcequery parameter name with the value that equalsFacebook. - Query Parameter Value (number): Create a target based on when a query parameter value is greater than, less than, or equal to a certain numeric value. For example, you can target the query parameter
membership_levelwith a value greater than1and thus target all users who have a paid membership level, when level 1 signifies a free membership.
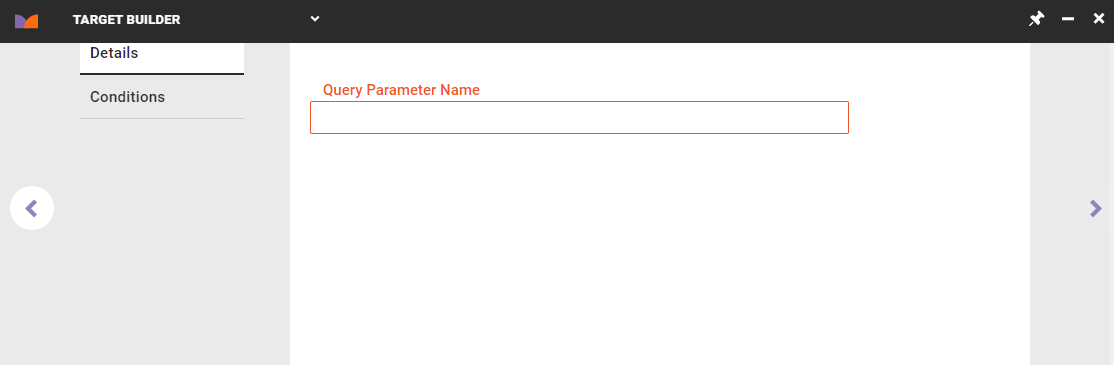
- On the Details tab, type the parameter name into Query Parameter Name.
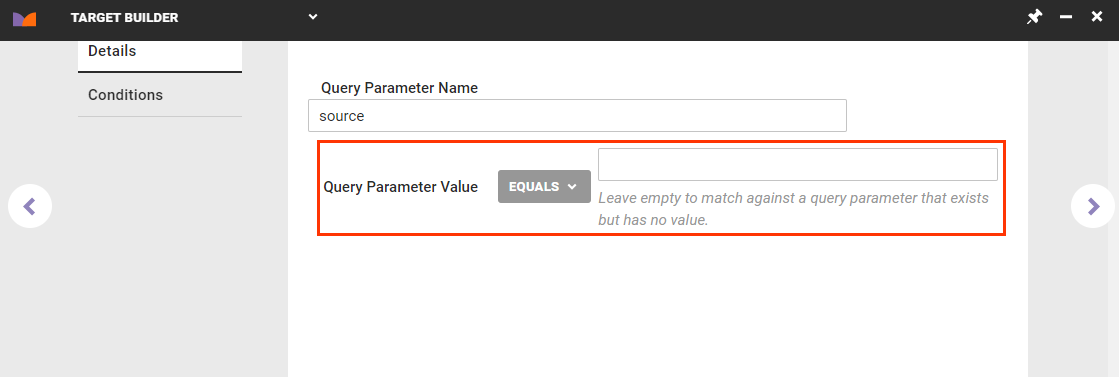
- If you selected Query Parameter Value (text) or Query Parameter Value (number) in step 3, then select an operator from Query Parameter Value, and then type the appropriate text or number to complete the value.
- If necessary, click Conditions to add URL-based conditions to the target if you only want to limit the target to a specific page type, URL, page category, or landing page or to a specific time. See Adding Conditions in this documentation for more information about condition options.
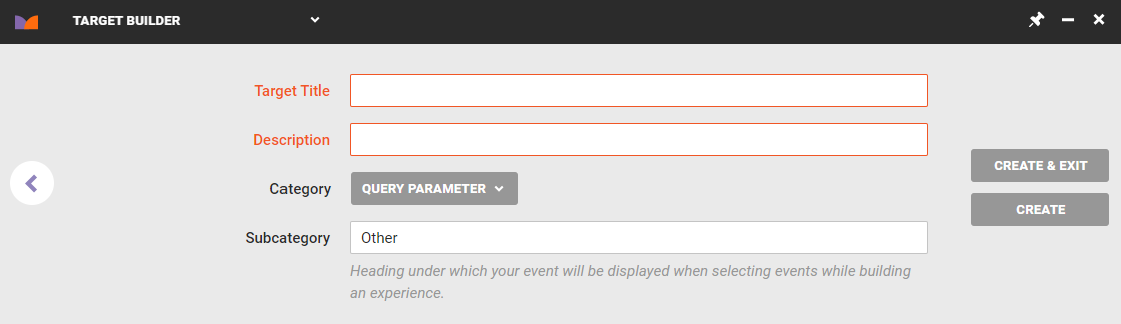
- Give the target a title and description, and then enter a subcategory, if necessary. Click CREATE & EXIT.
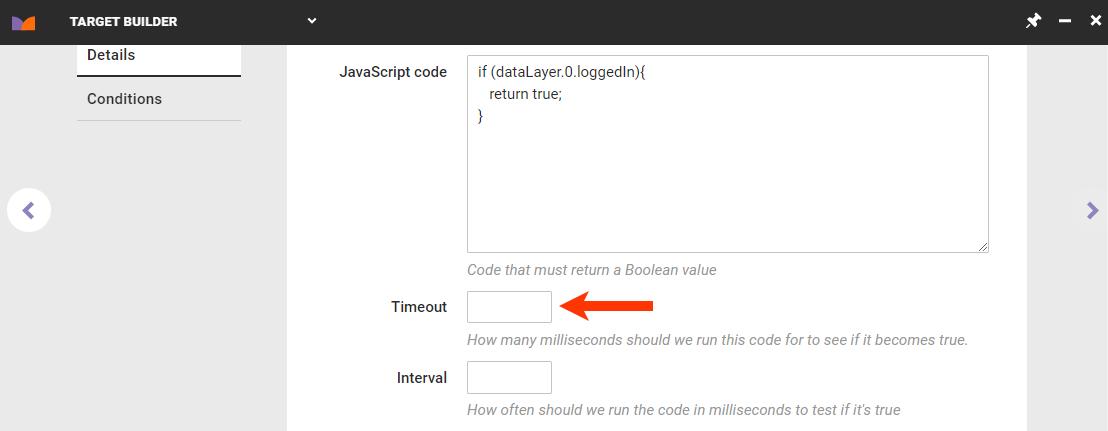
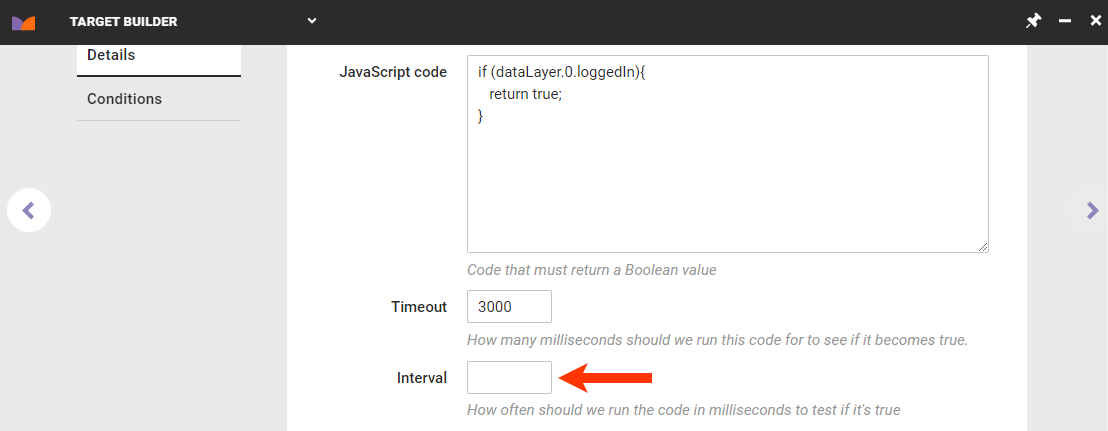
Based on JavaScript Code
A target you build with this option runs the specified JavaScript code that you enter, and then if the code returns a truthy value, it counts the target as having matched. The code you supply must therefore include return variable; or some other instruction to return the value.
Follow these steps to create a custom target based on JavaScript code.
- Click COMPONENTS in the top navigation bar and then select Targets.
- Click CREATE TARGET to launch Target Builder.
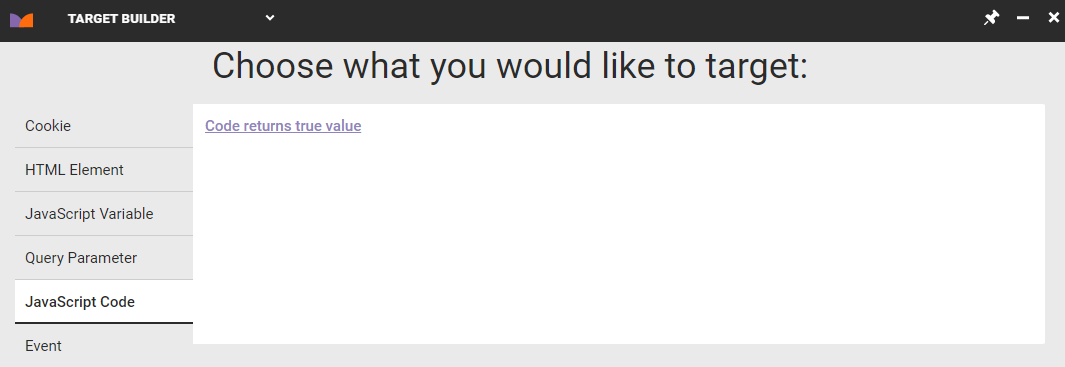
- Click the JavaScript Code tab, and then click Code returns true value.
- Input into JavaScript code the code that you want the target to run in search of a truthy value.
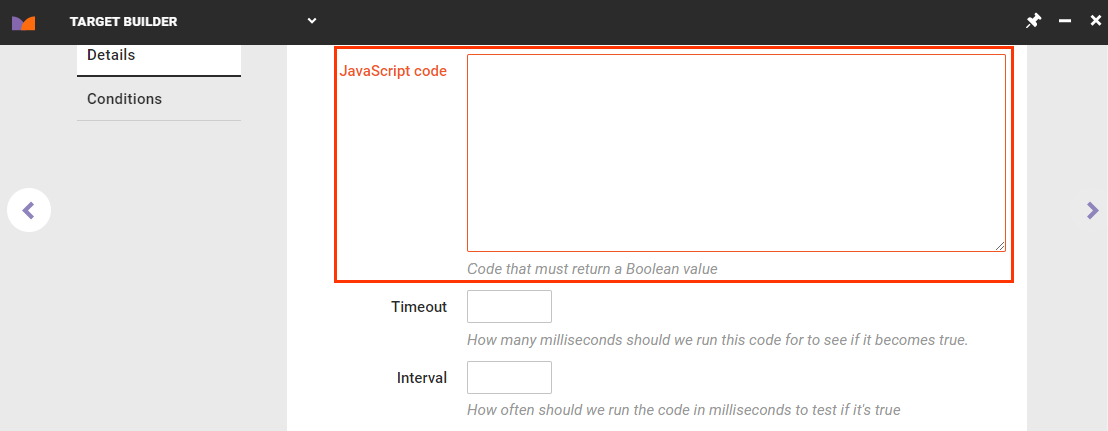
- Input into Timeout the total time in milliseconds you want the JavaScript code to spend trying to obtain a returned value if there's no immediate match.
- Input into Interval how long in milliseconds each attempt to obtain a returned value should be.
- If necessary, click Conditions to add URL-based conditions to the target if you only want it to work on a specific page type, URL, page category, or landing page or at a specific time. See Adding Conditions in this documentation for more information about condition options.
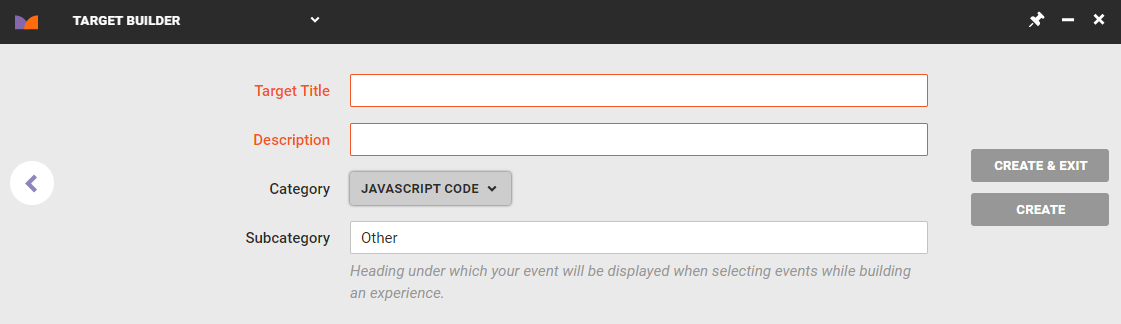
- Give the target a title and description, and then enter a subcategory, if necessary. Click CREATE & EXIT.
Adding Conditions
Conditions are used to specify the prerequisites for a user to be placed into a target group. You can use them as a further level of granularity to determine your target audience.
| Condition | Definition |
|---|---|
| Path starts with | Targets users on every page that has a path that starts with the specified value |
| Path ends with | Targets users on every page that has a path that ends with the specified value |
| Path regular expression | Targets users on every page that matches the path of the specified regular expression |
| URL exact match | Targets users only on a page that exactly matches the specified URL |
| URL regular expression | Targets users on every page that matches the specified regular expression |
| URL with query string regular expression | Targets users on every page that matches the query string of the specified regular expression |
Previewing a Target
Custom targets are cached on Monetate's server so that they load on a page fast enough for the platform to act on them. As a result, a custom target may not work for up to 20 minutes after you active an experience using it.