Third-party analytics reports allow you to send experience data to any platform that can collect data from a page. Monetate writes a JavaScript variable, campaigns, that contains the experience ID, name, and split information for any experience running on that page for that particular user.
You can send this data to analytics and data platforms such as SiteCatalyst, Mixpanel, Coremetrics, or any internal tools that your company has developed to track analytics.
Follow these steps to create a new custom third-party analytics report.
- Click the settings icon in the top navigation bar and then select Integration.
- On the Third-Party Analytics tab, take one of the following actions:
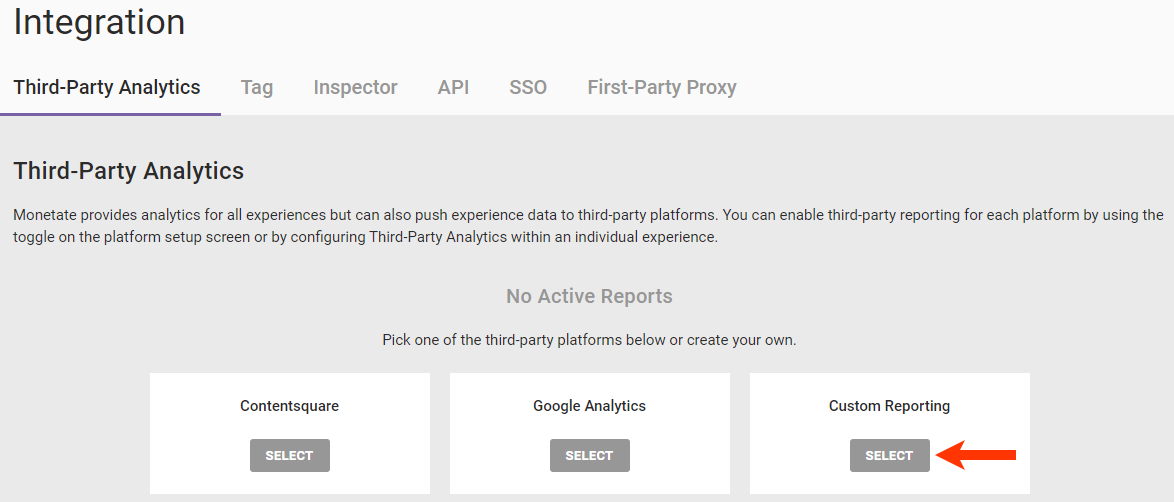
- If the account doesn't have any third-party analytics custom reports, then click SELECT for Custom Reporting.
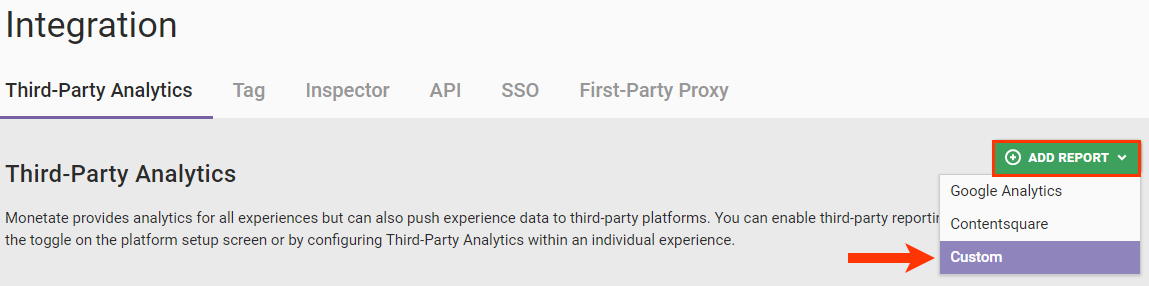
- If the account already has a third-party analytics report, then click ADD REPORT and then, if necessary, select Custom.
- If the account doesn't have any third-party analytics custom reports, then click SELECT for Custom Reporting.
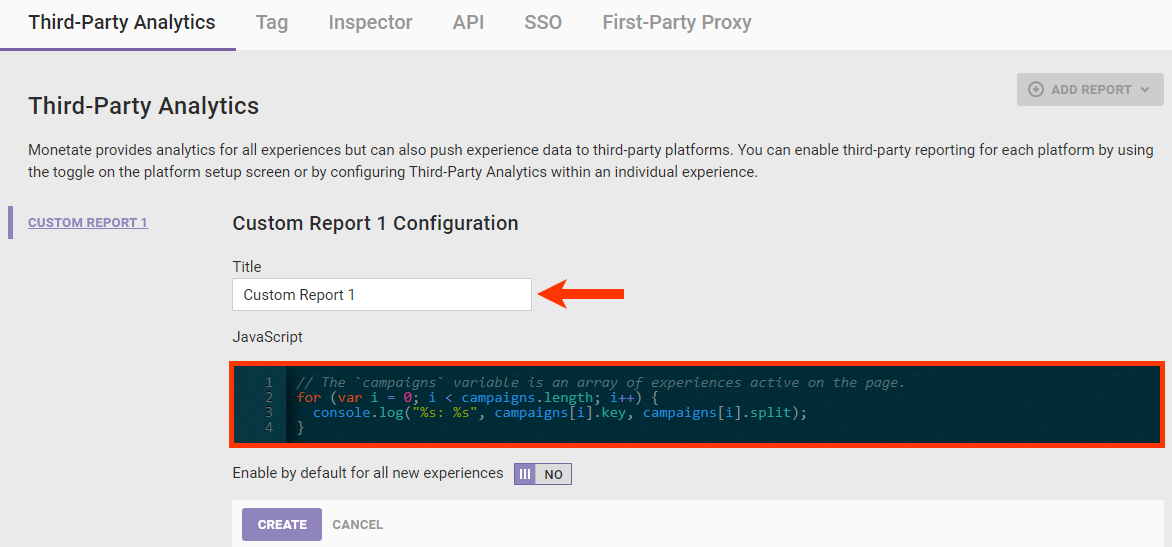
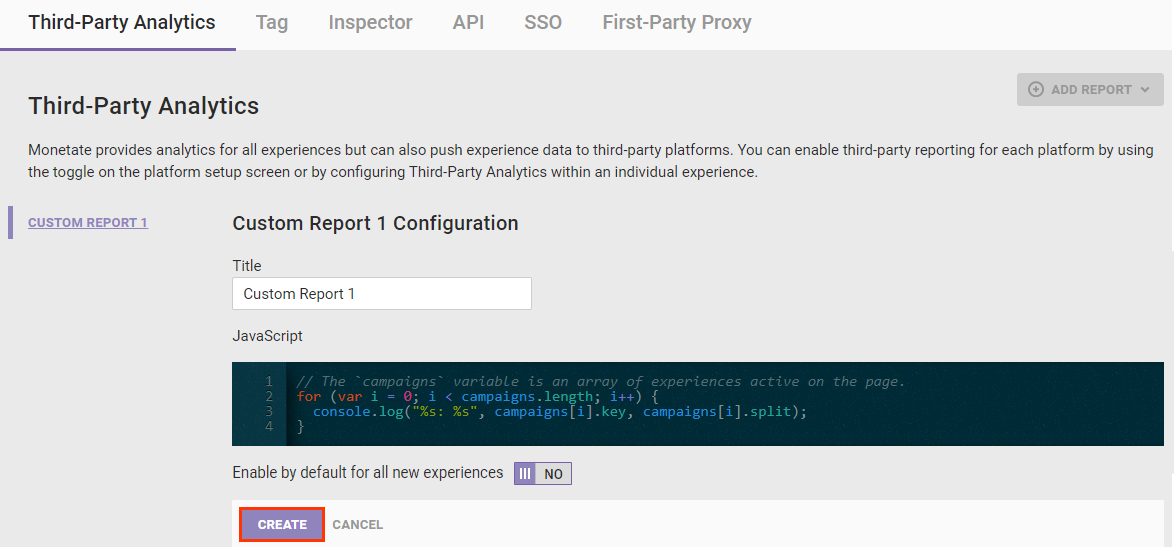
- Type the custom report's name into Title, and then input the platform-specific JavaScript into the console.
- Optionally, set Enable by default for all new experiences to YES if you want Monetate to push experience data for all new experiences to the third-party platform associated with the new report.
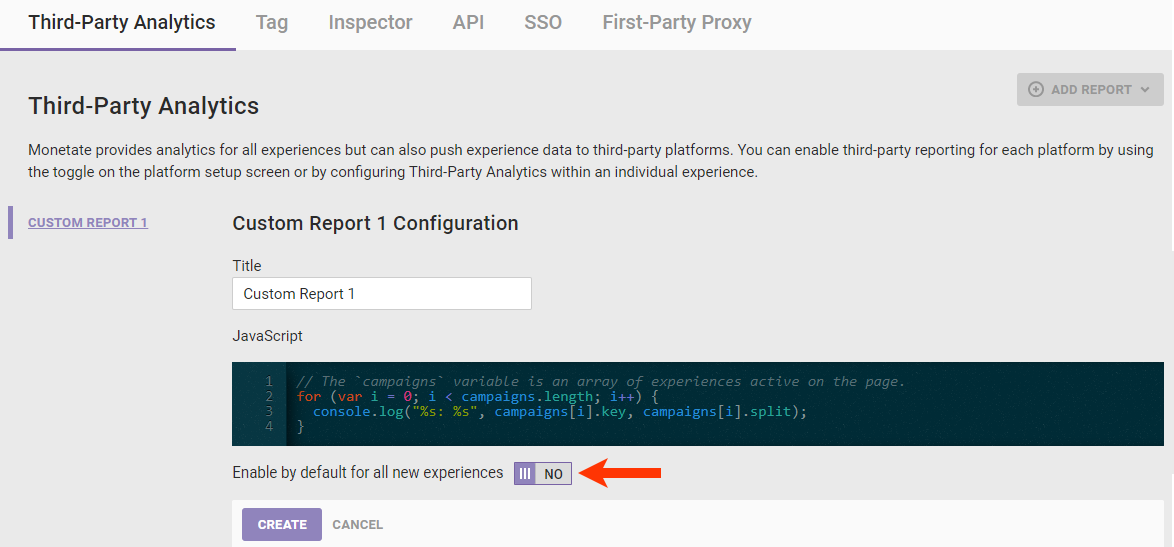
- Click CREATE.
The campaigns Variable
The JavaScript variable campaigns is an array of objects that contains information about the experiences running on that page. This variable allows you to send Monetate data to your analytics or data platform. The number of indices in campaigns is equal to the number of experiences.
Each index in the campaigns variable contains the following information:
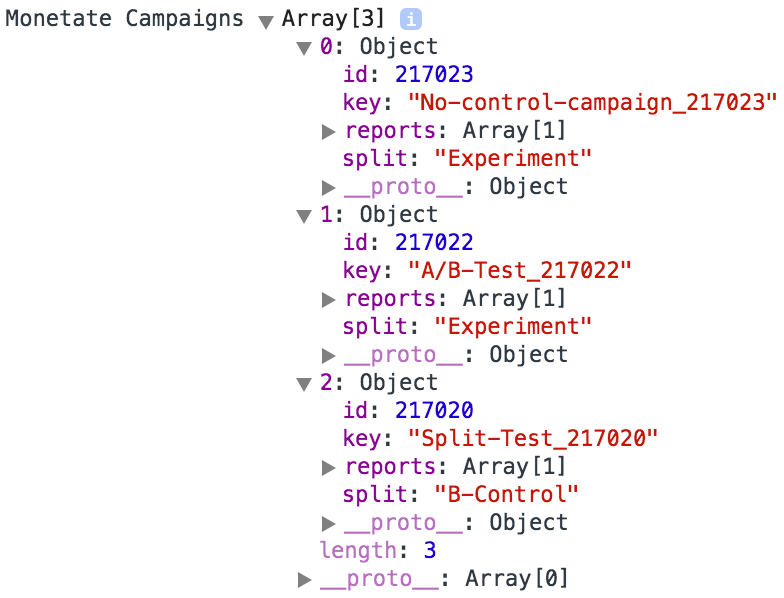
id— The unique ID of the experience (for example,217022)key— A shortened version of the experience name appended with the experience ID (for example,A/B-Test_217022)split— The split name (for example,ExperimentorA-control)
Here is an example of the data present in the campaigns variable for a visitor who was exposed to three different experiences on the page.
Example
This code sample is a typical method for sending experience information to Mixpanel.
// The 'campaigns' variable is an array of experiences active on the page.
for (var i = 0; i < campaigns.length; i++) {
mixpanel.track("Video played", {
"id": campaigns[i].id,
"key": campaigns[i].key,
"split": campaigns[i].split
});
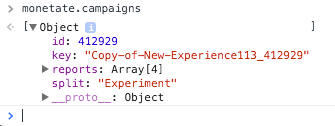
}The campaigns variable is an array of experiences active on the page. The following code snippet places that array in a variable available on the front end:
window.monetate = window.monetate || {};
window.monetate.campaigns = campaigns;
The following screenshot shows how to access the campaigns variable in your console.
Testing the Report
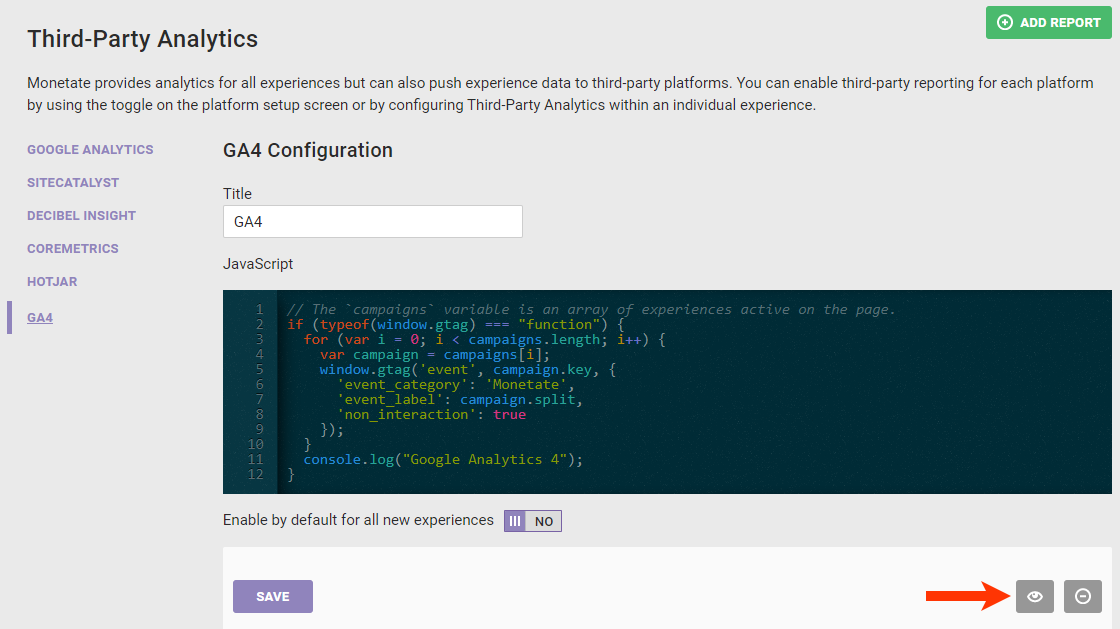
You can ensure the new report works from the report configuration page by adding the JavaScript console.log() method and a message to the code in the editor.
The following example is the minimal Google Analytics 4 with Google Tag code with the console.log() method added.
if (typeof(window.gtag) === "function") {
  for (var i = 0; i < campaigns.length; i++) {
    var campaign = campaigns[i];
    window.gtag('event', campaign.key, {
      'event_category': 'Monetate',
      'event_label': campaign.split,
      'non_interaction': true
    });
  }
  console.log("Google Analytics 4");
}
Follow these steps to test a new custom third-party analytics report.
- Add the
console.log()method and message to the report code.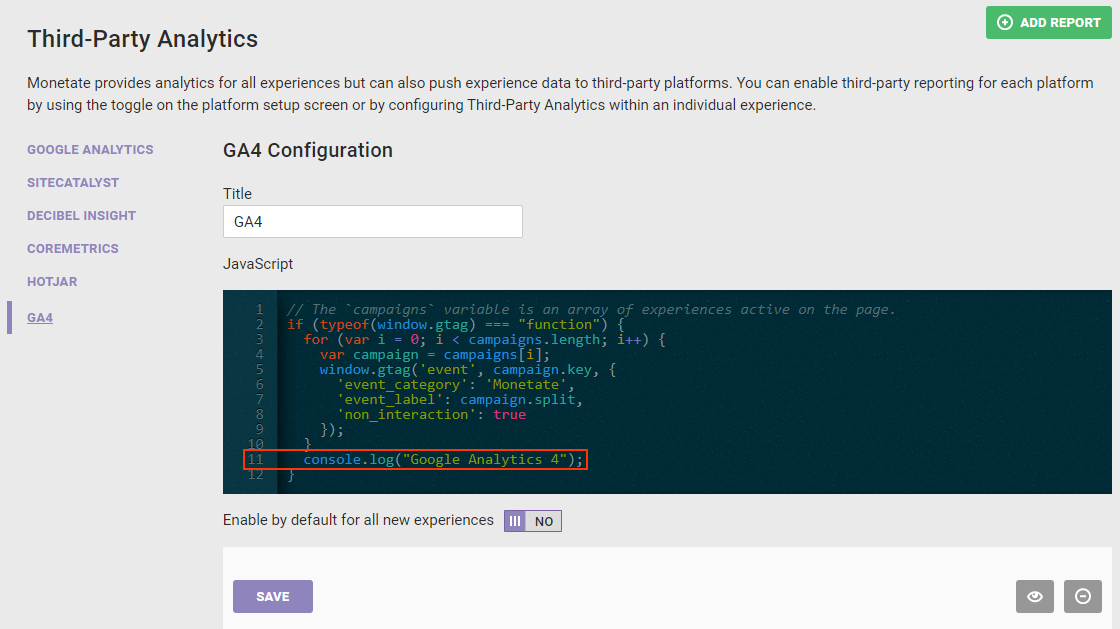
- Click the preview icon.
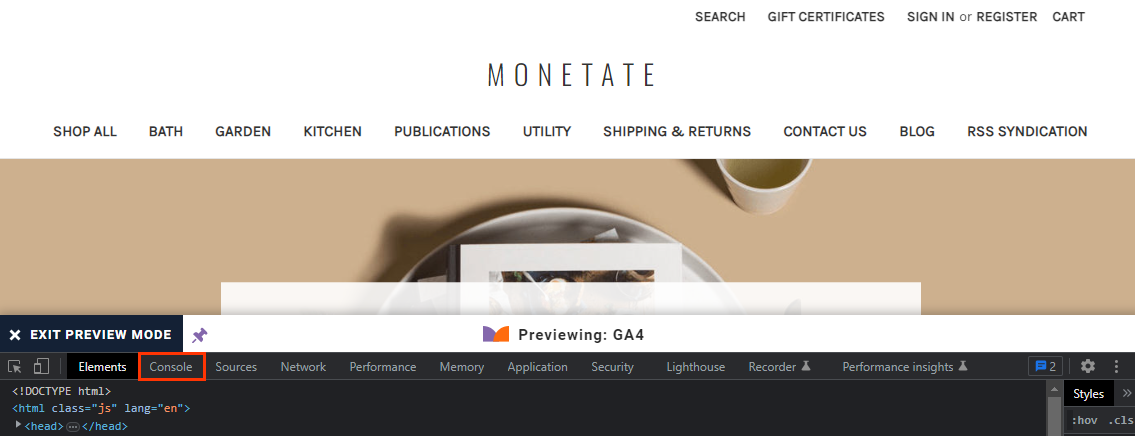
- While viewing the new browser tab or window in which your site loaded in Preview Mode, open your browser's developer tools and then switch to its console.
- Ensure the message that you used with the
console.log()method in the report code is present in the console.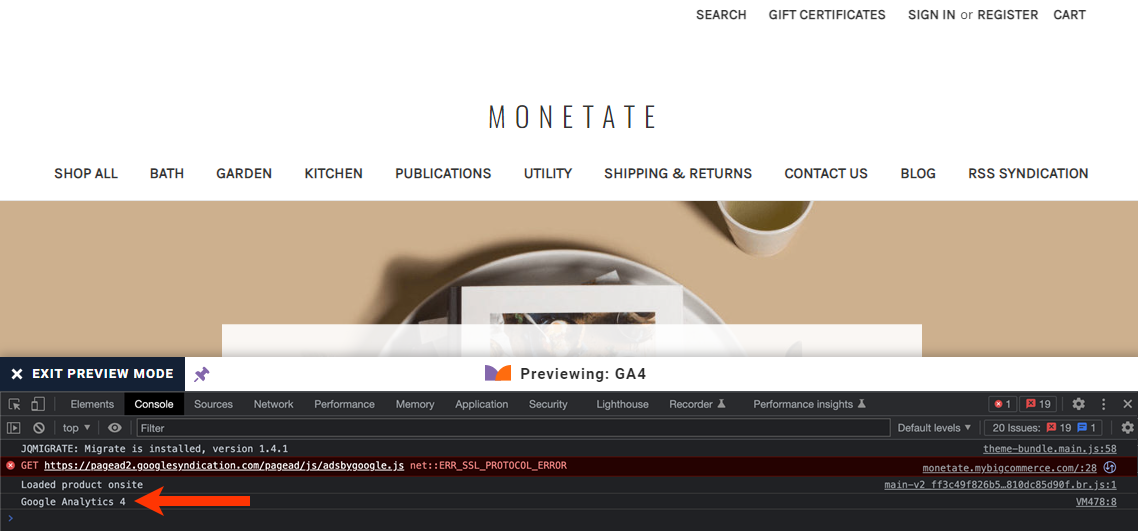
After you test the report, you can remove the console.log() method from the report code. You can also set Enable by default for all new experiences to YES for the new report if you opted not to do so when you first created the report.
If you opted to set Enable by default for all new experiences to YES when you created the custom report, you must also add the new report to each active Web experience that you want reported to your third-party analytics provider. See Enabling a Custom Report at the Experience Level for more information.
Enabling a Custom Report at the Experience Level
Follow these steps to enable a custom third-party report for an individual active Web experience.
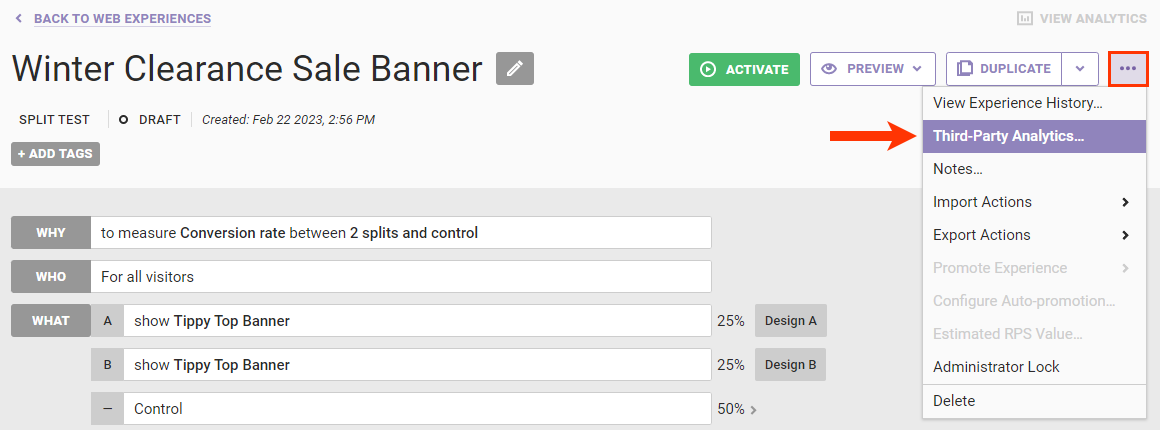
- Navigate to the experience that you want reported to your third-party analytics provider, and then open it in Experience Editor.
- Click the additional options menu (...) on the Experience Editor page, and then click Third-Party Analytics.
- Toggle the setting for the custom third-party report to YES.

- If you want to see a specific string for this experience in all third-party analytics platforms enabled for it, enter it into Report Label.
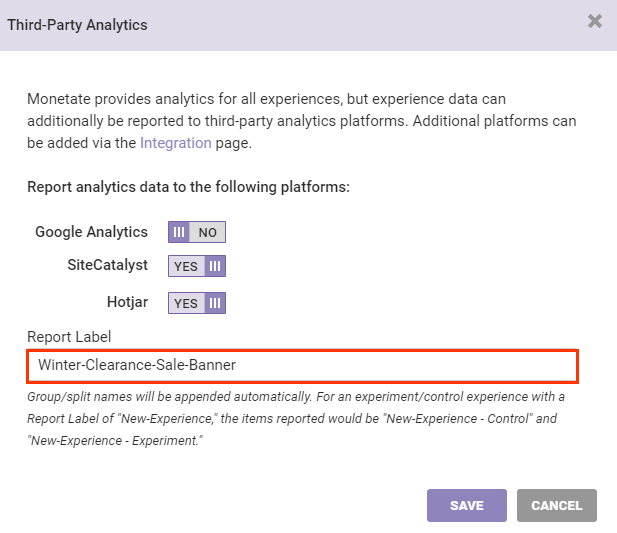
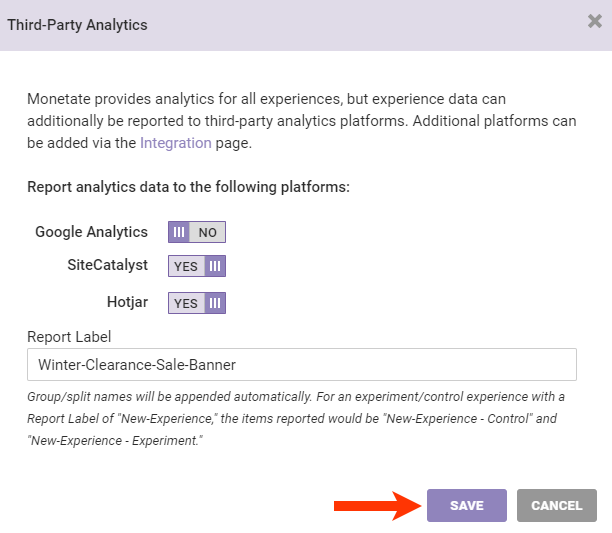
- Click SAVE.
You can view a table of experiences that Monetate is reporting to the custom report on its configuration screen of the Third-Party Analytics tab of the Integration page of the Monetate platform settings.
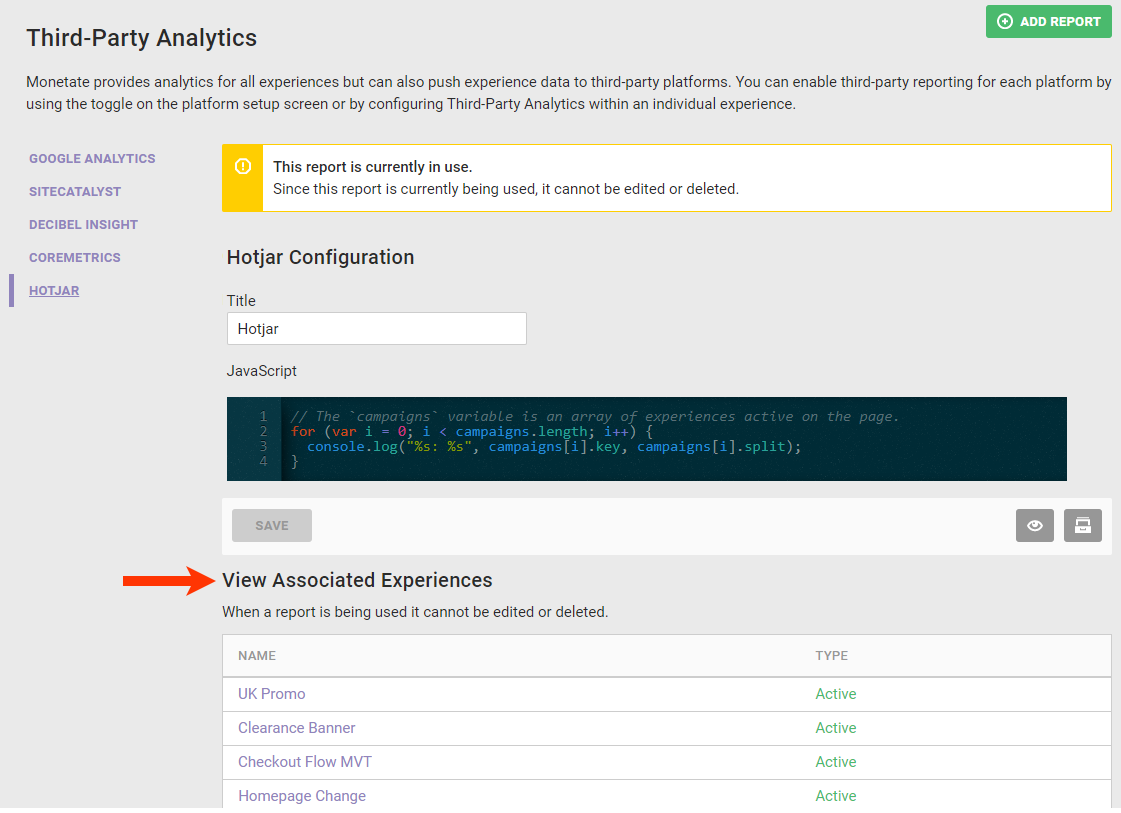
To disable reporting for a single experience, click its name in this table to open it in Experience Editor, then click the additional options menu (...), click Third-Party Analytics, and then toggle the entry for the custom report to NO in the Third-Party Analytics modal.