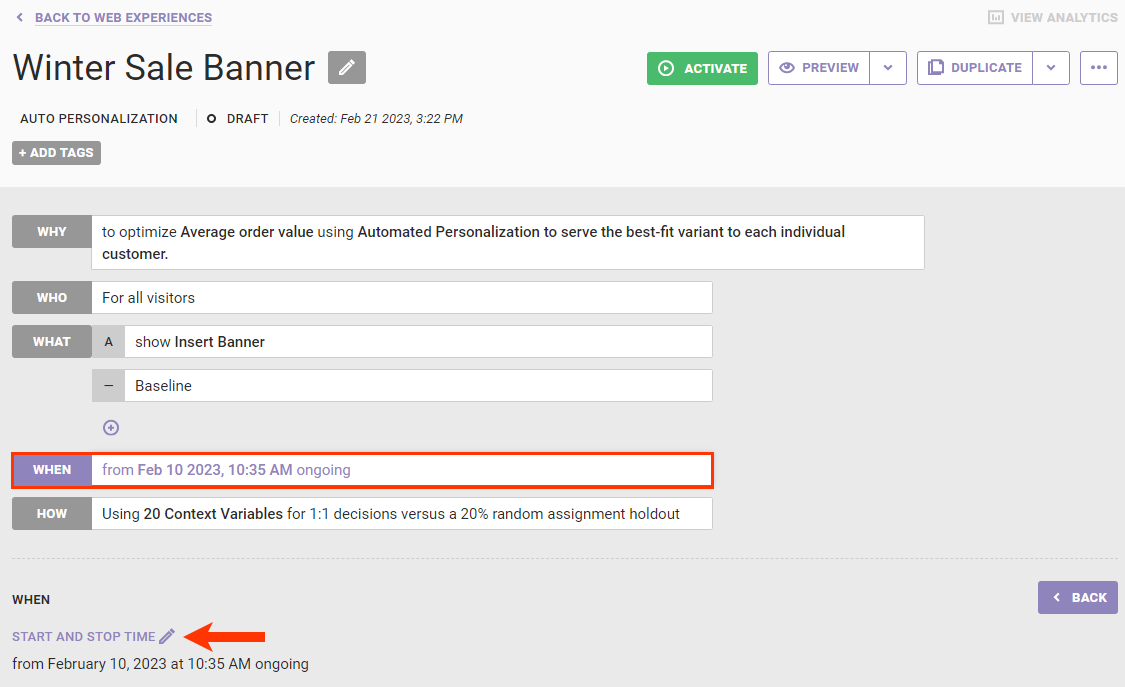
Experiences are the combination of data, content, and conditions that unify and personalize a customer's path across multiple channels. Simply put, they're all the stuff that makes your customers feel like your site was made just for them. All Monetate experiences use a sentence-based structure that consists of four parts: WHO, WHAT, WHEN, and WHY.
To configure the WHEN part of an experience, click WHEN and then click START AND STOP TIME.
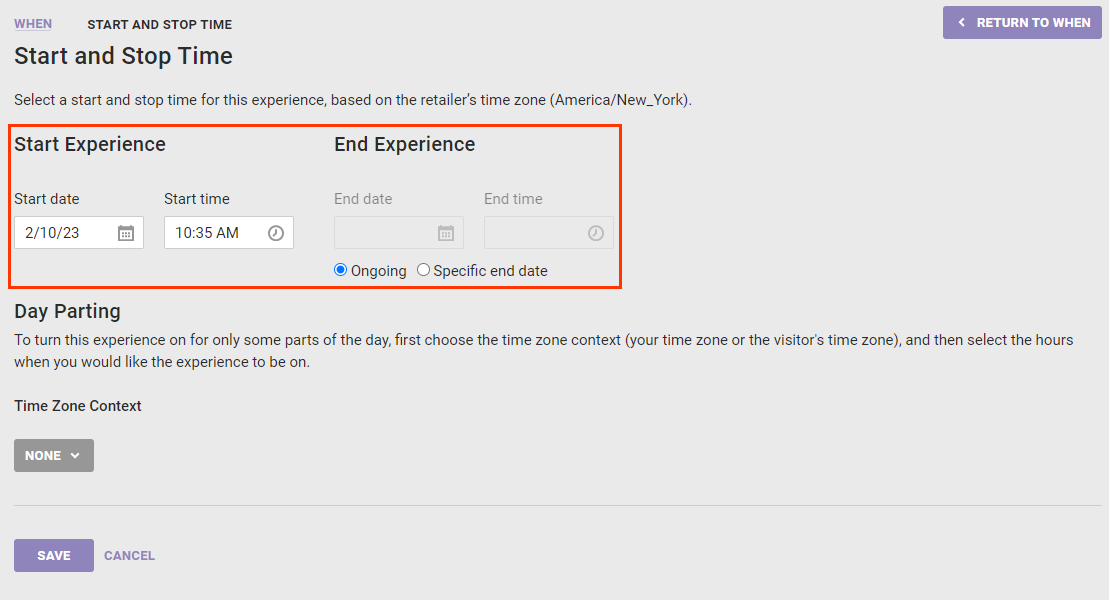
On the Start and Stop Time panel, you can set a start date and time and an end date and time for the experience if you don't want the experience to become active as soon as you click ACTIVATE.
You can use dayparting if you want the experience to show for only parts of each day of the week.
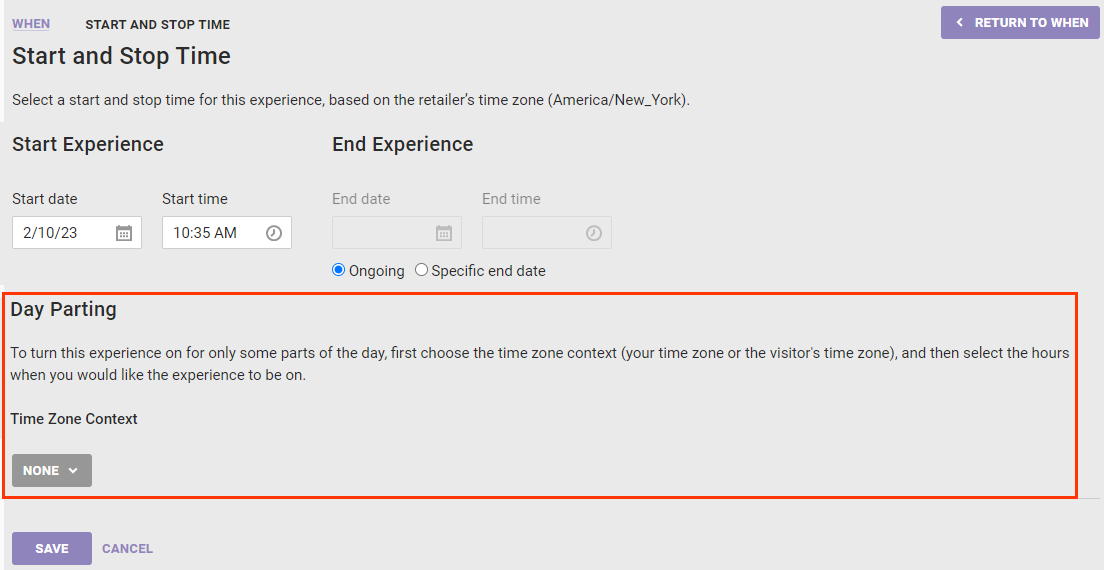
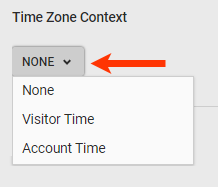
To use this setting, first select an option from Time Zone Context:
- Visitor Time — Sets times within the time zone of the customer who is exposed to the experience
- Account Time — Sets times within the retailer's time zone, which is configured in the Monetate platform
Once you select a time zone context, click the boxes for the hours in which you want the experience to display. When you click a box, it turns green to show that the experience will display during that time frame.
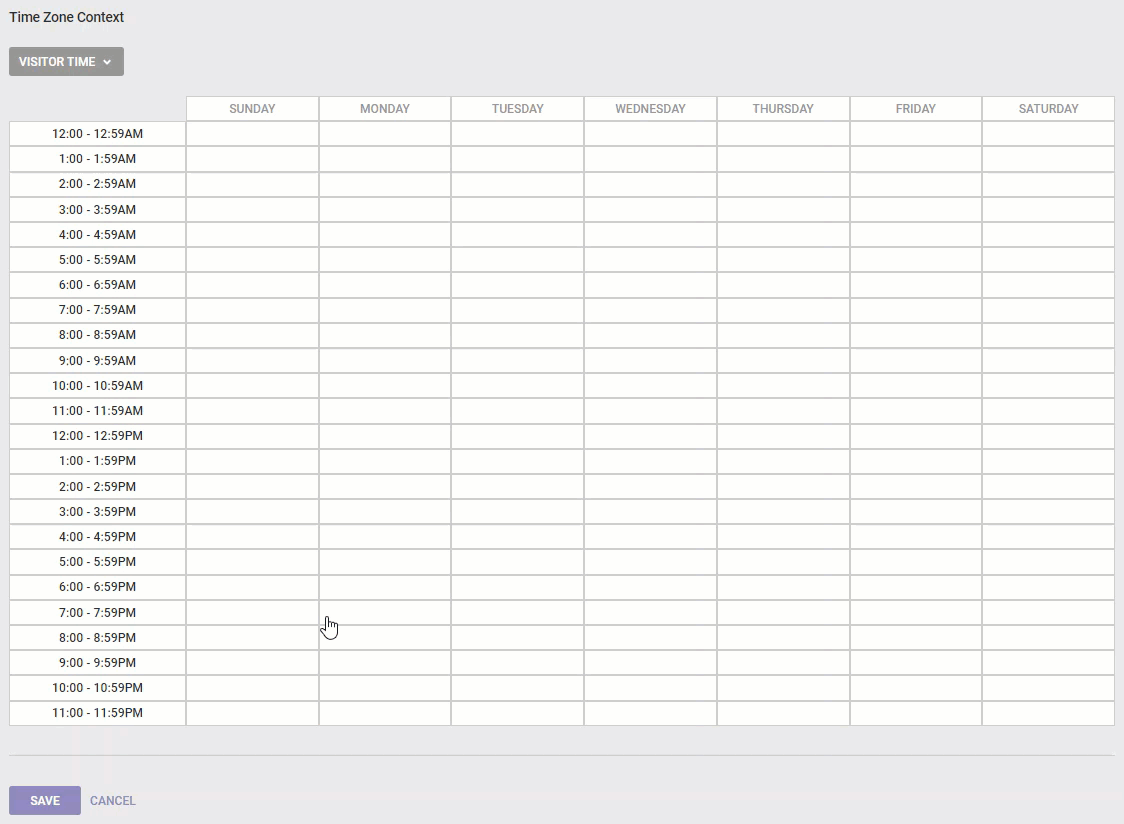
As shown in the animated demonstration, the days and times selected limit the experience to appear for an eligible customer to Monday through Friday between the hours of 9 AM and 5 PM within their time zone.
Click SAVE to exit the WHEN settings.
Once you finish creating the experience, you must click ACTIVATE. If you don't, it remains in the draft state and does not activate on the date and time you might have specified on the Start and Stop Time panel.
After you click ACTIVATE for an experience that has a start date and time, its status changes from DRAFT to SCHEDULED.

So long as you don't pause the experience or archive it before the start date and time arrive, the experience activates when you scheduled, and its status changes from SCHEDULED to ACTIVE.