Use an API event to track and analyze visitor behavior on your site beyond the typical interactions, impressions, and URL goals that you create using Event Builder. With an API event you can track any event that is relevant to your business with a single line of code that you can reuse across your site.
For example, you can create an API event to track visitor progress in a conversion funnel. If you have a multi-step form on your site, you can track how visitors interact with each step and trigger events after the completion of each step.
You can use an API event to learn how users interact with a video on your site, and then compare results between experiment and control groups.
An API event can track page interactions on AJAX sites when the page doesn't refresh. For example, you can learn what percentage of visitors use coupons at checkout if an event is triggered after a customer successfully applies a coupon.
Creating an API Event
Follow these steps to create an API event.
- Click Components in the left-hand navigation, and then select Events.

- Click CREATE EVENT.

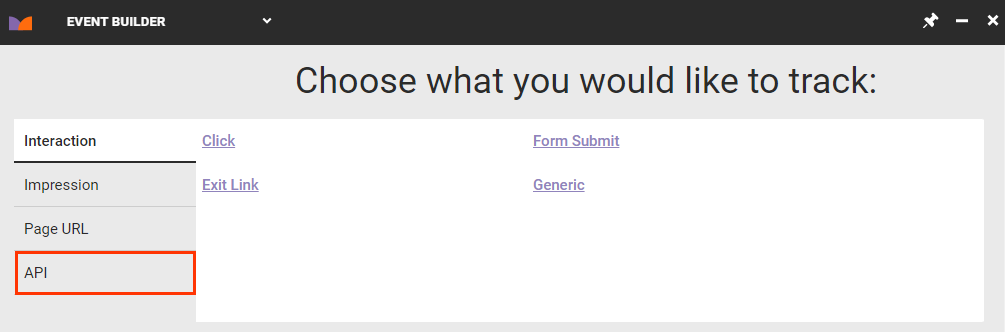
- Click the API tab.
-
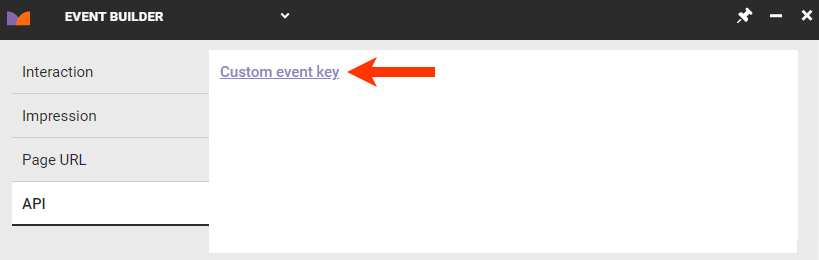
Click Custom event key.
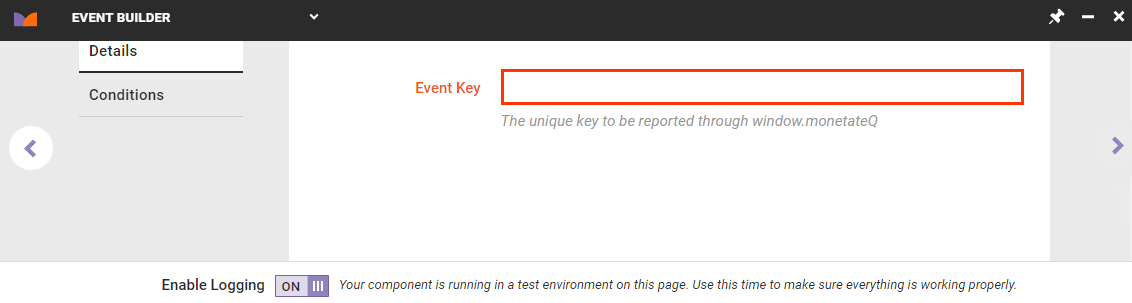
- Enter into Event Key the unique alphanumeric string that your site sends to Monetate for the event tracked, and then click the forward arrow.
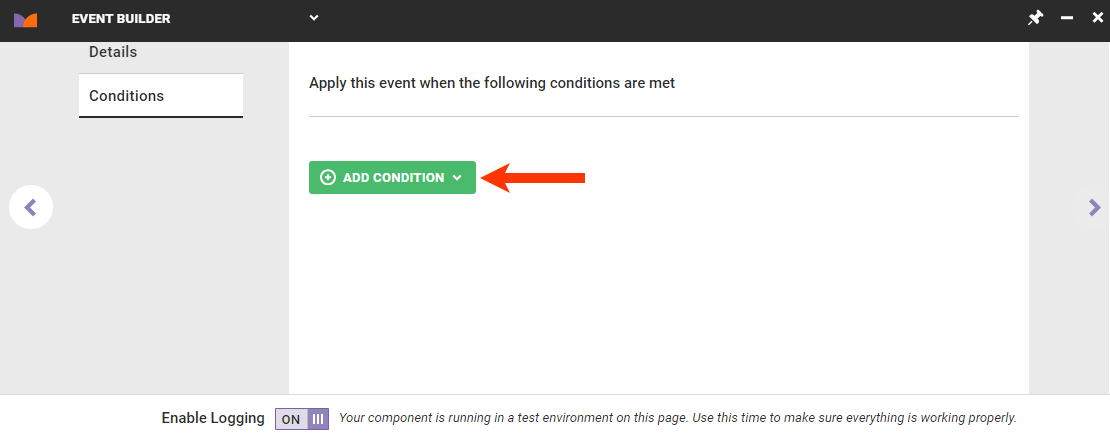
- Optionally, click the Conditions tab, click ADD CONDITION, select a category and then an option within that category, and then complete the configuration of the condition you selected so that the event only applies when that condition is met. Repeat as necessary, and then click the forward arrow.
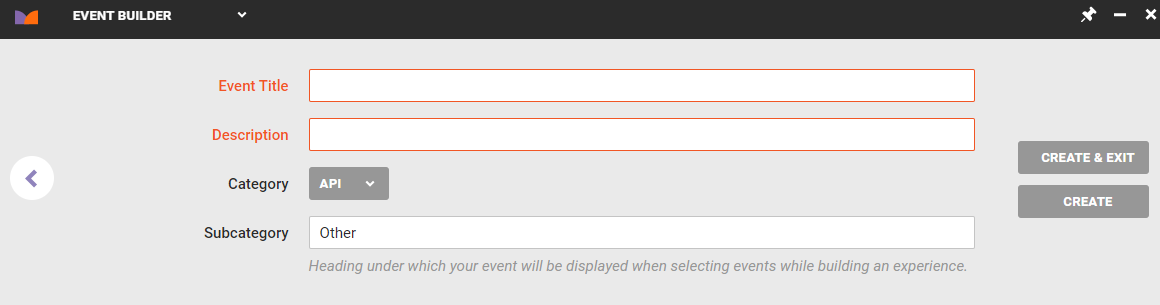
- Type a title and description for the event into their respective fields, and then click CREATE & EXIT.
Creating the API event is only part of the process. You must ensure your site's code include the correct method calls to trigger and track the event.
Triggering an API Event
These code snippets explain how to trigger the API event if you've implemented the Monetate JavaScript API.
// Initialize the monetateQ object. If the monetateQ object is
// already present on the page, you don't have to do this again.

window.monetateQ = window.monetateQ || [];

// Send the event key when the event occurs
//"Event Key" is the name of the key that you want to send.

window.monetateQ.push(["trackEvent",["Event Key"]]);
A typical call to track an API event may appear as follows.
window.monetateQ = window.monetateQ || [];
window.monetateQ.push([
    "trackEvent",
    ["reached_platinum"]
]);
These calls can be from anywhere in your site's code to signify when a custom event has occurred.