Configure Experience Metrics

Follow these steps to configure the WHY settings, including the metrics tracked, of a Web experience.

Dynamic Testing and Automated Personalization experiences optimize toward the goal metric you select, so ensure that you put some thought into your selection. See Default Metrics for more information about system metrics and the metrics reported by default on the Experience Results page.

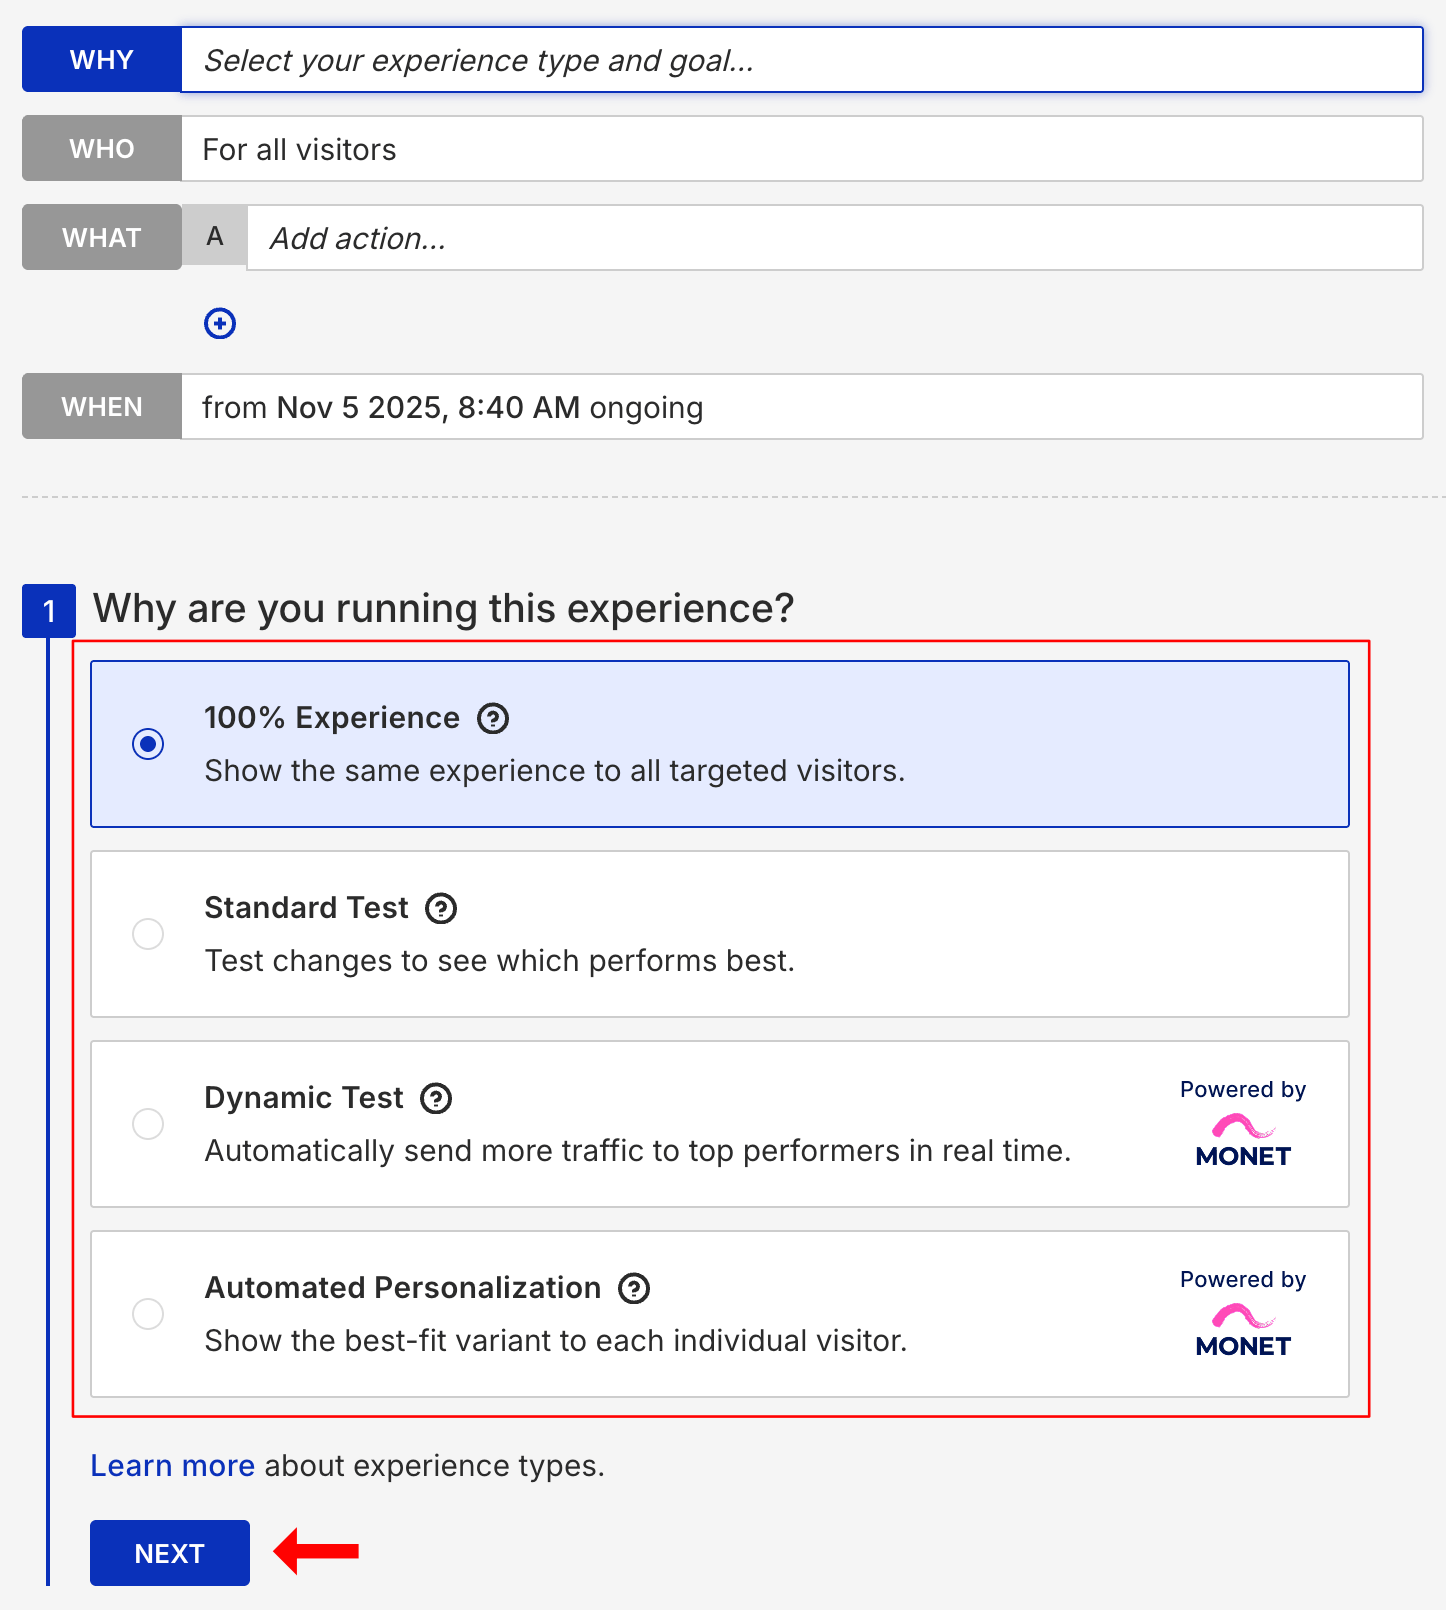
  1. After you create and name a Web experience, click WHY, select the type of experience that you want to configure, and then click NEXT.
    • Dynamic Testing and Automated Personalization experiences use machine learning to intelligently assign qualifying visitors
    • 100% Experiences and Standard Test experiences are fixed-assignment experiences

    Callout of the experience type options in the WHY settings and of the NEXT button

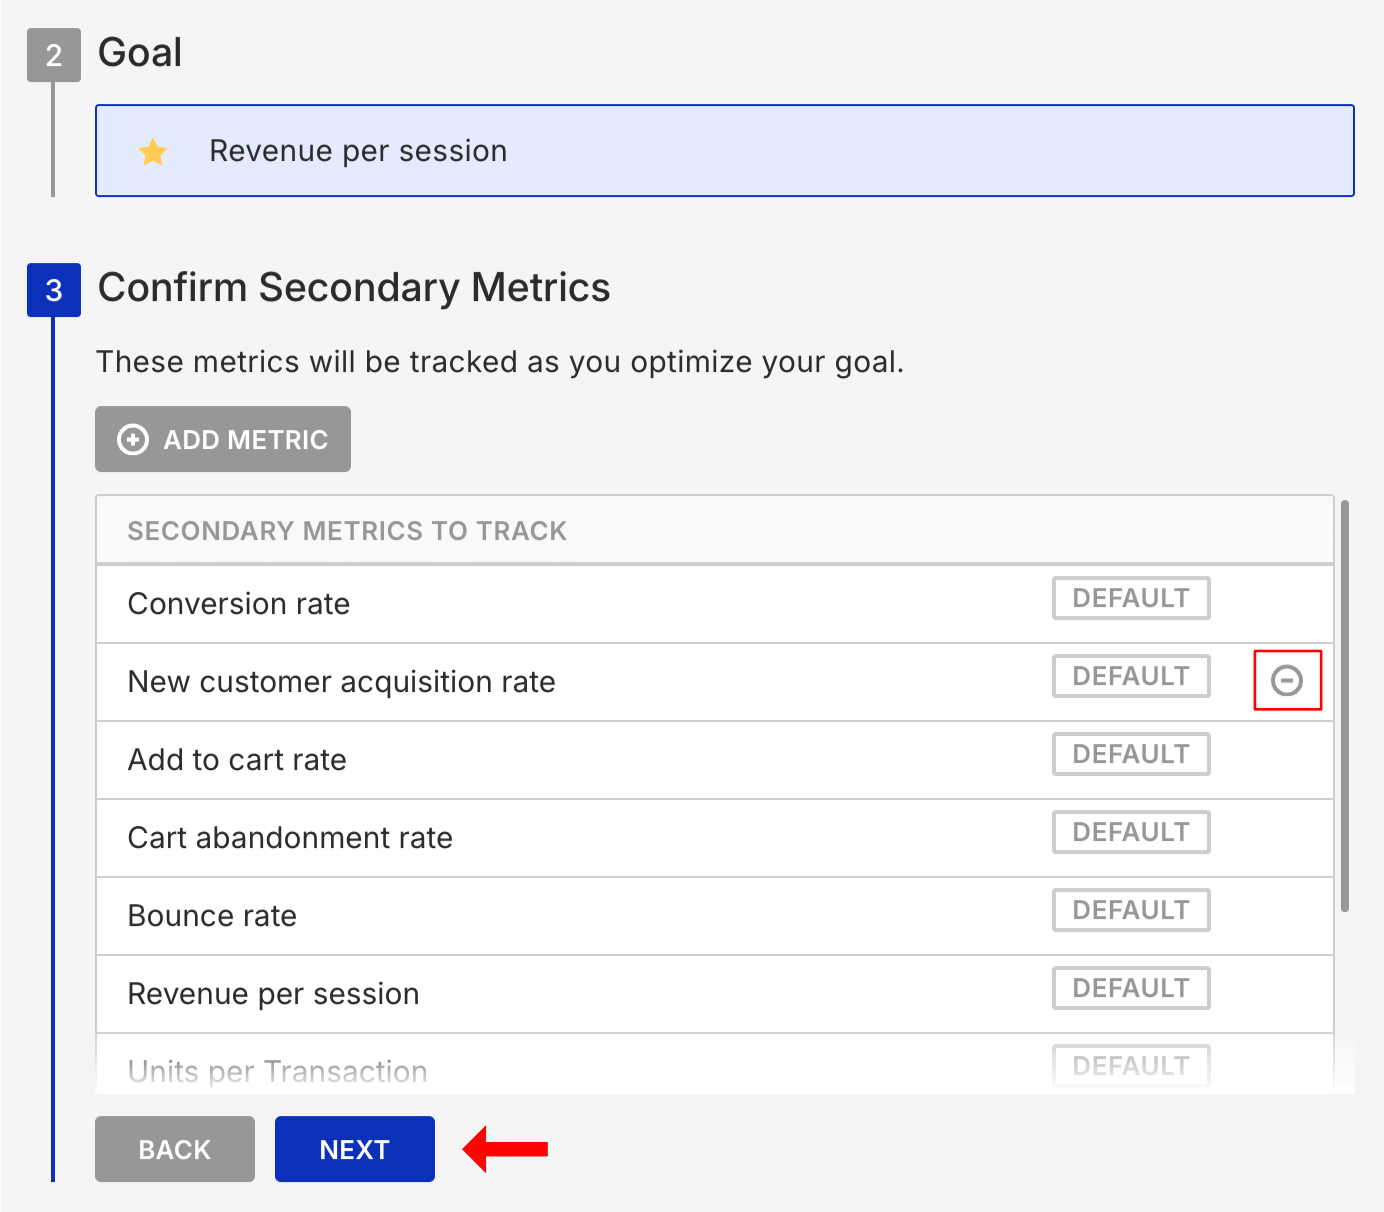
  2. Choose a goal metric and then click NEXT.

    You can use a custom metric that you've built in Event Builder for the goal metric. See Add Custom Metrics to an Experience for more information.

    Animated demonstration of a user scrolling through the list of default system metrics and custom metrics available to select for the goal metric, selecting 'Conversion rate' for the goal metric, and then clicking the NEXT button

  3. Adjust as necessary the secondary metrics that you want to track for the experience, and then click NEXT.
    • To add custom metrics to the experience's secondary metrics, see Add Custom Metrics to an Experience for the steps.
    • To remove a metric from the list of secondary metrics, place you cursor in the metric's row, and then click the minus symbol (–) that appears at the far-right end of the row.

    View of the Confirm Secondary Metrics selection panel of the WHY settings, with a callout of the metric removal button and of the NEXT button

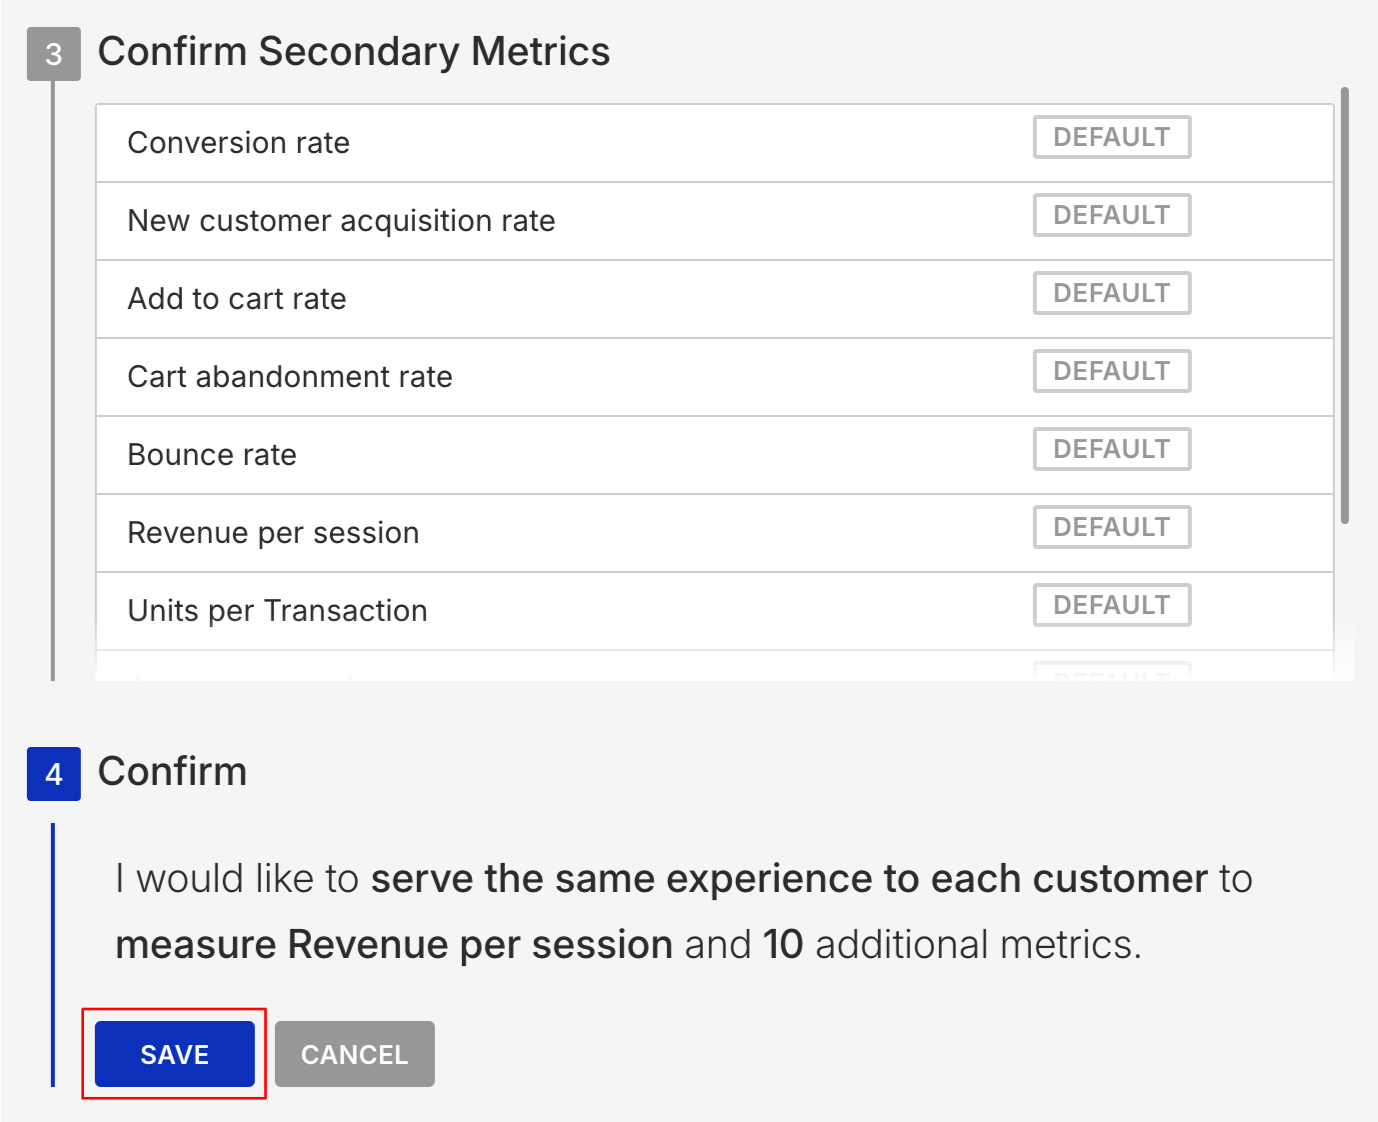
  4. Verify that you configured the settings properly, and then click SAVE.

    The Confirm statement of the WHY settings, with a callout of the SAVE button