In addition to default rules for boosting or burying products, pinning products, excluding products, and facet options, you can create a scheduled campaign for one or more categories, with a set of product-boosting and -burying rules, pinned products, and product exclusions that override those default rules. As the name implies, you can configure a scheduled campaign to run for a specific time.
For example, you might want to pin a specific product or group of products to the start of a category's pages and exclude certain other products for a week-long sale. A scheduled campaign allows you to accomplish this limited-time arrangement.
Follow these steps to create a scheduled campaign for one or more product categories to run on one site.
- Click COMPONENTS in the top navigation bar, select Personalized Search, and then click the appropriate product catalog on the Personalized Search list page.

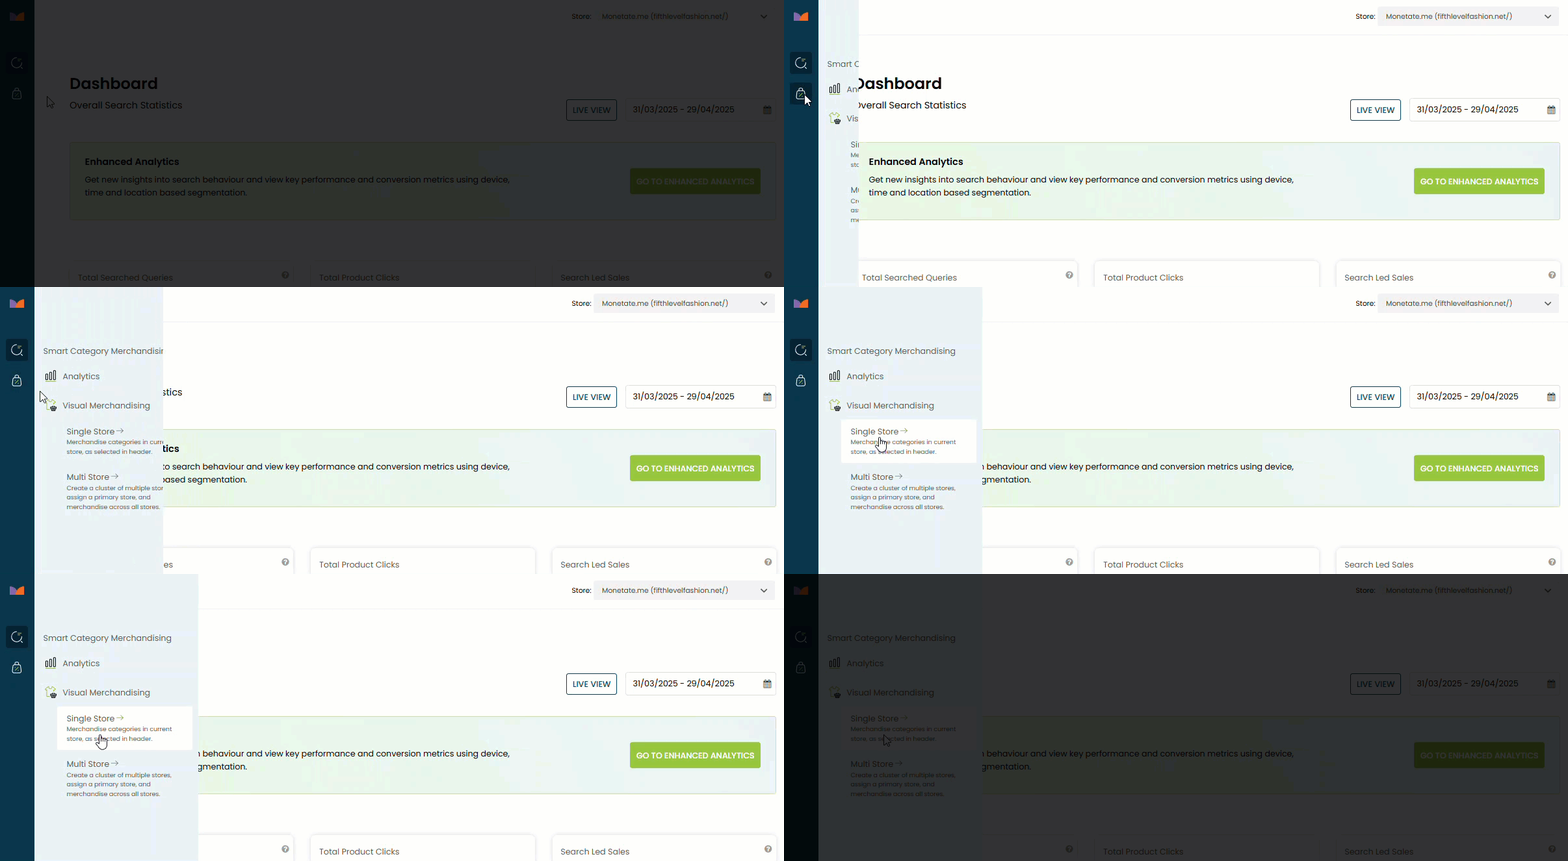
- Click the Smart Category Merchandising icon in the left-hand vertical toolbar, and then select Single Store.
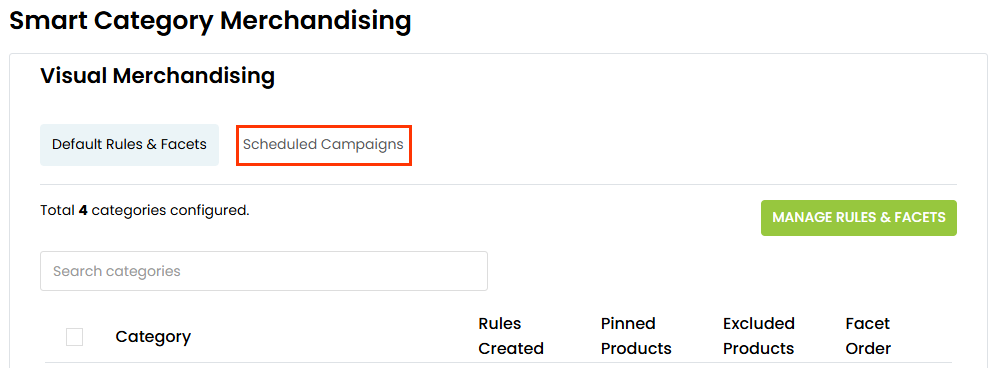
- Click the Scheduled Campaigns tab.
- Click CREATE NEW.

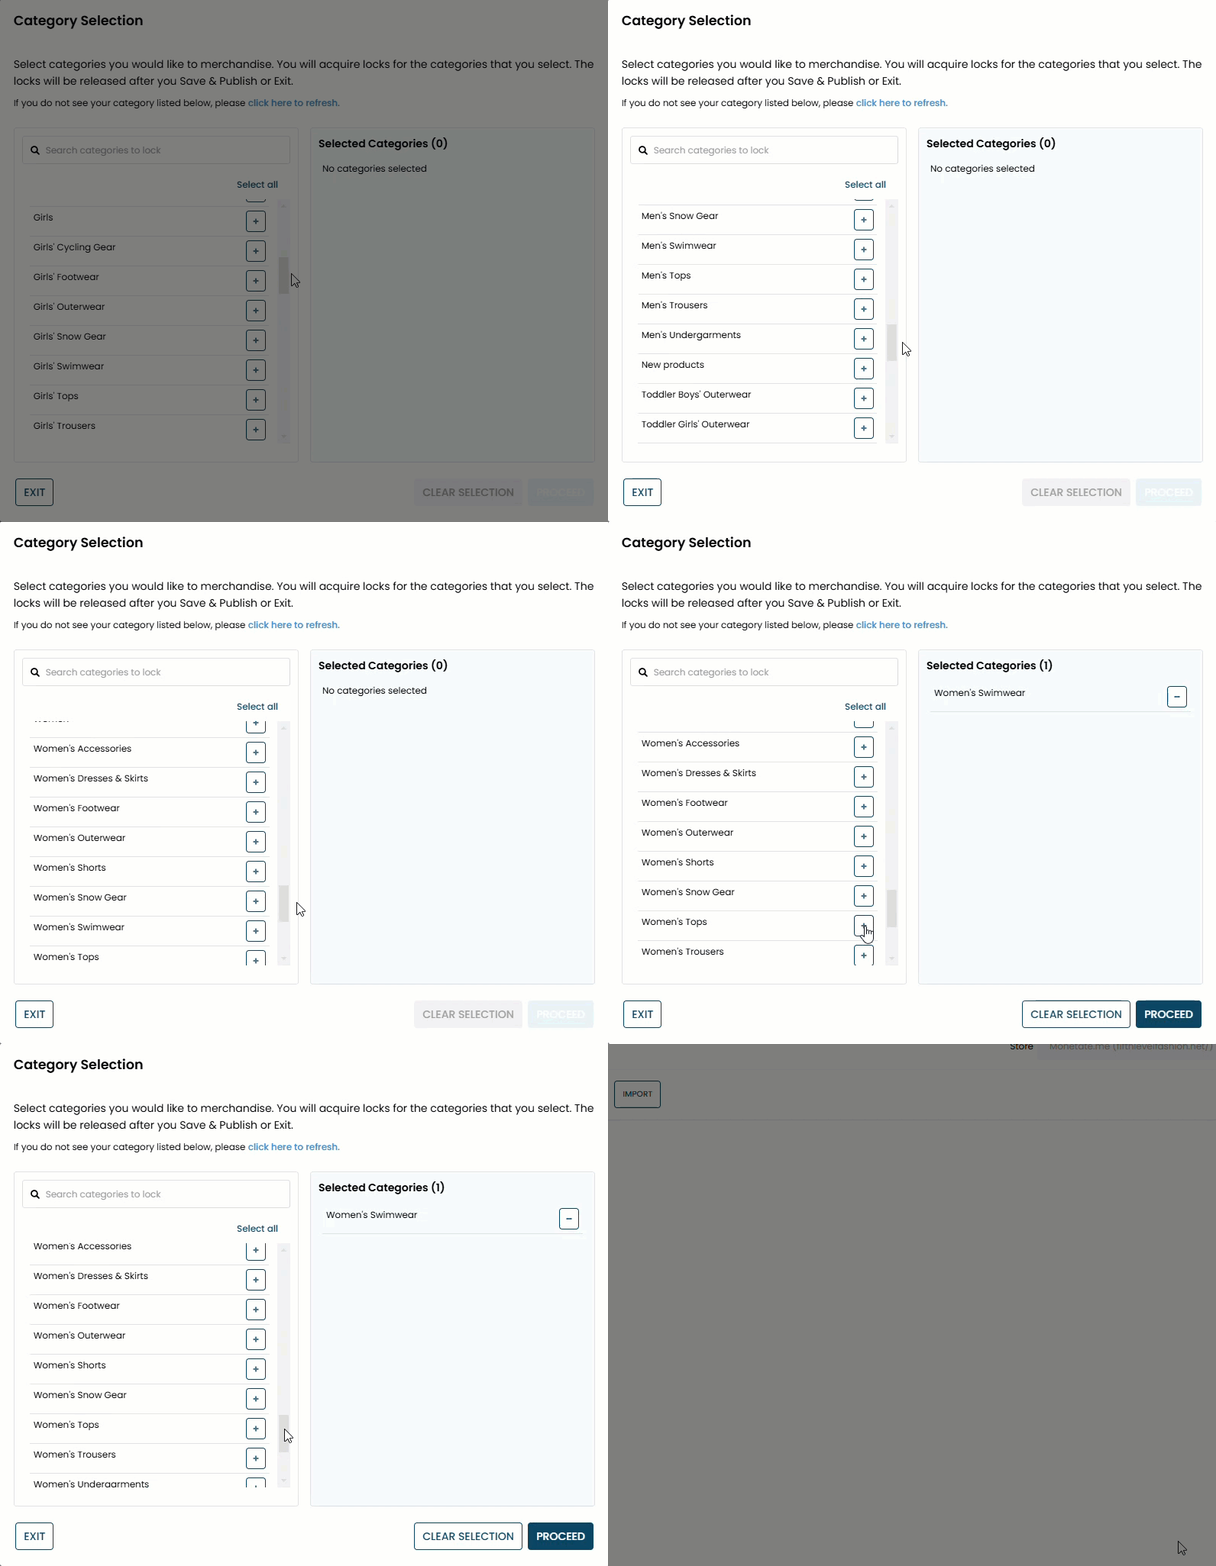
- On the Category Selection modal, click the plus sign icon (+) for each product category you want included in the scheduled campaign, and then click PROCEED.
- Name the campaign.

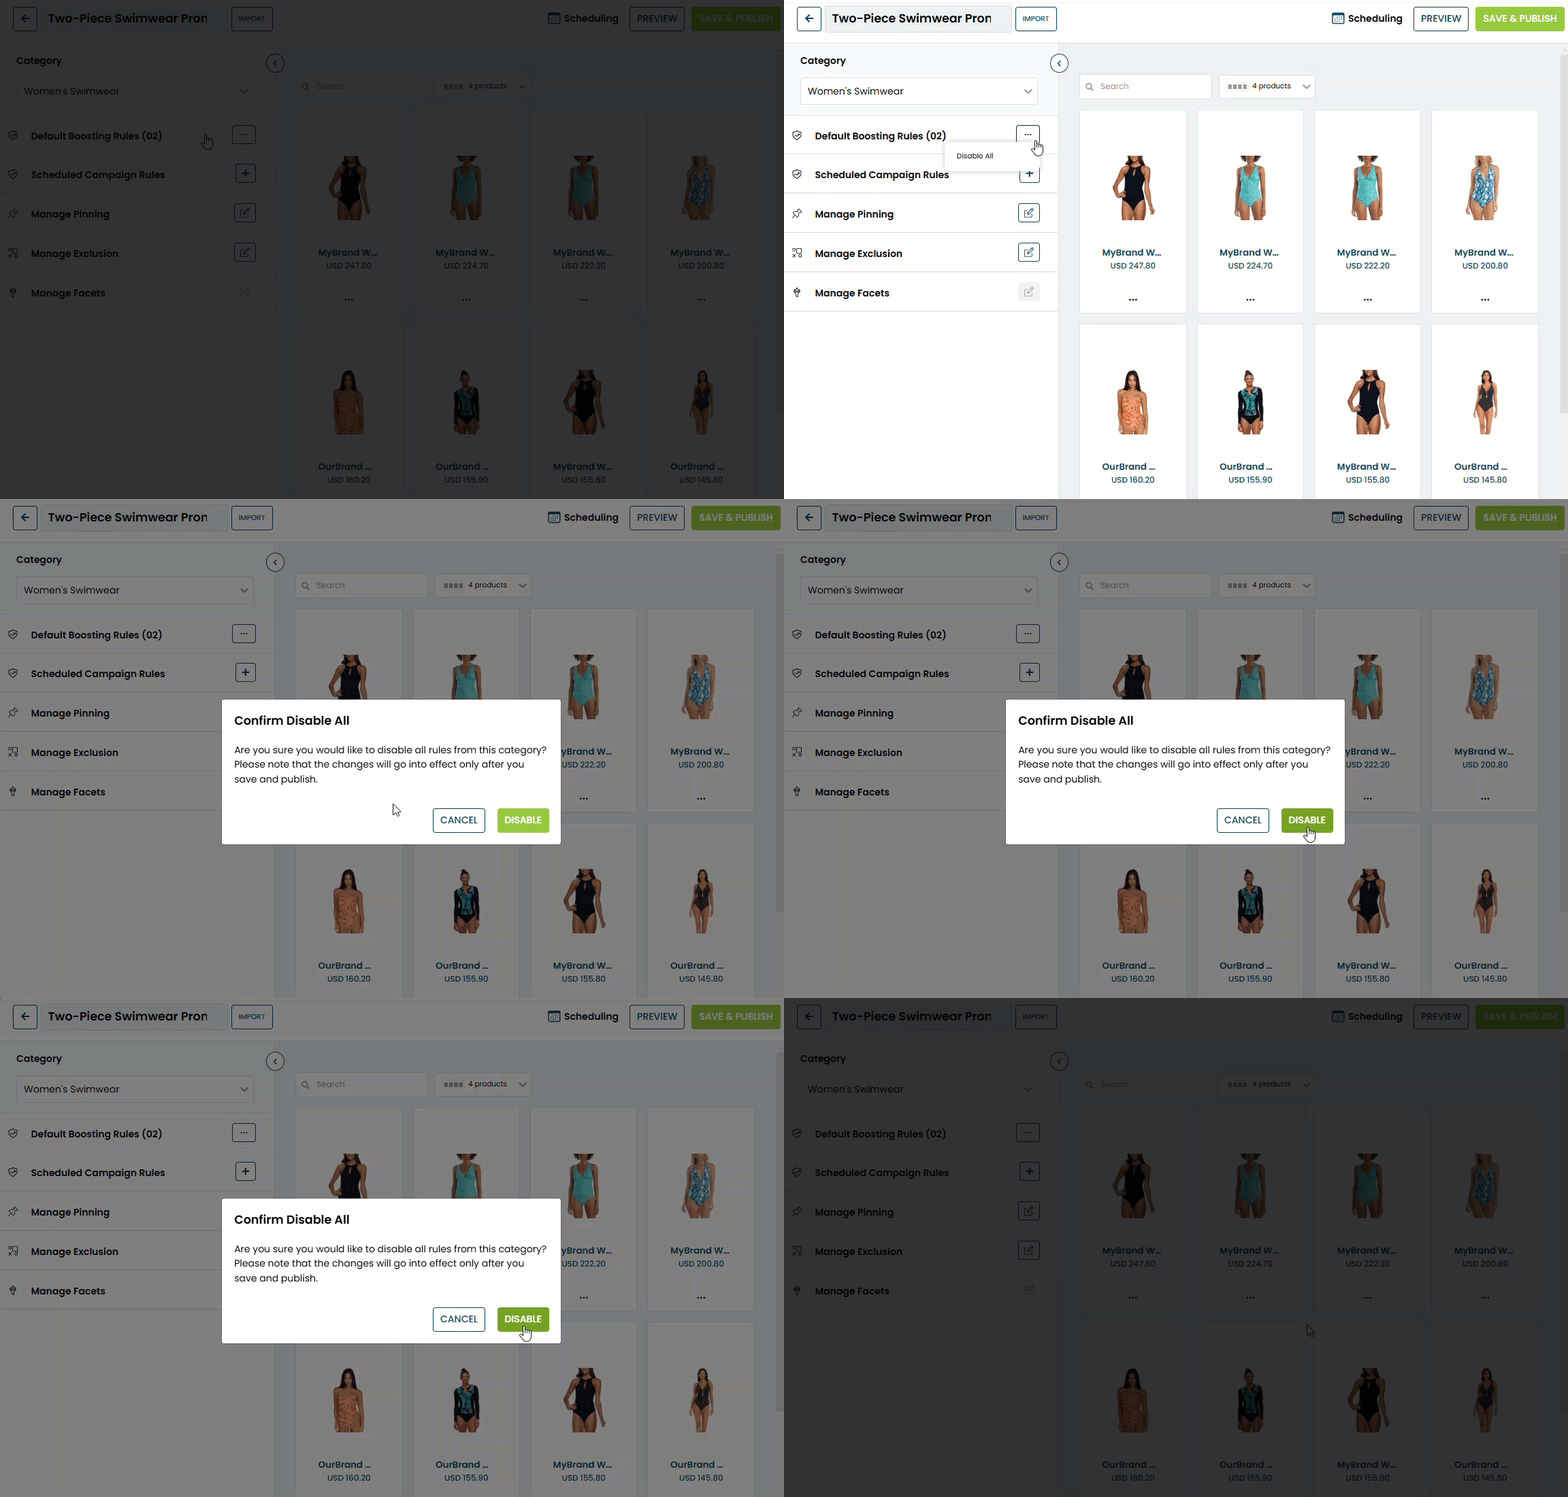
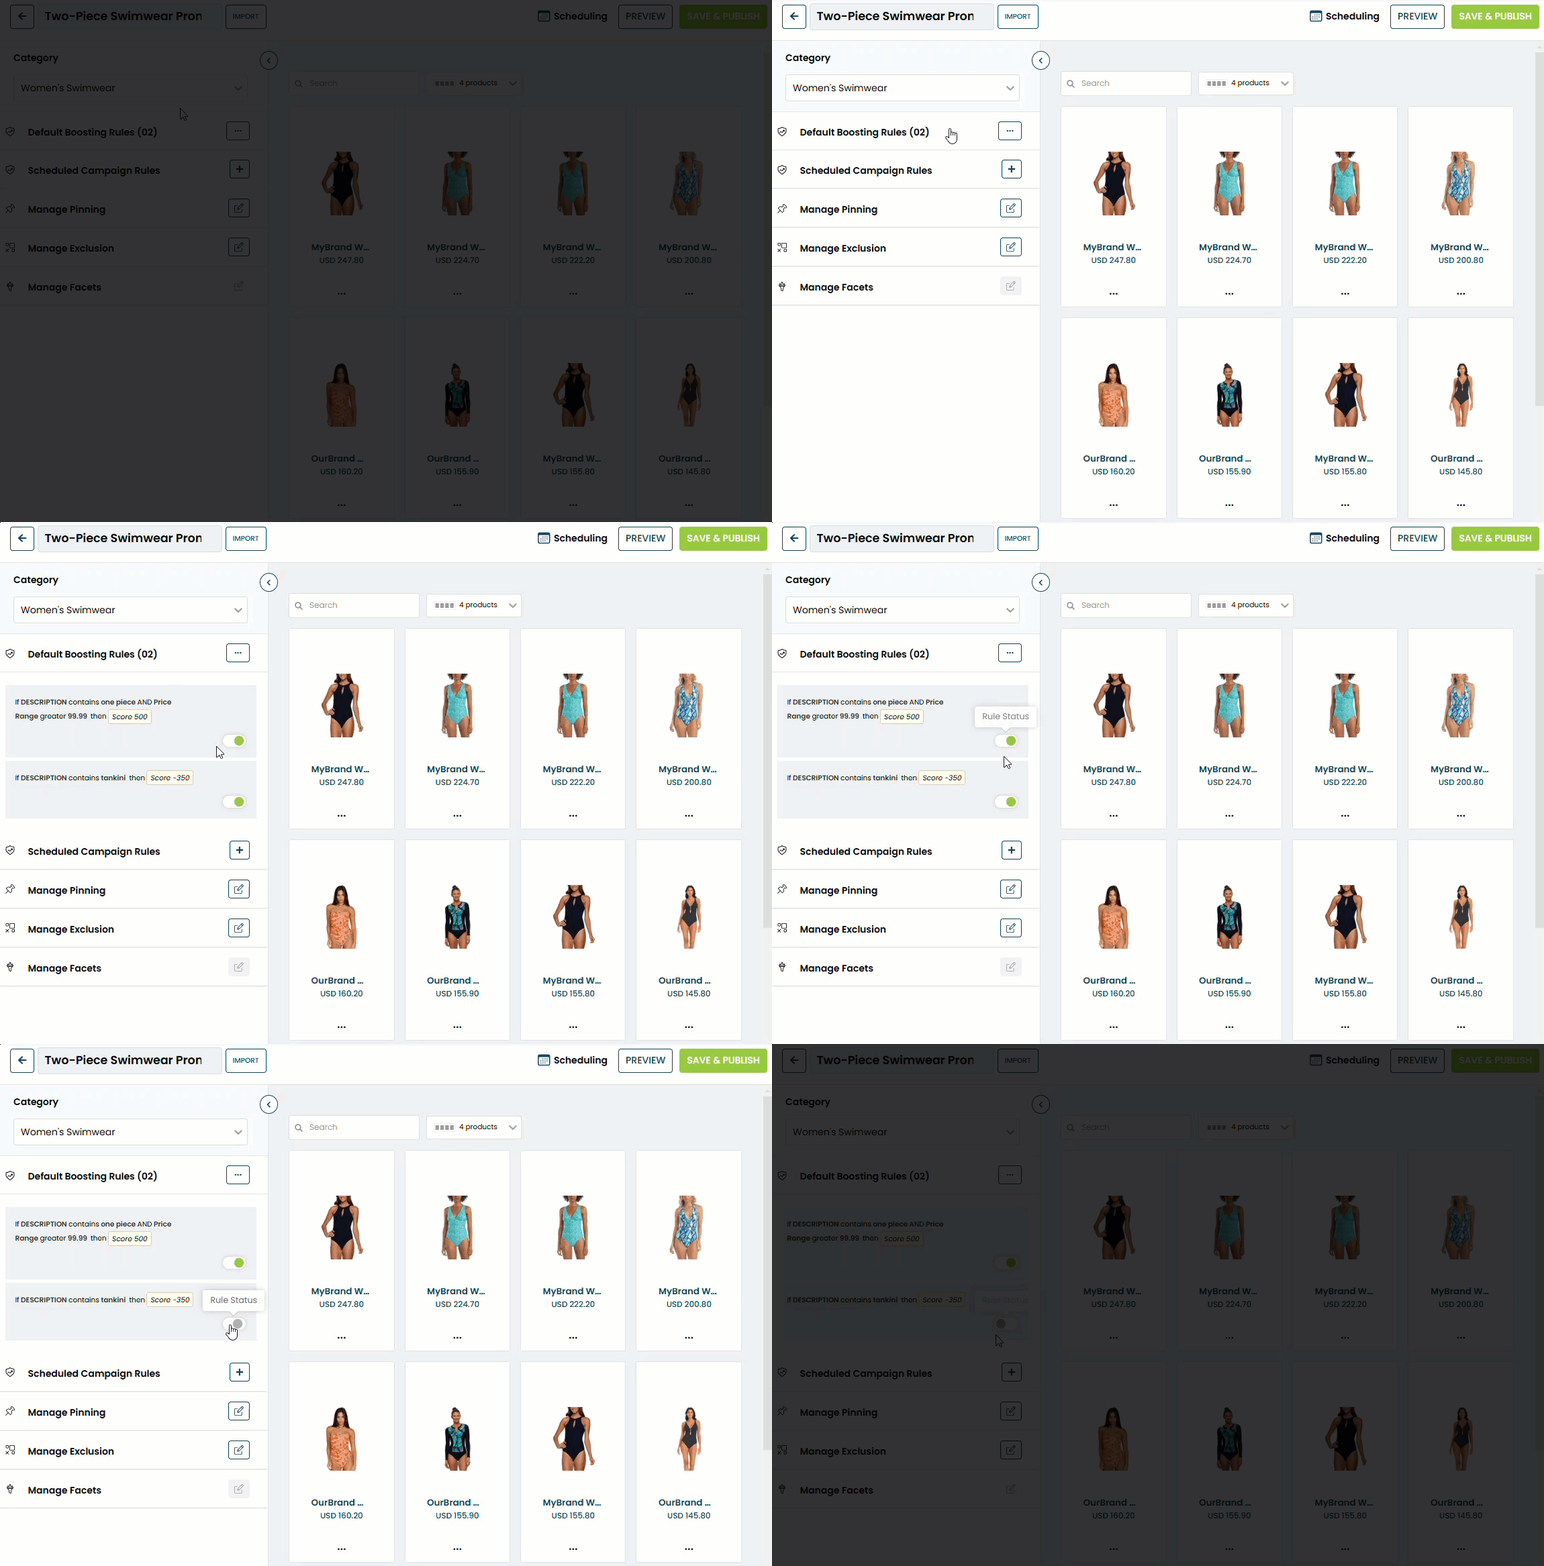
- If necessary, disable one or more of the default boosting rules for the product category.
- Select Disable All from the additional options menu (...), and then click DISABLE in the Confirm Disable All modal.
- Click Default Boosting Rules, and then toggle Rule Status to the disabled position for each rule that you want turned off.
- Select Disable All from the additional options menu (...), and then click DISABLE in the Confirm Disable All modal.
- Configure one or more boosting rules for the campaign.
- Click the plus sign (+) for Scheduled Campaign Rules.
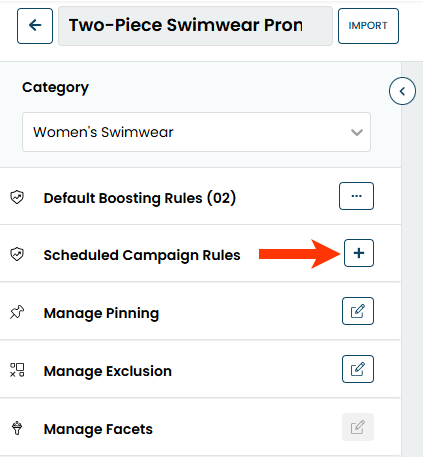
- Create one or more single-attribute conditions or a group that combines multiple single-attribute conditions by following the steps in Boost or Bury Products on Category Pages.
- Click the plus sign (+) for Scheduled Campaign Rules.
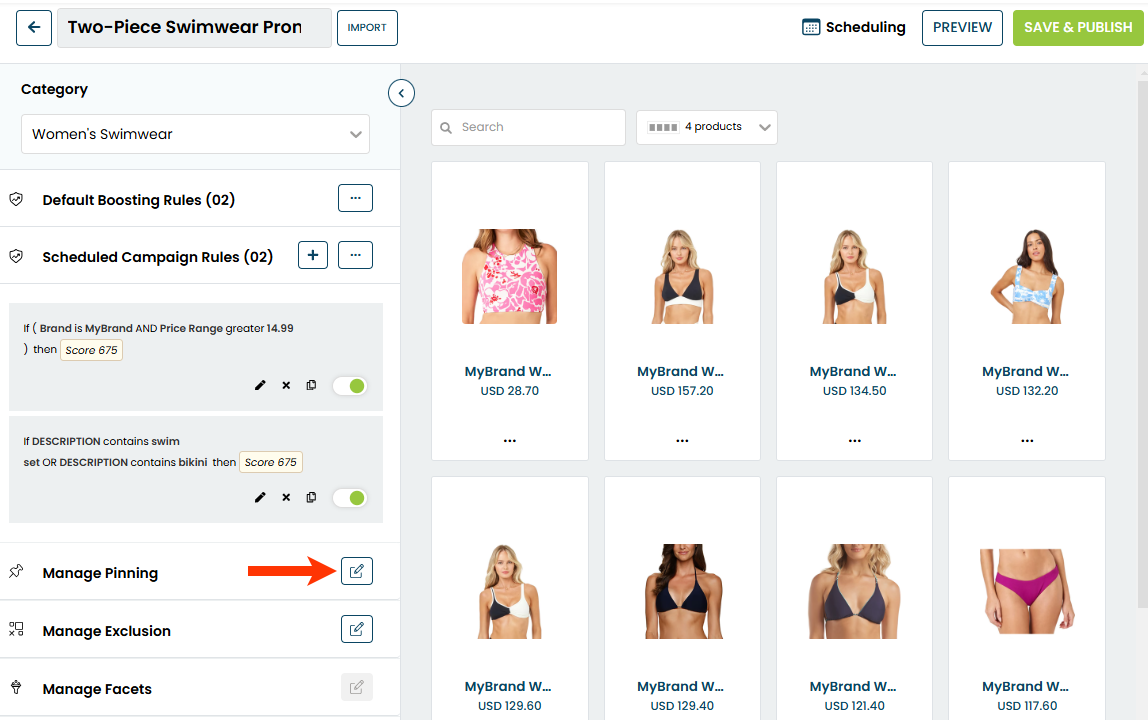
- As necessary, pin products to the beginning of a category's pages and arrange their order by following the steps in Pin Products on Category Pages.
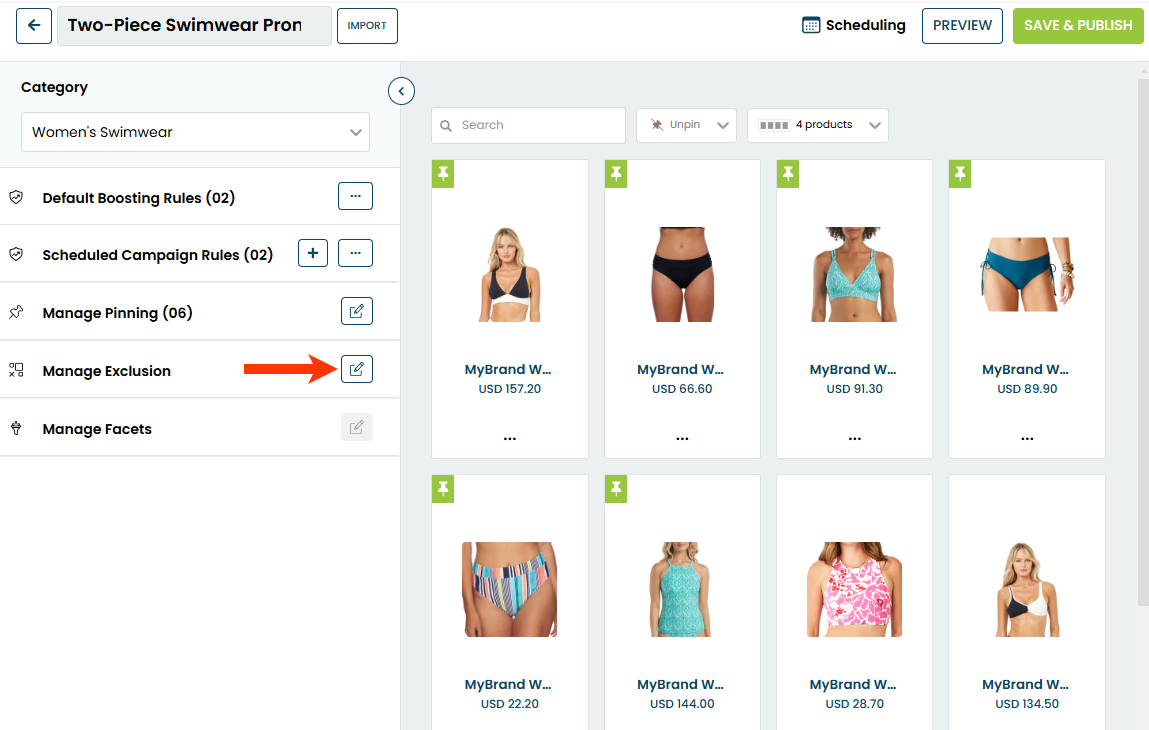
- As necessary, exclude products from the category's pages by following the steps in Exclude Products from Category Pages.
-
Optionally, customize the category's facets for the campaign.
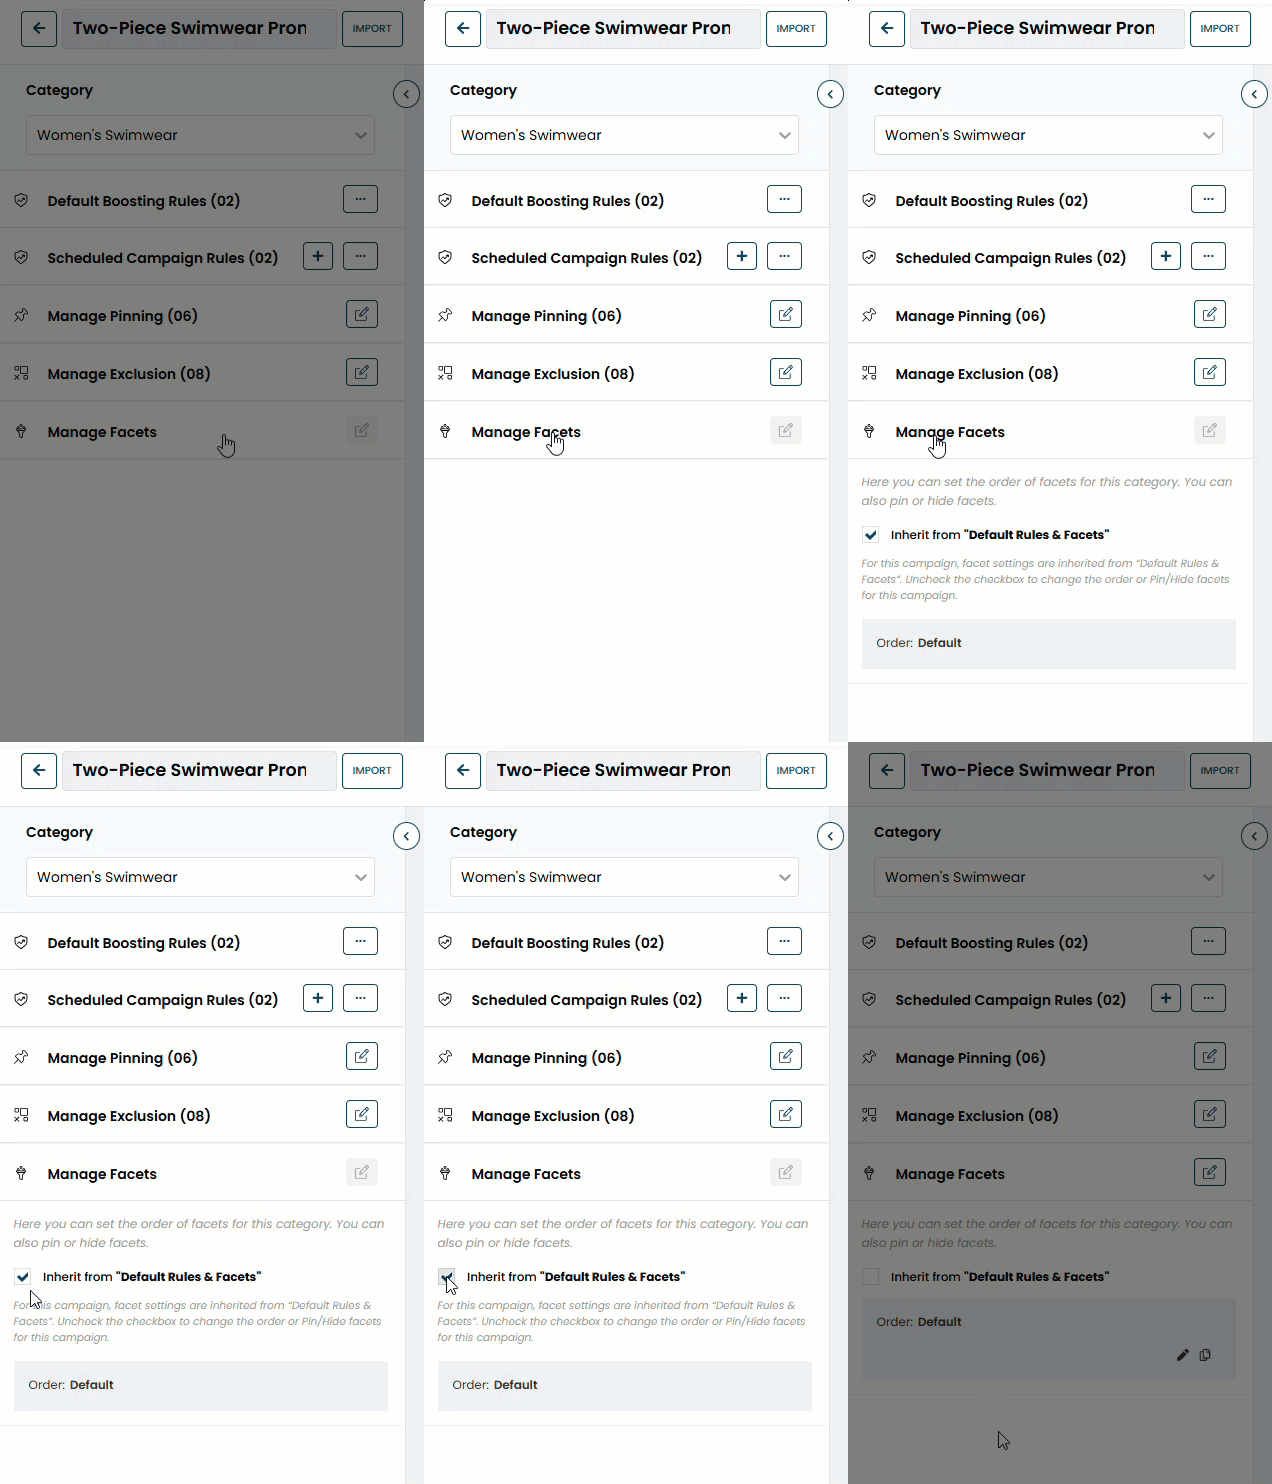
- Click Manage Facets and then deselect Inherit from "Default Rules & Facets".
- Click the pencil icon to edit the existing facets rule.
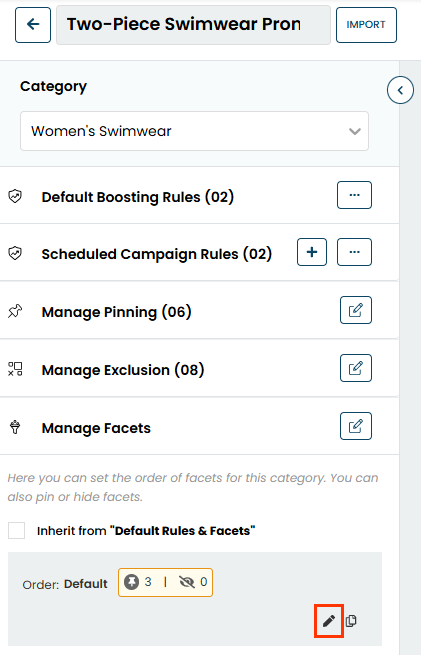
- Follow steps 6 through 10 in Setting a Facets Rule in Manage Facets for Category Pages to hide facets as well as to arrange the order of the facets for the category's pages for the duration of the campaign.
- Click Manage Facets and then deselect Inherit from "Default Rules & Facets".
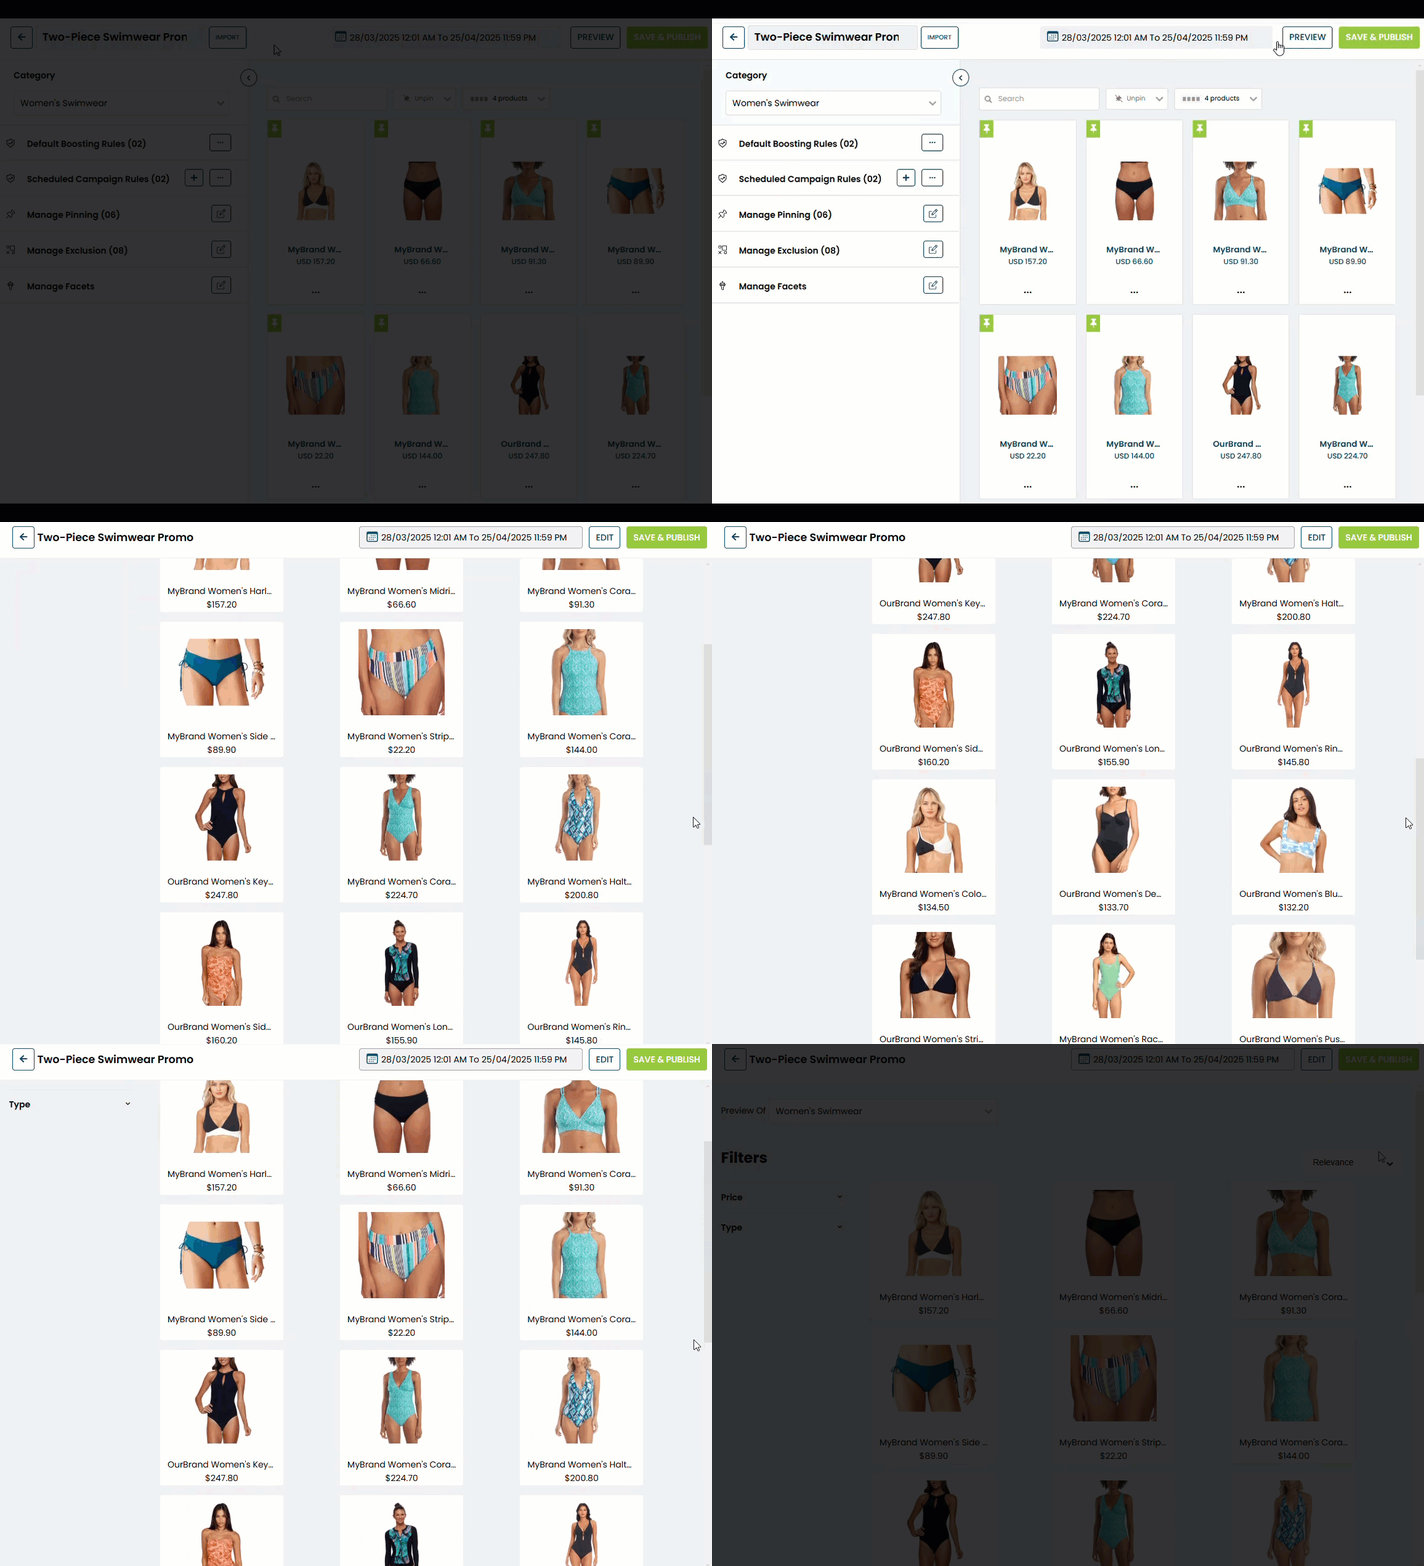
- Click PREVIEW to confirm the rules you've configured yield results as you anticipate.
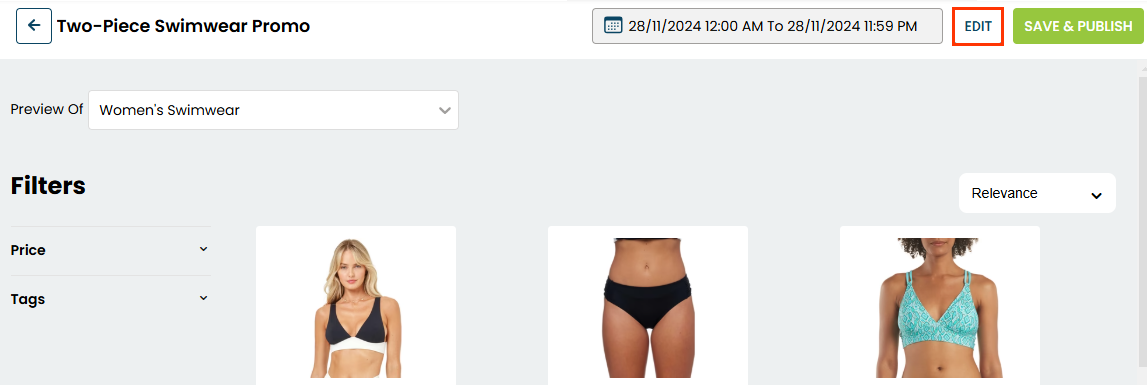
- Click EDIT, and then repeat steps 7 through 12 for each of the other product categories in the campaign.
-
Configure the campaign schedule.
- Click Scheduling.

- Select a time zone.
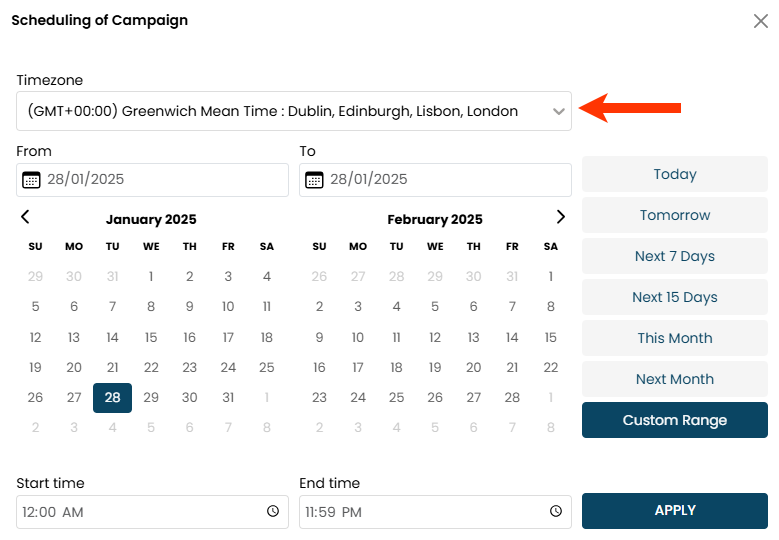
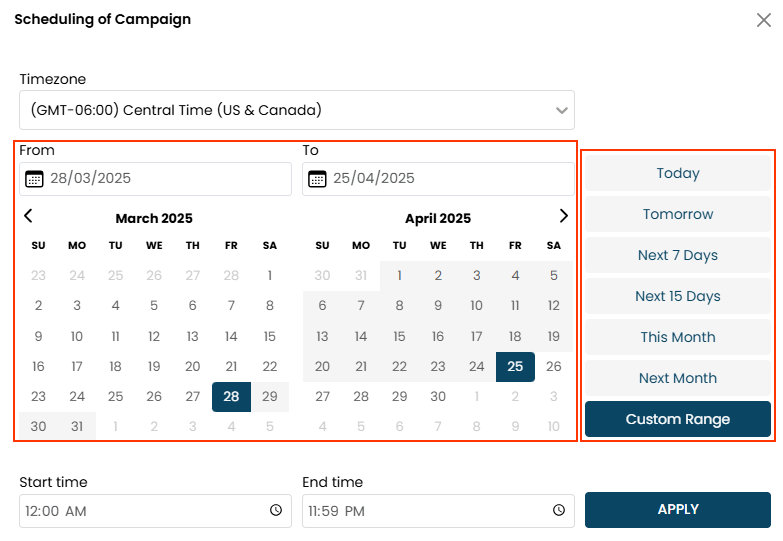
- Set the date(s) by either selecting a preset option or setting a specific start date and end date using the calendars.
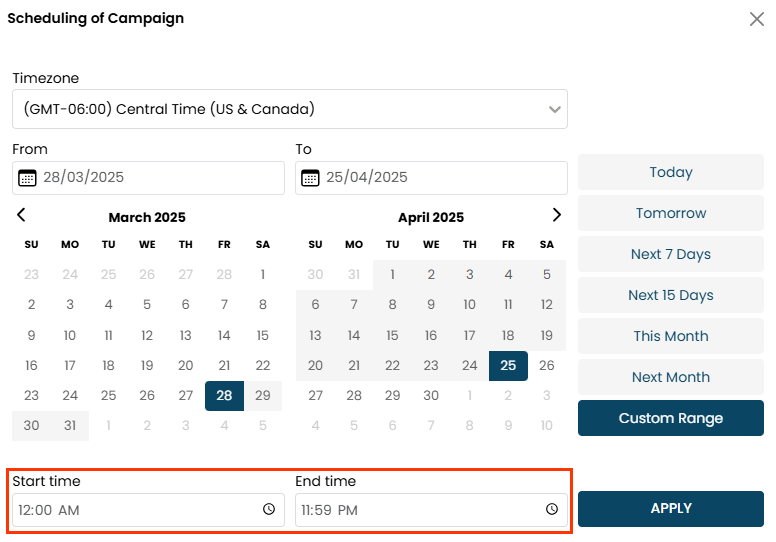
- Set the start and end times.
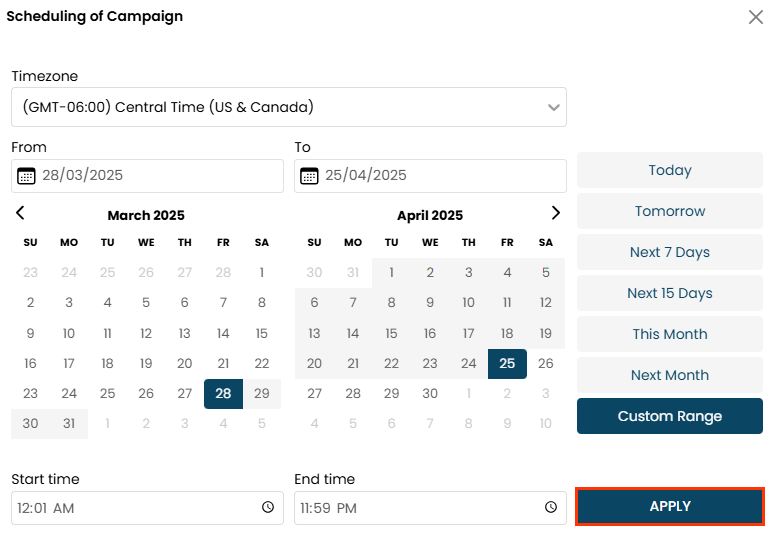
- Click APPLY.
- Click Scheduling.
- Click SAVE & PUBLISH.

Click the pencil icon for a scheduled campaign to edit any of its settings.
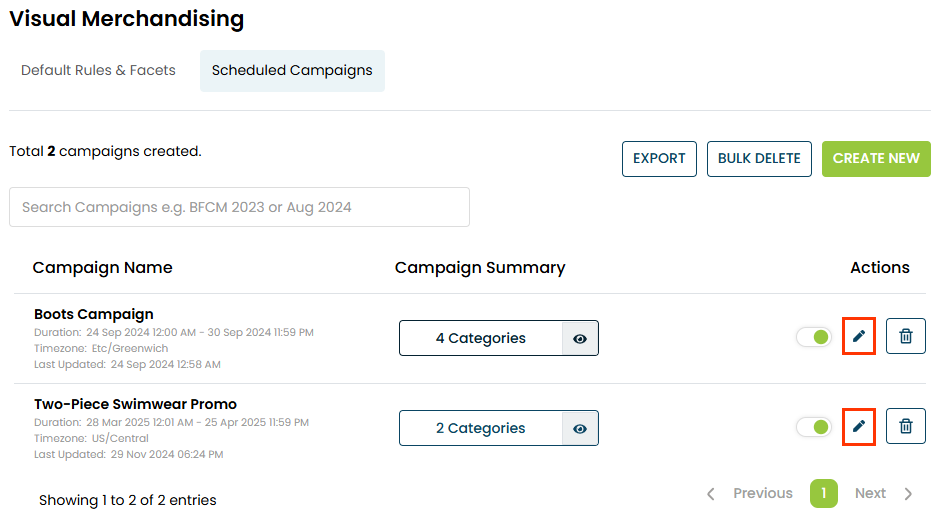
You can edit a campaign even when it's active. After you click SAVE & PUBLISH after completing the revisions, you must wait up to 10 minutes before you can see the impact of the changes on your site.
Multiple campaigns can run simultaneously so as long as they don't have any common categories. If you save a new campaign that includes one or more categories included in an already saved campaign and the two campaigns would either run simultaneously or overlap, then a warning message appears and the new campaign is saved as disabled.

It remains disabled until you resolve any conflicts in the appropriate campaign.
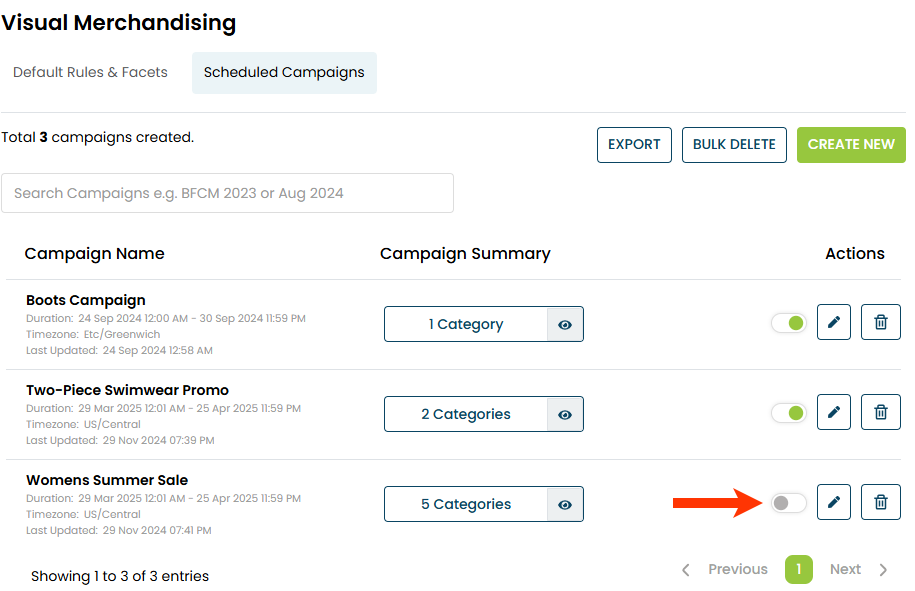
A completed campaign remains on the Scheduled Campaigns page unless you delete it. You can reuse it by clicking the pencil icon and then editing its settings as needed.