A 100% Experience allows you to quickly make changes to your site content—text, images, styles, and more—without any support from a Web developer. This experience type is a useful agility tool because it shows every site visitor in your defined audience the same experience.
Follow these steps to build a 100% Experience.
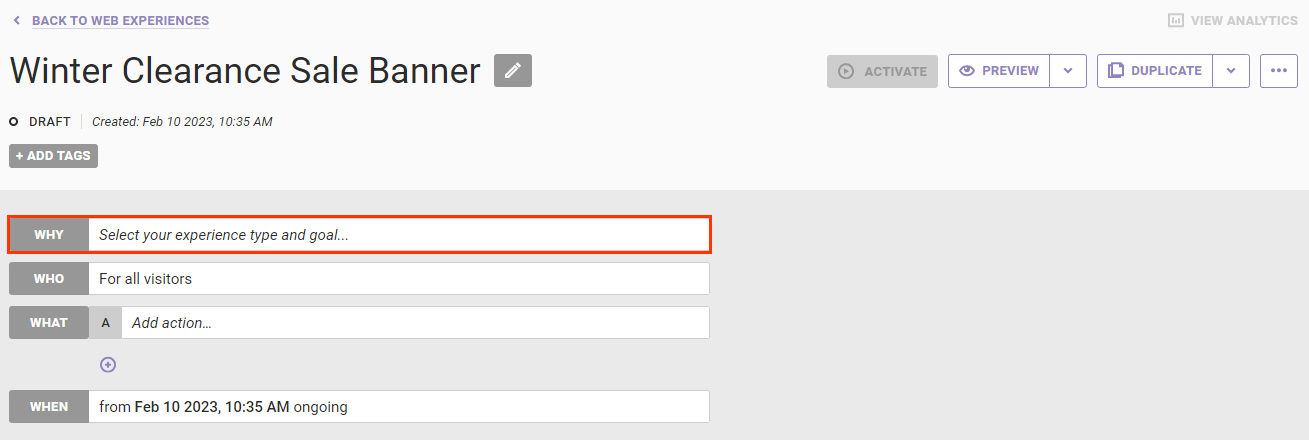
- Click EXPERIENCES in the top navigation bar, and then click Web.

- Click CREATE EXPERIENCE.

- Name the experience.

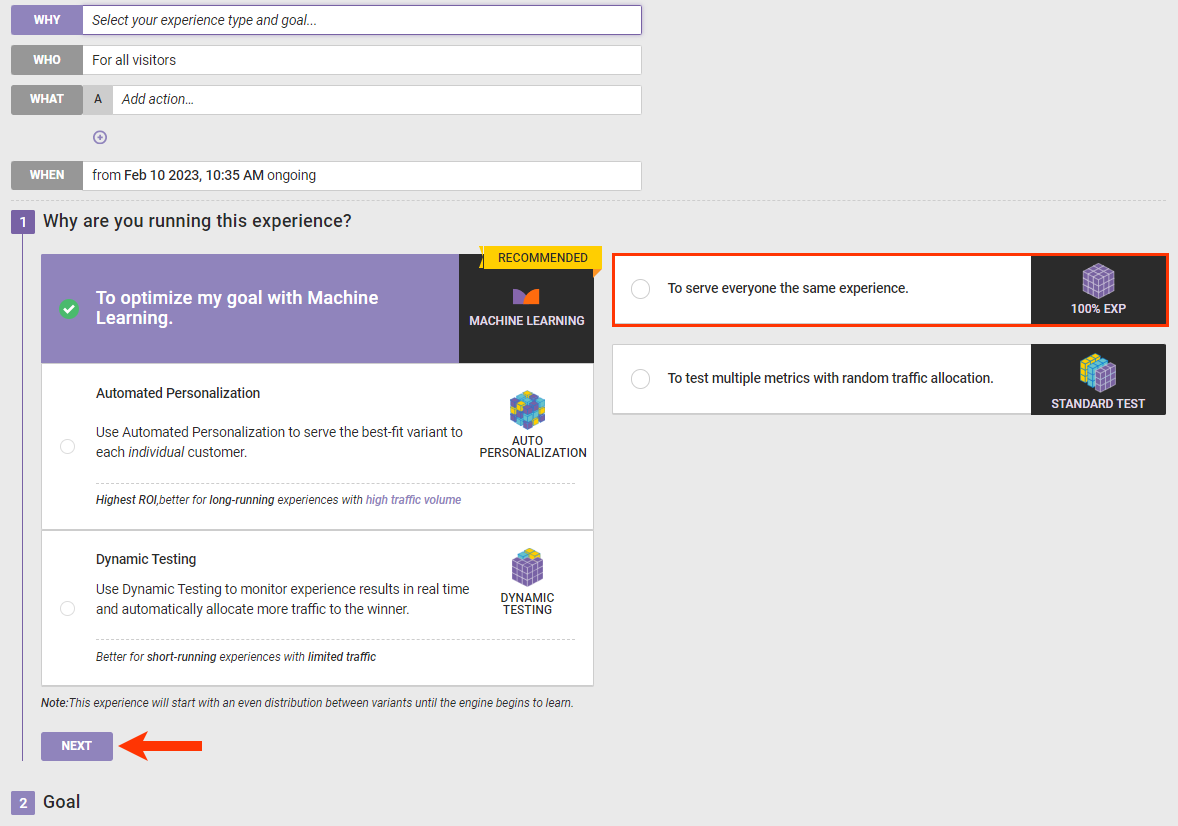
- Configure the WHY settings.
- Click WHY.
- Select To serve everyone the same experience, and then click NEXT.
- Select a goal metric and then click NEXT.

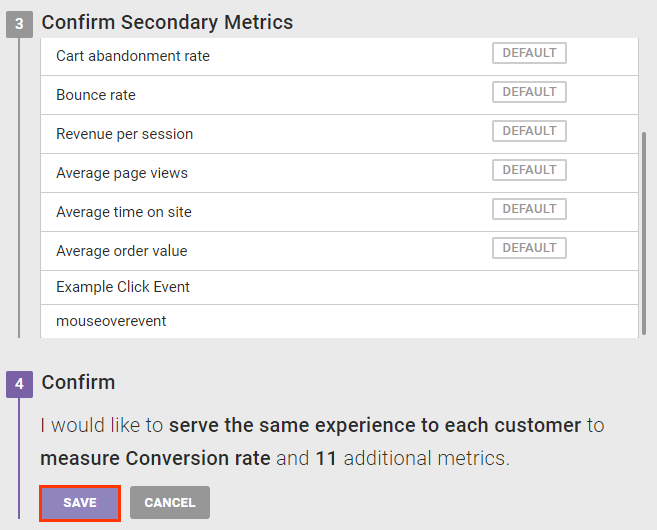
- Configure as necessary the secondary metrics using one or both of the following methods, and then click NEXT:
- To remove a default secondary metric, place your mouse pointer on a metric name, and then click the minus sign (–) that appears at the end of the row.
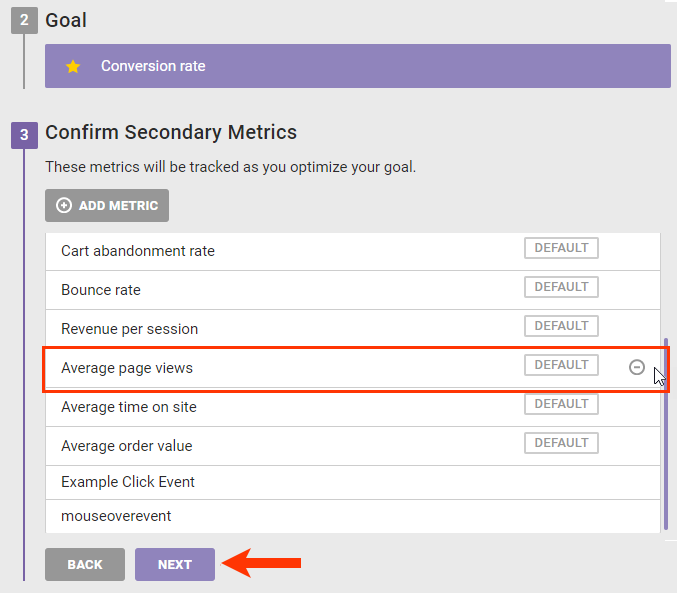
- To add custom metrics as secondary metrics, click ADD METRIC, select one or more of the options in the Add Metrics modal, and then click CHOOSE SELECTED.
- To remove a default secondary metric, place your mouse pointer on a metric name, and then click the minus sign (–) that appears at the end of the row.
- Confirm that the WHY summary statement is accurate, and then click SAVE.
- Click WHY.
- Skip the WHO settings so that it remains configured in the default "For all visitors."
- Configure at least one WHAT action. Click the A field, click ADD ACTION, select an action type, and then complete the settings for that action. Refer to the Building Actions category of the knowledge base for more information.

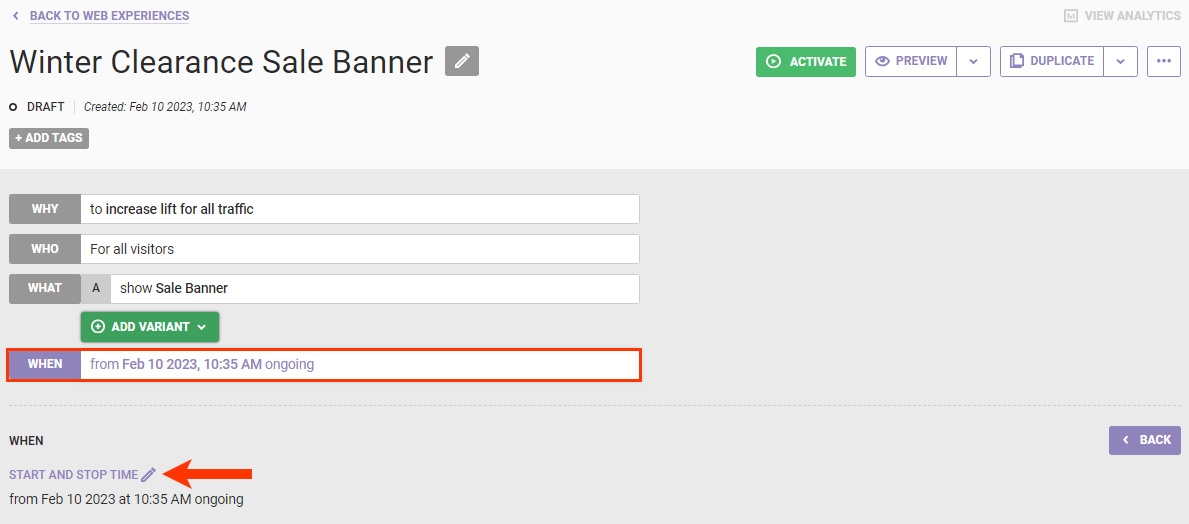
- Click WHEN, click START AND STOP TIME, and then configure the date and time settings for the experience. See Configure the WHEN of a Web Experience for more information.
- Click PREVIEW and then select an option to preview the experience alone, preview it with all other active experiences, or share the preview with people who don't have access to the Monetate platform. See Activate an Experience for Preview and Testing for more information.

- Click ACTIVATE to deploy the experience to your site as determined by the WHEN configuration.
