A Full-Page Test (FPT) experience allows you to redirect all site visitors to an alternate version of a full page on your site. It's useful when you want to test an entire alternate page or if you want to track data and audiences using a parameter and value.
Prerequisites
Before you can create and use FPT experiences, your account must first meet two prerequisites:
- You must have this feature enabled for the account. If you don't see an option to create Full-Page Test experiences as shown in step 2 of this documentation, submit a request using the Monetate Technical Support portal (support.monetate.com).
- You must use the synchronous version of the Monetate tag on your site.
Instead of using HTACCESS files and a 301 redirect to send traffic to a moved page, Monetate instead uses the synchronous version of its Monetate tag to evaluate the URL with a string or regular expression and then immediately passes the traffic on to the new target URL. It calls entry.js directly and is faster when caching URLs.
Building the Experience
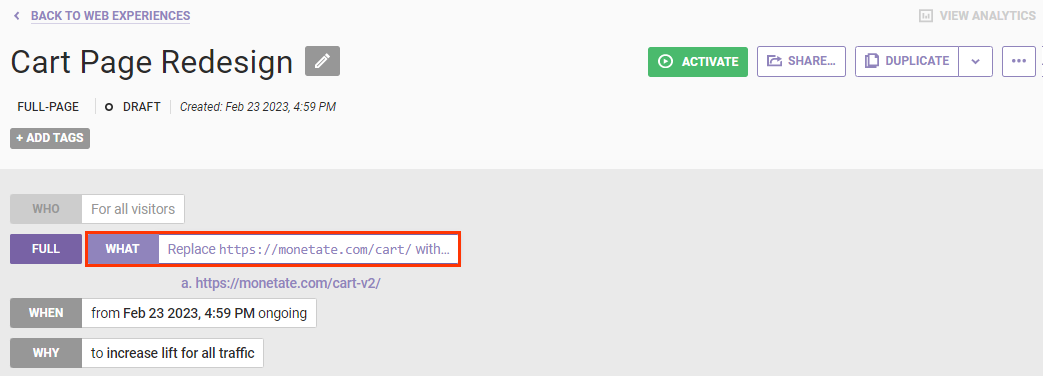
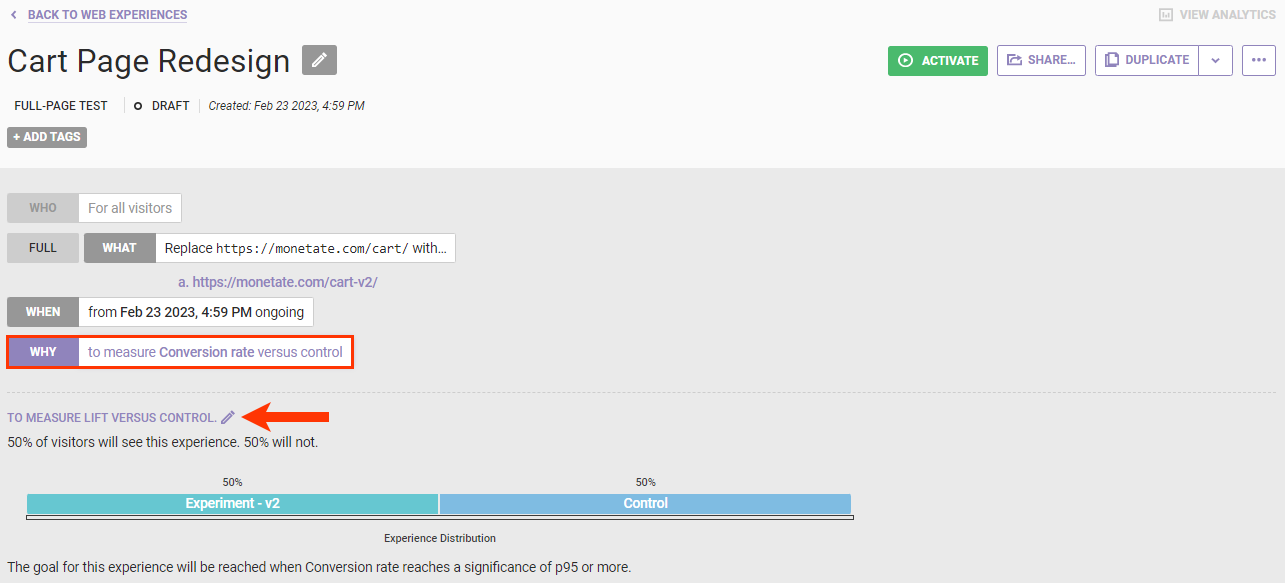
The steps for building an FPT experience are similar to but not exactly the same as building any other experience in Monetate. While FPT experiences have the same WHO, WHAT, WHEN, and WHY parts, there are a few important differences.
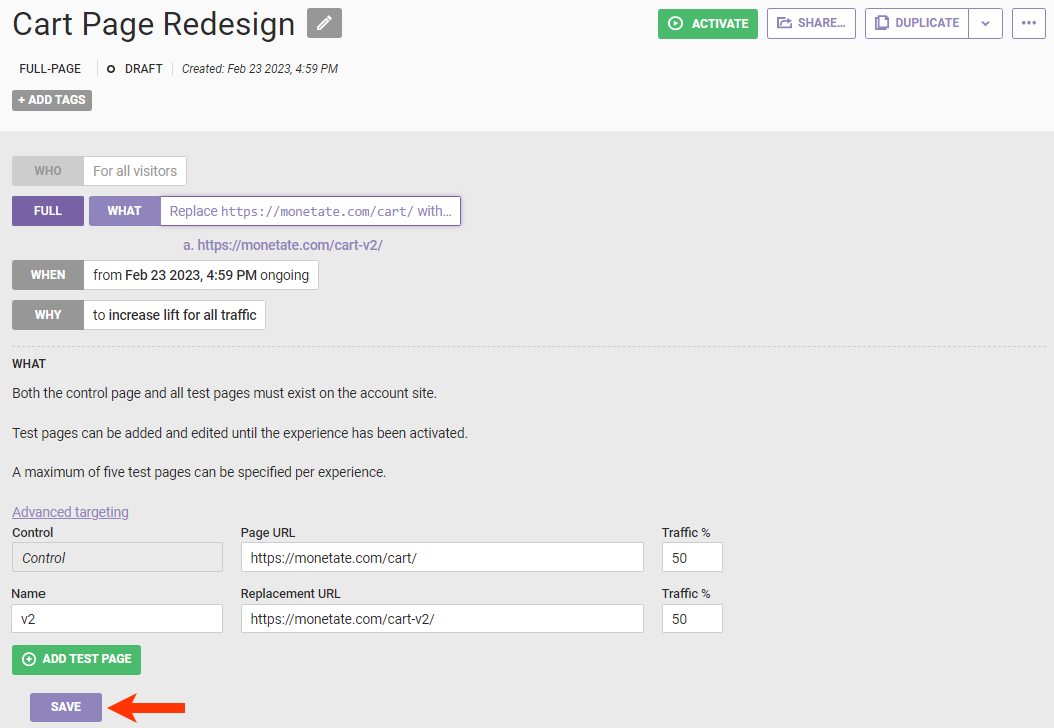
The WHO setting for an FPT experience is For all visitors and cannot be changed. This configuration optimizes the page redirect to take place as soon as possible so that site visitors don't realize a redirect has occurred.
The WHAT settings default to 100% traffic distribution to the replacement page you enter in step 4.
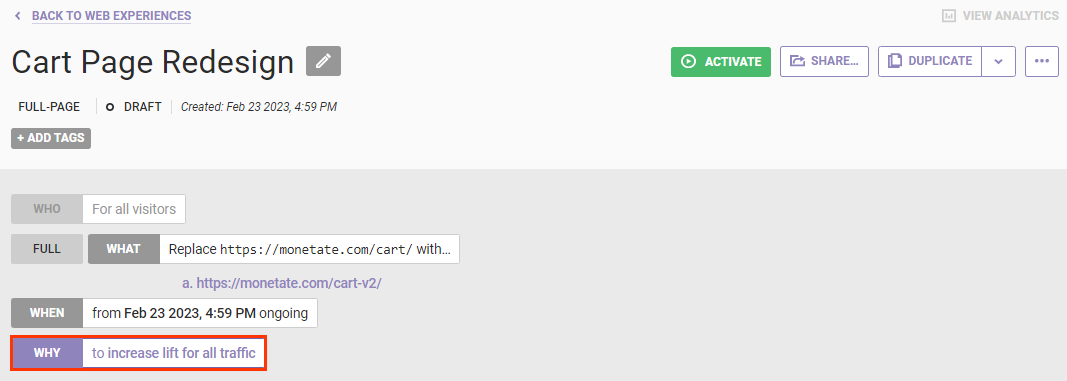
The goal metric in the WHY settings is the account's default goal metric. You can only change the experience's goal metric if you allocate a percentage of traffic to the current page, called the control, in the WHAT settings.
Follow these steps to create an FPT experience.
- Click EXPERIENCES in the top navigation and then select Web.

- Click the arrow next to CREATE EXPERIENCE and then select Full-Page Test.

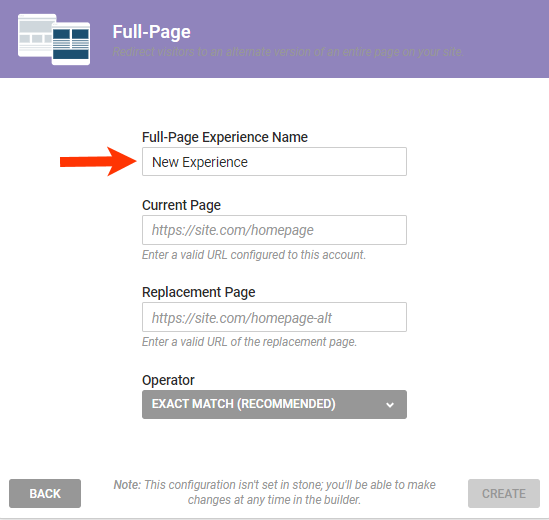
- Enter a name for the experience into Full-Page Experience Name.
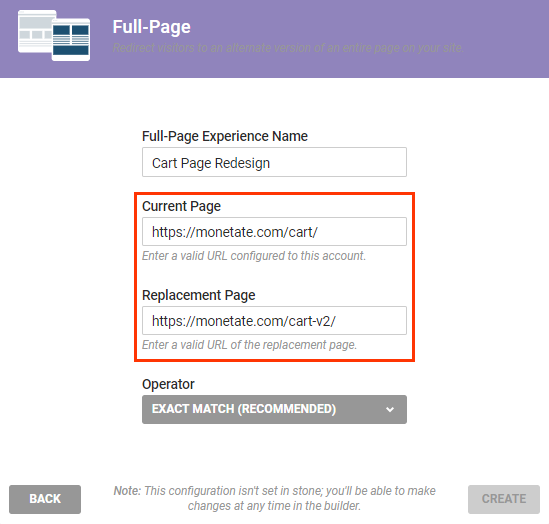
- Enter the URL for the webpage that you want replaced into Current Page, and then enter the URL for the replacement page into Replacement Page.
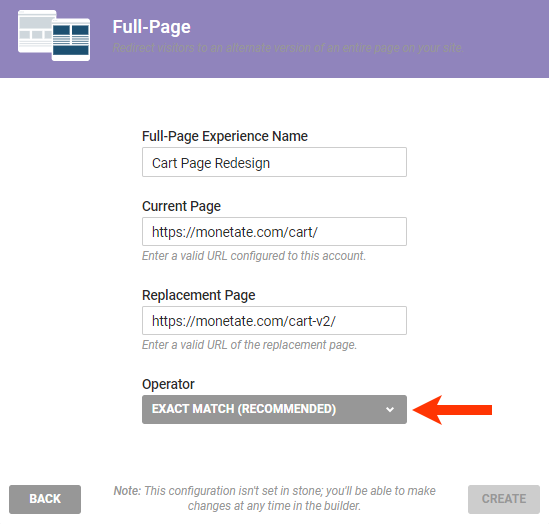
- Select an option from Operator to determine how URLs are matched.
Operator Description Exact Match Performs an exact URL evaluation down to the trailing slash. For best results copy the URL that you want replaced from a browser address bar. Include
http://and the trailing slash (/).Does not evaluate URLs with parameters. Use URL (w/ Params) Regular Expression to evaluate URLs that include query string parameters.
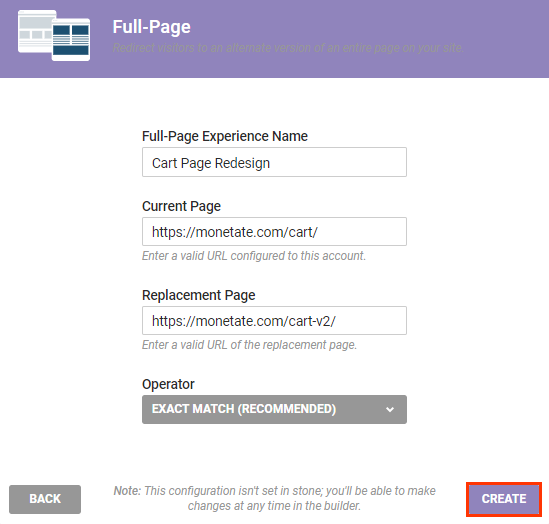
Pathname Regular Expression Performs a regular expression evaluation against the current path. Normally used to replace multiple page URLs on your site. Use window.location.pathnamein the console to get the current path.URL Regular Expression Similar to Pathname Regular Expression but evaluates the entire URL instead of just the pathname. This operator is the most commonly used when targeting pages with query string parameters. URL (w/ Params) Regular Expression Same as Pathname Regular Expression and URL Regular Expression but the replacement URL allows you to return a value from the regular expression. Useful for keeping the URL query string parameters attached to the new URL when redirecting traffic. Add URL Param Allows you to find URLS that don't have a given query string parameter and then adds the given value. Useful for pages without the parameter betato add the parametertrueto test a new redesign. - Click CREATE.
- Optionally, configure the WHAT settings to allot a percentage of traffic to the control or to add up to four additional replacement pages to the experience by following the steps in Adjusting Traffic Distribution and in Adding More Replacement Pages, respectively, in this documentation.
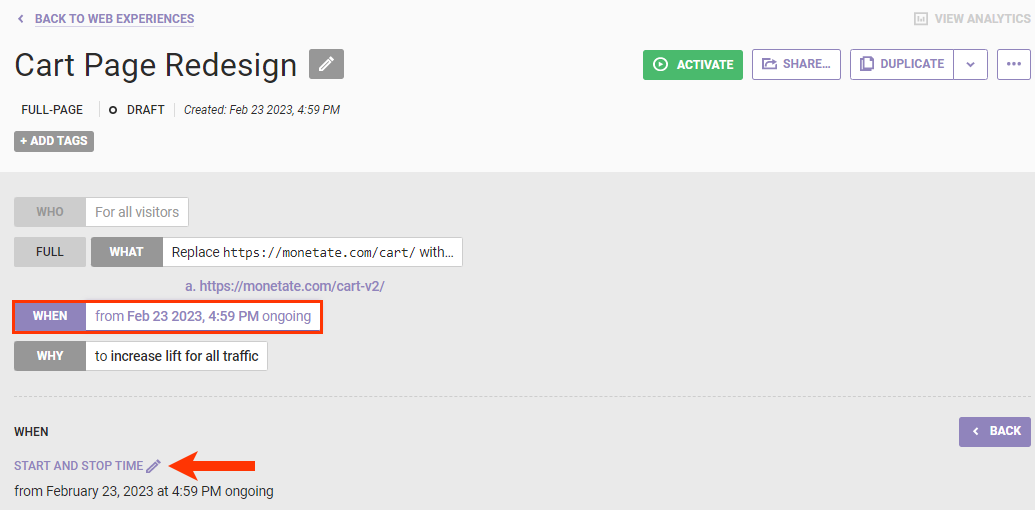
- Click WHEN, click START AND STOP TIME, and then configure the date and time settings for the experience as necessary. See Configure the WHEN of a Web Experience for more information.
- Optionally, configure the WHY settings. Follow the steps in Adjusting the Metrics in this documentation to add or remove metrics reported in the experience analytics. Follow the steps in Changing the Goal Metric to change the goal metric if you've allocated traffic to the control.
- Click SHARE to preview the experience before activating it. See Previewing the Experience in this documentation for the steps to share a preview.

- Click ACTIVATE to enable the experience.

Adjusting Traffic Distribution
Follow these steps to adjust the traffic distribution between the control and replacement page in the experience.
- Click WHAT.
- Optionally, name the replacement page.
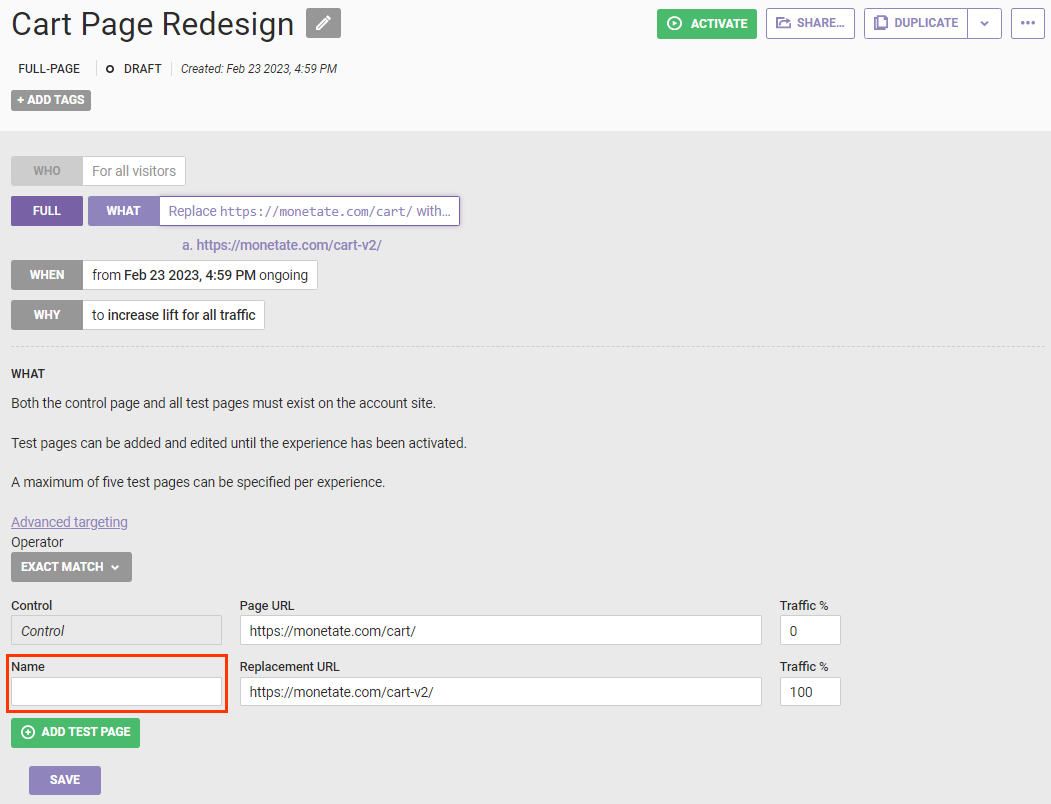
- Enter a percentage for the control and for the replacement page that add up to 100%.

- Click SAVE.
You can now change the goal metric by following the steps in Changing the Goal Metric in this documentation.
Adding More Replacement Pages
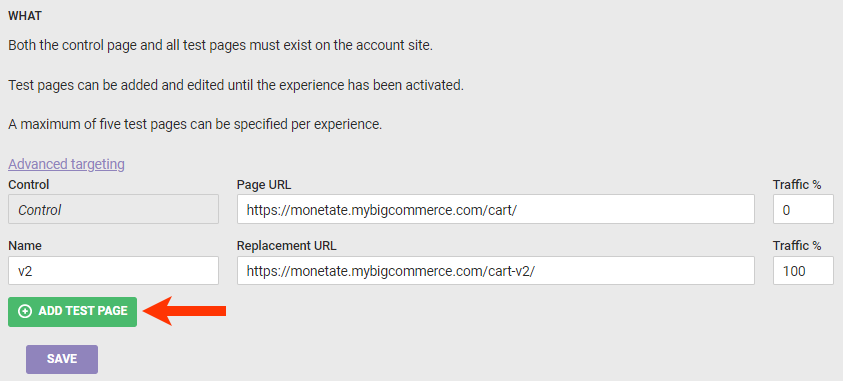
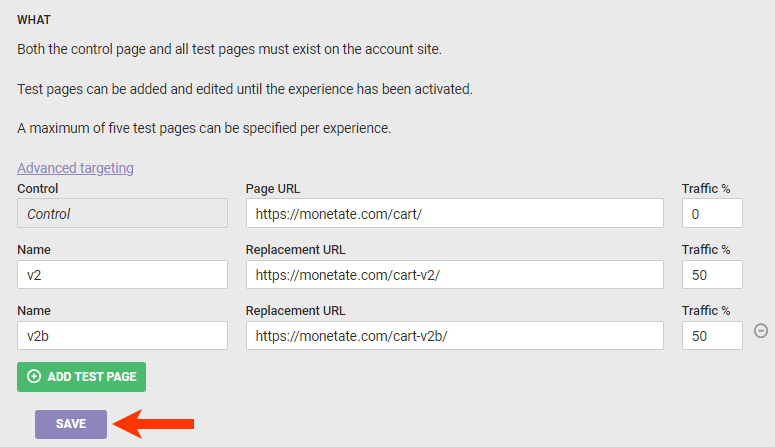
You can add and edit replacement pages until you activate the experience. Each page must have a unique name and a replacement URL. Follow these steps.
- Click WHAT.
- Enter a name for the replacement URL that you added in step 4 of Building the Experience into its corresponding Name field.
- Click ADD TEST PAGE.
- Enter the additional test page's name and URL into their respective fields.
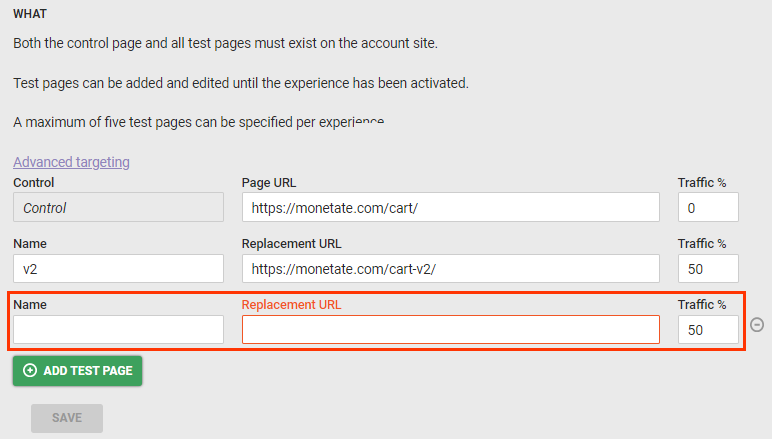
- Repeat steps 3 and 4 as necessary to add more test pages.
- Adjust as necessary the traffic percentages for each test page and the control.
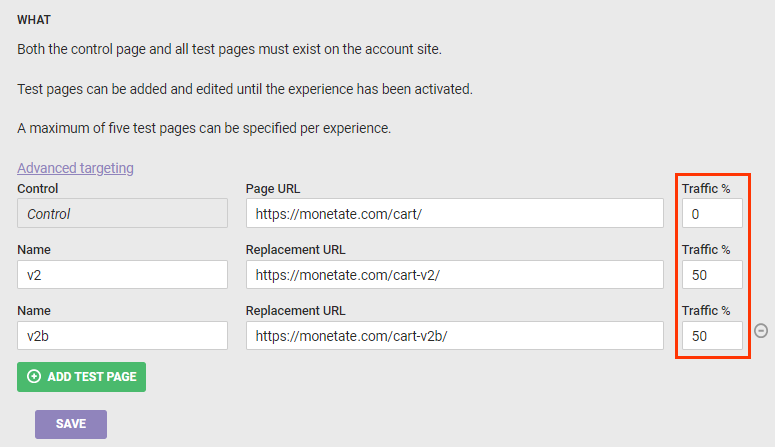
- Click SAVE.
Adjusting the Metrics
You can add or remove any of the metrics reported for the experience.
Removing Metrics
Follow these steps to remove any of the metrics reported in the experience's analytics.
- Click WHY and then click the WHY statement.
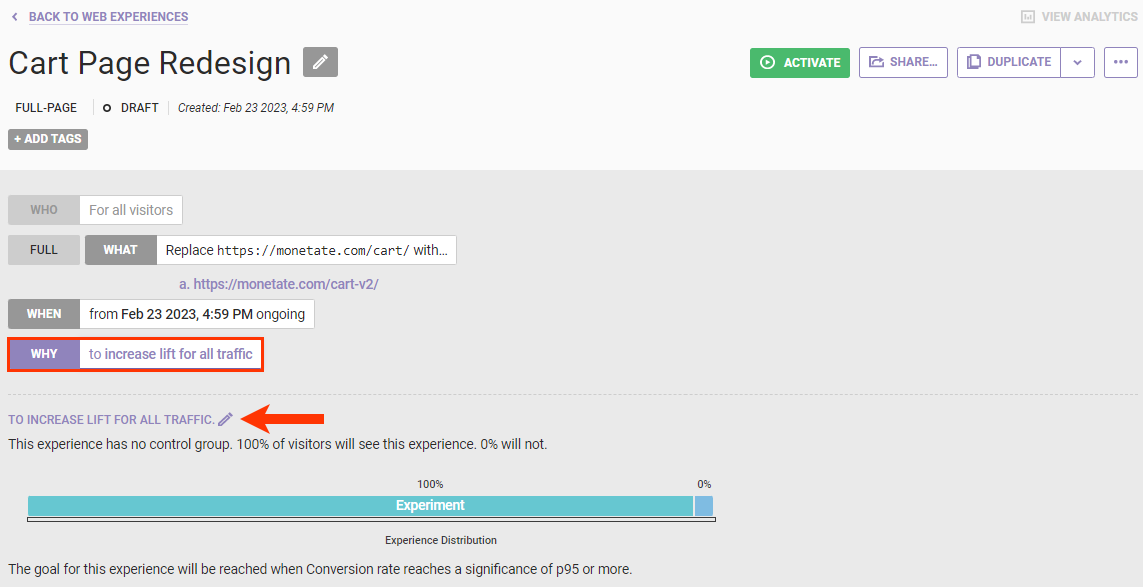
- Place your mouse pointer on the metric you want to remove from the Experience Metrics table, and then click the delete icon (–) that appears.
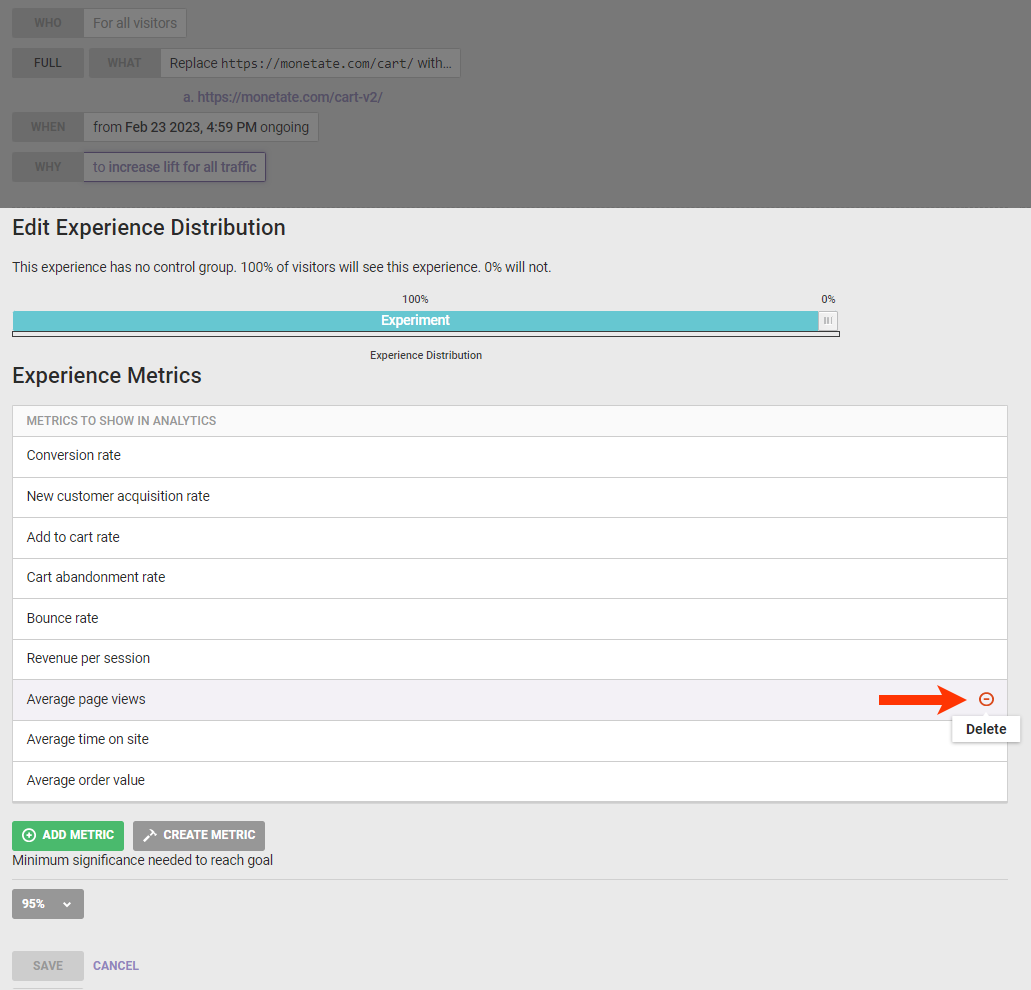
- Repeat the previous step as necessary to remove additional metrics.
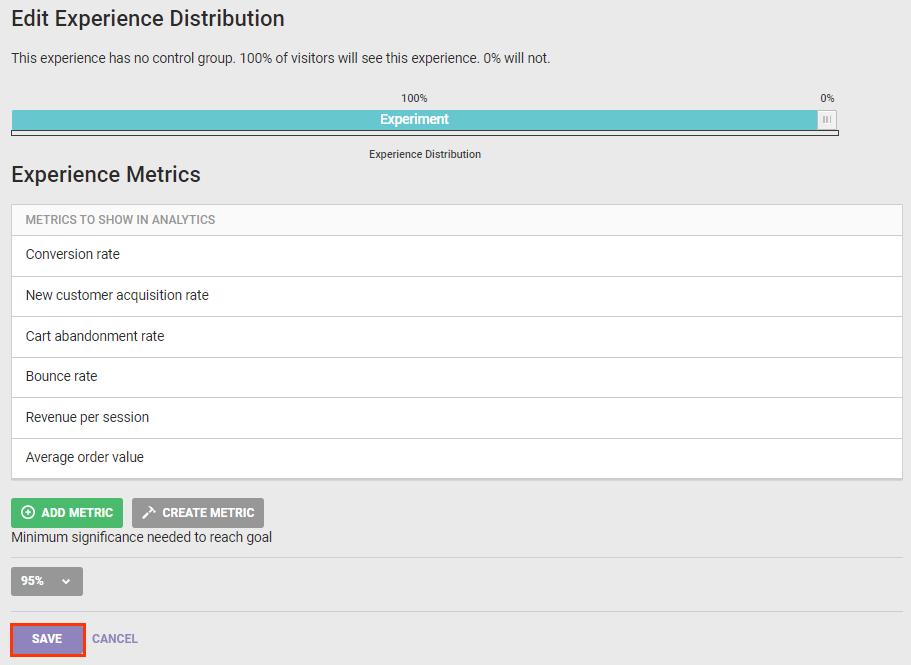
- Click SAVE.
Adding Metrics
Follow these steps to add metrics to the experience.
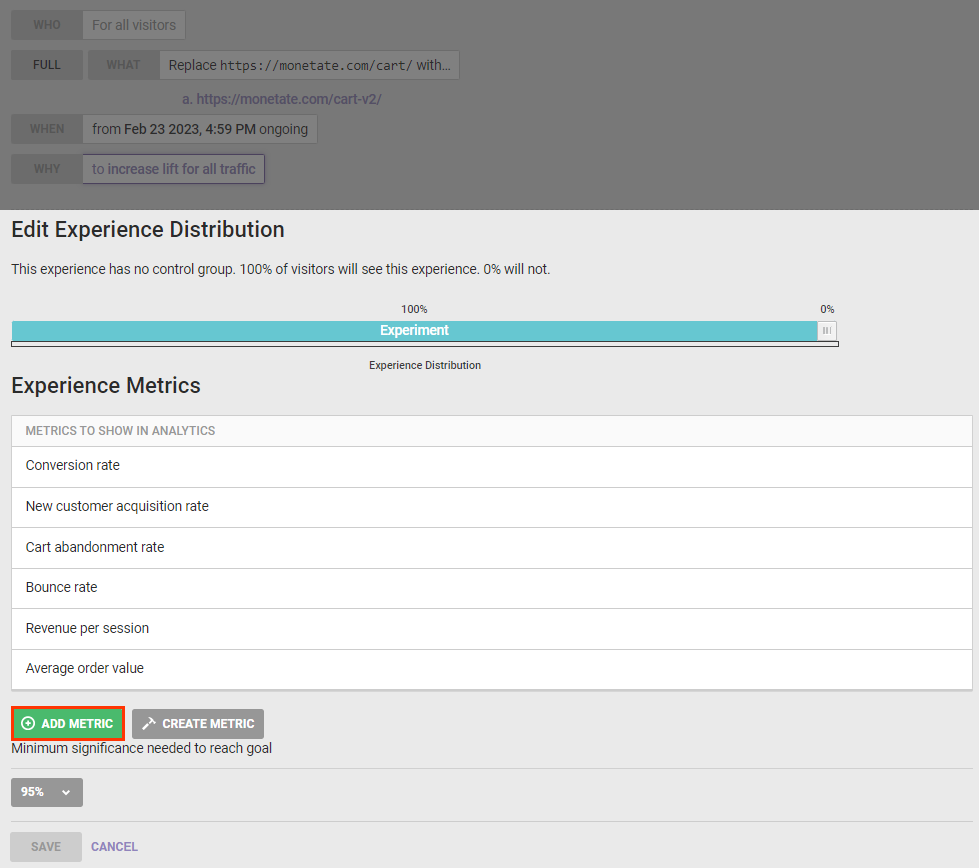
- Click the WHY and then click the WHY statement.
- Click ADD METRIC.
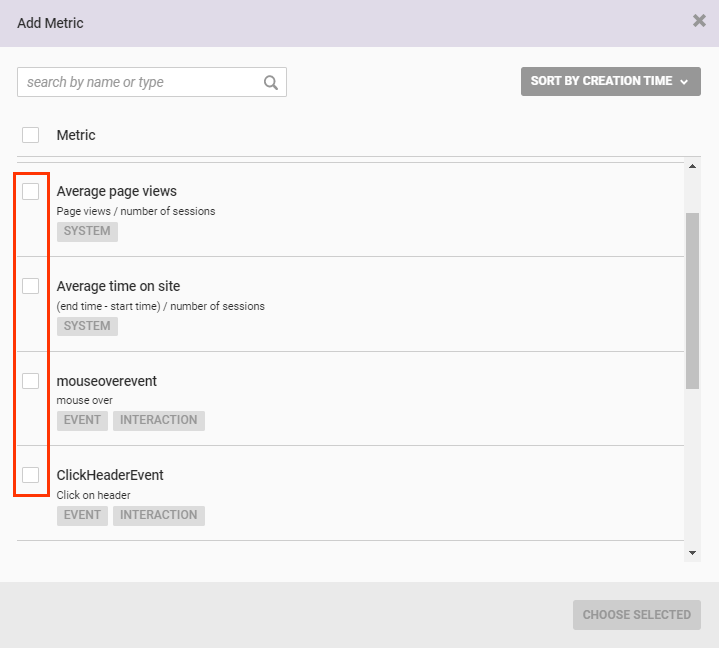
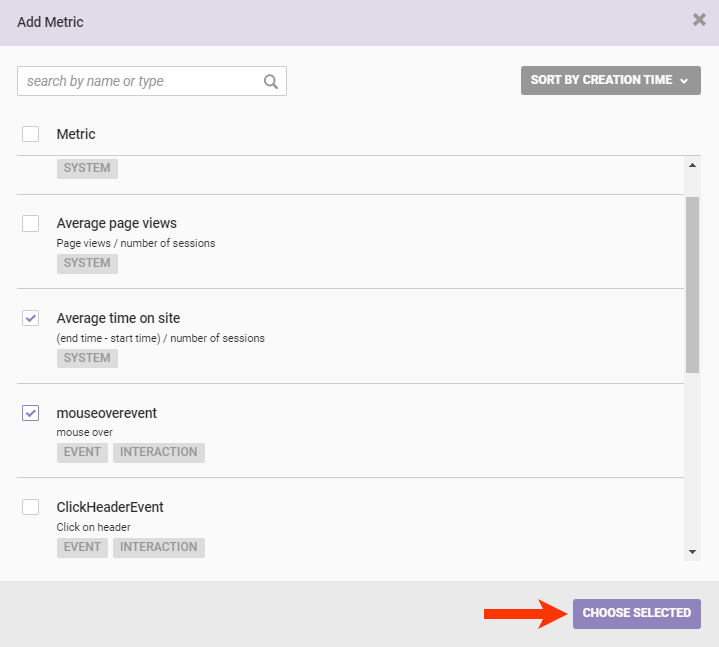
- Select each additional metric you want reported for the experience.
- Click CHOOSE SELECTED.
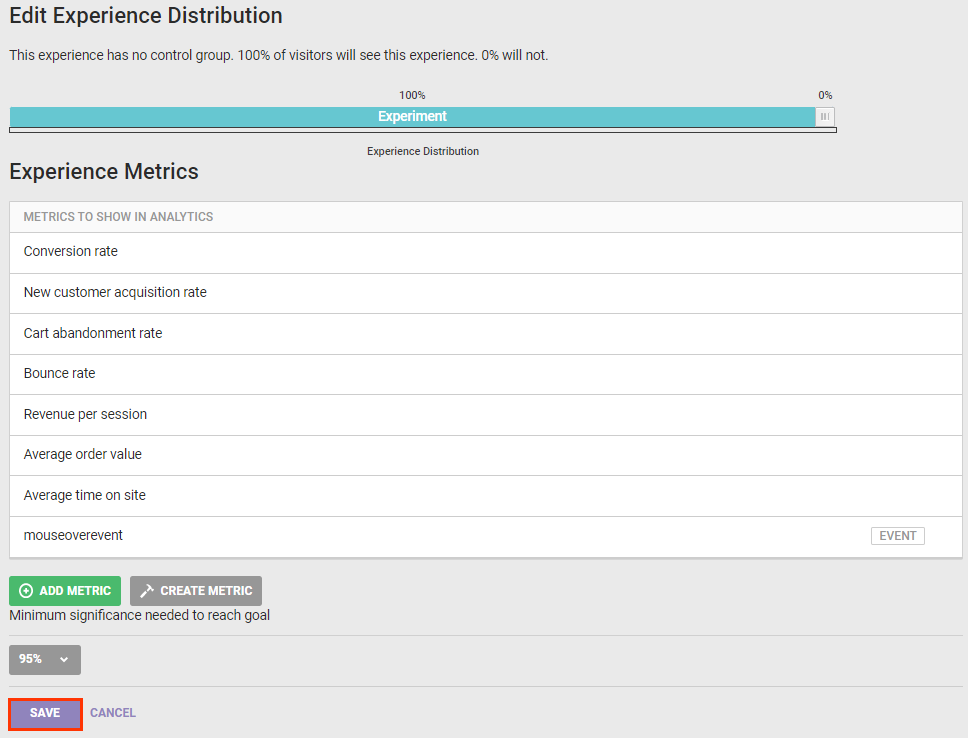
- Click SAVE.
You can create a new metric for the experience from the WHY settings. Click CREATE METRIC to leave the Experience Editor page and launch Event Builder on your site.
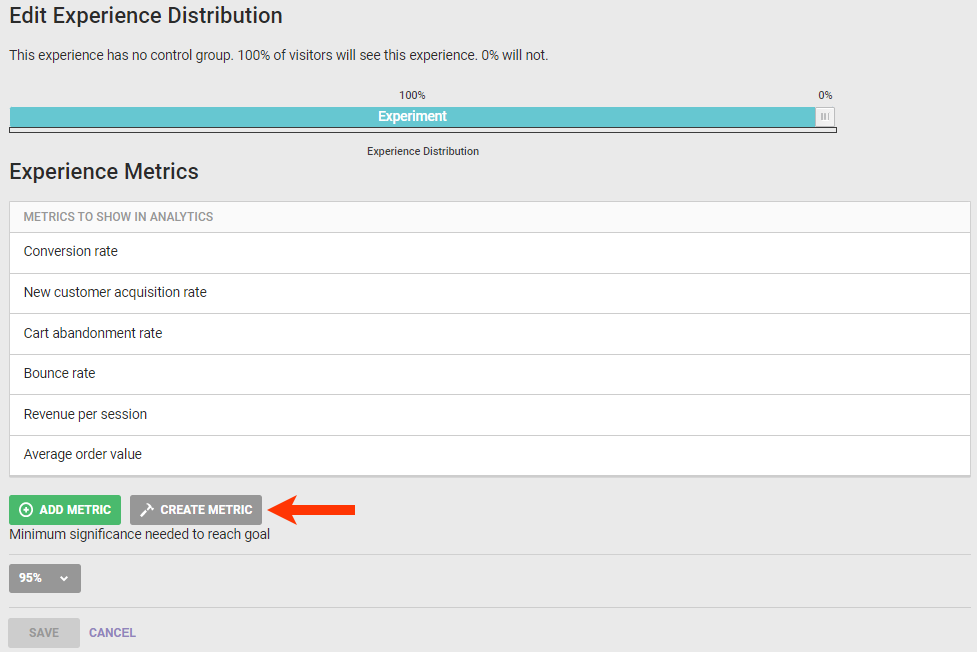
See the Measuring Events category of the knowledge base for more information about using Event Builder.
Changing the Goal Metric
Follow these steps to change the experience's goal metric.
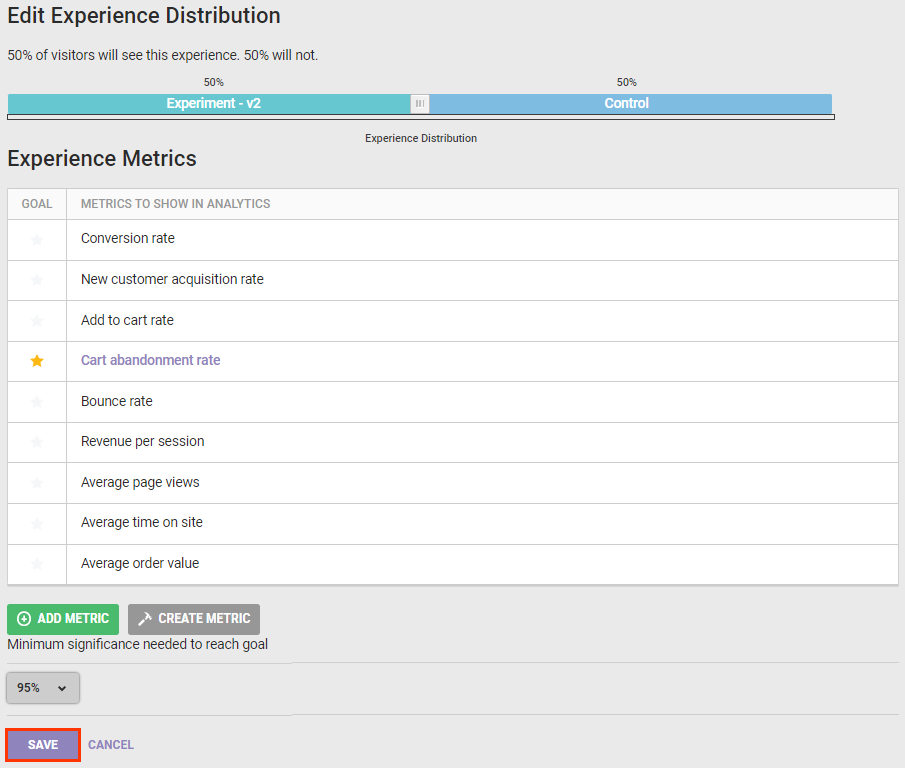
- Click WHY and then click the WHY statement.
- Place your mouse pointer on the metric that you want to make the goal metric, and then click the blue star icon that appears.
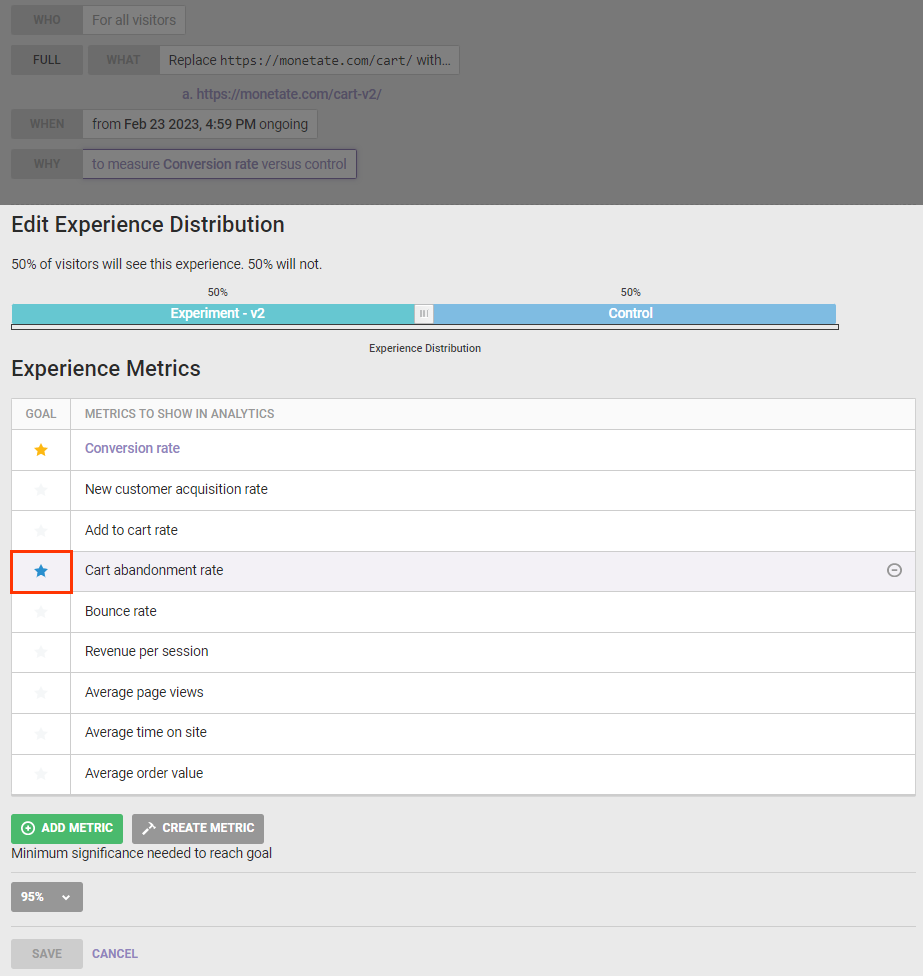
- Optionally, select an option to adjust the minimum statistical significance needed to reach the goal.
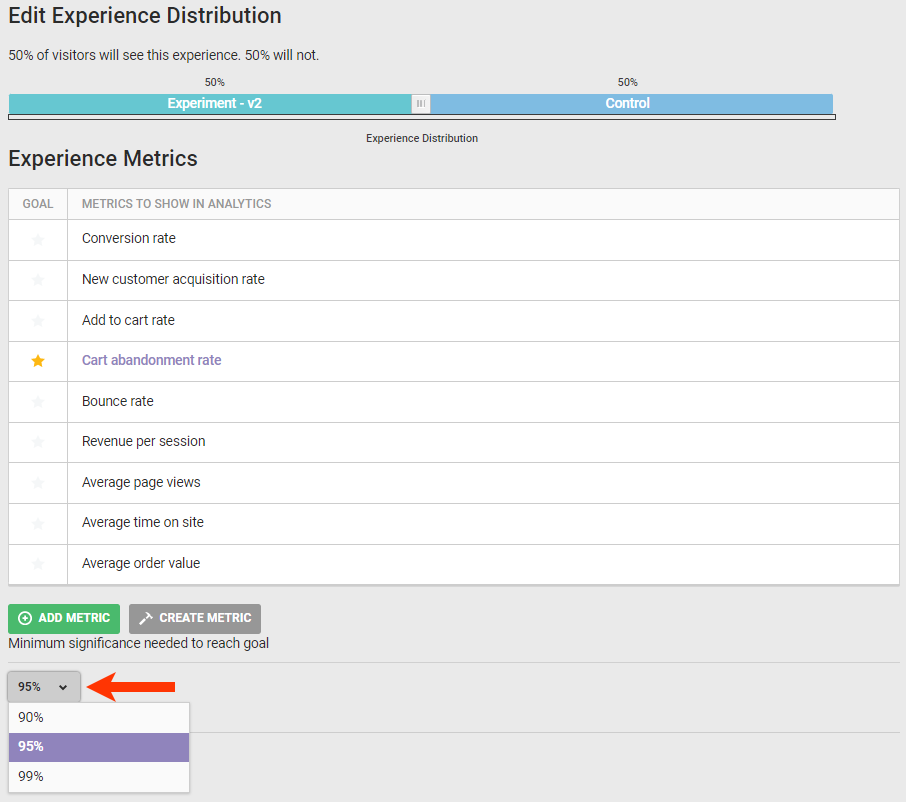
- Click SAVE.
Previewing the Experience
The only way to preview a FPT experience is to generate a link. Follow these steps to generate the preview link.
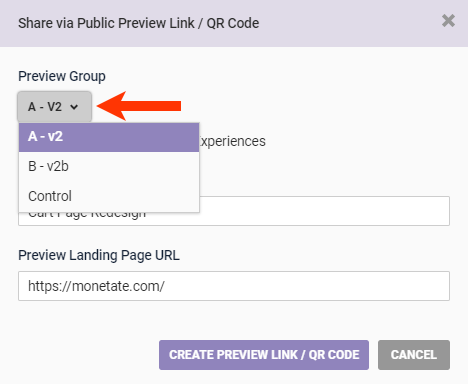
- Click SHARE.
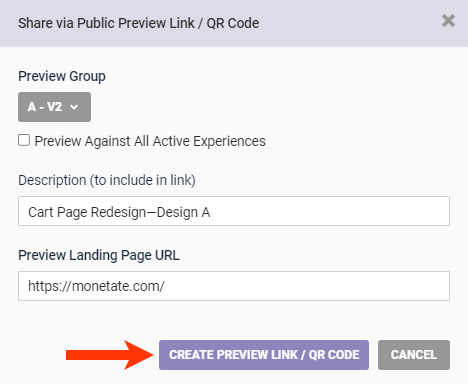
- If the experience has multiple replacement pages, select one from Preview Group.
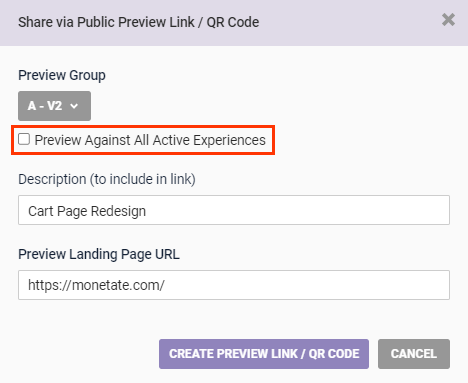
- Optionally, select Preview Against All Active Experiences if you want the preview to show how the replacement page appears with all other active experiences.
- Edit the description as necessary.
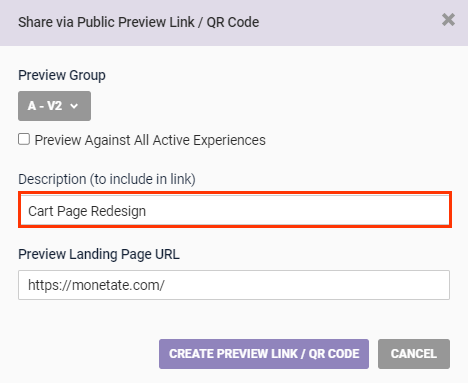
- Click CREATE PREVIEW LINK/QR CODE.
- Click COPY URL and then click DONE.
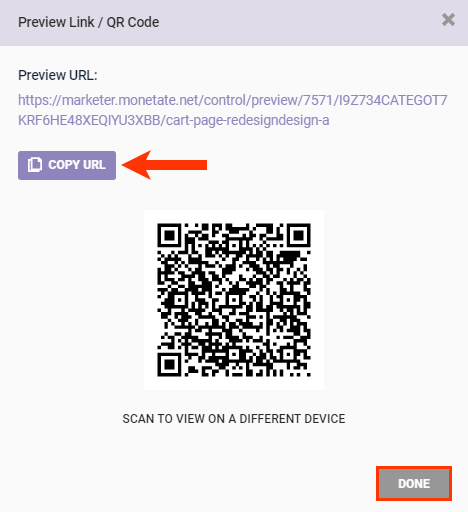
The link generated allows others within your company to preview the experience without requiring login credentials for Monetate.