Standard Test experiences allow you to test different versions of some change on your site against a control variant. You can learn more about the behavior of your customers and test new content before pushing it to a larger portion of your audience or to your entire audience using a 100% Experience. Each site visitor in the defined audience sees a random variant from the experience you build. Site visitors remain in this variant group for the duration of their session.
Follow these steps to build a Standard Test Web experience.
- Click Experiences in the left-hand navigation, and then, if necessary, select Web.

- Click CREATE EXPERIENCE.

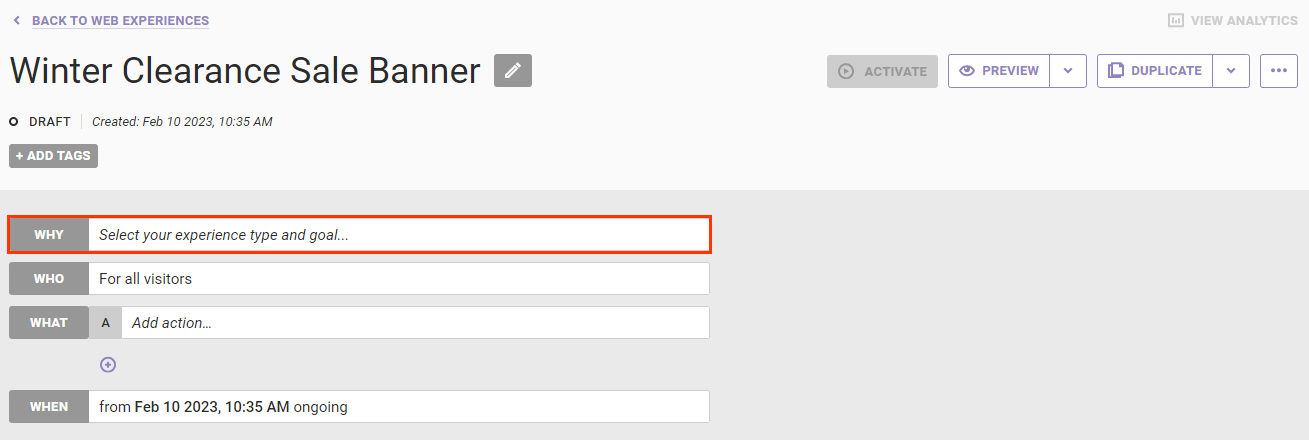
- Name the experience.

- Configure the WHY settings.
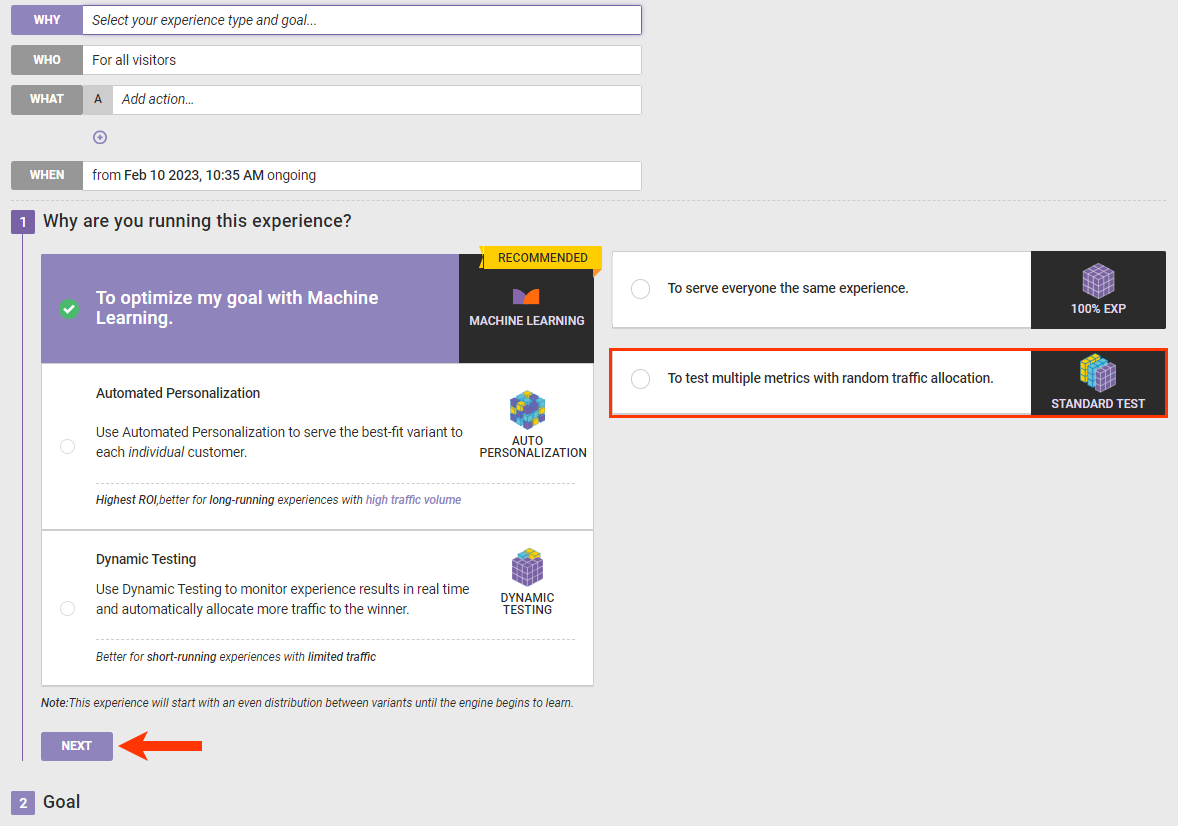
- Click WHY.
- Select STANDARD TEST and then click NEXT.
- Select a goal metric, adjust the statistical significance level for the goal metric if necessary, and then click NEXT.
- Configure as necessary the secondary metrics by one or both of these options. Click NEXT to confirm the secondary metrics after you configure them.
- Remove any default secondary metrics as necessary. Hover over a metric name, and then click the circled minus icon (⊖) that appears at the end of the row.
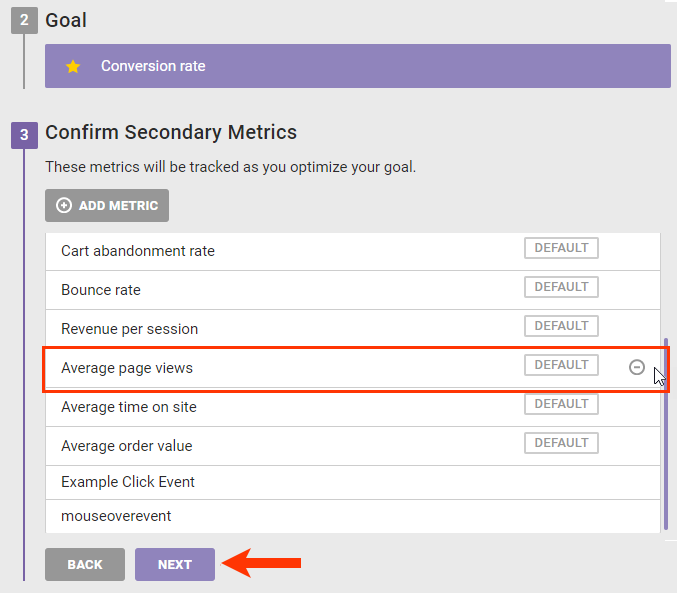
- Add custom metrics or default metrics that you removed by clicking ADD METRIC, selecting one or more of the options in the Add Metrics modal, and then clicking CHOOSE SELECTED.
- Remove any default secondary metrics as necessary. Hover over a metric name, and then click the circled minus icon (⊖) that appears at the end of the row.
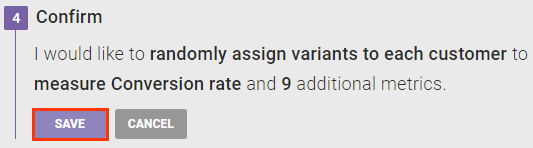
- Confirm that the WHY summary statement is accurate, and then click SAVE.
- Click WHY.
- Optionally, configure the experience to target a more specific group of site visitors instead of all visitors, the default setting. Click WHO, click ADD TARGET, select a target type, and then complete the settings for that target. See Configure the WHO of a Web Experience and Types of WHO Targets for more information about target options and settings.

- Configure the WHAT settings.
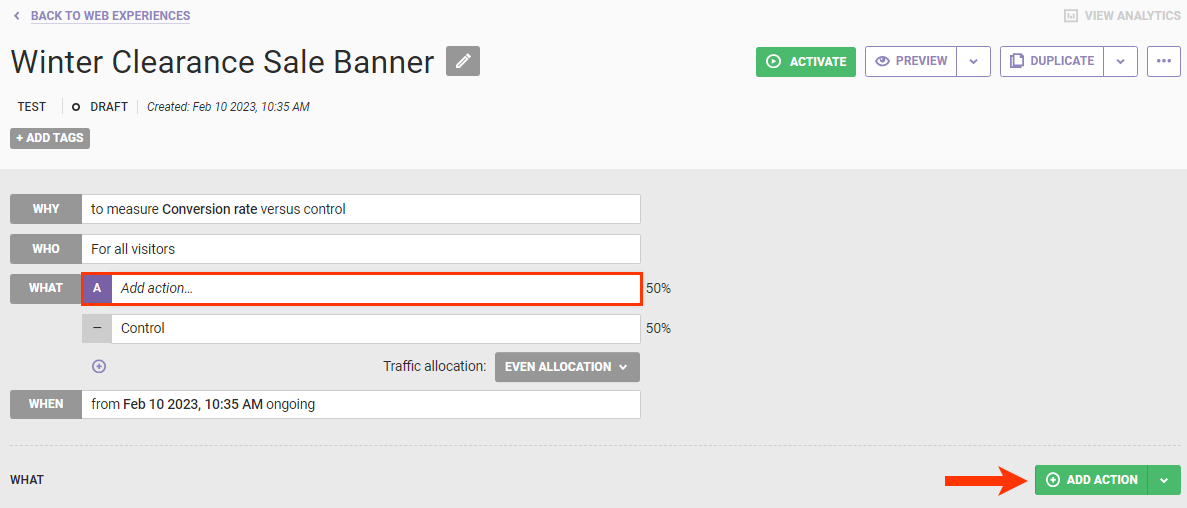
- Configure at least one WHAT action. Click the A field, click ADD ACTION, select an action type, and then complete the settings for that action. Refer to the Building Actions category of the knowledge base for more information.
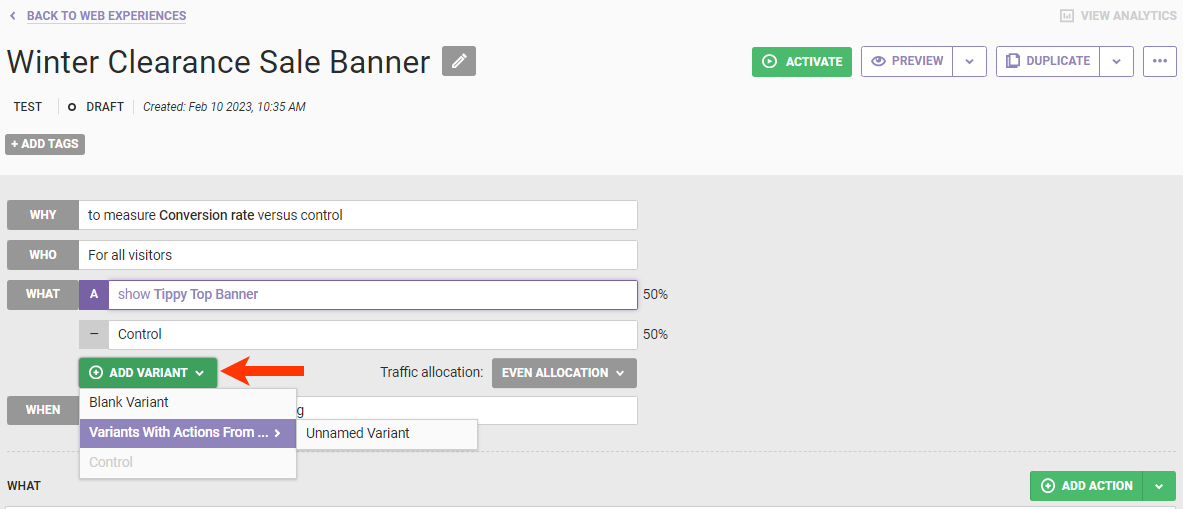
- Optionally, add more variants to test multiple versions of action A. Hover your mouse pointer over the plus sign (+) under the Control field of the WHAT settings, click ADD VARIANT when it appears, select an option, and then configure the variant. See Add Variants to a Web Experience for more information.
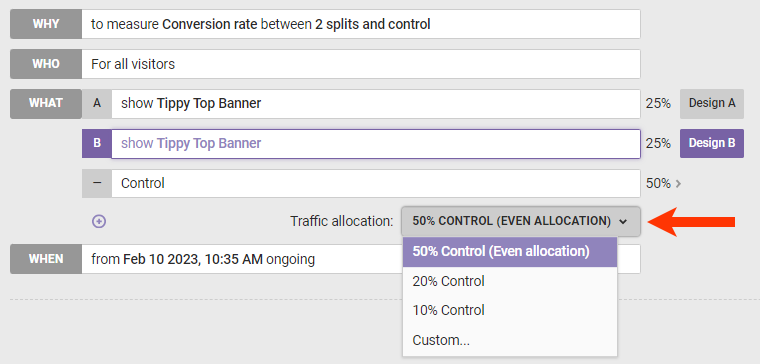
- Optionally, configure the traffic allocation for each variant and the control.
- Configure at least one WHAT action. Click the A field, click ADD ACTION, select an action type, and then complete the settings for that action. Refer to the Building Actions category of the knowledge base for more information.
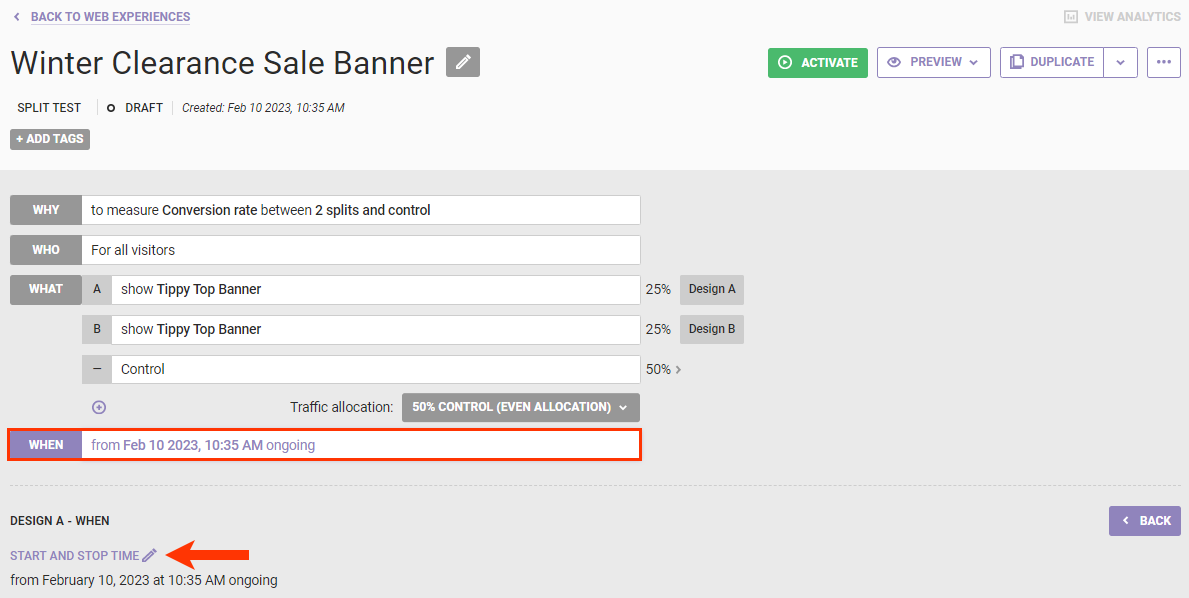
- Click WHEN, click START AND STOP TIME, and then configure the date and time settings for the experience. See Configure the WHEN of a Web Experience for more information.
- Click PREVIEW and then select the option that corresponds to the variant you want to preview and if you want to preview it alone or with all other active experiences. See Activate an Experience for Preview and Testing for more information.

- Click ACTIVATE to deploy the experience to your site as determined by the WHEN configuration.

Refer to Experience Priority and Enable Auto-Promotion for Experiences for more information about how experiences are prioritized.