The Personalized Search Results and Personalized Search Suggestions action templates work together in a single Web experience to bring the suggested search terms and site-wide product search features of Personalized Search to your site without requiring you to implement calls to Monetate's Personalized Search API.
Monetate works with you to customize each action template so that they're configured to include certain options that you would otherwise be sending in Auto-Suggestions requests and Personalized Site Search query requests to the Personalized Search API. These customizations include the search method, results-filtering options customers can apply, as well as the default results-sorting order.
Creating the Web Experience
Follow these steps to configure the Personalized Search Results and Personalized Search Suggestions actions in a Web Experience.
- Click EXPERIENCES in the top navigation bar, and then, if necessary, select Web.
- Create a new Web experience, and ensure that you select To serve everyone the same experience when configuring the WHY settings.
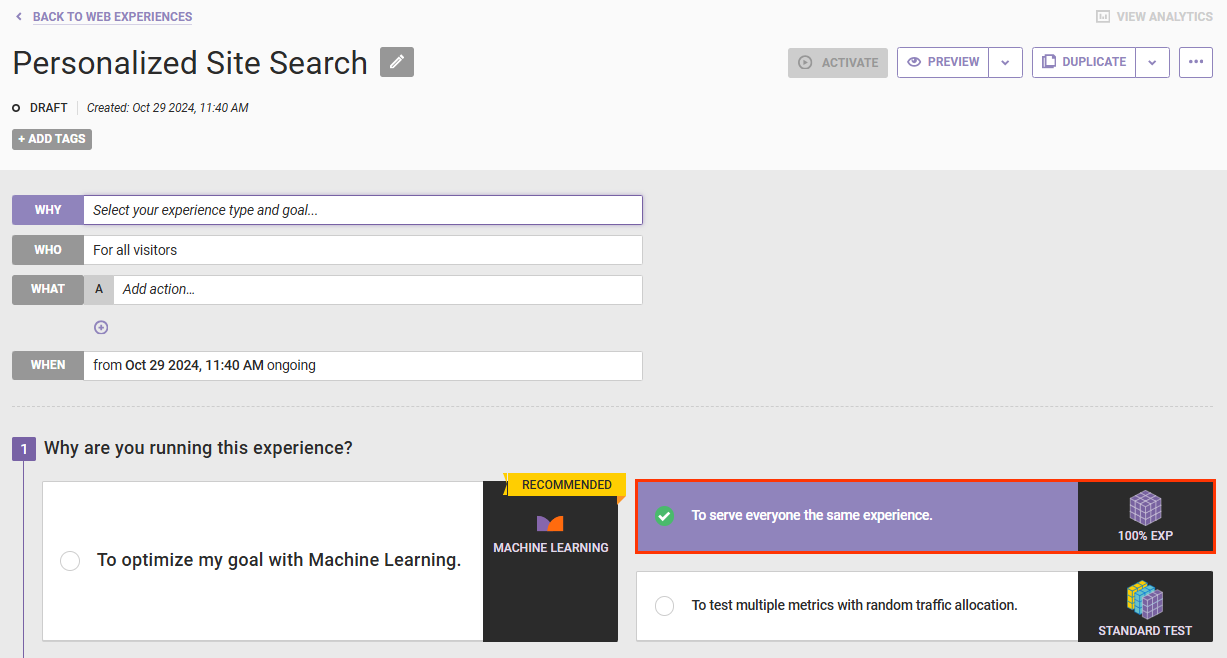
- Leave the WHO settings configured to For all visitors since the experience must work for everyone who visits your site.
- Add the Personalized Search Results action to the WHAT settings by following the steps in Configuring a Personalized Search Results Action.
- Add the Personalized Search Suggestions action to the WHAT settings by following the steps in Configuring a Personalized Search Suggestions Action.
- If you added the Personalized Search Results action to the WHAT settings of the Personalized Site Search Web experience after adding the Personalized Search Suggestions action, then ensure that you change the action priority so that the Personalized Search Results action is first.
- If necessary, configure the WHEN settings.
- Verify that the required Omnichannel Personalized Search experience is active, and then click PREVIEW to ensure that the search features are working as expected on your site.

- Click ACTIVATE.

In addition to the experience's results, you can view analytics specific to Personalized Search on the Personalized Site Search dashboard. Refer to Personalized Site Search Analytics for more information.
Configuring a Personalized Search Results Action
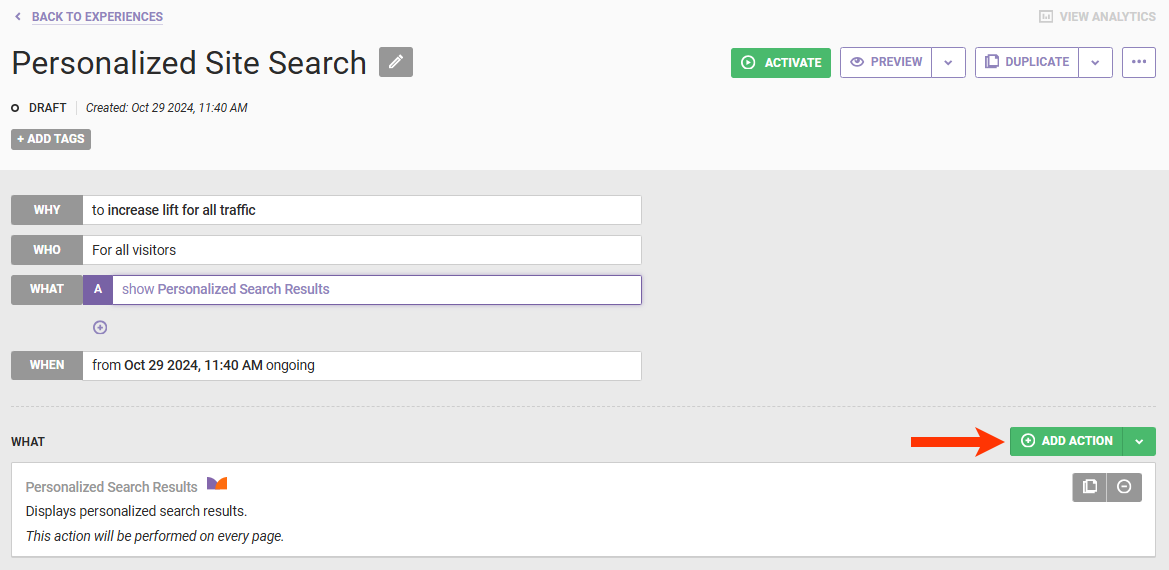
Follow these steps to add the Personalized Search Results action to the Personalized Site Search Web experience.
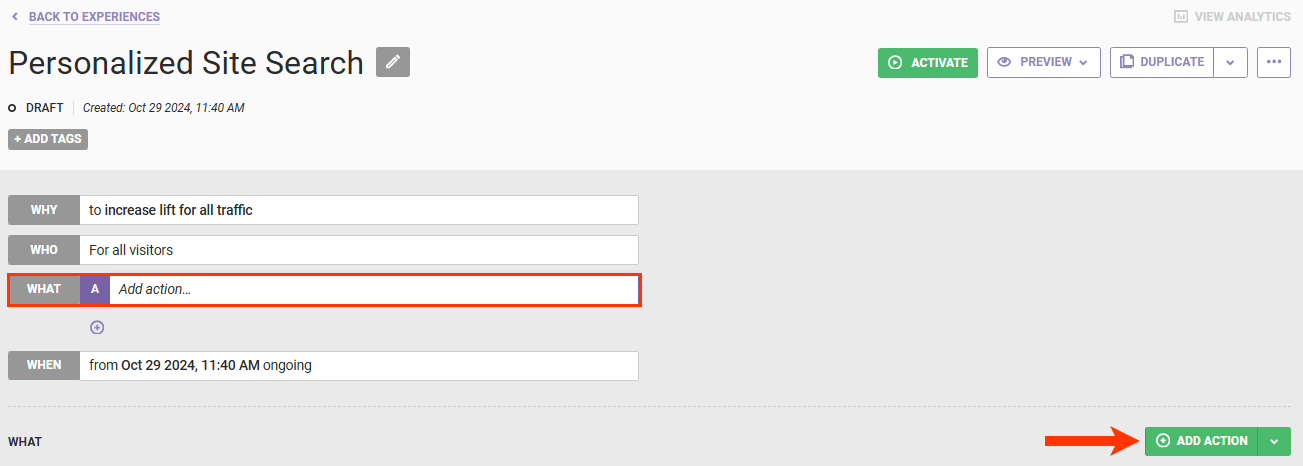
- Click WHAT and then click ADD ACTION.
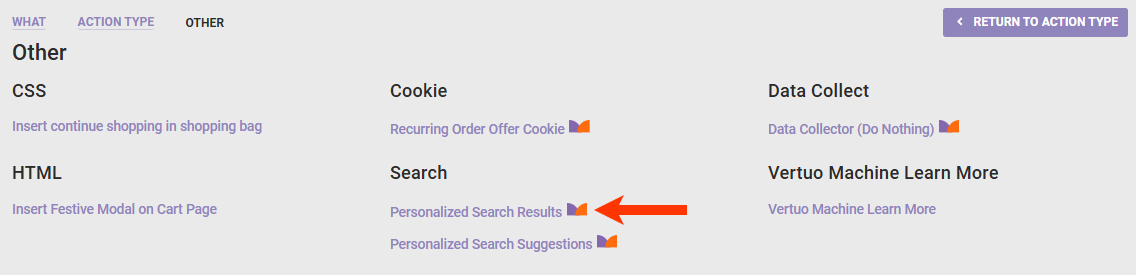
- Click Other.
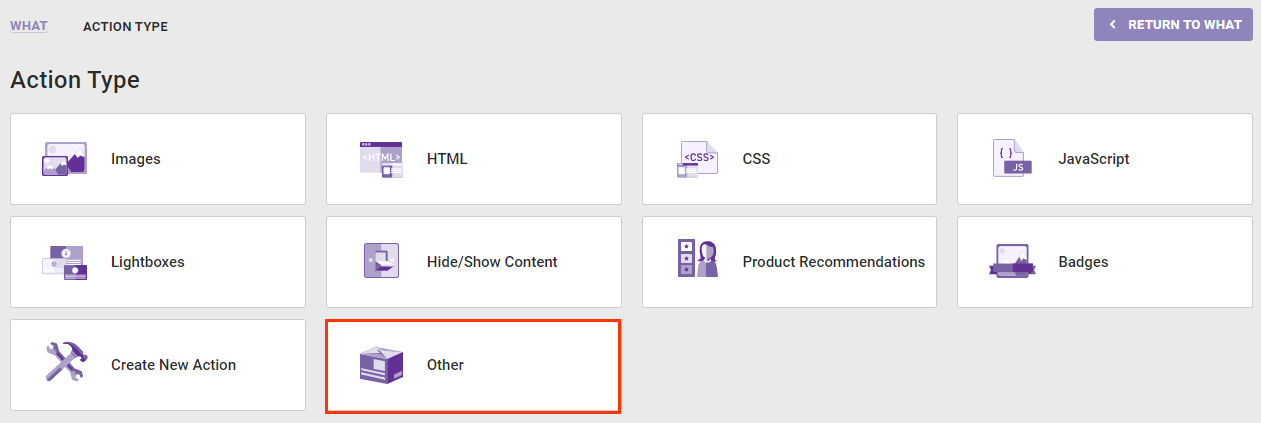
- Click Personalized Search Results.
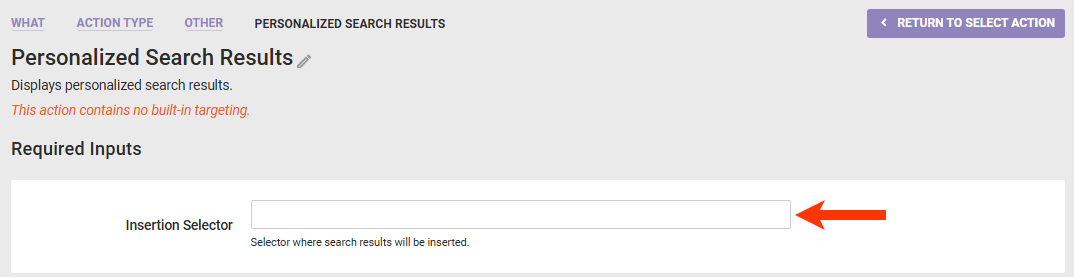
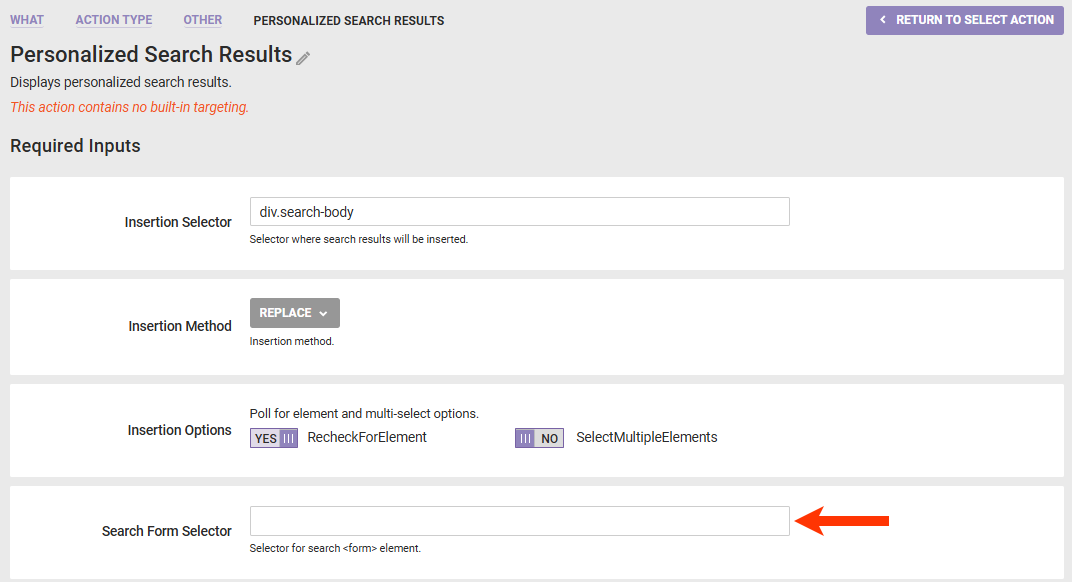
- Input the CSS selector identifying where on your site's search results page the results should appear. See Working with Element Selectors for more information.
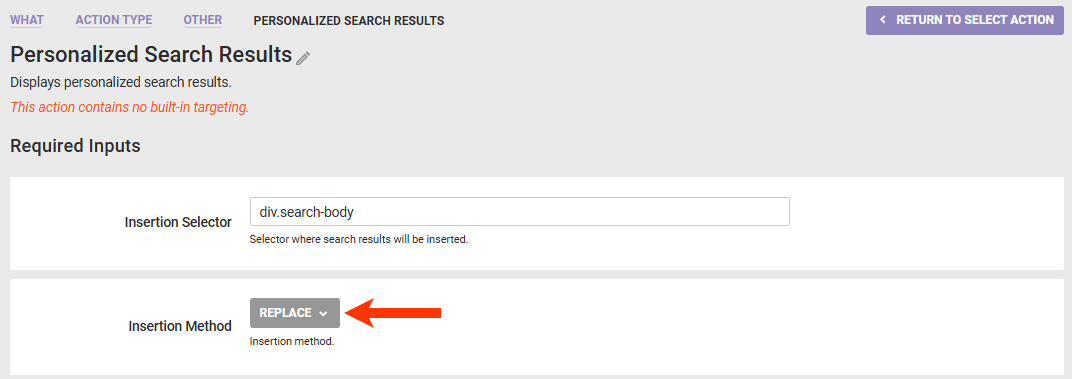
- Select an option from Insertion Method to determine where the search results should be inserted relative to the selector you input in the previous step.
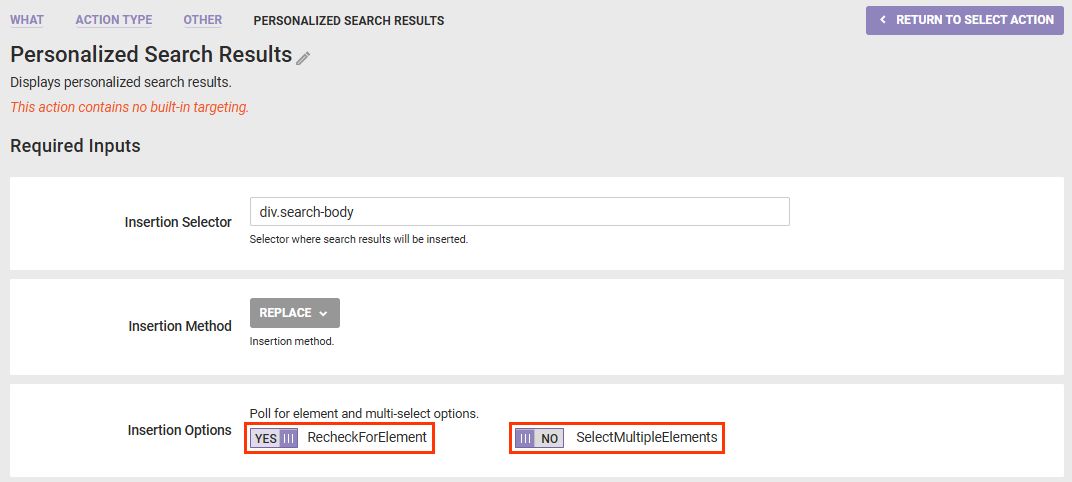
- Optionally, toggle RecheckForElement to NO if you do not want Monetate to recheck for the selected node for up to 3 seconds if it doesn't find it immediately. Toggle SelectMultipleElements to YES if you want Monetate to display the search results at every occurrence of the selected node on the page if it finds multiple occurrences.
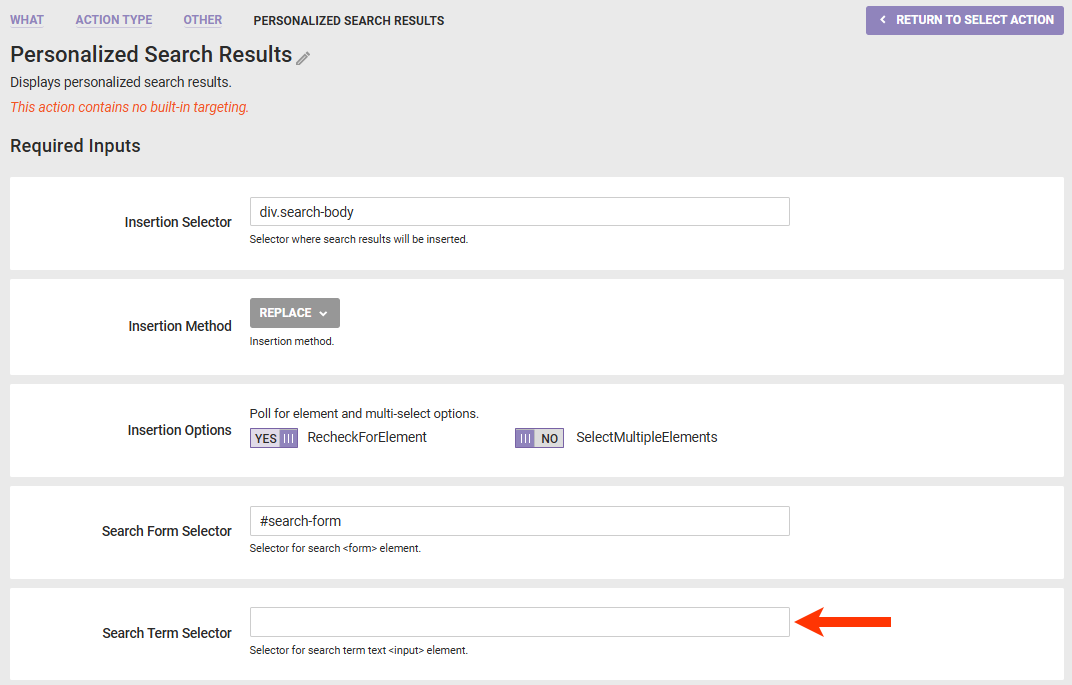
- Input into Search Form Selector the CSS selector identifying the container for your site's search functionality.
- Input into Search Term Selector the CSS selector identifying the field or other element into which customers type their search terms.
- Enter into Result Limit the number of results that you want to appear per search results page.

- Only if necessary, modify the HTML in Search Container, which is code for the container that you identified in step 4; in Product Container, which is the code that controls how the information about each result is displayed; and in Search Container When No Results Are Returned, which is the code for the container that you identified in step 4 and that appears when Personalized Search can't identify any matches for the customer's search query. Refer to Modifying the Container Templates for more information.
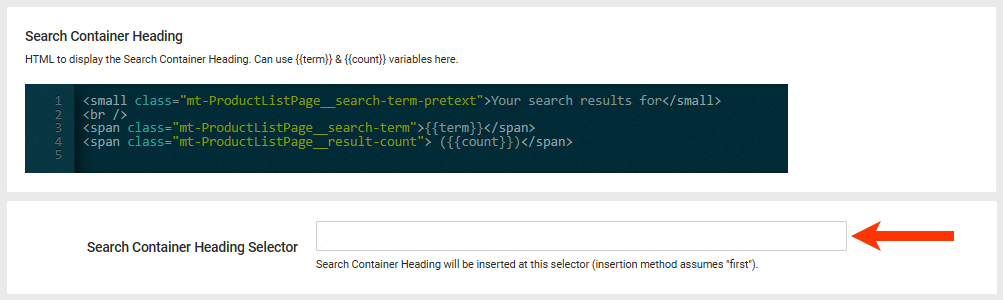
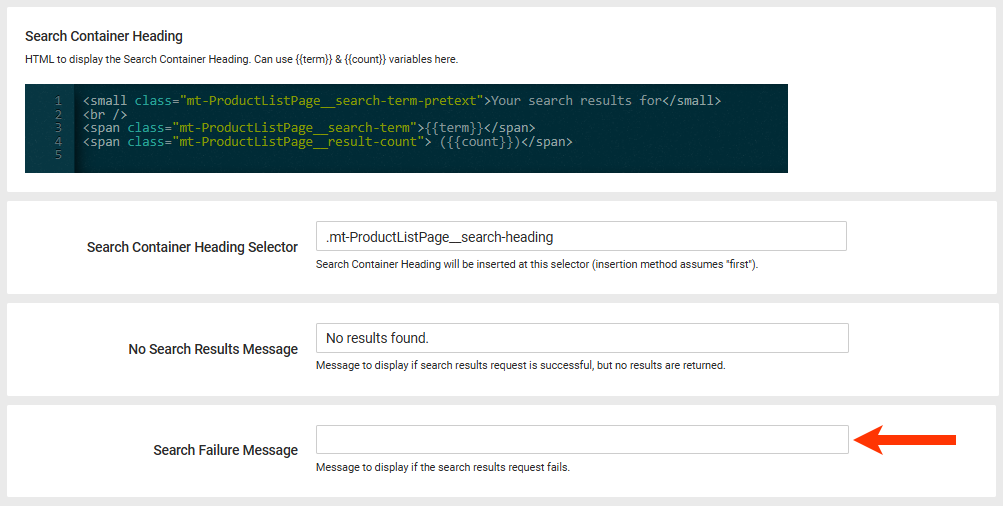
- As necessary, modify the HTML in Search Container Heading, which is the text that appears typically at the top of a search results page that informs the customer of the total results found that match their search query.

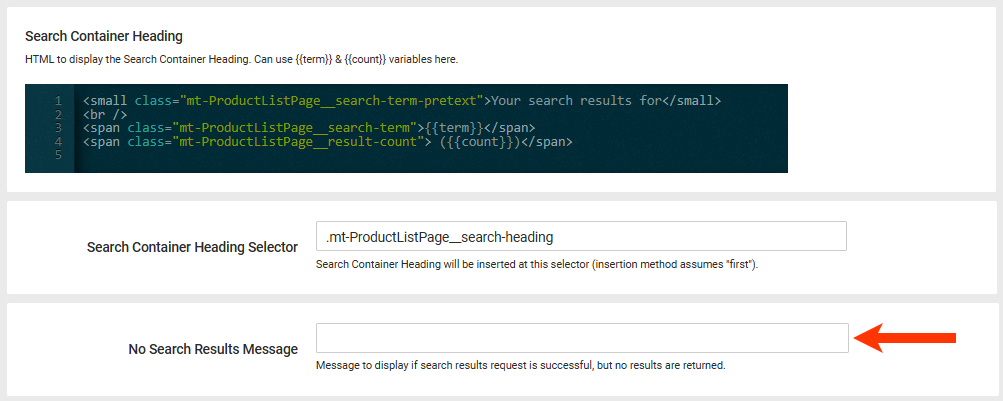
- Input into Search Container Heading Selector the CSS selector identifying where on your site's search results page Monetate should insert the code in in Search Container Heading.
- Input into No Search Results Message the text that you want to appear in the container that you identified in step 4d when Personalized Search can't identify any matches for the customer's search query.
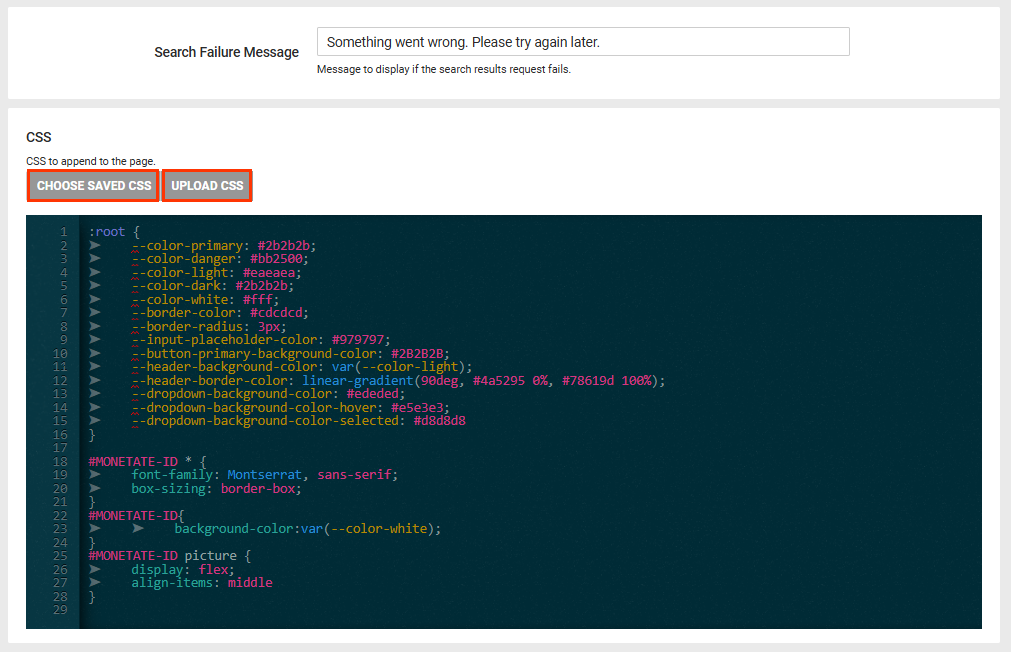
- Input into Search Failure Message the text that you want to appear in the container that you identified in step 4d if Personalized Search encounters an error when performing the site search query request.
- As necessary, revise the CSS that is appended to your site's search results page, or click CHOOSE SAVED CSS or UPLOAD CSS to insert code into the editor.
- Optionally, add one or more action conditions. Click ADD CONDITION and then select and configure an option to set any conditions that must be met for the action to fire. See Action Conditions for more information.
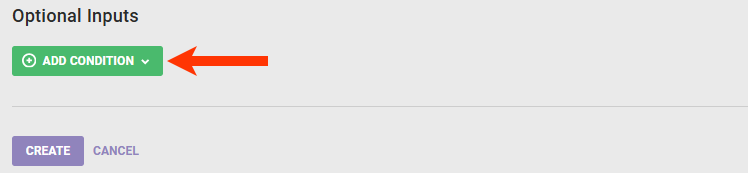
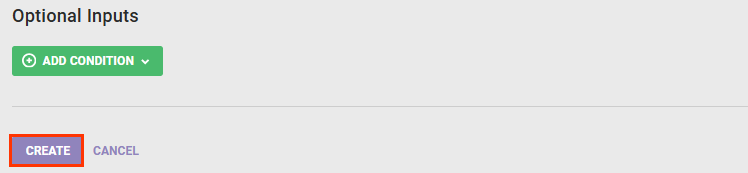
- Click CREATE.
You must still add the Personalized Search Suggestions action to the experience if you want to suggest search terms and products to customers as they type their search queries.
Configuring a Personalized Search Suggestions Action
Follow these steps to add the Personalized Search Suggestions action to the Personalized Site Search Web experience.
- Click ADD ACTION.
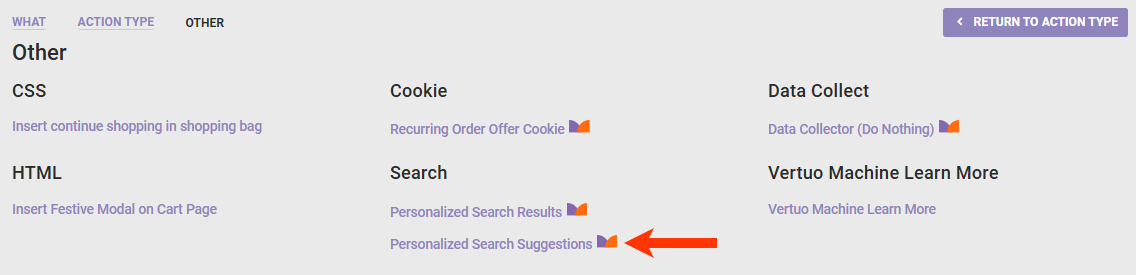
- Click Other.
- Click Personalized Search Suggestions.
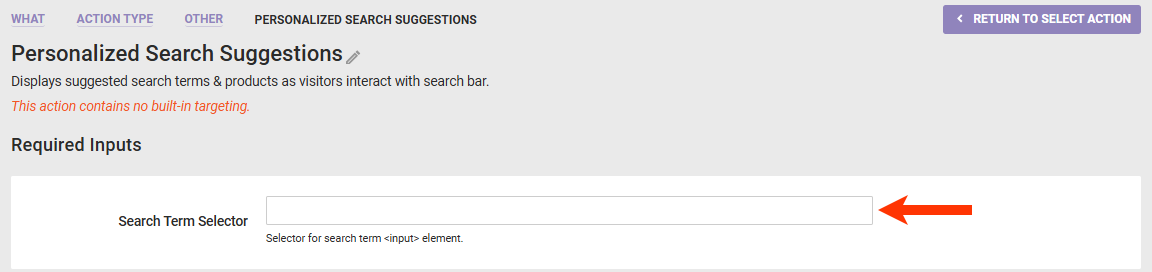
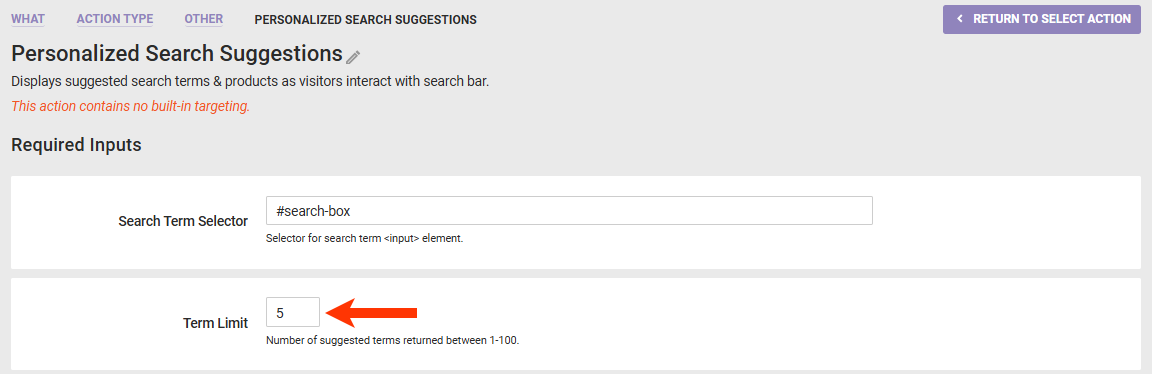
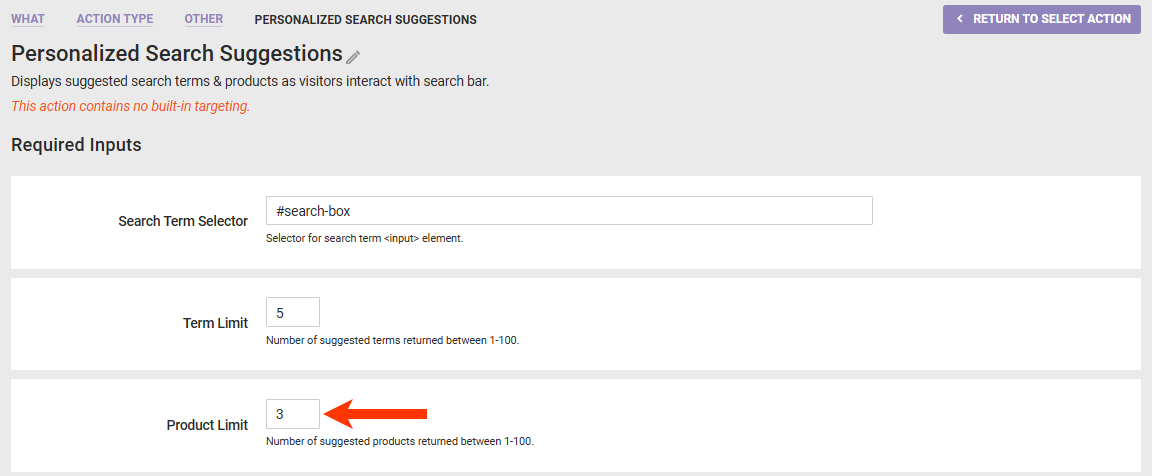
- Input into Search Term Selector the CSS selector identifying the field or other element into which customers type their search terms. See Working with Element Selectors for more information.
- Enter into Term Limit the number of complete search queries that you want to suggest as the customer types their search query.
- Enter into Product Limit the number of products that you want to suggest as the customer types their search query.
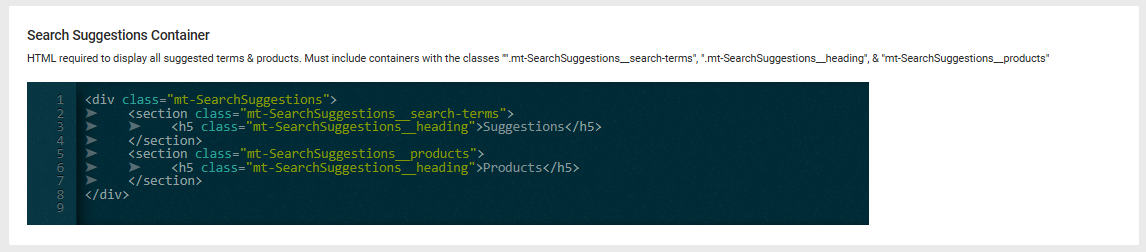
- Only if necessary, modify the HTML in Search Suggestions Container. Refer to Modifying the Container Templates for guidance.
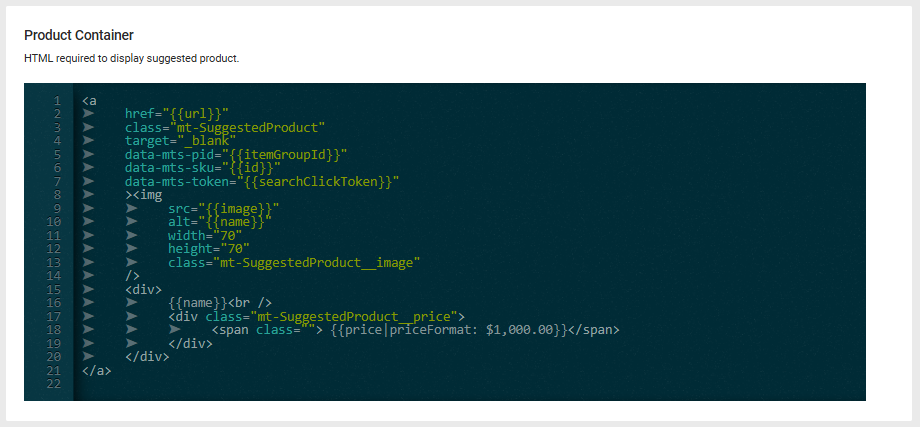
- As necessary, modify the HTML in Product Container, which is the text that appears typically at the top of a search results page that informs the customer of the total results found that match their search query. Refer to Modifying the Container Templates for guidance.
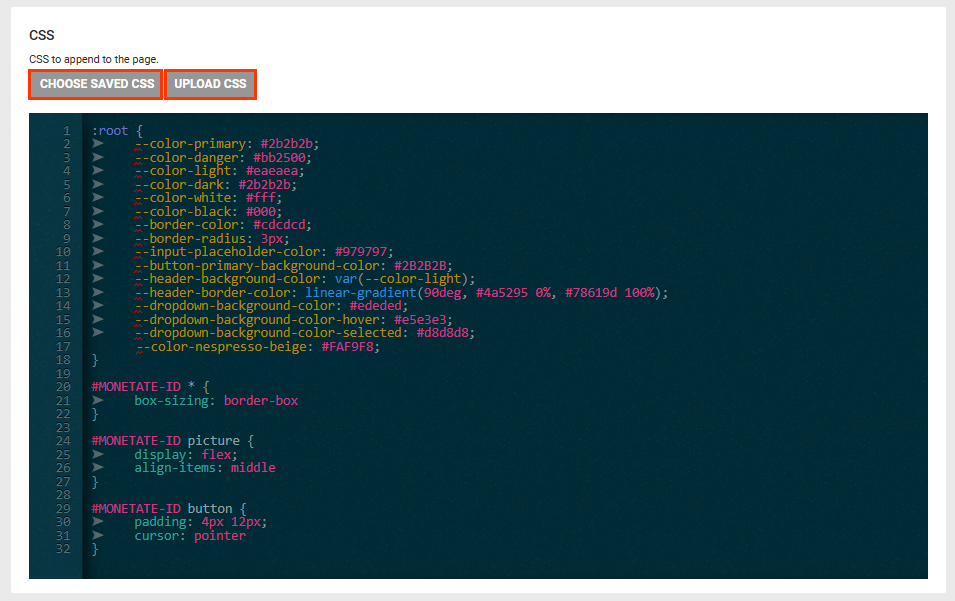
- As necessary, revise the CSS that is appended to your site's search results page, or click CHOOSE SAVED CSS or UPLOAD CSS to insert code into the editor.
- Optionally, add one or more action conditions. Click ADD CONDITION and then select and configure an option to set any conditions that must be met for the action to fire. See Action Conditions for more information.
- Click CREATE.
Modifying the Container Templates
If you customize the HTML in the container templates in either the Personalized Search Results action or the Personalized Search Suggestions action, ensure that they still contain the class attribute values as described herein.
Search Container
The HTML in Search Container in the Personalized Search Results action must include the following code:
div.mt-Pagination— The outer container for results pages pagination buttons.mt-Pagination__button[aria-label="Previous"]— The button for navigating to the previous page.mt-Pagination__button[aria-label="Next"]— The button for navigating to the next page.mt-Pagination__text - pagination text— The text stating the current page number in relationship to the total pages (for example,Page 2 of 10)
.mt-Select— The outer containers for Sort by and Items per page settings.mt-Select__button— The Sort by and Items per page buttons.mt-Select__label— The label for the Sort by and Items per page buttons.mt-Select__list[data-label="sort"]— The list of Sort by options.mt-Select__list[data-label="limit"]— The list of Items per page options.mt-Select__item[data-name="Relevance"][data-value="RELEVANCE"]— Each option for the Sort by and Items per page settings
If you need assistance customizing the HTML in Search Container, contact your Monetate CSM.
Search Suggestions Container
If you modify the HTML in Search Suggestions Container in the Personalized Search Suggestions action, then ensure that it still includes elements with these class attribute values:
.mt-SearchSuggestions__search-terms— Identifies the section or container for the suggested search terms.mt-SearchSuggestions__heading— Identifies the heading for a section or container in which suggested search terms or products appear.mt-SearchSuggestions__products— Identifies the section or container for products
If you need assistance customizing the HTML in Search Suggestions Container, contact your Monetate CSM.
Product Container
The HTML in Product Container in the Personalized Search Results action as well as the Personalized Search Suggestions action must include the attribute data-mt-token="{{searchClickToken}}" on the outermost element of the container for Monetate to report when customers click a product on a search results page.
Best Practices
So that the Personalized Search features are available to site visitors as quickly as possible during page load, keep the following best practices in mind:
- Ensure that the Monetate tag code is as high in the
<head>element of every page of your site as possible. Refer to Baseline Implementation in the Monetate Developer Hub for more information. - Ensure that you make the Omnichannel Personalized Search experience one of the first experiences that fires by ranking it near the top of all your active experiences, followed by this Web experience configured with the two Personalized Site Search actions. Refer to Experience Priority for more information.
If you need assistance troubleshooting the Personalized Search features on your site, visit the Monetate Technical Support portal (support.monetate.com) to submit a support request.