Monetate actions are predefined JavaScript operations that accept parameters via JSON templates, also known as action templates, to affect a change on your site. With very few exceptions, most Monetate actions require an element selector to target where on the page the specified change should occur. With that said, the element selector and insert method are the cornerstones of many actions and a proper understanding of how to write good element selectors will enable you to effectively target any element on any page. The list below provides some basic details about element selectors and Monetate:
- The Relative Element Selector input paired with Insert Method gives you more control over where and how to insert content.
- Selectors are used in nearly all actions to specify where on the page Monetate should insert, edit, or hide content.
- Monetate actions use the Sizzle JavaScript library to enable more advanced element selectors in our Element Selector input.
- Most Monetate actions also support a global CSS input, which allows you to append any CSS3 selector and property in addition to the default action behavior.
- You cannot use Sizzle selectors in the CSS input in any action.
For additional information about selectors, see Element Selectors and Sizzle Selectors.
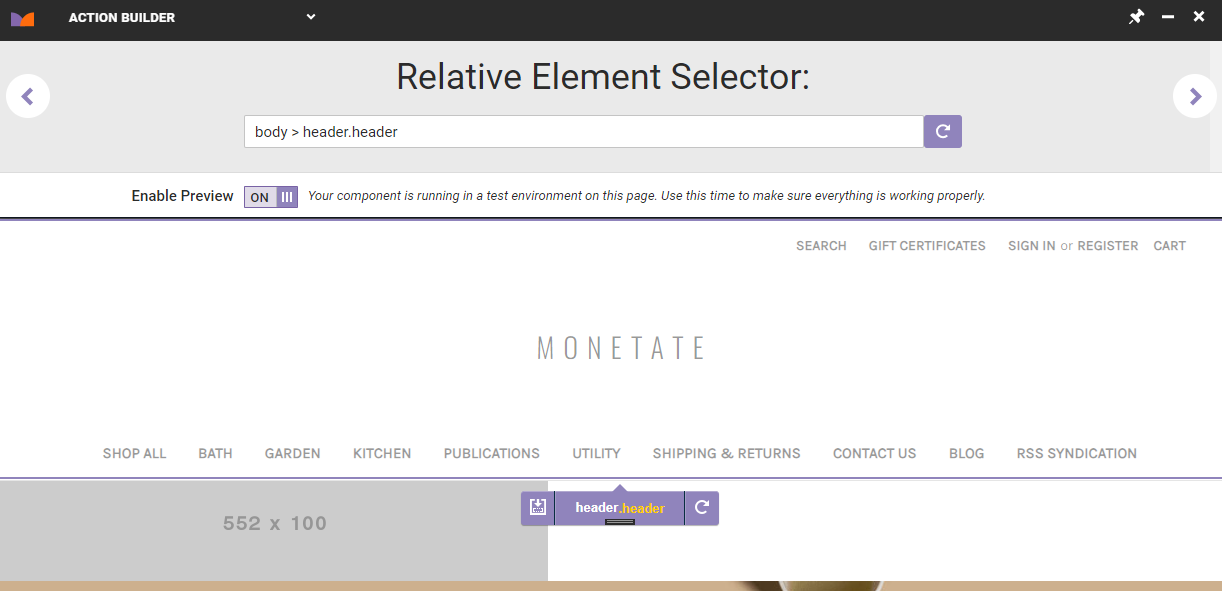
Element Selector Tool
The Monetate Builders, including Action Builder, use a selector tool to help you find the right element on the page. Click an element and the tool grabs a selector.
Unfortunately, it is not always the most intuitive or accurate and may find the nearest parent ID to the selector you have clicked. If this occurs, the tool builds a direct descendant tree down to the specific node you selected. The result is not very flexible or versatile and if the structure of the site changes even slightly, your action may fail.
While the Element Selector tool is a great place to start working on an action, in order to truly find the most robust and versatile selector with the highest chances of success across multiple similar pages, you should properly understand how to find and write effective element selectors.
Using Multiple Selectors
There may be cases where a single selector might not cover all the places you want to target an action. Perhaps the hero image on your product page has a slightly different selector than the hero image on your index pages, but you want to replace both with a single action. You can utilize multiple selectors in a single action.