You can use an impression-based event to signal that something exists or that the page exposed a customer to something but the customer didn't interact with it. For example, you can track cookies with an impression event. If your site has a cookie set of logged-in customers, you can create an impression event based on the presence of that cookie.
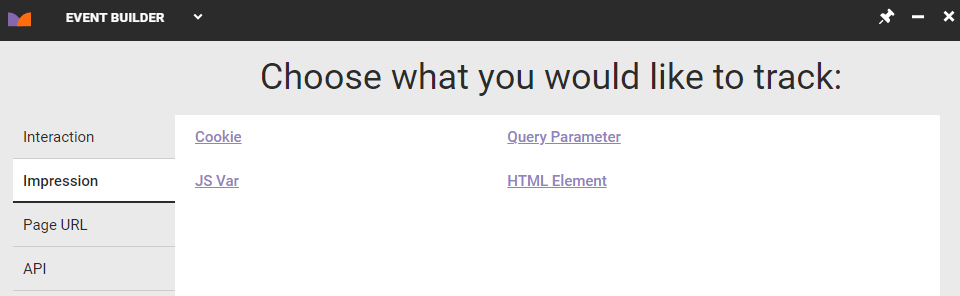
Impression events can be based on the following:
- Cookie
- JavaScript variable
- Query parameter
- HTML element
Follow these steps to build an impression-based event.
- Click COMPONENTS in the top navigation bar and then click Events.

- Click CREATE EVENT.

- Click the Impression tab.
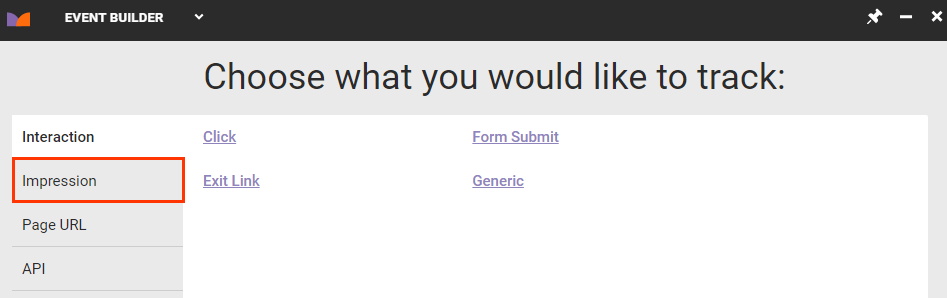
- Click the type of impression-based event that you want to build.
- If you selected Cookie in the previous step, take the following actions to complete the Details tab. If you selected JS Var in the previous step, skip to step 6. If you selected Query Parameter in the previous step, skip to step 7. If you selected HTML Element in the previous step, skip to step 8.
- Input the name of the cookie.
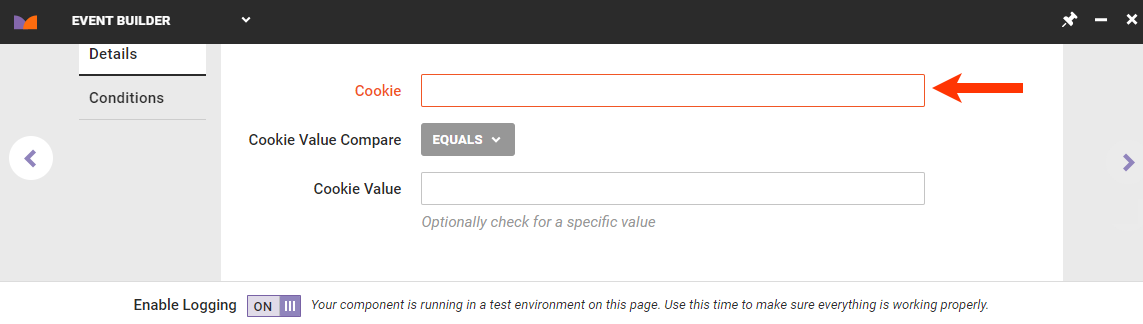
- Select an operator from Cookie Value Compare.
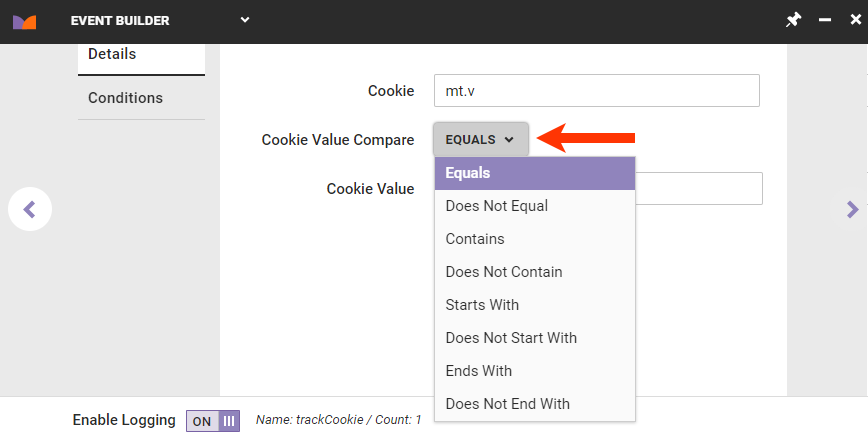
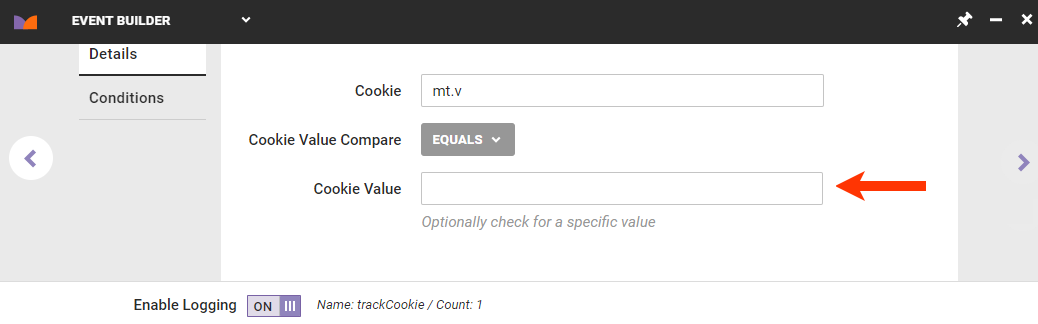
- Input the cookie value.
- Input the name of the cookie.
-
If you selected JS Var in step 4, complete the Details tab.
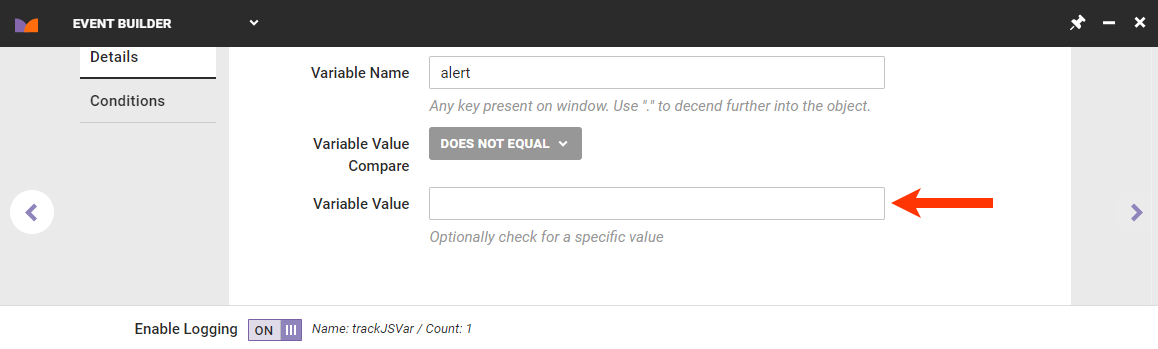
- Input the name of the JavaScript variable.
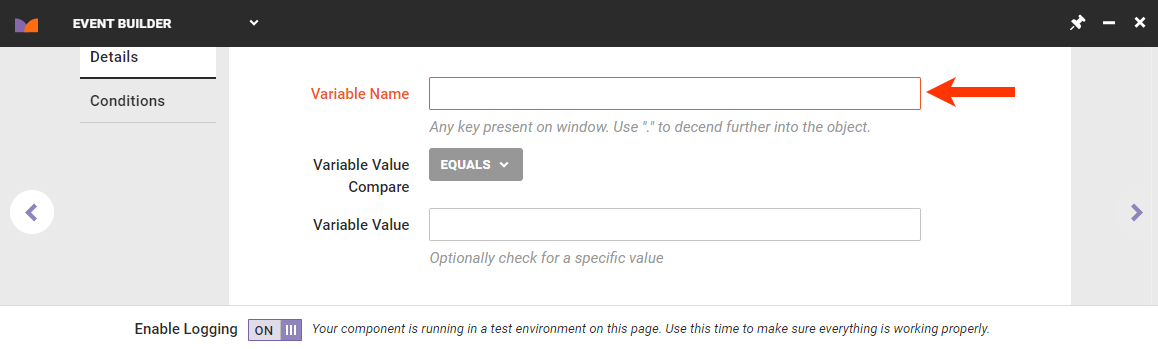
- Select an operator from Variable Value Compare.

- Input the JavaScript variable value.
- Input the name of the JavaScript variable.
-
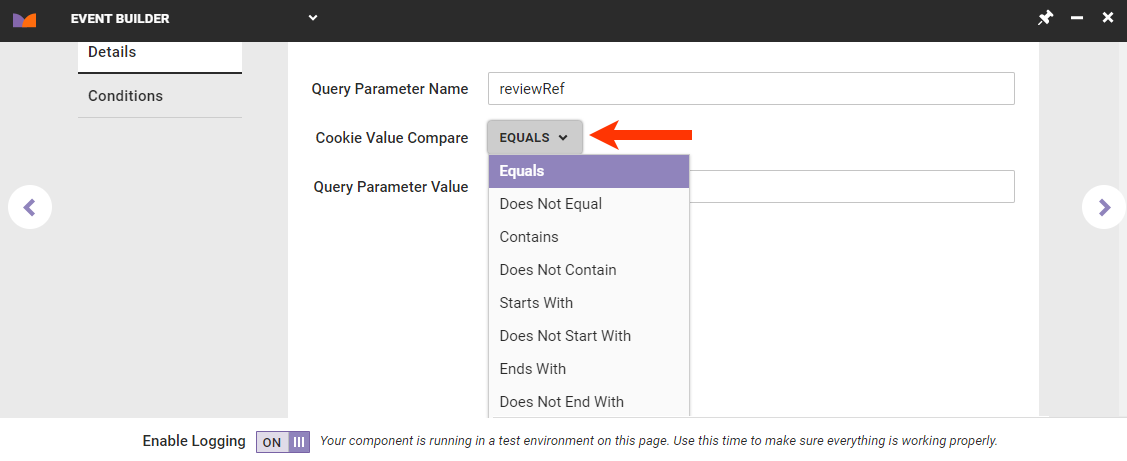
If you selected Query Parameter in step 4, complete the Details tab.
- Input the name of the query parameter.
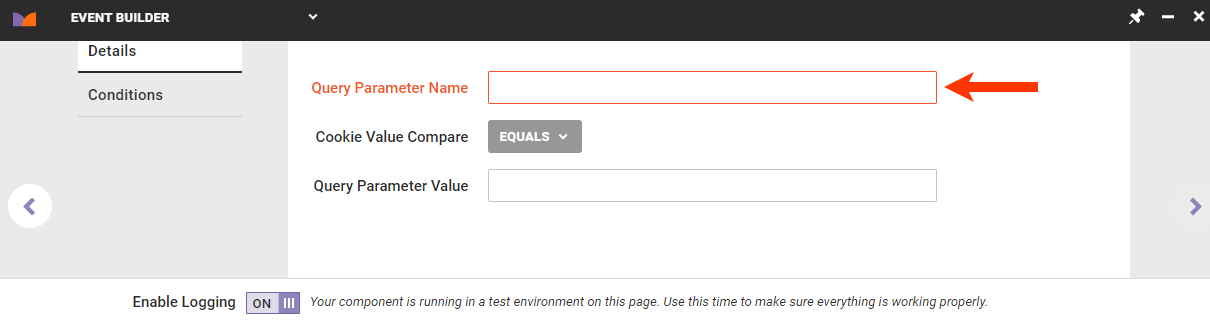
- Select an operator from Cookie Value Compare.
- Input the query parameter value.

- Input the name of the query parameter.
-
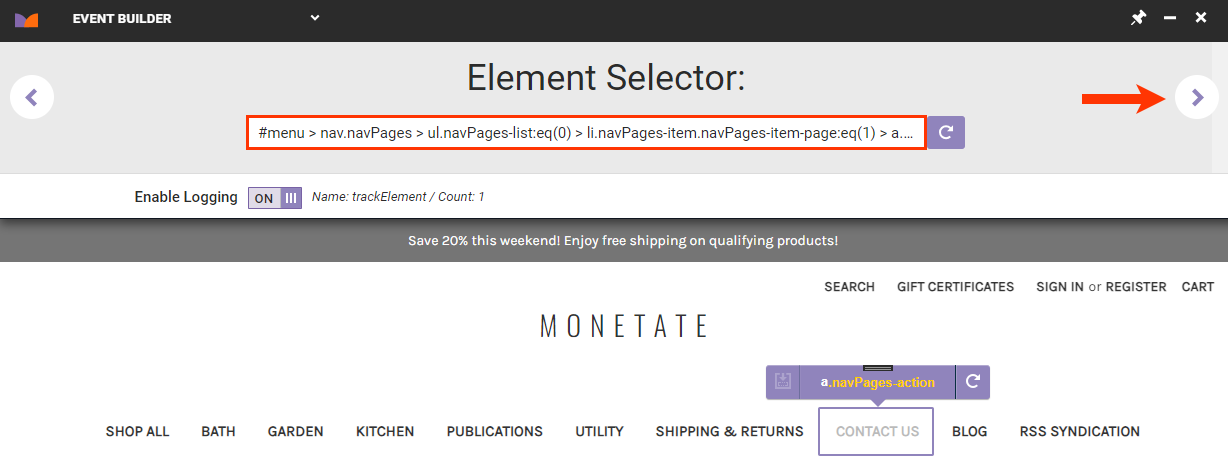
If you selected HTML Element in step 4, take the following actions.
- Use the element selector to choose the HTML element you want to use, and then click the forward arrow.
- Select an operator from Element Text Compare on the Details tab.
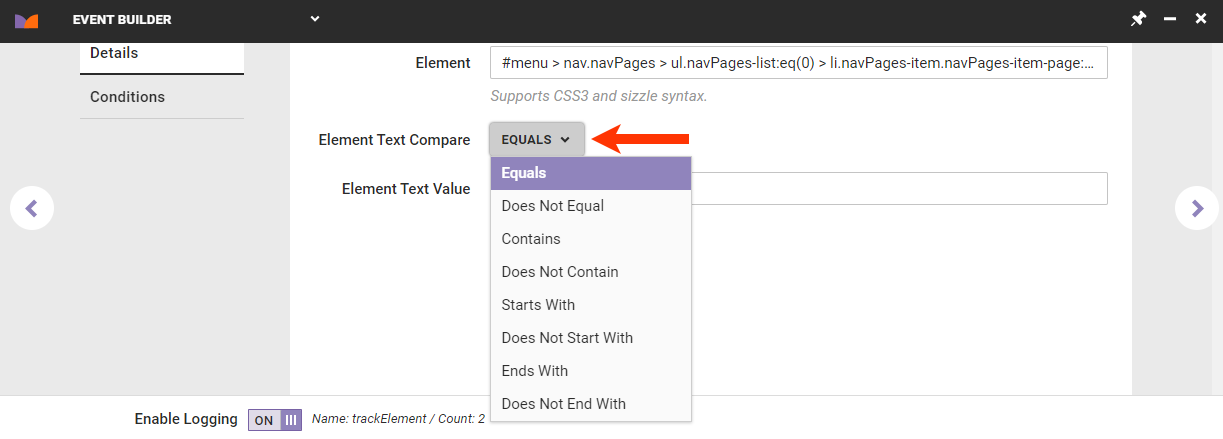
- Input the HTML element text value for comparison.

- Use the element selector to choose the HTML element you want to use, and then click the forward arrow.
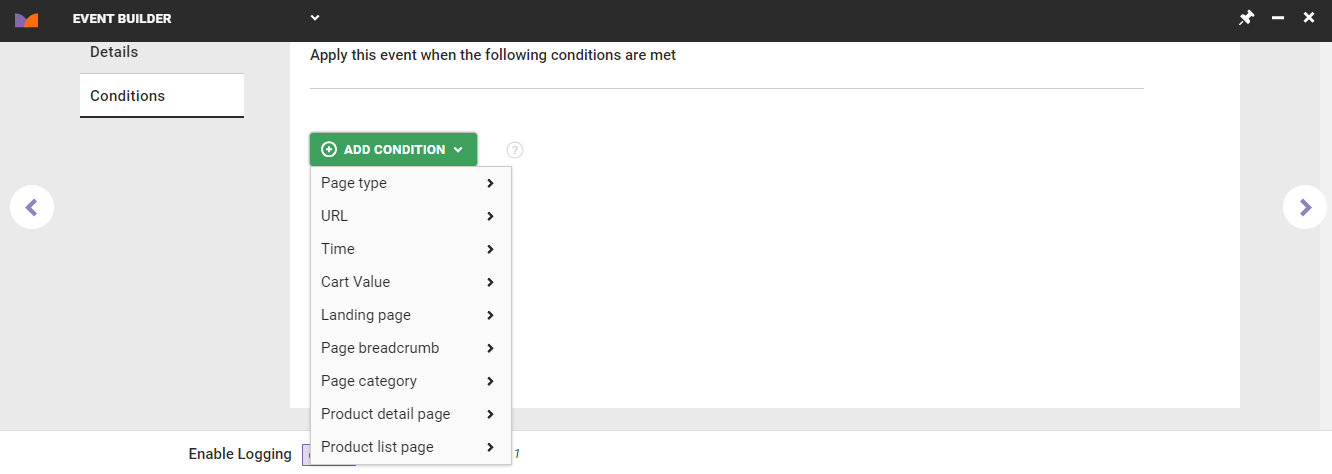
- Optionally, limit the event to a specific page type, URL, time, page category, or landing page. Click the Conditions tab, click ADD CONDITION, select a condition category and specific filter option, and then configure the condition equation. Click the forward arrow.
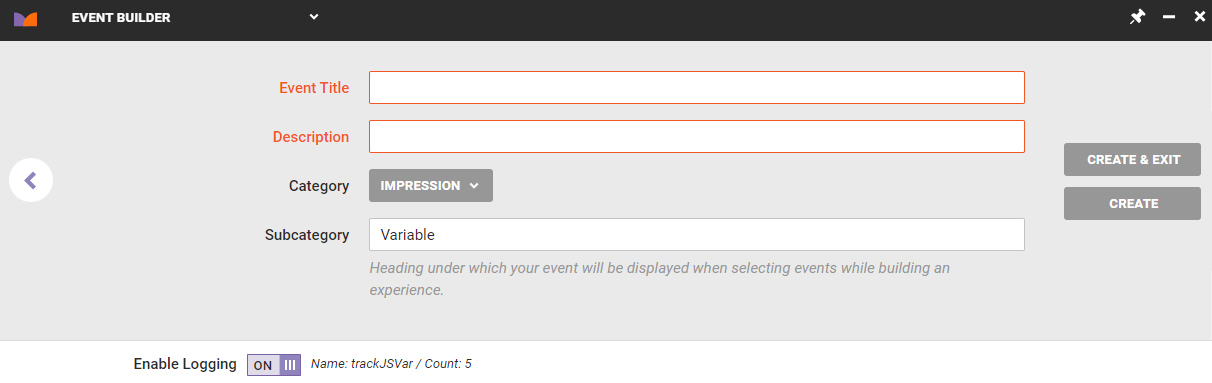
- Type a name for the event into Event Title, type a summary into Description, and then click CREATE & EXIT.